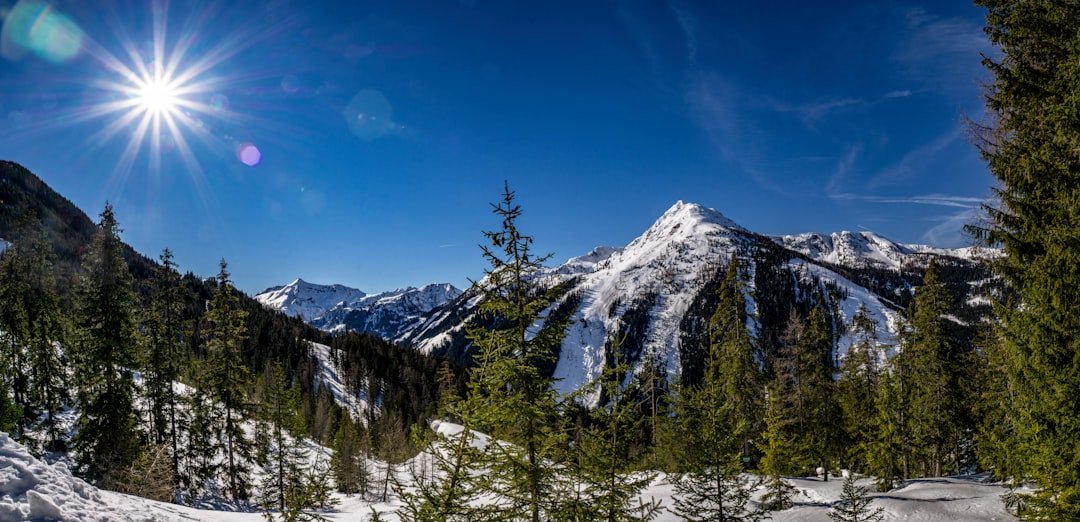
The Eiger Trail gives photographers one of the closest hiking views of the Eiger North Face without requiring technical climbing. The official route runs from Eigergletscher station downhill to Alpiglen, crossing steep alpine slopes, rocky terrain, streams, and open viewpoints above Grindelwald. The scenery is dramatic, but the best photographs come from knowing which locations are actually on the trail, when to stop, and how to handle the strong contrast between dark rock, bright sky, and green valley below.
Quick Answer
The best Eiger Trail photo spots are the Eigergletscher starting area, viewpoints directly beneath the Eiger North Face, the streams and waterfall along the descent, open views over Grindelwald Valley, and the lower slopes near Alpiglen. Allow longer than the standard two-hour hiking time if photography is your main goal.
Key Takeaways
- The official Eiger Trail runs from Eigergletscher to Alpiglen and is about 6.1 km long.
- The route is a moderate mountain hike with steep alpine terrain and substantial downhill walking, so sturdy footwear and surefootedness matter.
- Your strongest on-trail subjects are the Eiger North Face, Grindelwald Valley, alpine slopes, streams, and the waterfall.
- Bachalpsee, Männlichen, Wengen, and Grindelwald-First are worthwhile photography destinations, but they are not stops on the Eiger Trail.
- Check the official trail status and mountain weather before leaving, even when conditions look good in Grindelwald.
At a Glance
| Route | Eigergletscher to Alpiglen |
| Distance | About 6.1 km |
| Time Required | About 2 hours of walking; allow 3 to 4 hours if you plan frequent photography stops |
| Elevation | About 78 m ascent and 779 m descent on the standard Eigergletscher-to-Alpiglen direction |
| Difficulty | Moderate mountain hike; uneven ground, steep alpine slopes, and scree require suitable fitness and surefootedness |
| Camera Gear | Phone or camera, wide or standard lens, spare battery, lens cloth; tripod, telephoto lens, polarizer, and ND filter are optional |
| Hiking Gear | Sturdy footwear, weather layers, rain protection, water, food, sun protection, phone, and basic first-aid supplies |
| Transport | Eiger Express or railway connections can reach Eigergletscher; trains serve Alpiglen for the return journey |
| Cost | Transport cost varies by ticket, pass, and starting point; check current Jungfrau Railways fares before visiting |
The Best Photo Spots Along the Eiger Trail
The strongest photography locations follow the trail naturally from Eigergletscher down toward Alpiglen. According to the official Jungfrau Eiger Trail information, the path follows steep alpine pastures and mountain terrain beneath the Eiger North Face before descending past streams and a waterfall to Alpiglen.
1. Eigergletscher: Start with the Big Landscape
Do not rush away from Eigergletscher station. The upper end of the route gives you room to photograph the scale of the surrounding mountains before the trail moves closer to the Eiger. This is a good place for wide compositions that combine mountain, sky, trail, and people.
A person walking into the frame can be especially useful here. Against the huge rock face and open alpine landscape, a small human figure gives the photograph an immediate sense of scale.
If you arrive when the light is soft, look for side lighting across ridges and broken rock rather than pointing the camera only toward the brightest part of the sky.
2. Directly Beneath the Eiger North Face
The defining photographs of the Eiger Trail come from the sections where the route runs close beneath the North Face. A wide lens can show the enormous wall rising above the trail, while a short telephoto lens can isolate cracks, ridges, snow patches, and patterns in the rock.
Do not assume the widest possible view will always make the strongest picture. When the mountain fills most of your field of vision, a tighter composition often shows its texture and scale more effectively.
Pro Tip: Take both horizontal and vertical frames beneath the North Face. Horizontal images work well when you want to include the valley or trail, while a vertical frame can emphasize how sharply the wall rises above you.
3. Streams and the Waterfall
Streams and a waterfall add movement to a route dominated by rock and mountains. They also give you a chance to create smaller landscape photographs rather than filling every frame with the Eiger.
For flowing water, a fast shutter speed can freeze splashes and retain texture. A slower shutter speed can soften the flow. If you want a longer exposure in daylight, an ND filter can help, but only set up a tripod where you can do so safely without blocking other hikers.
4. Views Down to Grindelwald Valley
As the trail loses elevation, turn your attention away from the North Face from time to time. The green Grindelwald Valley provides a strong contrast with the gray rock above it. Chalets, fields, roads, and distant settlements can become useful layers in a wider landscape.
A standard or short telephoto focal length works well when you want to compress the valley and surrounding ridges. Wide-angle photographs are better when foreground rocks, flowers, or the trail itself create a strong leading line.
5. The Lower Slopes Near Alpiglen
The approach to Alpiglen gives the hike a different visual character. You are lower, the valley feels closer, and there are more opportunities to place vegetation and human-scale features in front of the mountains.
Before packing the camera away, look back uphill. Some of the best compositions near the end of a mountain descent are behind you rather than directly ahead.
Capturing the Magnificent Eiger Mountain
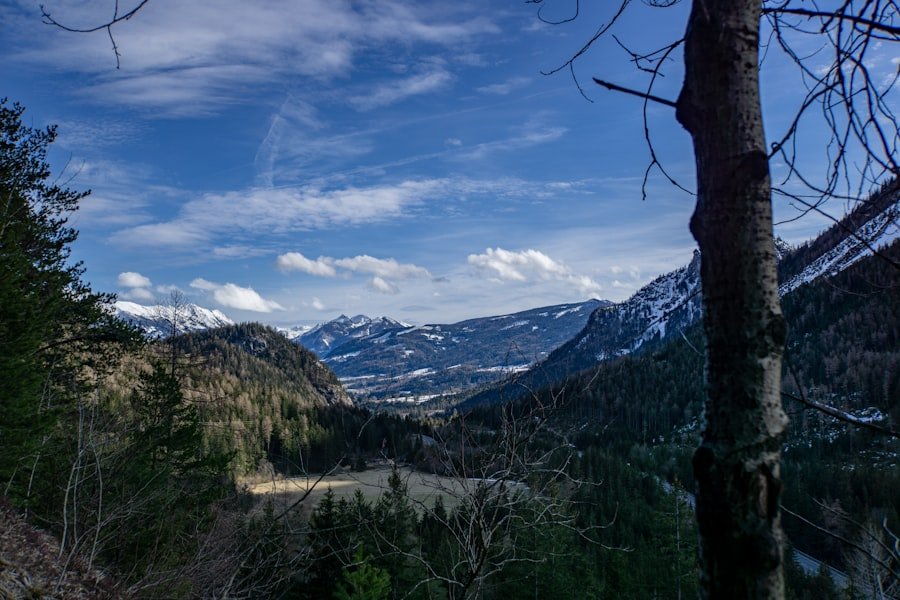
The Eiger rises to 3,967 meters, but height alone does not communicate what makes it so impressive from this trail. The key photographic feature is proximity. On parts of the route, the rock wall feels much larger than it appears in photographs taken from Grindelwald farther below.
Foreground elements help communicate that scale. Instead of pointing your camera at the mountain from an empty patch of trail, look for rocks, patches of grass, trail bends, hikers, or seasonal alpine flowers that create layers from foreground to background.
Exposure can be challenging when the rock face is shaded while bright clouds sit above it. Check your highlights after taking a photograph. If the sky is losing detail, reduce exposure slightly or use exposure bracketing when your camera supports it.
A wide-angle lens works well for environmental views, but a telephoto lens offers another style completely. Zooming into the North Face reveals rock formations and can make tiny climbers visible when conditions and distance allow.
The Eiger Trail is strongest photographically when you show scale: a small hiker, a bend in the trail, or a foreground rock can make the North Face feel far larger than an isolated mountain portrait.
The Stunning Views of Grindelwald Valley
The route does not only face the Eiger. It also opens toward Grindelwald and the surrounding Bernese Oberland. These valley views help diversify a photo set that might otherwise become a series of similar rock-face images.
| Photo Scene | Where to Look | Useful Approach |
|---|---|---|
| Eiger North Face | Above and beside you through the upper and middle trail | Wide lens for scale; telephoto for rock detail |
| Grindelwald Valley | Downhill-facing openings along the descent | Use trail, rocks, or vegetation as foreground |
| Waterfall and streams | Along the route toward Alpiglen | Fast shutter for texture or slower shutter for smooth water |
| Alpine foregrounds | Open grassy sections and rocky slopes | Focus low and close while keeping the mountain in context |
| Hiker-in-landscape images | Open sections with clear mountain backgrounds | Use the person to demonstrate scale rather than filling the frame |
Seasonal conditions change the valley dramatically. Green slopes and alpine vegetation dominate the hiking season, while cloud, haze, rain, or fresh high-mountain snow can alter the mood within hours. Instead of waiting only for a perfectly blue sky, consider how broken cloud or shafts of light can add depth.
Nearby Alpine Villages and Viewpoints
Grindelwald and Wengen can add traditional architecture, village scenes, and wider mountain views to a photography trip, but they should not be confused with stops along the Eiger Trail itself.
Grindelwald
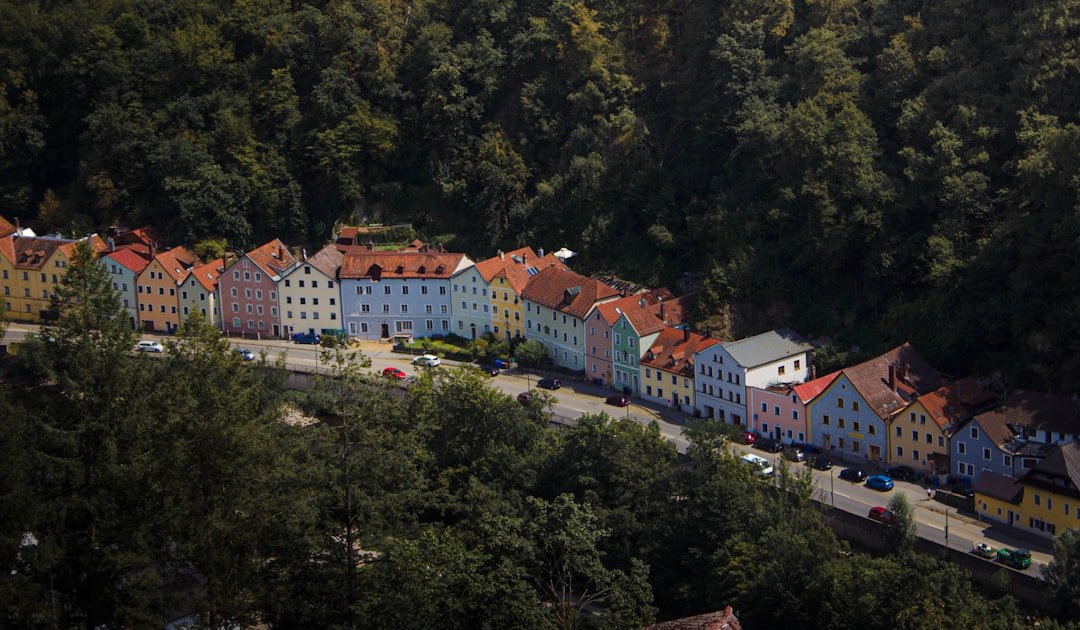
Grindelwald is the practical base for many Eiger Trail visitors. Traditional chalets, steep green slopes, and the mountain skyline make it useful for wider environmental photographs before or after your hike.
The Eiger Express travels from Grindelwald Terminal to Eigergletscher in about 15 minutes, making this one of the quickest ways to reach the upper trailhead.
Wengen
Wengen offers another attractive alpine-village setting, but it is not a short walking detour from the Eiger Trail. It lies on the Lauterbrunnen side of the Kleine Scheidegg transport network. Treat it as a separate stop if your itinerary has enough time.
Männlichen
Männlichen provides broad views of the Eiger, Mönch, Jungfrau, and surrounding valleys, but the Männlichen cable-car station is not an Eiger Trail waypoint. It is a separate mountain destination reached by its own cableway connections.
Kleine Scheidegg
Kleine Scheidegg is a more logical addition if you want another perspective on the Eiger because it is part of the same mountain railway network. Depending on your transport plan, you can visit it before or after the hike rather than describing it as part of the Eigergletscher-to-Alpiglen trail.
Note: Männlichen, Wengen, Grindelwald-First, and Bachalpsee are excellent destinations for a wider Jungfrau Region photography itinerary, but none should be presented as an on-trail Eiger Trail photo stop.
The Lush Alpine Meadows and Wildflowers
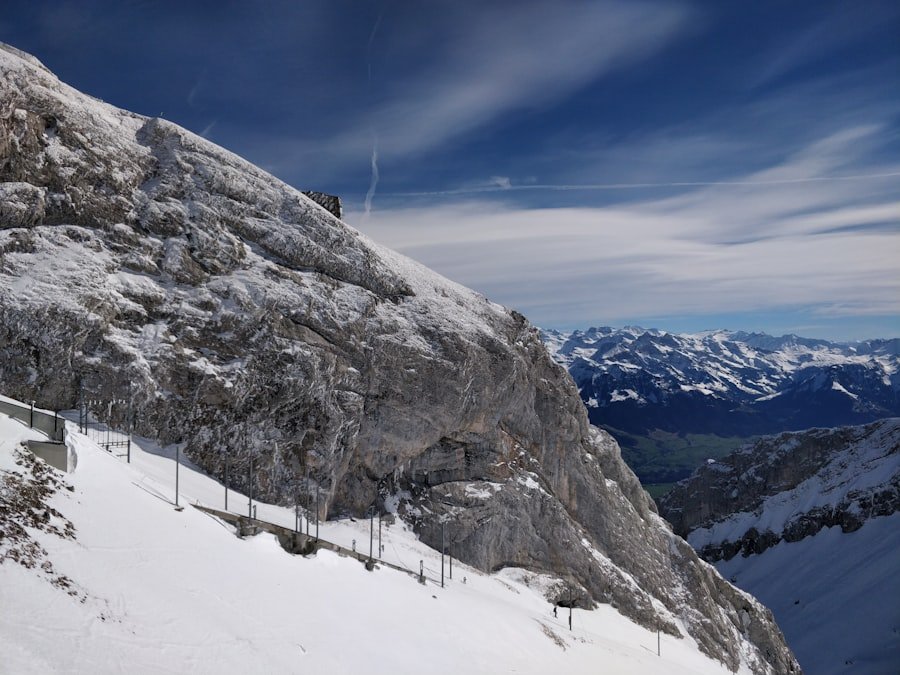
During the snow-free hiking season, patches of grass and seasonal alpine flowers can provide valuable foreground interest. They are especially useful when the mountain itself feels too distant or when a wide composition contains too much empty ground.
Instead of stepping away from the marked route to reach a flower, use the plants that are naturally visible from the trail. A low camera position can make a small patch of vegetation fill the foreground while keeping the mountain behind it.
For close-up photographs, use a longer focal length or a camera’s macro mode when available. A wider aperture can soften the background and separate a flower from surrounding grass. For an environmental photograph, use a narrower aperture so the foreground and mountain remain more clearly connected.
Wind is often more important than light when photographing small plants in the mountains. If flowers are moving, increase your shutter speed rather than assuming every close-up requires a slow exposure.
Streams, Waterfalls, and the Bachalpsee Correction
The Eiger Trail genuinely passes wild streams and a waterfall, according to the official route description. These are useful photography subjects because they introduce motion, reflections, and smaller details into a landscape dominated by rock and open slopes.
When photographing water, protect your equipment from spray and keep camera straps secured. Wet stones can be slippery, so do not step onto unstable ground simply to improve an angle.
Bachalpsee Is Not on the Eiger Trail
Bachalpsee is a famous mountain lake near Grindelwald, but it does not lie just off the Eiger Trail. It belongs to the Grindelwald-First hiking area. The official Bachalpsee information lists the lake at 2,265 meters and describes it as a separate hike from Grindelwald-First.
If reflections are a priority, Bachalpsee can be worth scheduling on another day or as a separate excursion. Calm conditions can produce mountain reflections, but it should not be included when estimating the distance or time required for the Eiger Trail.
Tips for Taking the Best Photos on the Eiger Trail
Choose a Versatile Lens Before Carrying Extra Weight
A wide-to-standard zoom is the simplest option for most hikers because it handles the North Face, valley, trail, and environmental portraits without frequent lens changes. A telephoto lens adds value if you specifically want rock detail, distant villages, compressed mountain layers, or climbers high on the wall.
Watch the Highlights
Mountain photography often places dark rock against a bright sky. Check the histogram or highlight warning on your camera if available. Protecting bright cloud detail usually gives you more editing flexibility than overexposing the sky.
Use a Tripod Selectively
A lightweight tripod can help with waterfalls, low-light scenes, or carefully composed landscapes. It also adds weight and can slow you down on uneven terrain. For a daytime hike, stabilization in a modern camera or phone may be enough for most photographs.
If you use a tripod, set it completely off the walking line and never create an obstacle on narrow sections.
Use a Polarizer Carefully
A circular polarizing filter may reduce glare from wet rock and vegetation and can deepen parts of a blue sky. With very wide lenses, however, the effect across the sky can become uneven. Rotate the filter while looking through the viewfinder rather than automatically using maximum polarization.
Try More Than Eye-Level Compositions
Lowering the camera can make rocks, grass, or flowers more important in the frame. On open ground, a slightly higher viewpoint can reveal the path as a leading line. Change your camera position only where the trail and terrain make it safe to do so.
Include People for Scale
The Eiger North Face is so large that photographs without a reference point can flatten its scale. A hiker on the trail can solve that problem. Wait until the person is separated from the background rather than visually merging with rocks or vegetation.
Keep the Lens Cloth Accessible
Cloud, mist, waterfall spray, fingerprints, and changing temperatures can put moisture on the front element quickly. Keep a clean lens cloth somewhere you can reach without unpacking your entire bag.
Best Time for Eiger Trail Photography
The best time is when the official mountain trail is open, the weather is stable, and visibility is good enough for the type of photographs you want. The published Jungfrau schedule for 2026 lists the Eiger Trail from June 20 through October 25, with changes possible depending on conditions.
Do not treat those dates as a guarantee. Snow, storms, maintenance, or other mountain conditions can affect access. Check the current Jungfrau operating information shortly before your trip.
Morning
An earlier start can mean fewer hikers, cooler temperatures, and softer light. It also gives you more time to stop for photographs without worrying about the final train connections from Alpiglen.
Middle of the Day
Midday light can be harsh, but it is not useless. Clouds may soften the scene, and the high contrast can work well for black-and-white rock studies or close photographs of the North Face.
Late Afternoon
Later light can create more texture on mountain ridges, but photographers should not chase sunset light without first confirming transport times, trail conditions, and how much daylight remains. The official walking estimate does not include long photography stops.
Planning and Safety for Photographers
The verified Grindelwald Tourism route listing describes the standard Eigergletscher-to-Alpiglen hike as about 6.1 km, with roughly 78 meters of ascent and 779 meters of descent. That amount of downhill walking can be tiring, especially when carrying a camera bag and repeatedly stopping and restarting.
The route crosses steep alpine pastures and scree. Treat it as a mountain hike rather than a casual paved sightseeing walk. The Swiss mountain-hiking safety initiative recommends planning around route difficulty, fitness, weather, trail conditions, equipment, food and water, and possible alternatives.
Warning: Mountain weather can change quickly. Check the official trail status and a reliable mountain forecast before starting. Wear sturdy footwear with good grip, carry weather protection, and do not leave the marked path or stand on exposed ground simply to obtain a photograph.
For Swiss weather forecasts and severe-weather warnings, check MeteoSwiss. Conditions at Eigergletscher can differ from those in Grindelwald because of the elevation difference.
A camera backpack should not replace essential hiking equipment. Carry water, food, sun protection, warm and waterproof layers, a charged phone, and basic first-aid supplies alongside your photography gear.
Patience still matters. Instead of taking one picture and immediately walking on, watch how cloud shadows move across the valley and rock face. At the same time, remain aware of your schedule. Photography can easily turn a two-hour walk into a three- or four-hour outing.
Frequently Asked Questions
What is the Eiger Trail?
The Eiger Trail is a mountain hiking route beneath the Eiger North Face in Switzerland’s Bernese Oberland. The standard downhill route starts at Eigergletscher station and finishes at Alpiglen.
Where is the Eiger Trail located?
The trail is above Grindelwald in the Bernese Oberland of Switzerland. It runs below the famous Eiger North Face between Eigergletscher and Alpiglen.
What are the best photo spots along the Eiger Trail?
Start with the wide mountain views around Eigergletscher, then photograph the sections directly beneath the Eiger North Face, the streams and waterfall, open views down toward Grindelwald Valley, and the lower alpine landscape near Alpiglen.
How long is the Eiger Trail?
The verified Eigergletscher-to-Alpiglen route is about 6.1 km and has an estimated walking time of about two hours. Photographers should allow extra time for composition, equipment changes, breaks, and weather.
Is the Eiger Trail suitable for beginners?
It should not be treated as an easy sightseeing walk. The route is considered a moderate mountain hike and includes steep alpine terrain, scree, uneven surfaces, and substantial descent. Hikers should have appropriate footwear, reasonable fitness, and surefootedness.
Are there safety considerations for hiking the Eiger Trail?
Yes. Check current trail conditions and mountain weather, use sturdy footwear, carry suitable clothing and water, stay on the marked route, and avoid exposed or unstable ground when taking photographs. Wet or snowy conditions can make mountain paths significantly more difficult.
When is the best time to visit the Eiger Trail for photography?
Visit during the official snow-free hiking season when the route is open and weather conditions are suitable. For 2026, Jungfrau lists the Eiger Trail from June 20 through October 25, subject to conditions. Earlier starts can offer softer light and fewer hikers.
Is Bachalpsee on the Eiger Trail?
No. Bachalpsee is in the Grindelwald-First area and requires a separate hike. It can be combined with a wider photography trip to Grindelwald, but it should not be counted as part of the Eiger Trail.
Are Männlichen and Wengen on the Eiger Trail?
No. Both can provide excellent views of the surrounding mountains, but they are separate destinations. The official Eiger Trail itself runs between Eigergletscher and Alpiglen.
Which direction should photographers hike the Eiger Trail?
Eigergletscher to Alpiglen is the common downhill direction and avoids the much larger uphill climb. It also lets you begin high beneath the Eiger and gradually open views toward Grindelwald as you descend.
Sources
- Jungfrau Railways: Eiger Trail — official route, duration, elevation range, terrain, streams, waterfall, and trail endpoints.
- Grindelwald Tourism verified Eiger Trail route — distance, duration, ascent, descent, difficulty, route description, and recommended equipment.
- Jungfrau Railways: Eiger Express — transport between Grindelwald Terminal and Eigergletscher.
- Jungfrau Railways Operating Information — current railway, cableway, and regional operating status.
- Sicher Bergwandern / Swiss Council for Accident Prevention — mountain-hiking planning, equipment, weather, route-condition, and safety guidance.
- MeteoSwiss — official Swiss weather forecasts and severe-weather information for mountain-trip planning.