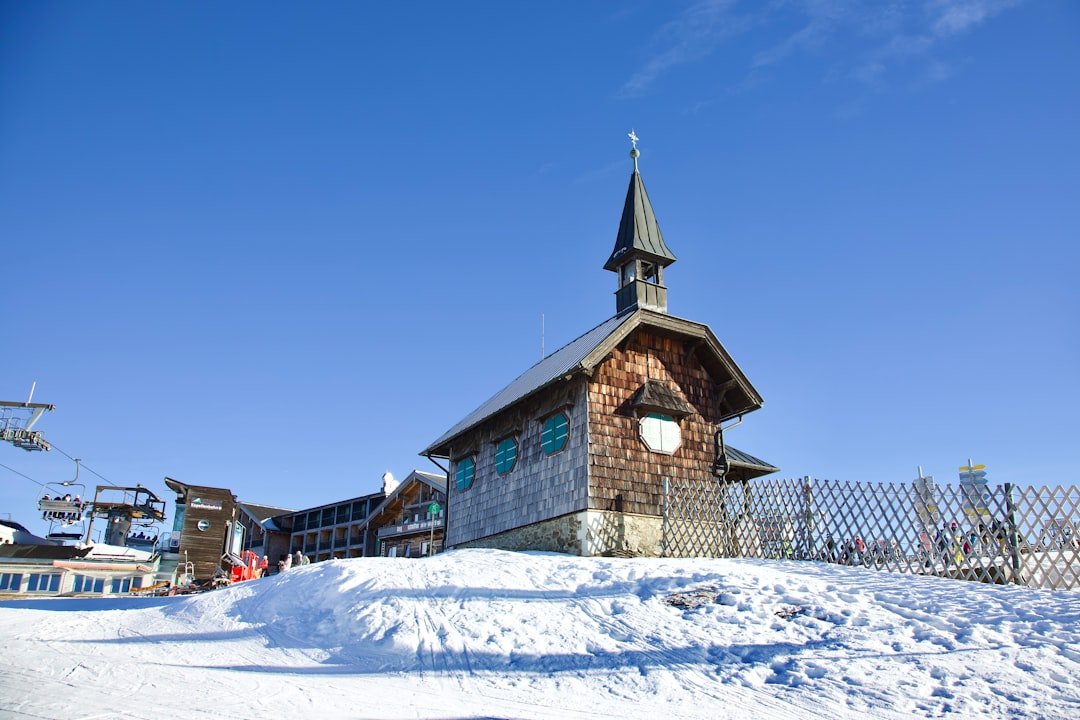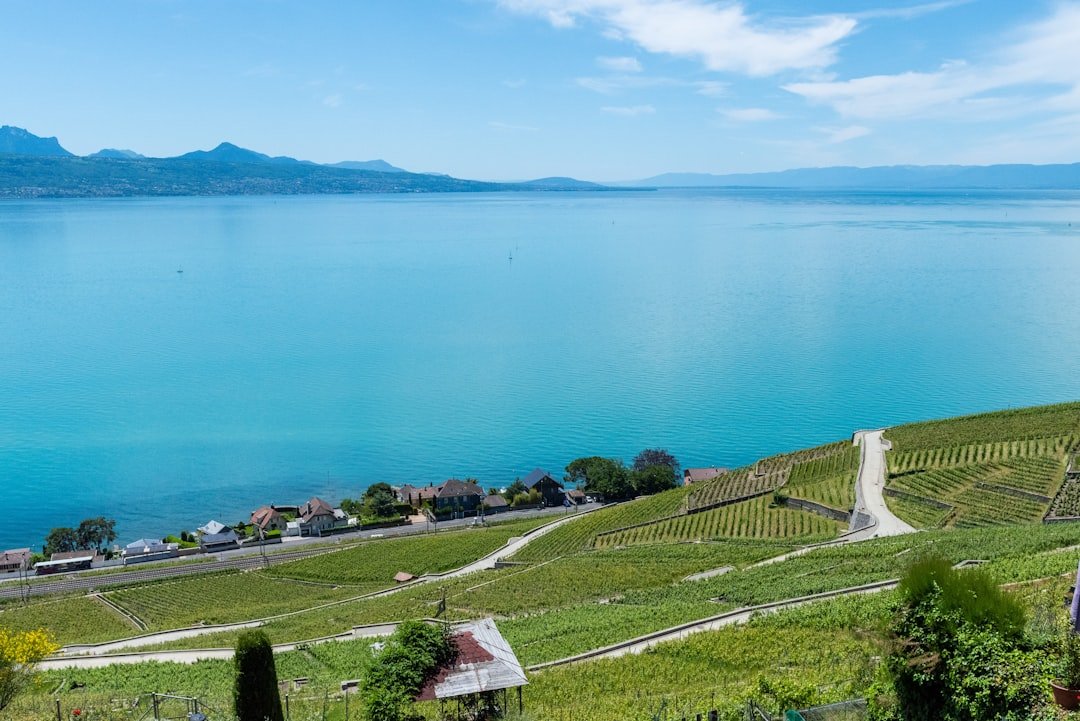
The Caumasee to Crestasee walk near Flims in Graubünden is one of the most photogenic forest-and-lake outings in eastern Switzerland. The strongest images usually come from four subjects: Caumasee’s turquoise water, quiet forest scenes between the lakes, the open mountain backdrop around Crestasee, and changing reflections when the light is soft. Route length depends on the path you choose, so plan around the official trail network rather than relying on one fixed distance.
Quick Answer
For the best photos on the Caumasee to Crestasee walk, photograph Caumasee from the wooded approach and shoreline, look for framed forest scenes between the lakes, then use the calmer edges of Crestasee for reflections. Soft morning or late-day light is usually easiest to work with, while a polarizer can help control glare.
Key Takeaways
- Do not plan around a single “6 km” figure. Official routes that include both lakes vary by start point and detours.
- Caumasee is strongest for turquoise-water compositions, while Crestasee works especially well for quiet shoreline and reflection shots.
- A circular polarizer is useful in bright conditions, but rotate it carefully so you do not make blue skies or water look uneven.
- Check live trail conditions, lake opening hours, and bathing-area rules before you go, especially if you want sunrise, sunset, or swimming photos.
- Drones are prohibited throughout the Caumasee area, so plan ground-based photography there.
At a Glance
| Time Required | Allow a half day if photography is the priority. The official four-lake circuit that includes Caumasee and Crestasee is 12.9 km with about 3 hours 40 minutes of walking before long photo stops. |
| Difficulty | Medium for the official four-lake circuit. Shorter forest connections can be easier, but surfaces and gradients vary. |
| Tools Needed | Supportive walking shoes, phone or camera, water, weather layer, lens cloth, and an optional circular polarizer. A small tripod is useful only where it can be set up without blocking the path. |
| Cost | The hiking route has no single route ticket. Seasonal bathing-area entry, parking, public transport, food, and rentals can cost extra. Check the official lake pages for current prices before visiting. |
Best Photo Spots on the Caumasee to Crestasee Walk
You do not need to photograph every bend in the trail. The most useful approach is to look for changes in height, foreground, reflection, and light. Caumasee gives you stronger color, the forest gives you texture and depth, and Crestasee gives you a quieter, more enclosed lake scene.
| Location | Best Subject | Useful Lens or View | What to Watch |
|---|---|---|---|
| Caumasee approach | Turquoise water framed by trees | Wide or standard lens | Bright highlights on the water |
| Forest between the lakes | Leading paths, trunks, moss, and filtered light | Standard lens or phone 1x view | Very bright sky behind dark trees |
| Crestasee shoreline | Reflections, layered trees, and mountain backdrop | Wide to short telephoto | Ripples from swimmers or boats in season |
1. Photograph Caumasee Before You Reach the Water
The first strong composition often appears before you are directly beside the lake. Use tree trunks, branches, or the slope as a natural frame and let the turquoise water occupy only part of the image. This creates depth and avoids a flat “lake in the middle” composition.
Caumasee is officially described by Flims Laax as a turquoise lake surrounded by forest, with summer water temperatures generally listed between 17 and 24°C. Its strong color can look very different under sun, cloud, or shade, so expose for the bright water rather than the darkest trees. You can check current lake information on the official Lake Cauma page.
Pro Tip: Take one photo with the polarizer rotated for stronger color, then another with less polarization. Reflections can be part of the scene, so removing all glare is not always better.
2. Use the Caumasee Shoreline for Reflections and Details
At water level, stop looking only for a full-lake panorama. Photograph ripples, reflected trees, the wooded island, shoreline textures, and people for scale where appropriate. A short telephoto focal length can simplify a busy scene by isolating one part of the opposite shore.
If the water is calm, lower your camera slightly and look for clean reflection lines. If the surface is busy, switch to details instead of waiting for a perfect mirror. A fast shutter speed can freeze small ripples, while a slower shutter can soften them if you have stable support.
3. Look for Layers in the Flims Forest
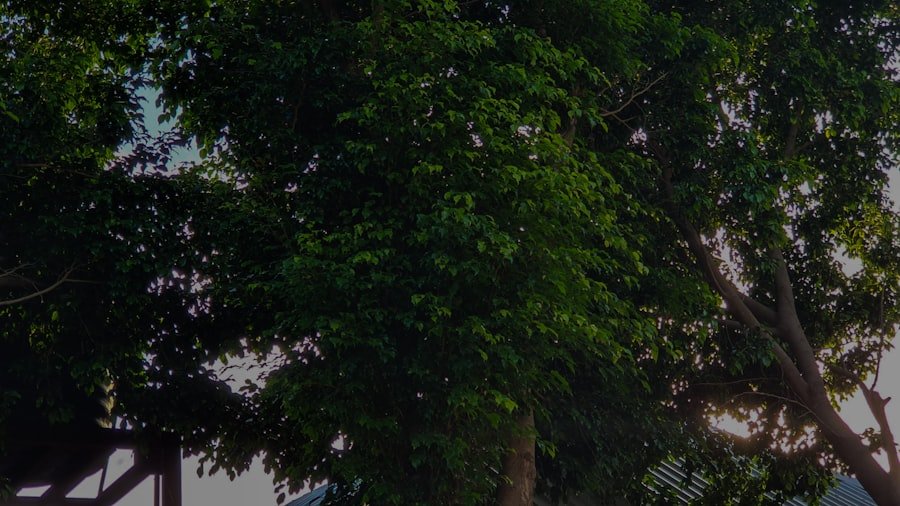
The forest section is more than a connection between two lakes. It gives you a completely different set of photographs: repeating trunks, dark-green layers, winding paths, moss, rocks, and small patches of light. On a bright day, forest scenes can also be easier to photograph than open water around midday.
Keep an eye on your highlights. A camera can easily expose the darker forest correctly while turning small patches of sky into white areas with no detail. On a phone, tap a bright area and lower the exposure slightly. On a camera, check the histogram or highlight warning if available.
Wildlife may appear, but sightings are never guaranteed. Do not chase, feed, call, or crowd animals for a photo. A longer lens lets you keep distance and usually produces a cleaner background.
4. Finish with Crestasee Shoreline Compositions
Crestasee sits between Flims and Trin and is officially described as a protected natural landmark of regional importance. The lake is 375 metres long and 180 metres wide, and it is reached on foot. The official destination page also lists boating, stand-up paddling, a restaurant, and seasonal bathing facilities. See the official Lake Cresta page for current access and opening information.
For photography, move a few metres at a time rather than staying at the first open view. Foreground grass, rocks, branches, or a curve in the shore can make a stronger composition than an unobstructed postcard view. A short telephoto lens can also compress the far shore and mountain backdrop.
Route Distance, Time, and Difficulty
The original idea of a fixed 6 km Caumasee-to-Crestasee trail is too simple because there are several ways to connect the lakes. Your actual distance depends on where you start, whether you walk only between the lakes, and whether you add viewpoints or return to Flims.
For a verified benchmark, Graubünden Tourism’s official four-lake hike is rated medium and lists 12.9 km, about 3 hours 40 minutes, and 333 metres of ascent and descent. That circuit includes both Caumasee and Crestasee plus other lakes and viewpoints. If your goal is photography rather than completing a specific circuit, use the official signs and map to build the length that fits your day.
Note: Trail conditions and open routes can change with weather, maintenance, snow, or local work. Check Flims Laax live hiking status on the day of your walk.
How to Get to Caumasee and Leave from Crestasee
For Caumasee, the official destination information lists the “Flims Waldhaus Caumasee” bus stop as the nearest public-transport stop. From there, it is about 15 minutes on foot to the Caumasee lift, or you can continue on the forest path to the lake. Paid parking is available in the Flims area, but spaces near the lake can fill during busy periods.
Crestasee has a useful point-to-point option. The “Trin, Felsbach-Crestasee” bus stop is about a 15-minute walk from the lake according to the official destination page. Drivers can use signed parking areas in the Flimser Grosswald and then walk to the lake. Check current public-transport times before setting out if you do not plan to walk back the same way.
Best Time of Day for Photography
Soft light usually makes both lakes easier to photograph. Morning can give you calmer scenes and gentler contrast, while late-day light can add warmth to trees and mountain faces. The exact direction of useful light changes with season, weather, and where you stand, so do not rely on a single “golden hour” angle.
Midday is not a lost cause. If the sun is high, use the forest, photograph details, or use a polarizer carefully to reduce some surface glare. Thin cloud can also soften contrast and help preserve color in the water.
Warning: Do not assume lake facilities or lifeguard services are available before sunrise or after sunset. Caumasee’s managed bathing facility has seasonal opening hours, and the official site states that no lifeguard service is provided outside those hours.
Camera and Phone Settings That Work Well Here
For Bright Water and Mountain Views
- Phone: Tap the bright water or sky, then lower exposure slightly if highlights look washed out.
- Camera: Start around ISO 100 to 200 in good light and choose an aperture around f/5.6 to f/8 for broad landscapes.
- Shutter speed: Use a faster speed if wind is moving leaves or if you want crisp ripples.
- Polarizer: Rotate it while looking through the viewfinder or screen. Stop when reflections and color look natural.
For Forest Scenes
- Raise ISO when needed rather than accepting motion blur from hand shake.
- Use a wider aperture for close details such as leaves, bark, or flowers.
- Bracket exposure or use your phone’s HDR mode when dark trees and bright sky share the frame.
- Clean your lens often. Spray, dust, sunscreen, and fingerprints are easy to miss on a small phone lens.
Composition Tips for Stronger Trail Photos
The rule of thirds is useful, but it is not a requirement. Use it when the horizon, shoreline, or a main subject naturally fits the frame. In other scenes, symmetry can work better, especially when reflections are strong.
Look for leading lines such as a path edge, shoreline, fallen log, or row of tree trunks. Add a foreground element when you want depth, but make sure it does not cover the main subject. For a cleaner image, move your feet before zooming. A few steps left or right can remove signs, branches, or people from the background.
The best viewpoint is not always the widest one. A simple frame with one clear subject often makes a stronger photograph than trying to include the entire lake, forest, and mountains at once.
Photography Rules and Nature Etiquette
Caumasee has specific local rules that matter to photographers. The official Lake Cauma page states that drones and other flying models are prohibited throughout the Caumasee area. It also lists a fire and barbecue ban for the lake area and restrictions on dogs inside the bathing facility. Read the current rules before your visit because local operating conditions can change.
At both lakes, keep paths clear when using a tripod, avoid stepping into sensitive vegetation for a better angle, and give swimmers and other visitors reasonable privacy. If you photograph wildlife, use distance rather than approaching for a closer frame.
Swimming, Facilities, and Seasonal Costs
Both lakes have seasonal visitor facilities, but opening times and prices are not identical. In summer 2026, the official Caumasee page lists the managed bathing facility as open daily from 8:30 a.m. to 5:00 p.m., weather permitting, with visitor admission listed at CHF 18 for adults and CHF 9 for visitors up to age 16. The official Crestasee page lists adult admission at CHF 7, with lower rates for guest-pass holders, students, residents, and children.
These are bathing-area prices, not a single ticket for the hiking route. Restaurant, kiosk, rental, parking, and transport costs are separate. Because hours and rates can change, use the official lake pages rather than relying on an old travel article.
Editing Your Caumasee and Crestasee Photos
Start with small corrections. Reduce highlights if bright water or sky is distracting, lift shadows only enough to recover useful forest detail, and keep saturation controlled. The lakes already have strong natural color, so heavy blue or green saturation can quickly make the image look artificial.
Use cropping to remove distractions and strengthen the subject, but avoid cutting so tightly that the landscape loses context. A small amount of clarity or texture can help trees and rocks, while too much can make water and clouds look harsh. If you photographed the same scene several times, choose the image with the best light and cleanest composition instead of editing every frame.
When sharing photos, add useful context such as the lake name, general route, season, or weather. Avoid posting sensitive wildlife locations or encouraging people to leave marked paths for a particular photo angle.
Frequently Asked Questions
What is the Caumasee to Crestasee walk?
It is a forest hiking connection in the Flims area of Graubünden linking two well-known lakes, Caumasee and Crestasee. There is no single mandatory route between them, so the total distance depends on your start point, chosen path, detours, and return plan.
Where is Caumasee located?
Caumasee is near Flims in the canton of Graubünden, Switzerland. It is surrounded by the Flims forest and can be reached on foot, with a seasonal lift helping visitors cover part of the descent when it is operating.
Where is Crestasee located?
Crestasee lies on the eastern side of the Flims area near the border with Trin. The lake is reached on foot, and the nearest public-transport access listed by the destination is the Trin, Felsbach-Crestasee stop.
What are the best photo spots along the walk?
Start with elevated, tree-framed views of Caumasee, then look for shoreline reflections and small details. In the forest, use paths and tree trunks as leading lines. At Crestasee, walk the accessible shoreline areas and look for clean reflections, foreground vegetation, and layered views across the lake.
Is the Caumasee to Crestasee walk suitable for all fitness levels?
It depends on the route. The full official four-lake circuit that includes both lakes is rated medium. Shorter access paths can be easier, but uneven forest surfaces, gradients, weather, and the distance you choose still matter. Use the official map and select a route that matches your group.
Are there facilities or amenities along the walk?
Both lake areas have seasonal services. Caumasee lists restaurants, a kiosk, changing rooms, rentals, and bathing facilities. Crestasee lists a restaurant, kiosk, changing rooms, boat rental, stand-up paddling, and a natural bathing area. Availability varies by season and weather, so check official opening information before leaving.
What is the best time of day for photography?
Morning and late-day light are usually easier for landscape photography because contrast is softer. Midday can still work well for forest details, close-ups, and water photos with careful exposure. Check facility hours if you plan to be at either lake very early or late.
Can I swim, and what rules should photographers know?
Seasonal bathing is available at both lakes, with separate opening hours and admission rates. At Caumasee, drones and other flying models are prohibited throughout the area, and no lifeguard service is provided outside the managed bathing facility’s opening hours. Always follow posted local rules and current conditions.
Sources
- Flims Laax: Lake Cauma – official opening hours, prices, facilities, access, lift information, and local rules.
- Flims Laax: Lake Cresta – official lake details, prices, facilities, access, and public-transport information.
- Graubünden Tourism: 4-Lake Hike – verified route distance, time, difficulty, ascent, descent, and equipment guidance.
- SwitzerlandMobility: Senda quatter lags da Flem – official hiking-route context for the lakes and surrounding trail network.
- Flims Laax Live Hiking Status – current trail operating status and live conditions.