Glacier hiking in Alaska can mean anything from walking a maintained trail to a glacier viewpoint to stepping onto moving ice with traction, a guide, and specialized equipment. That distinction matters. Exit Glacier and the Harding Icefield Trail offer excellent glacier views without normal on-ice travel, while places such as Root Glacier and Matanuska Glacier can provide opportunities to walk on ice when access, conditions, and experience allow. Plan around current conditions, choose a route that matches your skills, and treat every glacier as changing terrain.
Quick Answer
For most Alaska visitors, the safest glacier-hiking plan is to use maintained trails for glacier views or book a guided trip before stepping onto glacier ice. Summer offers the easiest access at many locations, but snow, weather, landslides, crevasses, and changing ice conditions can alter routes at any time.
Key Takeaways
- A trail with glacier views is not the same as traveling on glacier ice.
- Exit Glacier and Harding Icefield Trail are excellent hiking options in Kenai Fjords, but the maintained trails are primarily for viewing the glacier and icefield.
- Root Glacier provides on-ice access, but its access route changed in August 2026 and current conditions should be checked before every trip.
- Crampons, ropes, harnesses, ice axes, and rescue skills may be needed on technical glacier terrain; equipment alone does not replace glacier-travel training.
- Pet rules, tour ages, fees, permits, and access restrictions vary by park, private landowner, and tour operator.
At a Glance
| Time Required | About 1 hour for a short glacier-viewing walk to a full day for strenuous hikes or guided glacier travel |
| Difficulty | Easy glacier-viewing trails to technical glacier and mountaineering terrain |
| Tools Needed | Layers, sturdy footwear, rain protection, water, navigation and emergency gear; on-ice equipment varies by glacier and conditions |
| Cost | Varies. Some national-park hiking areas have no entrance fee, while private glacier access, transportation, and guided trips cost extra |
Best Time to Go Glacier Hiking
For many first-time visitors, June through August offers the simplest combination of road access, long daylight hours, staffed visitor services, and hiking conditions. However, there is no single Alaska glacier season that applies everywhere.
At Kenai Fjords National Park, most visitors come to the Exit Glacier area in June, July, and August. The area remains open year-round, but the road is normally inaccessible to cars from late fall into spring because of snow. The upper Harding Icefield Trail can remain snow-covered into early July.
Other glaciers operate differently. Guided Matanuska Glacier experiences can operate outside the peak summer season, while winter or shoulder-season routes elsewhere may become mountaineering trips involving deep snow, avalanche terrain, difficult navigation, and much colder weather.
Note: Pick your glacier first and your travel dates second. Check the land manager or tour operator shortly before departure because trail, road, snow, river, and ice conditions can change faster than seasonal averages suggest.
Essential Gear for Glacier Hiking
The right equipment depends on whether you are hiking a normal trail near a glacier or actually traveling on the ice.
For maintained trails such as those in the Exit Glacier area, start with sturdy hiking footwear, moisture-wicking layers, an insulating layer, waterproof rain protection, gloves, a warm hat, sunglasses, sunscreen, food, and enough water. Trekking poles can help on steep, muddy, rocky, or snowy sections.
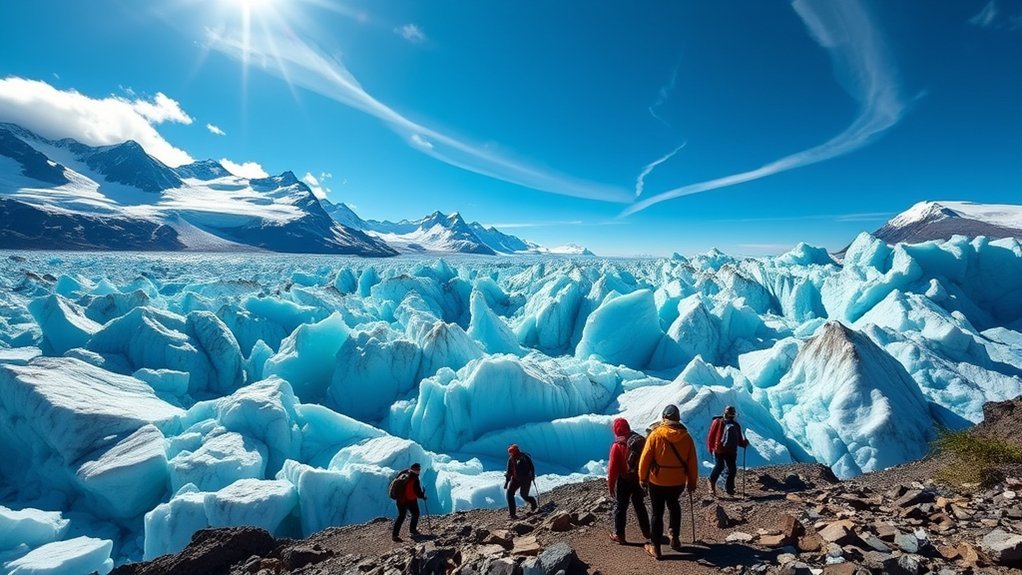
Actual glacier travel is different. Depending on the glacier, season, and route, appropriate equipment may include traction devices or mountaineering crampons, a helmet, harness, rope, ice axe, rescue equipment, and communication gear. Snow-covered glaciers can conceal crevasses, which is why technical equipment must be paired with route-finding, roped-travel, and crevasse-rescue knowledge.
The National Park Service advises people planning travel over upper snow-and-ice portions of glaciers to carry appropriate equipment and know how to perform roped travel and crevasse rescue. See the NPS glacier and backcountry travel guidance.
Warning: Do not assume that putting on crampons makes an unfamiliar glacier safe to explore independently. Glacier ice moves and fractures, and snow can hide crevasses. If you do not have glacier-travel and rescue skills, use a qualified guide for on-ice travel beyond a clearly established low-risk visitor route.
Popular Glacier Hiking Trails in Alaska
Alaska offers several very different ways to experience glaciers. Some routes stay entirely on maintained ground, while others lead to glacier ice or require specialized access. Choosing the right one starts with understanding what type of experience each destination actually provides.
Must-See Glacier Trails
Exit Glacier in Kenai Fjords National Park is one of the easiest places to combine a road-accessible trail with close glacier scenery. The accessible Glacier View Loop is about one mile, while the Glacier Overlook Trail continues toward a higher viewpoint. These are glacier-viewing trails, not standard routes for walking onto Exit Glacier.
Harding Icefield Trail begins in the same Exit Glacier area but is a much harder hike. According to the National Park Service, it is a 7.8-mile round trip with roughly 1,000 feet of elevation gain per mile and normally requires at least 6–8 hours. The reward is a sweeping view across the Harding Icefield rather than a conventional glacier walk.
Root Glacier near Kennecott in Wrangell-St. Elias National Park and Preserve provides a more direct opportunity to reach glacier ice. Conditions changed in 2026 after unstable terrain affected the old access. On August 3, 2026, NPS announced a new reroute that reaches the glacier after approximately 2.5 miles one way. The new approach includes uneven terrain and a steep descent near the glacier, and traction devices are strongly recommended before stepping onto the ice. Check the current Root Glacier reroute information before going.
Matanuska Glacier is visible from the Glenn Highway area, but visitors should not confuse the nearby state recreation site with glacier access. Alaska State Parks states that there is no glacier access from Matanuska Glacier State Recreation Site. Travelers who want to walk on Matanuska Glacier should verify current access arrangements and guided-tour requirements before arrival.
Knik Glacier is better treated as a remote glacier destination than as one standardized hiking trail. Depending on the trip, visitors may experience the Knik River valley, distant glacier views, or reach the glacier through organized transportation or guided excursions. Do not plan around a generic “Knik Glacier Trail” time without confirming the exact route and access method.
Difficulty Levels Explained
| Destination | Typical Difficulty | What to Expect |
|---|---|---|
| Exit Glacier Trails | Easy to moderately strenuous | Maintained trails and glacier viewpoints; normal visitor routes do not require walking on glacier ice |
| Matanuska Glacier | Varies by guided experience | On-ice experiences depend on current private access, operator, route, and conditions |
| Harding Icefield Trail | Strenuous | 7.8-mile round trip; allow at least 6–8 hours; steep climbing, possible lingering snow, and icefield views |
| Root Glacier | Moderate approach; on-ice difficulty varies | Current 2026 reroute is about 2.5 miles one way to glacier access, followed by changing ice terrain |
| Knik Glacier | Access-dependent | Remote glacier destination reached through different routes and transportation methods rather than one standardized hiking trail |
For beginners, an Exit Glacier viewpoint or professionally guided introductory glacier walk is usually more appropriate than attempting technical ice travel. Experienced hikers should still separate normal trail experience from glacier-specific skills such as assessing crevasses, snow bridges, avalanche terrain, and ice conditions.
Best Seasons to Hike
Alaska’s hiking season changes by location, elevation, and glacier, but three broad periods can help with planning:
- Late spring and early summer: Longer daylight returns, but high routes can still hold substantial snow. On Harding Icefield Trail, snow and avalanche concerns can persist into July.
- Mid-summer: June through August is the most straightforward period for many road-accessible trails, visitor services, and guided experiences. Rain, wind, cold temperatures, and snow are still possible.
- Late summer and early fall: Trails may be quieter and autumn colors can appear in some areas, but daylight decreases and early storms can affect mountain travel.
Winter glacier trips are possible in some locations, but they should not be treated as ordinary summer hikes. Snow-covered routes can involve avalanche danger, difficult route-finding, hidden crevasses, and severe cold.
Safety Tips for Glacier Hiking
Glacier safety starts before you reach the trailhead. Check current conditions, know whether your route stays on a maintained trail or reaches glacier ice, and carry equipment appropriate to the terrain. Turning around because of weather, unstable terrain, unexpected snow, high water, or poor visibility is good decision-making.
Gear and Equipment Essentials
Three categories of equipment deserve special attention:
- Traction: Regular hiking footwear may be enough for dry maintained trails. Ice spikes, traction devices, or crampons may be needed when a route reaches glacier ice or firm snow. Use the equipment appropriate to the terrain rather than automatically choosing the most aggressive option.
- Weather protection: Carry insulating layers plus a waterproof shell even when the forecast looks mild. Gloves, a warm hat, sunglasses, sunscreen, food, and water can become important quickly when wind or precipitation arrives.
- Technical glacier equipment: Ropes, harnesses, helmets, ice axes, probes, and rescue equipment become relevant on more serious glacier terrain. These tools require training and should not be treated as simple hiking accessories.
Weather Awareness Strategies
Alaska mountain weather can shift quickly. Check the forecast and official trail conditions before leaving, then keep watching the sky, wind, temperature, precipitation, and visibility during your trip.
At Harding Icefield Trail, NPS advises hikers to prepare for storms, high winds, strong sunlight, and sudden temperature changes. Snow can remain on the upper route into summer. Pack enough clothing that an unexpected delay does not immediately become an emergency.
Do not depend entirely on a phone. Kenai Fjords National Park warns that there is no cell phone service or public Wi-Fi in the Exit Glacier area. Download maps before leaving and consider an appropriate satellite communication device for remote trips.
Group Safety Protocols
- Stay together: Establish a pace that keeps the group connected instead of letting large gaps develop.
- Share the route: Make sure someone outside the group knows your destination, planned route, vehicle location, and expected return.
- Discuss turnaround points: Decide in advance what weather, time, terrain, or fatigue conditions will make the group turn around.
- Keep emergency gear accessible: Navigation tools, extra layers, first aid, food, communication equipment, and bear deterrent are less useful if buried where they cannot be reached quickly.
- Follow the guide’s system: On a professionally guided glacier trip, follow instructions on spacing, crampon technique, ropes, restricted areas, and stopping points.
Glacier Travel Hazards to Understand
Glaciers are moving bodies of ice. Their surfaces can include open crevasses, hidden snow bridges, meltwater channels, steep ice, loose debris, and unstable margins. A safe-looking route can change as temperatures, meltwater, snowfall, and ice movement change.
The distinction becomes especially important on snow-covered glaciers because snow can hide cracks that would be obvious on bare ice. Technical glacier teams use route assessment, roped travel, rescue systems, and other methods because a person may not be able to identify every crevasse from the surface.
The most important piece of glacier equipment is not a crampon or ice axe. It is knowing whether the terrain requires glacier-specific skills you do not yet have.
Guided Tours vs. Independent Hiking
A guided trip is the better choice for many visitors who specifically want to walk on glacier ice. A qualified guide can choose a route for current conditions, provide or check specialized equipment, teach safe walking techniques, identify hazards, and manage the group around features that inexperienced visitors may not recognize.
Independent hiking makes more sense on established trails where glacier travel is not required, such as the maintained Exit Glacier trails or Harding Icefield Trail in normal summer conditions. Even those routes can become substantially more serious when snow, avalanche conditions, storms, or winter weather are present.
Root Glacier sits between these categories. NPS describes it as one of the park’s most accessible glaciers and recommends traction for the ice, while also recommending an experienced guide for glacier travel. Visitors choosing to explore independently should understand that accessibility does not eliminate glacier hazards.
Pro Tip: When comparing tours, look beyond trip length and price. Ask what terrain the trip enters, what equipment is provided, what physical ability is expected, how guides respond to changing conditions, and whether the itinerary changes when the glacier is unsafe.
Wildlife Encounters While Hiking
Glacier country is also wildlife habitat. Depending on the region and route, you may encounter bears, moose, mountain goats, birds, or other animals. Wildlife sightings should remain a bonus rather than something you approach or alter your route to pursue.
Common Wildlife Species
- Bald Eagles: Eagles are common in many parts of Alaska, particularly around rivers, lakes, and coastal areas.
- Mountain Goats: Mountain goats live in steep mountain terrain in parts of Alaska. Use binoculars or a long lens rather than moving closer for a photograph.
- Moose: Moose may occur near willow, wetland, and forest habitat and can become defensive if crowded, surprised, or accompanied by calves.
- Bears: Black and brown bears occur in many Alaska hiking areas. Both black and grizzly bears are present along the Root Glacier route, and Kenai Fjords also advises hikers to practice bear awareness.
Seals and sea otters are better associated with Alaska’s coastal waters and marine excursions than with many inland glacier trails. A Kenai Fjords boat trip from Seward can complement a glacier hike if marine wildlife is one of your priorities.
Safety Precautions Needed
Stay alert and avoid surprising wildlife. The Alaska Department of Fish and Game recommends making noise in bear country, especially where vegetation or terrain limits visibility, and traveling in groups when possible.
Carry bear spray where it is immediately accessible and know how to use it before you need it. Do not run from a bear, do not approach animals for photographs, do not feed wildlife, and never move between a mother and her young.
Moose also deserve substantial space. If one changes its behavior because of your presence, back away and give it an escape route rather than trying to pass closely.
Photography Tips for Capturing Glaciers
Glaciers can be difficult to photograph because bright ice, dark rock, clouds, water, and snow may all appear in the same frame. A few simple techniques can improve the result without encouraging unsafe positioning:
- Use changing light: Early and late daylight can create more visible texture than harsh midday light, but weather and safe travel times should take priority over photography.
- Add scale: Include a ridge, trail, distant person, vegetation, or moraine when appropriate to show the size of the ice.
- Watch exposure: Snow and bright ice can fool a camera’s meter. Review highlights so important ice texture is not completely washed out.
- Use a longer lens for distant features: You do not need to approach crevasses, wildlife, unstable ice, or glacier edges to make a close-looking photograph.
- Keep your footing first: Stop in a stable location before using your camera rather than walking while looking through a screen or viewfinder.
Nearby Attractions to Explore
A glacier hike can fit easily into a broader Alaska itinerary. Near Exit Glacier, spend time in Seward, where restaurants, shops, harbor activity, and lodging make a convenient base for Kenai Fjords National Park.
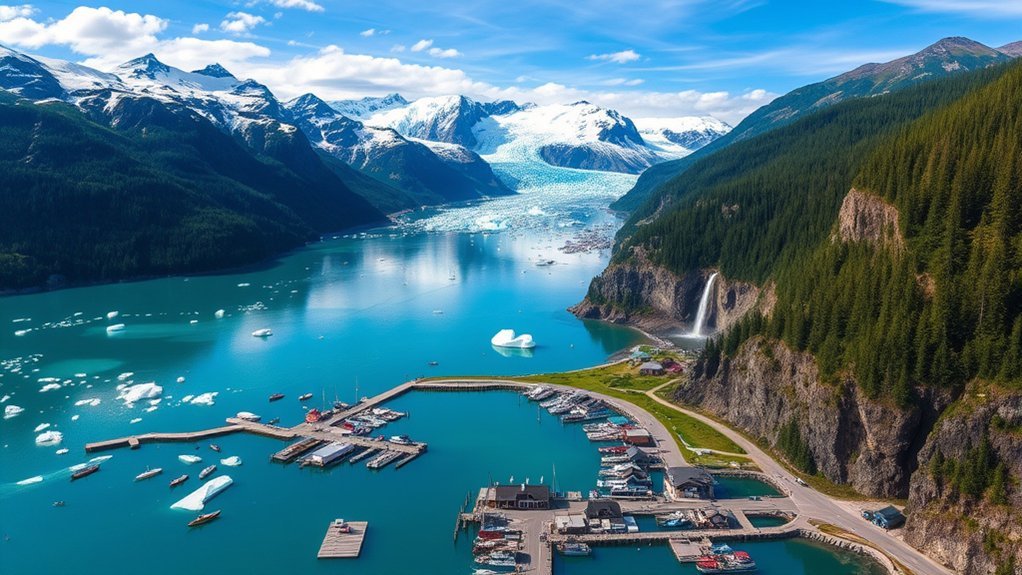
A boat trip through Kenai Fjords National Park provides a very different glacier experience from hiking. Instead of walking through forest, moraine, and alpine terrain, you can see coastal scenery, marine wildlife, and tidewater glaciers from the water.
If you want an easy land-based outing, explore the Exit Glacier viewing trails. If you are prepared for a strenuous full-day hike, the Harding Icefield Trail climbs above the valley for expansive views across the icefield.
Farther north, a Matanuska Glacier trip can be combined with the Glenn Highway corridor, while Root Glacier pairs naturally with Kennecott and McCarthy in Wrangell-St. Elias National Park and Preserve.
Environmental Considerations and Leave No Trace
Glacier landscapes may look rugged, but surrounding alpine vegetation and recently exposed terrain can be surprisingly fragile. Reduce your impact by following posted routes and land-manager instructions.
- Stay on designated trails where required: Cutting switchbacks accelerates erosion and can crush fragile vegetation.
- Pack out your waste: Carry out food scraps, wrappers, used hygiene products, and other trash.
- Respect closures: A closed route can reflect rockfall, landslide, wildlife, flooding, or other hazards that are not obvious from a distance.
- Respect wildlife: Observe animals without approaching, feeding, surrounding, or blocking them.
- Leave natural objects in place: Avoid building rock piles, carving surfaces, or removing objects from protected lands.
On Harding Icefield Trail, NPS specifically asks hikers to stay on the trail because alpine vegetation is fragile and shortcutting contributes to erosion. On Root Glacier, visitors should follow the current reroute and stay out of the old closed landslide-hazard area.
Personal Experiences and Stories From Hikers
The most memorable part of glacier hiking is often the contrast between the landscape’s scale and its small details. From a trail you may see bands of rock carried by ice, newly exposed terrain, waterfalls, braided meltwater streams, or the distant surface of an icefield. On a guided glacier walk, you may notice surface channels, fractured ice, changing textures, and areas where debris covers what initially looks like ordinary ground.
The experience also changes dramatically between destinations. A short Exit Glacier walk can be accessible to visitors who do not want a full-day hike. Harding Icefield Trail adds steep climbing and a broad aerial perspective. Root Glacier can put you directly beside or on glacier ice when current conditions allow. A marine trip from Seward offers an entirely different view, with coastal glaciers and wildlife seen from a boat.
Rather than expecting a particular wildlife sighting, blue-ice formation, or dramatic ice event, treat those moments as unpredictable. Build the trip around a safe route and appropriate difficulty level, then let the changing landscape provide the surprises.
Sources
- National Park Service: Exit Glacier Area — maintained trails, road access, visitor facilities, pet restrictions, and seasonal planning.
- National Park Service: Harding Icefield Trail — distance, hiking time, elevation, snow, avalanche, weather, and bear-country guidance.
- National Park Service: 2026 Root Glacier Access Reroute — current access route, landslide closure, terrain, and traction guidance.
- National Park Service: Traveling in Trail-less Wilderness — technical glacier equipment, roped travel, and crevasse-rescue preparation.
- Alaska State Parks: Matanuska Glacier State Recreation Site — confirms that the state recreation site does not provide glacier access.
- Alaska Department of Fish and Game: Alaska Bear Country — bear-awareness and group-travel safety guidance.
Frequently Asked Questions
What permits are required for glacier hiking in Alaska?
There is no universal Alaska glacier-hiking permit. For example, Kenai Fjords National Park does not charge an entrance fee for ordinary visits, and Wrangell-St. Elias is also fee-free. However, private glacier access, guided tours, cabins, commercial activities, overnight trips, and certain special uses may have separate fees, reservations, or permits. Check the exact park, landowner, or operator before your trip.
Are there age restrictions for glacier hiking tours?
Age restrictions are set by individual tour operators and can vary according to the route, season, equipment, and difficulty. Do not assume that every glacier tour has a minimum age of 12 or 14. Check the specific trip’s current participant requirements before booking for children or teenagers.
Can I bring my dog on glacier hikes?
It depends on the location. Pets are not allowed on the Exit Glacier or Harding Icefield trails in Kenai Fjords National Park. Wrangell-St. Elias allows dogs on trails and in the backcountry but requires them to be physically restrained according to park rules. Private glacier-access operators may have different policies, so check before bringing a pet.
What should I do in case of an emergency while hiking?
First protect yourself and the group from immediate hazards, provide first aid within your training, and contact emergency services or park staff when communication is available. Do not rely on cell coverage in remote Alaska. Kenai Fjords, for example, has no cell service in the Exit Glacier area. Carry offline navigation and consider a satellite communication device for remote trips, and always leave your route and return time with someone before departure.
How do weather conditions affect glacier hiking plans?
Rain, snow, wind, low clouds, temperature changes, avalanche conditions, stream levels, and visibility can all alter a glacier trip. Snow can also hide hazards on glacier ice. Check current conditions immediately before leaving and be prepared to shorten, change, or cancel the route if conditions deteriorate.
Do I need a guide to walk on a glacier in Alaska?
A guide is strongly recommended for inexperienced visitors who want to travel on glacier ice. Accessible ice can still contain crevasses, slippery slopes, meltwater, unstable margins, and rapidly changing routes. Independent technical glacier travel requires skills that go well beyond ordinary hiking, including hazard assessment and, on appropriate terrain, roped travel and crevasse rescue.
Is hiking to Exit Glacier the same as hiking on a glacier?
No. The maintained trails in the Exit Glacier area lead through the landscape to views of Exit Glacier. They provide an excellent glacier experience without requiring ordinary visitors to walk across the glacier itself. Actual on-ice glacier travel requires a different level of access, equipment, judgment, and sometimes technical skill.