How to Grow Yukon Gold Potatoes
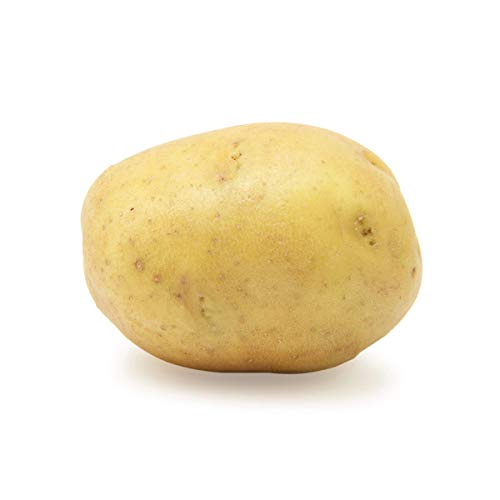
You can grow Yukon Gold potatoes at home if you give them loose soil, steady moisture, and enough sun. This yellow-fleshed potato has a buttery taste, a creamy texture, and thin skin, so it works well for mashing, roasting, boiling, and baking. In this guide, you’ll learn how to choose a planting site, prepare the soil, plant seed potatoes, care for the crop, handle common problems, and store your harvest.
What’s in This Article
- Selecting the Right Location for Planting
- Preparing the Soil for Planting
- Planting Yukon Gold Potatoes
- Watering and Fertilizing
- Managing Pests and Diseases
- Hilling and Mulching
- Harvesting Yukon Gold Potatoes
- Curing and Storing Potatoes
- Tips for Success
- Troubleshooting Common Issues
- Frequently Asked Questions
Quick Answer
Plant Yukon Gold potatoes in early spring after the soil reaches about 45°F (7°C). Choose a sunny, well-drained spot, plant seed pieces 3 to 4 inches deep and 12 inches apart, then hill the plants as they grow. Keep the soil evenly moist, watch for pests, and harvest mature potatoes about 70 to 90 days after planting.
Key Takeaways
- Choose a sunny planting site with loose, well-drained soil.
- Prepare the bed with compost and keep the soil pH near 5.8 to 6.5.
- Plant seed pieces in early spring when the soil has warmed enough.
- Water evenly and avoid excess nitrogen, which can reduce tuber growth.
- Hill plants often so tubers stay covered and protected from sunlight.
Yukon Gold potatoes also bring useful nutrients to your meals. They provide vitamin C, vitamin B6, potassium, and dietary fiber. Their yellow flesh comes from natural plant pigments called carotenoids, which add color and nutritional value.
Selecting the Right Location for Planting
Choose a spot that gets at least six to eight hours of direct sun each day. Strong sunlight helps the plants grow well and helps the tubers develop good flavor and texture.
Pick an area with good air flow, too. Better air movement helps leaves dry faster after rain, which can lower the risk of fungal disease.
Yukon Gold potatoes need soil that drains well. Wet, soggy soil can cause seed pieces and young tubers to rot. If your garden has heavy clay soil, mix in compost or aged manure before planting.
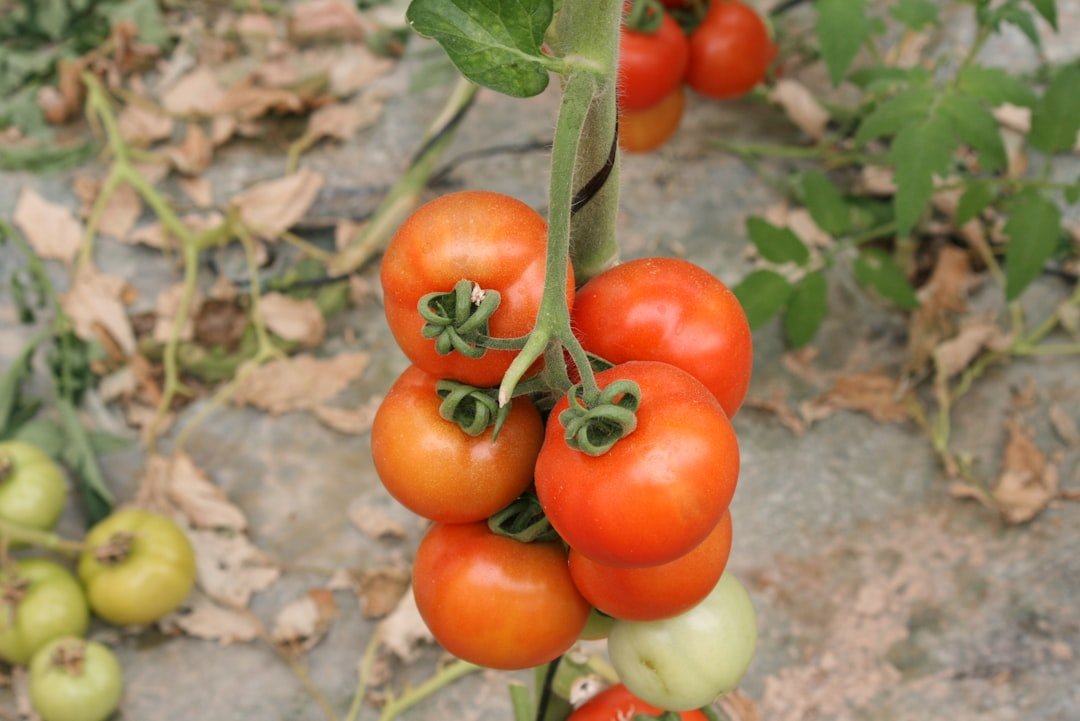
Avoid planting potatoes where you recently grew tomatoes, peppers, eggplants, or other potatoes. These crops belong to the nightshade family, and they can share soil-borne diseases. Use a three-year crop rotation when you can.
Preparing the Soil for Planting
Prepare the soil before you plant so the roots and tubers can spread with less stress. Start by testing the soil pH. Potatoes usually grow best in slightly acidic soil, about 5.8 to 6.5.
Clear the planting bed of weeds, rocks, and old roots. Then loosen the soil 8 to 12 inches deep. Loose soil helps tubers form with fewer odd shapes.
Mix compost into the bed as you loosen the soil. Compost improves soil structure, adds slow-release nutrients, and helps the soil hold steady moisture without staying waterlogged.
If your soil drains poorly, make raised beds or raised rows. Raised planting areas warm faster in spring and help extra water move away from the tubers.
Planting Yukon Gold Potatoes
| Week | Temperature (°C) | Rainfall (mm) | Growth (cm) |
|---|---|---|---|
| 1 | 15 | 10 | 2 |
| 2 | 18 | 15 | 4 |
| 3 | 20 | 20 | 6 |
| 4 | 22 | 25 | 8 |
Plant Yukon Gold potatoes in early spring once the soil reaches about 45°F (7°C). In many climates, this falls between late March and early May. Your exact timing depends on your local frost dates and soil conditions.
Use certified disease-free seed potatoes when possible. Cut large seed potatoes into pieces, and make sure each piece has at least one or two eyes. Let the cut pieces sit for one or two days before planting so the cut surfaces can dry.
Plant the seed pieces 3 to 4 inches deep, with the cut side facing down. Space them about 12 inches apart in rows about 30 inches apart. Cover them with soil, then firm the soil gently so the pieces have good contact with the bed.
Pro tip: Label each row with the planting date so you can track harvest timing more easily.
Products Worth Considering

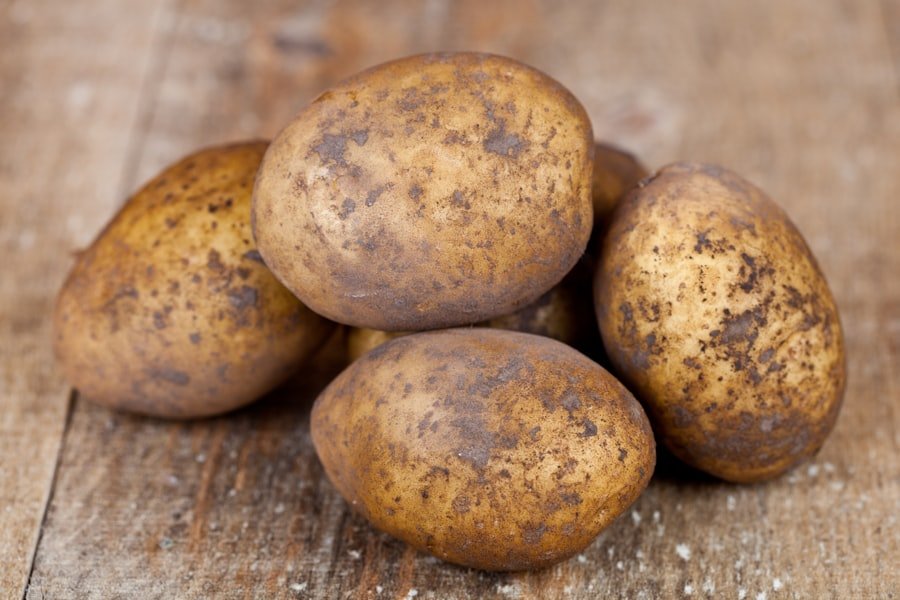
Average Harvesting of 5-10lbs For Every Pound You Plant

One 5 pound bag of Gold Potatoes
Selected and stored fresh

Watering and Fertilizing
Proper watering and fertilizing help Yukon Gold potatoes form smooth, full tubers. Keep the soil evenly moist after planting, but don’t let it stay soaked.
Water deeply rather than giving the plants light daily sprinkles. Deep watering encourages stronger roots and steadier tuber growth. Mulch can help you hold moisture during dry weather.
Use fertilizer with care. Too much nitrogen can grow lush leaves but reduce tuber production. A balanced fertilizer at planting often works well when your soil test shows normal nutrient levels.
When the plants reach about 6 inches tall, you can side-dress with more fertilizer if growth looks weak. Keep fertilizer a few inches away from the stems, then water it into the soil.
Products Worth Considering

Supports Root Development & Yield – Helps encourage strong roots and productive harvests.

GROW FRESH VEGETABLES: Yukon Gold Seed Potatos to Grow. Yukon Taters are easy to grow and boast huge yield of tasty vegetables.

Managing Pests and Diseases
Watch your potato plants often so you can catch pest problems early. Common pests include aphids, Colorado potato beetles, flea beetles, and wireworms. Small gardens often respond well to handpicking beetles and removing egg clusters from leaf undersides.
For larger pest problems, use the least harmful control that works. Neem oil or insecticidal soap may help with some soft-bodied pests when you apply them correctly. Always follow the product label.
Potatoes can also suffer from early blight, late blight, scab, and rot. You can lower disease risk by rotating crops, using clean seed potatoes, spacing plants well, and avoiding wet leaves when you water.
Warning: Remove badly diseased leaves or plants quickly so problems don’t spread through the bed.
Products Worth Considering
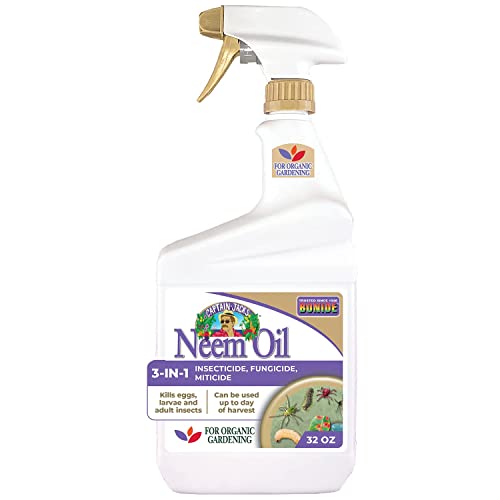
MULTI-PURPOSE BUG KILLER - Bonide Neem Oil is a perfect pest control solution for any garden dealing with mites, flies, mildew, and more. This product is a three-in-one fungicide, miticide, and insecticide.

Protect your oasis with 3 garden products in 1 from Captain Jack’s; Captain Jack’s Ready-to-Use Neem Oil spray for plants is a multi-purpose fungicide, insecticide and miticide for your lawn and garden

FOR ORGANIC GARDENING - Captain Jack's NeemMax is a perfect pest control solution for any garden dealing with mites, flies, mildew, and more. This product is a four-in-one insecticide, fungicide, miticide, and nematicide.
Hilling and Mulching
Hill your potatoes when the plants reach about 6 inches tall. Pull loose soil around the base of each plant, leaving the top leaves exposed. Repeat this every few weeks as the plants grow.
Hilling gives the stems more covered space where tubers can form. It also keeps developing potatoes away from sunlight. Sunlight can turn exposed tubers green and bitter.
Mulch helps your hilled rows stay moist and cooler. Straw, shredded leaves, or untreated grass clippings can work well. Keep mulch loose so air can still reach the soil.
Harvesting Yukon Gold Potatoes
Yukon Gold potatoes usually reach maturity about 70 to 90 days after planting. You can harvest small new potatoes earlier, often a few weeks after the plants flower. For full-size storage potatoes, wait until the foliage yellows and begins to die back.
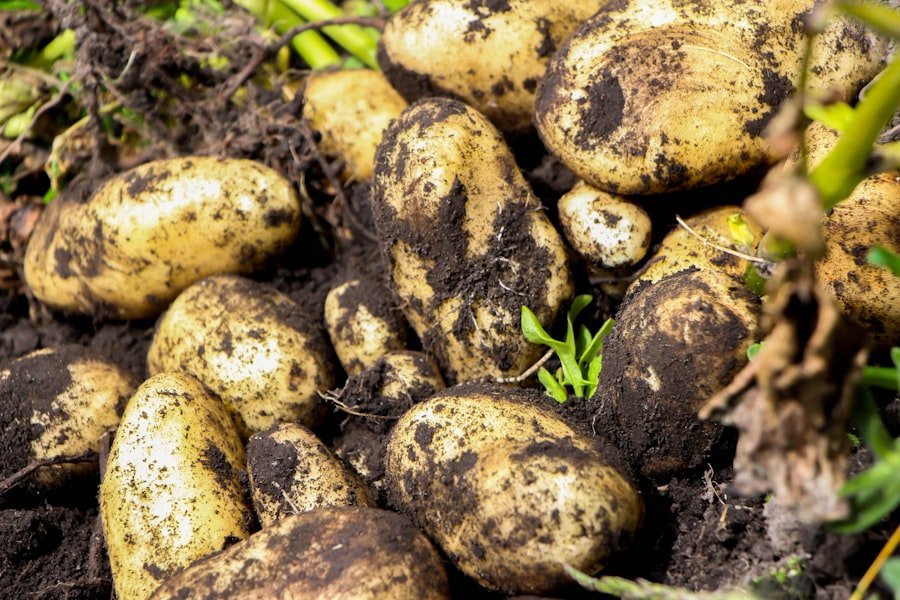
Use a garden fork or spade to lift the tubers carefully. Start digging several inches away from the plant so you don’t spear the potatoes. Work inward and lift the soil slowly.
After harvest, brush off loose soil, but don’t wash potatoes you plan to store. Let them dry on the soil surface for a few hours if the weather stays dry and mild. Move them out of direct sun before they overheat or green.
Curing and Storing Potatoes
Cure mature Yukon Gold potatoes before long-term storage. Place the tubers in a dark, well-ventilated area at about 50°F (10°C) for about two weeks. Curing helps small cuts heal and helps the skin toughen.
After curing, store potatoes in a cool, dark, ventilated place. A temperature range near 35°F to 40°F (1°C to 4°C) can help slow sprouting. Don’t store potatoes in plastic bags because trapped moisture can lead to decay.
Use burlap sacks, paper bags, crates, or cardboard boxes with air holes. Check stored potatoes often, and remove any soft, moldy, or sprouting tubers. One spoiled potato can affect nearby potatoes if you leave it in storage.
Note: Keep potatoes away from apples and other fruit that release ethylene gas, which can speed sprouting.
Tips for Success
A few steady habits can improve your Yukon Gold potato harvest. Focus on soil, water, spacing, and timing. These basics matter more than complicated tricks.
Use these simple practices through the season:
- Keep soil evenly moist during tuber formation.
- Hill plants before tubers reach the soil surface.
- Pull weeds early so they don’t compete for nutrients.
- Rotate potatoes away from other nightshade crops.
- Keep notes on planting dates, weather, pests, and harvest size.
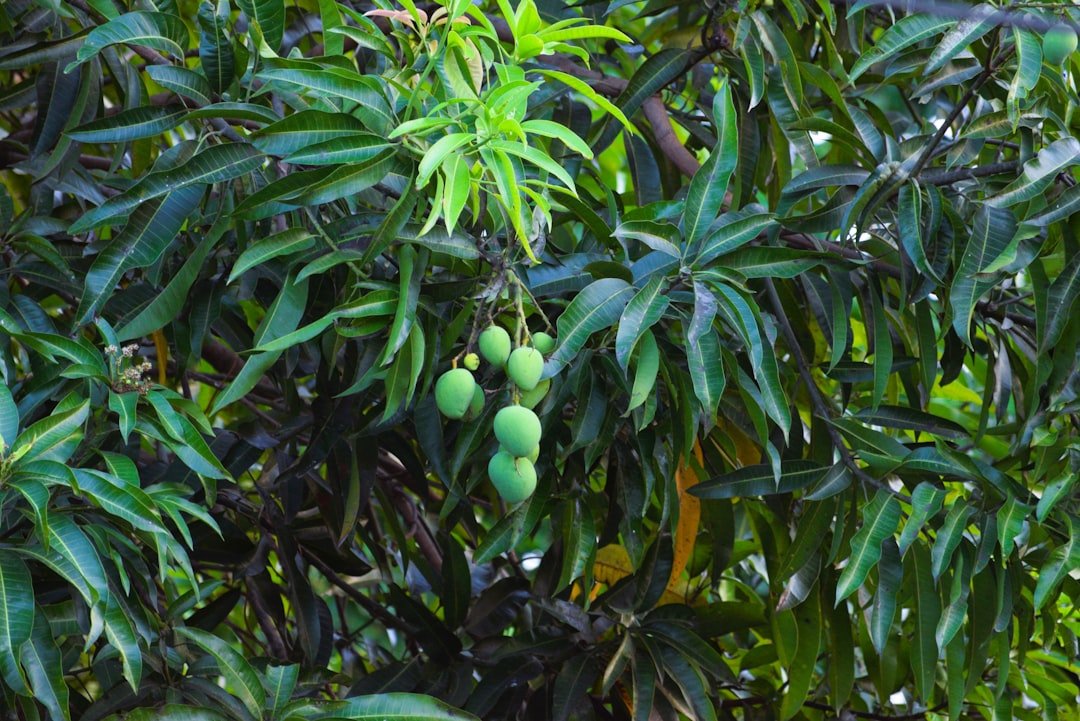
You can also use companion planting to support garden health. Marigolds may help attract beneficial insects and add diversity near the potato bed. Keep companion plants far enough away so they don’t shade your potato rows.
Troubleshooting Common Issues
If your plants grow many leaves but few potatoes, check your fertilizer first. Too much nitrogen often pushes leafy growth instead of tuber growth. Use a soil test before adding more fertilizer.
Small or misshapen tubers often point to uneven watering, compacted soil, or heat stress. Keep moisture steady and mulch the rows during hot spells. Loose soil also helps tubers expand more evenly.
Green potatoes mean light reached the tubers during growth or storage. Do not eat green parts because they can contain higher levels of solanine, a natural toxin. Hill plants well and store harvested potatoes in darkness.
Scabby patches on potatoes often link to dry soil or alkaline soil. Keep moisture steady during tuber formation and avoid raising soil pH too high. If scab becomes a repeat issue, rotate the planting area for several years.
Frequently Asked Questions
What are Yukon Gold potatoes?
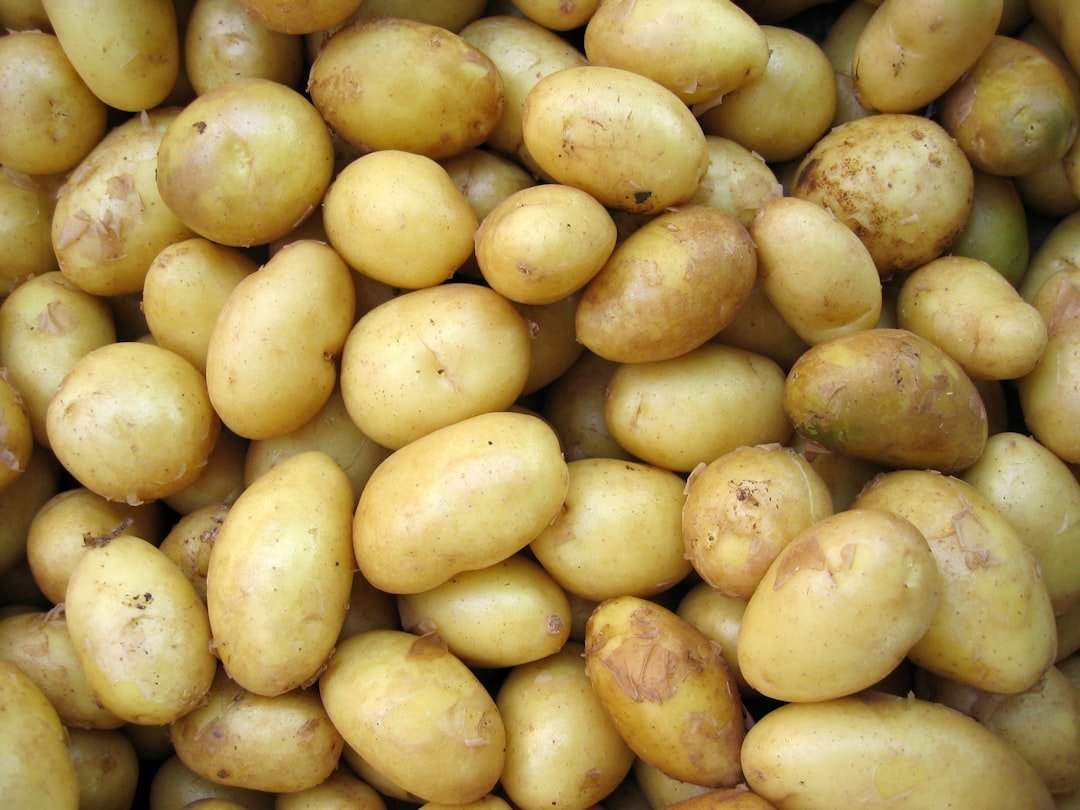
Yukon Gold potatoes are yellow-fleshed potatoes with thin, smooth skin. You can use them for mashed potatoes, roasted potatoes, soups, gratins, and boiled dishes because they have a creamy texture and mild buttery flavor.
How do you plant Yukon Gold potatoes?
Cut large seed potatoes into pieces with at least one or two eyes each. Plant the pieces in well-draining soil, about 3 to 4 inches deep and 12 inches apart, then keep the soil evenly moist.
When is the best time to plant Yukon Gold potatoes?
Plant Yukon Gold potatoes in early spring after the soil warms to about 45°F (7°C). In many areas, this happens from late March to early May, but your local frost date should guide your timing.
How long does it take to grow Yukon Gold potatoes?
Yukon Gold potatoes usually take about 70 to 90 days to mature. You can harvest smaller new potatoes earlier if you prefer tender skins and a smaller size.
How do you harvest Yukon Gold potatoes?
Wait until the plants flower and the foliage starts to yellow for mature potatoes. Dig gently around the plants with a fork or spade, lift the tubers, brush off loose soil, and let them dry before curing.
What pests and diseases affect Yukon Gold potatoes?
Common pests include Colorado potato beetles, aphids, flea beetles, and wireworms. Common diseases include early blight, late blight, potato scab, and rot, so use crop rotation, clean seed potatoes, and good spacing.
Final Thoughts
Yukon Gold potatoes reward you when you start with good soil and keep the plants covered, watered, and watched. Begin with certified seed potatoes, plant them at the right soil temperature, and hill the rows before tubers reach sunlight. Check your plants often so you can fix pest, disease, or water problems early. With steady care, you’ll have a creamy, golden harvest ready for your kitchen.
References
- Soil pH Modification — University of Minnesota Extension