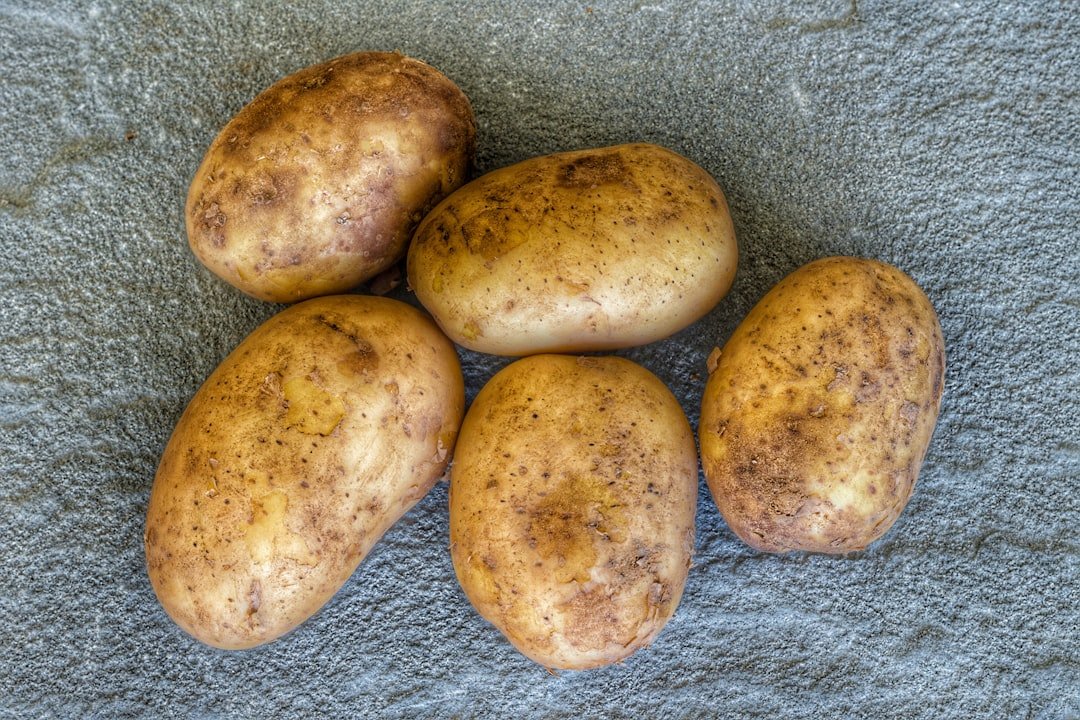
Potatoes can grow well in Southern California, but the best planting date depends on whether you garden near the coast, in a warmer inland valley, or in the low desert. The goal is to give plants cool soil for sprouting and tuber formation while avoiding prolonged summer heat. This guide covers planting windows, seed preparation, soil, watering, pests, harvesting, and storage.
Quick Answer
Plant potatoes during the coolest workable part of your local Southern California season. Coastal areas often plant from February through May, with a possible second crop from June through August. Inland valleys usually favor February through March and August, while desert valleys generally plant from December through February.
Key Takeaways
- Use your local climate zone instead of relying on one planting date for all of Southern California.
- Plant certified disease-free seed potatoes when the soil is at least 45°F and drains well.
- Choose loose soil with a pH near 6.0-6.5, full sun, and steady moisture.
- Hill soil around growing stems so developing tubers stay covered and do not turn green.
- Harvest new potatoes in about 7-8 weeks or wait until the vines die back for mature storage potatoes.
At a Glance
| Time Required | About 30-60 minutes to prepare and plant; roughly 70-120 days to harvest, depending on the variety and weather |
| Difficulty | Easy to moderate |
| Tools Needed | Garden fork or trowel, clean knife, watering system, mulch, and a soil thermometer if available |
| Cost | Varies with seed potatoes, compost, fertilizer, and whether you need a container or grow bag |
What’s in This Article
- Best Time to Plant Potatoes in Southern California
- Choosing the Right Potato Varieties for Southern California
- Preparing the Soil for Planting Potatoes
- Preparing Seed Potatoes
- How to Plant Potatoes Step by Step
- Sunlight and Temperature for Potato Growth
- Raised Beds and Containers
- Watering and Fertilizing
- Pests and Diseases
- Harvesting Potatoes
- Storing and Using Potatoes
- Troubleshooting
- Frequently Asked Questions
Southern California has a Mediterranean climate with mild, wetter winters and warm, dry summers, but conditions vary sharply between the coast, inland valleys, foothills, and desert areas. Low humidity and strong sun can reduce leaf wetness, yet they also dry beds and containers quickly. Potatoes need even moisture, especially when tubers begin to enlarge.
Soil also varies across the region. Some gardens have sandy loam, while others have compact clay or fill soil. Potatoes produce the cleanest, best-shaped tubers in loose soil that drains well but still holds enough moisture for steady growth.
Best Time to Plant Potatoes in Southern California
The University of California Statewide IPM Program publishes approximate potato planting windows for California. Use these dates as a starting point, then adjust for your neighborhood’s frost risk, marine influence, and summer heat.
| Southern California Area | Approximate Planting Window | Practical Notes |
|---|---|---|
| South Coast and mild coastal areas | February-May; a possible second planting from June-August | The later window works best where marine influence limits extreme heat. Use mulch and reliable irrigation. |
| Warm inland valleys | February-March; another planting around August | Choose early varieties for spring so tubers form before sustained heat. Protect an August planting from hot afternoon sun while it establishes. |
| Low desert areas, including Imperial and Coachella valleys | December-February | Treat potatoes as a cool-season crop and avoid late planting that pushes tuber development into desert heat. |
Fine-tune the calendar with soil temperature. Plant when the soil is at least 45°F, workable, and not waterlogged. Cool soil supports sprouting, but prolonged cold and wet conditions can encourage seed-piece decay. At the other extreme, soil temperatures above about 80°F inhibit tuber development, which is why timing matters so much in inland and desert gardens.
The best planting date is the one that gives your potatoes a long stretch of cool-to-mild weather before sustained soil heat arrives.
Warning: Do not rely on the calendar alone. A late heat wave can stop tuber growth even when the leaves still look healthy, while cold, saturated soil can rot seed pieces before they emerge.
Choosing the Right Potato Varieties for Southern California
Early and mid-season potatoes are often the safest choices in warm areas because they can mature before intense heat slows tuber development. UC IPM lists Norgold Russet, Red La Soda, Kennebec, and White Rose among common varieties grown in California. Yukon Gold, Red Pontiac, fingerlings, and colorful types such as Purple Majesty or All Blue may also perform well when you provide cool soil and steady water.
Match the variety to your climate and kitchen:
- Early harvest: Yukon Gold and many red varieties are useful where the cool season is short.
- All-purpose use: Kennebec works well for boiling, roasting, frying, and storage.
- Baking and fries: Russet types have a dry, fluffy texture, but long-season cultivars such as Russet Burbank need a longer period of mild weather and may struggle in very warm gardens.
- Salads and roasting: Red-skinned, fingerling, and many yellow-fleshed potatoes hold their shape well.
- Longer harvest window: Plant one early variety and one mid-season variety rather than planting only one type.
Availability changes by nursery and season, so buy from a reputable seed supplier and compare the stated days to maturity. In hot inland locations, favor the shortest reliable maturity period.
Preparing the Soil for Planting Potatoes
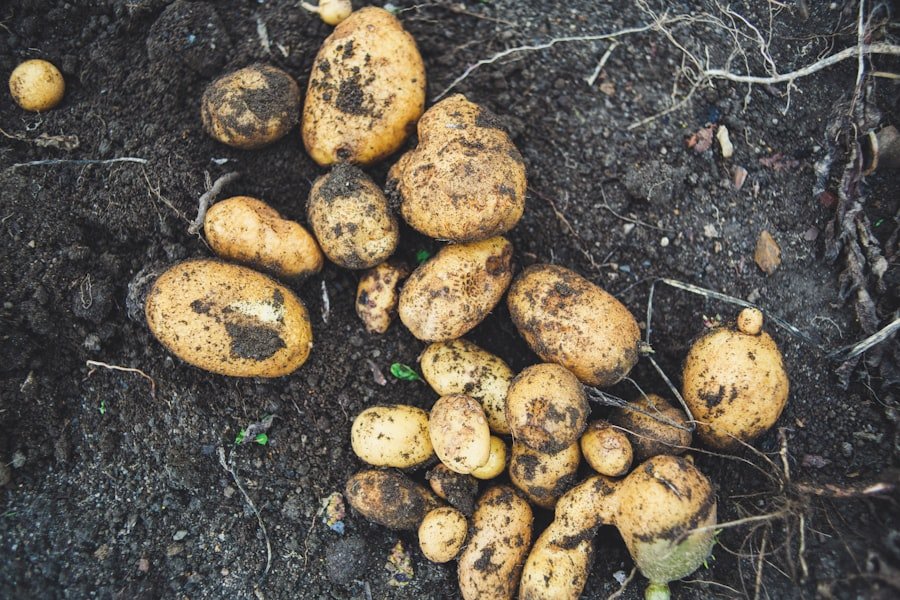
Soil preparation plays a major role in potato health and yield. Potatoes grow best in loose, well-drained soil that contains organic matter. According to the University of Minnesota Extension, an ideal pH is about 6.0-6.5, although potatoes tolerate somewhat more acidic soil.
Test the soil before adding fertilizer or lime. A soil test helps you avoid pushing the pH too high or adding nutrients you do not need. Mix finished compost, aged manure, or leaf mold into the planting area before planting. Organic matter helps sandy soil hold moisture and improves the structure of heavy soil.
Loosen the bed about 10-12 inches deep when possible. Break large clods, remove stones, and make sure water can drain away. If your soil stays wet or compacts easily, use a raised bed rather than trying to grow directly in dense clay.
Note: Use finished compost or well-aged manure. Fresh or poorly composted manure can damage young roots, create uneven fertility, and make moisture management harder.
Preparing Seed Potatoes
Start with certified disease-free seed potatoes instead of grocery-store potatoes. Food potatoes may carry diseases without visible symptoms, and some are treated to delay sprouting. Introducing infected tubers can create soil problems that also affect tomatoes, peppers, and eggplants.
- Inspect the seed potatoes. Use firm tubers without soft rot, mold, or badly shriveled areas.
- Plant small seed potatoes whole. Small tubers do not need to be cut.
- Cut larger tubers into pieces. Aim for pieces about 1.5-2 ounces, with at least one healthy eye on each piece.
- Use a clean knife. Clean the blade before and during cutting to reduce disease spread.
- Let cut surfaces dry. Place pieces in a shaded, airy room for 1-3 days so the cut face can form a protective callus.
Optional pre-sprouting, often called chitting or green sprouting, can help seed potatoes start sooner. Keep sprouts short and sturdy, and handle them gently during planting so they do not break.
How to Plant Potatoes Step by Step
- Choose a sunny site. Give plants at least 6-8 hours of direct sunlight each day.
- Check the soil. Wait until it is at least 45°F, crumbly, and not saturated.
- Make shallow furrows. Dig furrows about 3-4 inches deep.
- Set the seed pieces. Place them cut side down and eyes up, about 8-12 inches apart. Use wider spacing for fewer, larger potatoes.
- Cover the pieces. Fill the furrow to ground level with loose soil or compost-amended soil.
- Water evenly. Moisten the root zone without leaving it soggy.
- Hill the plants. When stems are about 8-12 inches tall, mound soil around them while leaving the top 4-6 inches of foliage exposed.
- Repeat hilling. Add more soil once or twice as the plants grow, building roughly 6-8 inches of total soil cover around the stems.
- Add mulch. After hilling, apply clean straw or another loose mulch to slow water loss and keep the upper soil cooler.
Pro Tip: Mark the outside edge of each planted row. When harvest time arrives, begin digging outside the marked line and work inward to reduce fork or shovel damage.
The Importance of Sunlight and Temperature for Potato Growth
| Factor | Best Target | What Happens Outside the Target |
|---|---|---|
| Sunlight | At least 6-8 hours of direct sun | Too little light can produce weak stems, slow growth, and smaller tubers. |
| Planting soil temperature | At least 45°F in workable soil | Cold, wet soil can delay emergence and increase seed-piece decay. |
| Tuber-forming conditions | Cool to mild soil, often around 60-70°F | Sustained heat reduces tuber set and size. |
| High-heat limit | Keep soil below about 80°F when tubers are developing | The University of Maryland Extension notes that soil above 80°F inhibits tuber development. |
In mild coastal areas, potatoes may receive enough sun without severe soil heating. In hotter inland gardens, early planting, light-colored mulch, and afternoon protection during an unusual heat wave can help. Do not place potatoes in deep shade, since the plants still need strong light to build energy for tubers.
Tips for Planting Potatoes in Raised Beds or Containers
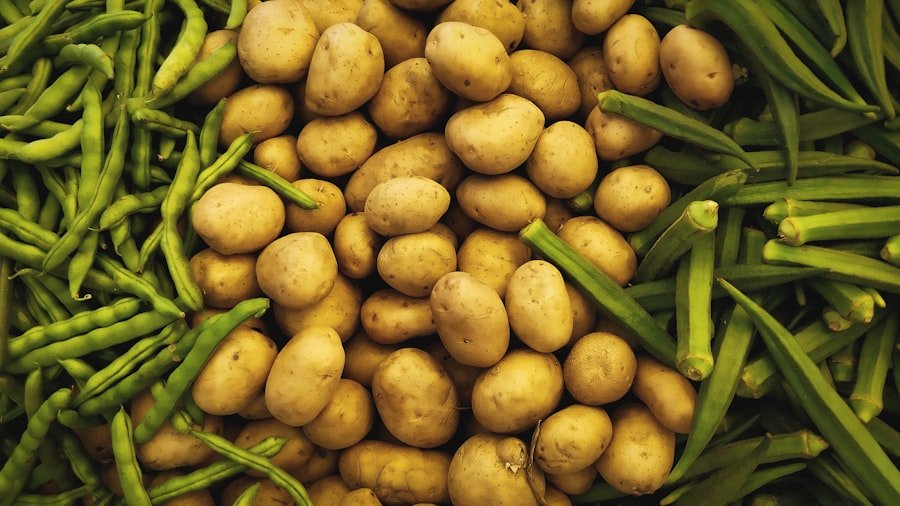
Raised beds and containers work well for potatoes because they improve drainage and make harvest easier. For raised beds, provide at least 12 inches of loose soil depth and enough width for hilling.
For containers, choose an opaque pot or grow bag with several drainage holes. The University of New Hampshire Extension recommends about 5 gallons of soil volume per plant. A 10-15 gallon container can usually support two or three well-spaced plants.
Use a quality potting mix blended with finished compost rather than heavy garden soil. Garden soil can compact in a container, leaving the upper layer dry while the bottom stays wet. Start with enough mix to cover the seed potatoes, then add more as stems grow while leaving several inches of foliage exposed.
Containers dry faster than in-ground beds. Check them often and water when the top 1-2 inches of mix feels dry. Apply enough water for a small amount to drain from the bottom, then empty any saucer that holds standing water.
Pro Tip: Mulch the top of a grow bag or raised bed after the plants emerge. Mulch slows evaporation, limits soil-temperature swings, and helps keep shallow tubers covered.
Watering and Fertilizing Potatoes in Southern California
Potatoes need steady moisture, but they do not tolerate soggy soil. A useful starting point is about 1 inch of water per week from rain and irrigation, followed by adjustments for soil type, plant size, wind, containers, and heat. Sandy soil and grow bags may need more frequent watering, while clay beds need longer drying time between irrigations.
Drip irrigation works well because it delivers water to the root zone and keeps leaves drier. Water deeply enough to moisten the active root zone, then check the soil rather than following a fixed daily schedule. During tuber enlargement, alternating dry and wet conditions can cause rough, knobby, cracked, or misshapen potatoes.
Mix compost into the bed before planting and use a soil test to guide fertilizer. Potatoes have a relatively high nutrient demand, but too much nitrogen can create large leafy plants with fewer tubers. If fertilizer is needed, apply it according to the product label and soil-test recommendations. Side-dress beside the row rather than placing concentrated fertilizer against stems or seed pieces.
Note: Do not use a lawn “weed and feed” product in a vegetable bed. The herbicide component can injure or kill potatoes and other garden plants.
Protecting Potatoes from Pests and Diseases in Southern California
Check both sides of the leaves at least once a week. California potato pests can include aphids, flea beetles, cutworms, whiteflies, wireworms, potato psyllids, and potato tuberworm. Colorado potato beetles may occur in some gardens, but UC IPM places special emphasis on tuberworm and psyllids in California.
The UC IPM potato guide also lists common scab, seed-piece decay, bacterial soft rot and blackleg, early blight, late blight, powdery mildew, viruses, and Verticillium wilt.
Use integrated pest management instead of treating every spot with a pesticide:
- Plant certified disease-free seed potatoes.
- Rotate potatoes away from tomatoes, peppers, eggplants, tomatillos, and previous potato beds for three to four years when space allows.
- Remove volunteer potato plants and old nightshade-family debris.
- Keep tubers covered because exposed or cracked soil can make them easier for tuberworm larvae to reach.
- Water at soil level and avoid wetting leaves late in the day.
- Space plants well enough for air movement.
- Handpick visible pests and remove badly infected plants when practical.
- Before using any pesticide, identify the pest correctly and follow the California label exactly.
Note: Potatoes belong to the nightshade family. Tomatoes, peppers, eggplants, tomatillos, and potatoes can share several soil-borne diseases and pests.
Harvesting Potatoes in Southern California
Harvest timing depends on the variety, planting date, and temperature. Many potatoes mature in about 90-120 days, although some early types can finish sooner.
Harvesting New Potatoes
You can begin checking for small new potatoes about 7-8 weeks after planting, often around flowering. Gently dig beside the plant and remove only the tubers you need. New potatoes have thin skins and should be used soon because they do not store as well as mature potatoes.
Harvesting Mature Potatoes
For storage potatoes, wait until the foliage yellows, dries, and dies back. Reduce irrigation after vine decline, especially if the soil remains damp. Before digging the full crop, test one plant. If the skins rub off easily with a thumb, wait several more days so the skins can set.
Use a garden fork and begin well outside the plant crown. Loosen the soil, lift gently, and avoid spearing or bruising the tubers. Keep harvested potatoes out of direct sunlight.
Storing and Using Potatoes from the Southern California Garden
Brush off loose soil, but do not wash potatoes before storage. Separate damaged, cut, soft, or diseased tubers and use them first. Mature potatoes store best after curing for about two weeks in a dark, well-ventilated area near 50-60°F with high humidity. Curing helps small cuts heal and allows the skin to toughen.
After curing, move the potatoes to a cool, dark, humid, well-ventilated place. For typical home use, about 45-50°F is a practical target. Temperatures that are too warm encourage sprouting and shriveling, while very cold storage can convert starch to sugar and change browning during frying.
Do not store potatoes in sunlight or beside apples and other ripening fruit. Check the crop regularly and remove any tuber that begins to rot.
Warning: Light-exposed potatoes may turn green and develop higher glycoalkaloid levels. The USDA food-safety guidance advises removing green skin, sprouts, and green flesh. Discard a potato that is extensively green, very bitter, soft, or badly sprouted.
Fresh homegrown potatoes work well in soups, salads, roasted dishes, fries, and mashed potatoes. Thin-skinned new potatoes taste best soon after harvest. Thick-skinned, fully mature potatoes generally store longer.
Troubleshooting Common Issues with Growing Potatoes in Southern California
| Problem | Likely Causes | What to Do |
|---|---|---|
| Healthy leaves but few or no tubers | Hot soil, too much nitrogen, planting too late, or poor light | Plant earlier, mulch after hilling, reduce excess nitrogen, and provide full sun. |
| Small, cracked, hollow, or misshapen potatoes | Uneven moisture, heat stress, overcrowding, or nutrient imbalance | Keep moisture steady, space plants correctly, and use a soil test before fertilizing. |
| Yellow leaves | Normal maturity, overwatering, heat stress, nutrient deficiency, pests, or disease | Check plant age, soil moisture, leaf spots, insects, and stem condition before adding fertilizer. |
| Seed pieces rot before emerging | Cold, saturated soil; damaged seed; or disease | Use certified seed, let cut faces callus, plant above 45°F, and improve drainage. |
| Green potatoes | Tubers exposed to light | Hill more soil around stems, repair cracks in the bed, and add loose mulch. |
| Leaf spots or rapid vine decline | Early blight, late blight, heat stress, or another disease | Remove badly affected material, avoid overhead irrigation, and use UC IPM or your local extension office for diagnosis. |
Frequently Asked Questions
When is the best time to plant potatoes in Southern California?
Coastal Southern California commonly uses February-May, with a possible second planting from June-August. Warm inland valleys generally favor February-March and another planting around August. Low desert areas usually plant from December-February. Adjust for your microclimate and plant when the soil is at least 45°F.
What are the ideal growing conditions for potatoes in Southern California?
Potatoes prefer full sun, loose well-drained soil, a pH near 6.0-6.5, and steady moisture. They form tubers best in cool-to-mild soil and slow down when the soil becomes very hot.
How should potatoes be planted in Southern California?
Plant certified seed potatoes about 3-4 inches deep and 8-12 inches apart, with the eyes facing up. Keep the bed evenly moist. Hill soil around the stems once they reach about 8-12 inches tall, then repeat as needed to keep tubers covered.
What potato varieties grow well in Southern California?
California options include Norgold Russet, Red La Soda, Kennebec, and White Rose. Yukon Gold, Red Pontiac, fingerlings, and colorful varieties can also work. In hot inland gardens, choose early or mid-season types that mature before sustained summer heat.
How long do potatoes take to mature in Southern California?
Many varieties need about 90-120 days, while some early types finish sooner. You can often harvest small new potatoes about 7-8 weeks after planting. Weather, variety, plant health, and heat all affect the final timing.
Can I plant grocery-store potatoes?
Certified disease-free seed potatoes are safer. Grocery-store potatoes may be treated to delay sprouting and can carry diseases that remain in garden soil and affect other nightshade-family crops.
How often should I water potatoes in Southern California?
Use about 1 inch per week as a starting point, then adjust for soil, wind, heat, and containers. Keep moisture even during tuber formation, but never leave the soil waterlogged. Grow bags and sandy soil usually need more frequent checks.
Can potatoes grow in containers or raised beds?
Yes. Use loose potting mix, strong drainage, and about 5 gallons of soil volume per plant in containers. Raised beds should provide at least 12 inches of loose soil. Both systems need regular watering because they can dry faster than in-ground beds.
Growing potatoes in Southern California works best when you match the planting schedule to your local cool season. Start with certified seed potatoes, loose soil, steady water, and a variety that can mature before intense heat. Hill the plants, check them weekly for pests and moisture stress, and harvest gently to protect the tubers.
Sources
- UC Statewide IPM Program: Cultural Tips for Growing Potato — California planting windows, soil, certified seed pieces, spacing, hilling, watering, and harvest guidance
- UC Statewide IPM Program: Potato Pests and Disorders — California varieties, pests, diseases, and environmental disorders
- University of Minnesota Extension: Growing Potatoes in Home Gardens — soil pH, seed preparation, planting, irrigation, rotation, harvesting, and storage
- University of Maryland Extension: Growing Potatoes in a Home Garden — soil-temperature limits, spacing, maturity, watering, and harvest guidance
- University of New Hampshire Extension: Growing Potatoes in Containers — container size, potting mix, watering, and planting depth
- USDA Food Safety and Inspection Service: Are Green Potatoes Dangerous? — food-safety guidance for light-exposed and green potatoes