Curry plants, scientifically known as Murraya koenigii, are aromatic shrubs native to the Indian subcontinent. They are renowned for their fragrant leaves, which are a staple in various culinary traditions, particularly in Indian cuisine. The leaves of the curry plant are not only prized for their unique flavor but also for their nutritional and medicinal properties.
Rich in antioxidants, vitamins, and minerals, curry leaves are believed to aid digestion, promote hair health, and possess anti-inflammatory properties. Understanding the biology and growth habits of the curry plant is essential for successful cultivation. Curry plants thrive in warm climates and prefer well-drained soil with plenty of sunlight.
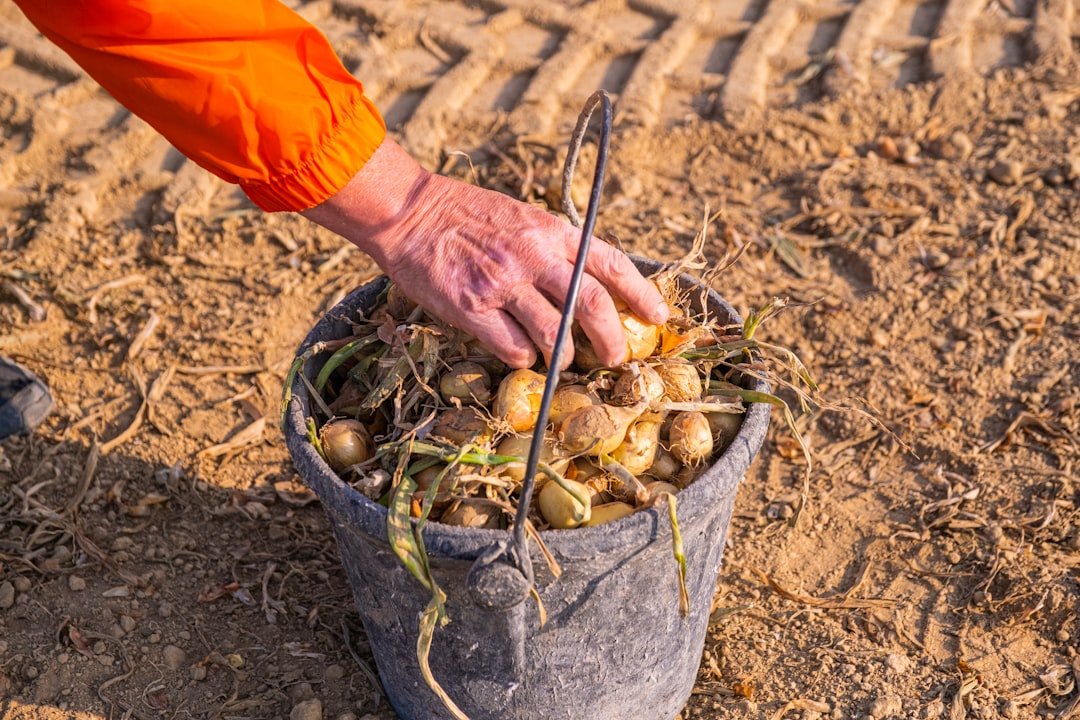
They can grow up to 4-6 feet tall and have a bushy appearance with compound leaves that are glossy and dark green. The plant produces small white flowers that can develop into small black berries, which contain seeds. While the seeds can be used for propagation, they have a relatively low germination rate compared to other methods.
Understanding the growth cycle of the curry plant, from seedling to maturity, is crucial for gardeners looking to cultivate this aromatic herb successfully.
Key Takeaways
- Curry plants are aromatic and flavorful, and they belong to the citrus family.
- When choosing curry plant seeds, look for a reputable supplier and select seeds that are fresh and high quality.
- Prepare the soil by ensuring it is well-draining and slightly acidic, and add organic matter to improve fertility.
- Plant curry seeds in well-drained soil, and keep them in a warm, sunny location with regular watering.
- Provide the right conditions for curry plants by ensuring they receive at least 6 hours of sunlight daily and protecting them from strong winds.
Choosing the Right Seeds
Selecting the right seeds is a critical step in cultivating a healthy curry plant. While seeds can be sourced from various suppliers, it is advisable to choose seeds that are fresh and viable. Fresh seeds typically have a higher germination rate and will produce stronger plants.
When purchasing seeds, look for reputable suppliers who specialize in herbs or tropical plants. Additionally, consider the variety of curry plant you wish to grow; some cultivars may have slightly different flavor profiles or growth habits. In addition to purchasing seeds, gardeners can also collect seeds from mature curry plants.
The berries produced by the plant contain seeds that can be extracted and dried before planting. However, it is essential to ensure that the parent plant is healthy and free from diseases to avoid passing on any potential issues to the new seedlings. When selecting seeds, whether purchased or harvested, it is beneficial to check for any signs of damage or mold, as these can significantly affect germination rates.
Preparing the Soil
Soil preparation is a fundamental aspect of successful gardening, particularly for curry plants that thrive in specific soil conditions. The ideal soil for curry plants is well-draining and rich in organic matter. A mixture of loamy soil with added compost or well-rotted manure can provide the necessary nutrients while ensuring proper drainage.
Before planting, it is advisable to test the soil pH; curry plants prefer slightly acidic to neutral pH levels ranging from 6.0 to 7.0. To prepare the soil, begin by clearing the area of any weeds or debris that may compete with the young plants for nutrients and water. Loosen the soil using a garden fork or tiller to improve aeration and drainage.
Incorporating organic matter into the soil not only enhances fertility but also improves its structure, allowing roots to penetrate more easily. Once the soil is adequately prepared, it is essential to allow it to settle before planting seeds or seedlings.
Products Worth Considering

100% Organic & Peat-Free: Our compost mix is 100% organic & peat-free. Peat is one of Mother Nature’s most important stores of carbon. Instead of imported peat, the base of our soils is made from upcycled plant matter or wood fines from the United States!

Nutrient-Rich Organic Compost for Healthy Soil: Support stronger plant growth with this premium organic compost made from dairy cow manure. This all purpose soil amendment helps replenish essential nutrients often depleted after harvests, making it ideal for vegetable gardens, fruit trees, flowers, lawns and container plants.

OMRI Listed
Planting the Seeds
| Month | Number of Seeds Planted | Germination Rate (%) |
|---|---|---|
| January | 200 | 85% |
| February | 180 | 90% |
| March | 220 | 88% |
Planting curry seeds requires careful attention to detail to ensure optimal germination and growth. The seeds should be sown at a depth of about half an inch in well-prepared soil. If planting multiple seeds, maintain a spacing of at least 12 inches between each seed to allow for adequate growth and airflow.
It is advisable to plant seeds during the warm months when temperatures are consistently above 70°F (21°C), as curry plants thrive in warm conditions. After planting, gently water the area to settle the soil around the seeds without washing them away. Covering the planted area with a light mulch can help retain moisture and regulate soil temperature.
In regions with cooler climates, starting seeds indoors can be beneficial; this allows for an earlier start in the growing season. Once seedlings emerge, they can be gradually acclimatized to outdoor conditions before being transplanted into the garden.
Providing the Right Conditions
Curry plants require specific environmental conditions to flourish. They thrive in full sunlight, ideally receiving at least six hours of direct sunlight each day. Insufficient light can lead to leggy growth and reduced leaf production.
In addition to sunlight, temperature plays a crucial role in their development; curry plants prefer temperatures between 70°F and 90°F (21°C – 32°C). Protecting young plants from frost is essential, as they are sensitive to cold temperatures. Humidity is another important factor for curry plant growth.
While they can tolerate dry conditions, higher humidity levels can promote healthier foliage and more robust growth. In particularly dry climates, misting the plants or placing a humidity tray nearby can help maintain adequate moisture levels in the air around them. Additionally, providing wind protection can prevent damage to young plants and help maintain consistent moisture levels in the soil.
Watering and Fertilizing
Watering practices are vital for the health of curry plants. These plants prefer consistently moist soil but are susceptible to root rot if overwatered. A good rule of thumb is to water when the top inch of soil feels dry to the touch.
During hot summer months, more frequent watering may be necessary, while cooler months may require less frequent irrigation. Drip irrigation systems can be particularly effective in providing consistent moisture without saturating the roots. Fertilization is equally important for promoting healthy growth and leaf production in curry plants.
Organic options such as compost tea or fish emulsion can also provide essential nutrients while improving soil health. It is crucial not to over-fertilize, as this can lead to excessive leaf growth at the expense of flavor concentration in the leaves.
Products Worth Considering

【Universal 1/4 Inch Size Set】- Designed for US market compatibility,MIXC new drip irrigation system set uses 1/4 inch (6mm) components to address potential mismatches with standard hoses, unlike some 5/16 inch systems. It includes 2-way connectors, tubing, and 3-way connectors to help users set up DIY garden irrigation more conveniently.

✔Comprehensive Drip Irrigation Kit:MIXC drip irrigation system, equipped with a versatile range of components, caters to all your garden watering needs.Includes essential parts such as 197ft 1/4'' irrigation tube, 33ft 1/2'' irrigation tube, 1/2‘’ Lock Barbed Tee connectors, drip emitter streams, vortex emitters, Blue Mist Nozzles, Quick connection tees, Faucet Connector, and more.

Adjustable Water Flow: The drip emitter can be adjusted to stop, micro-drip, and spray so that you can use the water drip system to water many kinds of plants in your garden. Moreover, the drip emitters have a support stake for easy placement in the soil
Managing Pests and Diseases
Like any other garden plant, curry plants are susceptible to various pests and diseases that can hinder their growth and productivity. Common pests include aphids, spider mites, and whiteflies, which can damage leaves and stunt growth if left unchecked. Regularly inspecting plants for signs of infestation is essential; early detection allows for more effective management strategies.
Natural remedies such as neem oil or insecticidal soap can be used to control pest populations without harming beneficial insects. Diseases such as powdery mildew or root rot can also affect curry plants, particularly if they are grown in overly humid conditions or poorly drained soil. To prevent these issues, ensure proper air circulation around plants by spacing them adequately and avoiding overhead watering that can promote fungal growth.
If disease symptoms appear, promptly remove affected leaves and treat with appropriate fungicides or organic solutions as needed.
Products Worth Considering

PLANT DISEASE CONTROL: Natria Neem Oil acts as an insecticide and fungicide in one convenient spray; Ready-to-use trigger sprayer requires no mixing

Protect your oasis with Captain Jack’s Neem Max Ready-to-Use Spray; this multipurpose product acts as a 4-in-1 insecticide, fungicide, miticide and nematicide

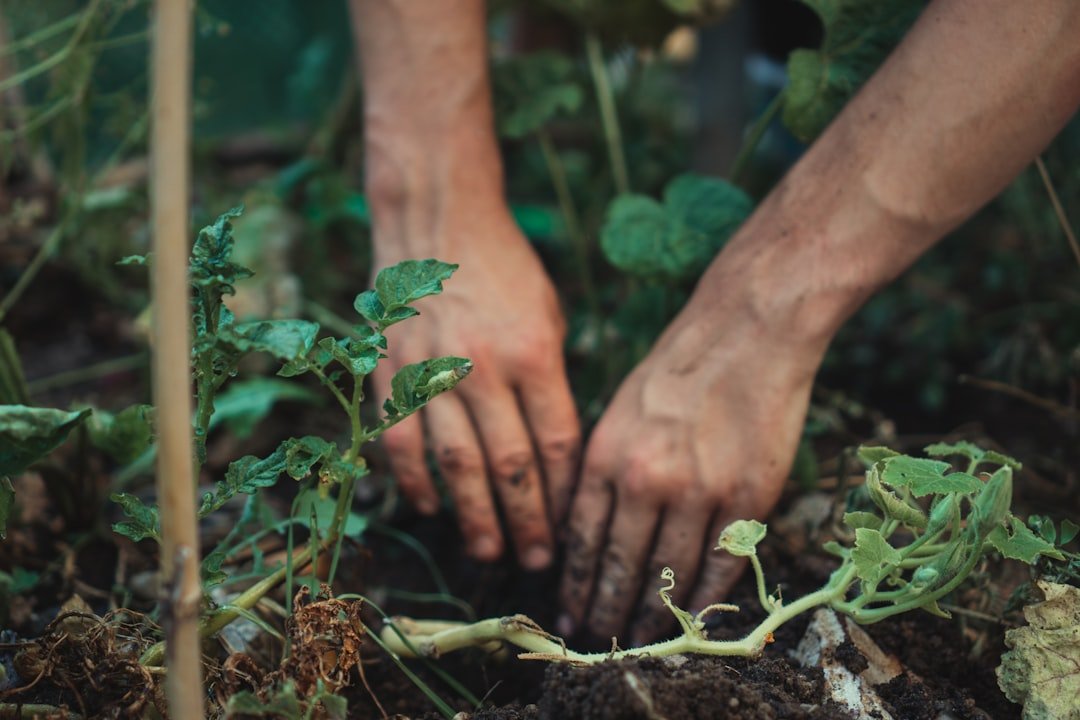
Transplanting Seedlings
Transplanting seedlings is a critical phase in the life cycle of curry plants that requires careful handling to minimize stress on young roots. Once seedlings have developed several sets of true leaves and are about 4-6 inches tall, they are ready for transplanting into larger pots or directly into the garden bed. Before transplanting, it is advisable to water seedlings thoroughly; this helps reduce transplant shock by keeping roots moist during the process.
When transplanting into larger pots, choose containers that are at least 6-8 inches deep with drainage holes at the bottom. Gently remove seedlings from their original containers by grasping them by their leaves rather than their stems to avoid damage. Place them in their new pots or garden beds at the same depth they were previously growing and fill in around them with soil, ensuring there are no air pockets around the roots.
Water thoroughly after transplanting to help settle the soil around the roots.
Hardening Off Seedlings
Hardening off seedlings is an essential step before introducing them to outdoor conditions permanently. This process involves gradually acclimatizing young plants to outdoor temperatures and sunlight exposure over a period of one to two weeks. Start by placing seedlings outside in a shaded area for a few hours each day, gradually increasing their exposure to direct sunlight and outdoor conditions over time.
During this hardening-off period, monitor seedlings closely for signs of stress such as wilting or sunburned leaves. If any issues arise, provide additional shade or bring them indoors temporarily until they recover. Once seedlings have adapted to outdoor conditions and are robust enough to withstand fluctuations in temperature and light intensity, they can be planted permanently in their designated garden spots.
Planting Seedlings in the Garden
When planting hardened-off seedlings in the garden, timing is crucial; wait until all danger of frost has passed and soil temperatures have warmed sufficiently for optimal growth. Choose a sunny location with well-draining soil that has been enriched with organic matter during preparation. Dig holes that are slightly larger than the root ball of each seedling and space them at least 12-18 inches apart to allow for mature growth.
Carefully place each seedling into its hole at the same depth it was growing previously and backfill with soil while gently pressing down around the base to eliminate air pockets.
Adding a layer of mulch around each plant can help retain moisture and suppress weeds as they grow.
Harvesting Curry Leaves
Harvesting curry leaves requires patience and timing for optimal flavor and quality. The best time to harvest leaves is when they are young and tender; this typically occurs about three months after planting when the plant has established itself well. Use sharp scissors or pruning shears to snip off entire sprigs rather than plucking individual leaves; this encourages bushier growth and prevents damage to the plant.
When harvesting, aim for early morning when leaves are most fragrant and flavorful due to higher oil concentrations before exposure to heat from the sun throughout the day. Avoid taking more than one-third of the plant’s foliage at any given time; this ensures that enough leaves remain for photosynthesis and continued growth. Freshly harvested curry leaves can be used immediately in cooking or stored in an airtight container in the refrigerator for short-term use or dried for long-term storage without losing their aromatic qualities.
FAQs
What is a curry seedling?
A curry seedling is a young plant that has been grown from a curry plant seed. It is the initial stage of the curry plant’s growth and is typically grown in a nursery before being transplanted to a garden or larger pot.
How do you grow a curry seedling?
To grow a curry seedling, you can start by planting curry plant seeds in a well-draining potting mix. Keep the soil consistently moist and place the pot in a warm, sunny location. Once the seedlings have grown a few inches tall, they can be transplanted into larger pots or directly into the garden.
What are the ideal growing conditions for curry seedlings?
Curry seedlings thrive in warm, sunny conditions with well-draining soil. They prefer temperatures between 65-75°F (18-24°C) and should be watered regularly to keep the soil consistently moist but not waterlogged.
How long does it take for a curry seedling to mature into a full-grown plant?
It typically takes about 1-2 years for a curry seedling to mature into a full-grown plant. During this time, the plant will grow larger and develop the aromatic leaves that are used in cooking.
What are some common uses for curry seedlings?
Curry seedlings are primarily grown for their aromatic leaves, which are used in a variety of culinary dishes. The leaves can be used fresh or dried and are often added to curries, soups, stews, and other savory dishes to impart a unique flavor.