What’s in This Article
- Selecting the Right Garlic for Curing
- Preparing Your Garage for Garlic Curing
- Harvesting Garlic for Curing
- Cleaning and Preparing Garlic for Curing
- Hanging Garlic to Cure
- Monitoring and Maintaining Proper Curing Conditions
- Troubleshooting Common Issues During Garlic Curing
- Testing for Readiness and Storing Cured Garlic
- Using Cured Garlic in Cooking and Recipes
- Final Tips for Curing Garlic in Your Garage
- FAQs
Your garlic can rot, sprout, or lose flavor if you rush the curing process. A clean garage can work well, but only when you control airflow, moisture, light, and handling. This guide shows you how to cure garlic in a garage, from harvest timing to long-term storage.
Quick Answer
To cure garlic in a garage, keep the bulbs dry, shaded, and well ventilated for about 2 to 4 weeks. Hang the bulbs in small bundles or place them on racks with space between each bulb. Your garlic is ready when the skins feel dry and papery, the necks feel tight, and the cloves stay firm.
Key Takeaways
- Cure garlic in a dry, shaded, and well-ventilated garage for about 2 to 4 weeks.
- Harvest garlic when the lower leaves turn brown while several upper leaves remain green.
- Handle bulbs gently because bruises, cuts, and wet skins can lead to rot.
- Hang garlic in small bundles or spread bulbs on racks so air can move around them.
- Store cured garlic in a cool, dark, breathable container after the skins dry fully.
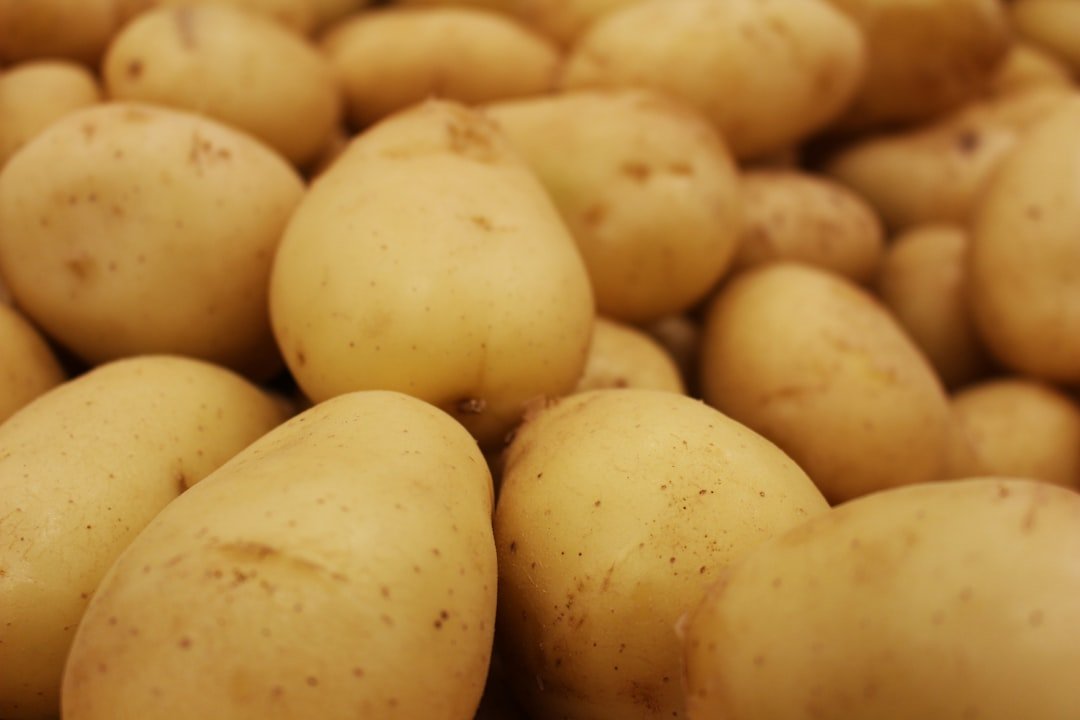
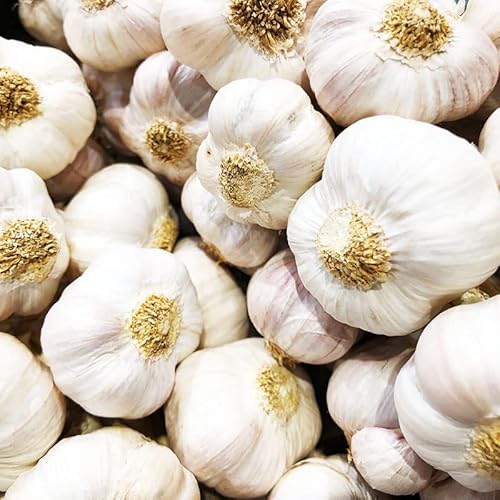
Selecting the Right Garlic for Curing
Choosing the right garlic helps you get better flavor and longer storage life. Garlic falls into two main groups: hardneck and softneck. Hardneck types, such as Rocambole and Porcelain, often have bold flavor and grow well in colder areas.
Softneck types, such as Silverskin and Artichoke, usually form more cloves per bulb and store longer. You’ll often see softneck garlic in grocery stores because it handles storage and shipping well. Choose the type that fits your climate, taste, and cooking needs.
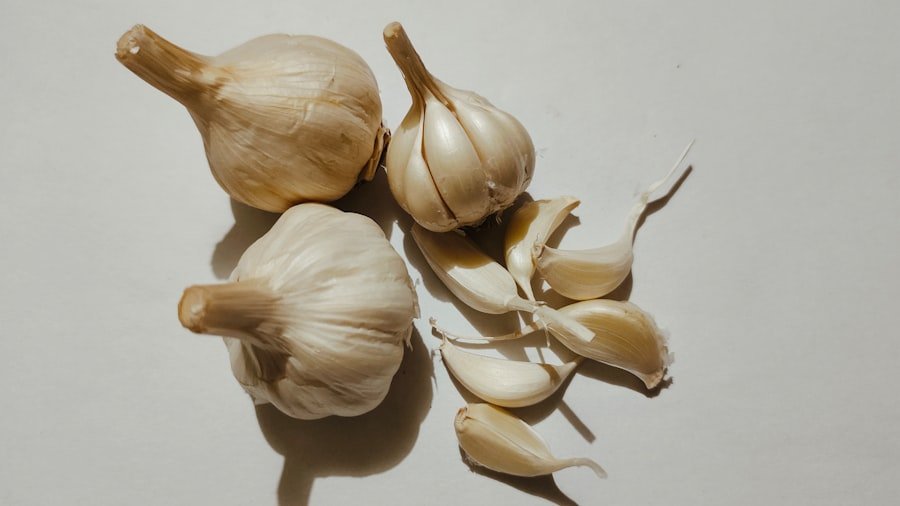
Quality matters as much as variety. Pick firm, plump bulbs with tight skins and no mold, soft spots, or early sprouting. Avoid damaged bulbs because they may spoil before they cure fully.
Garlic grown without harsh chemical treatment may offer better flavor and storage quality. Still, healthy bulbs matter most. Start with the strongest bulbs, and your curing process has a much better chance of success.
Products Worth Considering

A great tasting healthy. Heirloom, Non-GMO
Bold, Rich Flavor: Known for their robust, spicy taste that intensifies when cooked—perfect for roasting, sautés, and garlic-infused oils.
NOTE: BULBS WILL VARY IN SIZE AND YOUR SHIPMENT MAY CONSIST OF A MIX OF LARGE, MEDIUM AND SMALL BULBS; NO GUARANTEESA great tasting healthy. Heirloom, Non-GMO
Preparing Your Garage for Garlic Curing

Your garage can be a good curing space if it stays dry, shaded, and airy. Before you bring in garlic, clean the area and remove dust, dirt, and debris. A clean space lowers the risk of mold, pests, and strong odors.
Keep garlic away from paint, fuel, cleaners, and other strong-smelling items. Garlic can absorb odors during drying, which may affect its flavor. Choose a separate corner or shelf for curing if your garage stores tools or chemicals.
Airflow plays a major role in curing. Open windows when weather allows, or use a fan to move air gently around the bulbs. Don’t aim strong airflow directly at the garlic for long periods because it can dry the outer skins too fast.
Humidity can cause trouble in closed garages. If the garage feels damp, use a dehumidifier or move the garlic to a drier indoor space. Your goal is steady drying, not fast drying.
Warning: Don’t cure garlic in a garage that smells like fuel, paint, pesticides, or solvents.
Products Worth Considering

Smart Functions: Dehumidifier for home with smart APP/voice/touch control brings a more convenient living experience, such as setting up the dehumidifier in basement at your fingertips with the APP, even when away. Compatible with Alexa, Google Assistant, and IFTTT. (Support 2.4Ghz WiFi and Bluetooth, need to enable mobile phone positioning.)
【𝑾𝒉𝒐𝒍𝒆-𝑯𝒐𝒎𝒆 𝑴𝒐𝒊𝒔𝒕𝒖𝒓𝒆 𝑴𝒂𝒔𝒕𝒆𝒓】 Tackle dampness anywhere with our 30-pint dehumidifier! Its heavy-duty compressor works quickly to reduce humidity from 90% to a comfortable 30%—perfect for bedrooms, basements, laundry areas, and large spaces up to 3,000 square feet. Finally, breathe easy in a fresher, drier home.
【𝑾𝒉𝒐𝒍𝒆-𝑯𝒐𝒎𝒆 𝑴𝒐𝒊𝒔𝒕𝒖𝒓𝒆 𝑴𝒂𝒔𝒕𝒆𝒓】 Tackle dampness anywhere with our update 50-pint dehumidifier! Its heavy-duty compressor works quickly to reduce humidity from 90% to a comfortable 30%—perfect for bedrooms, basements, laundry areas, and large spaces up to 5,000 square feet. Finally, breathe easy in a fresher, drier home.
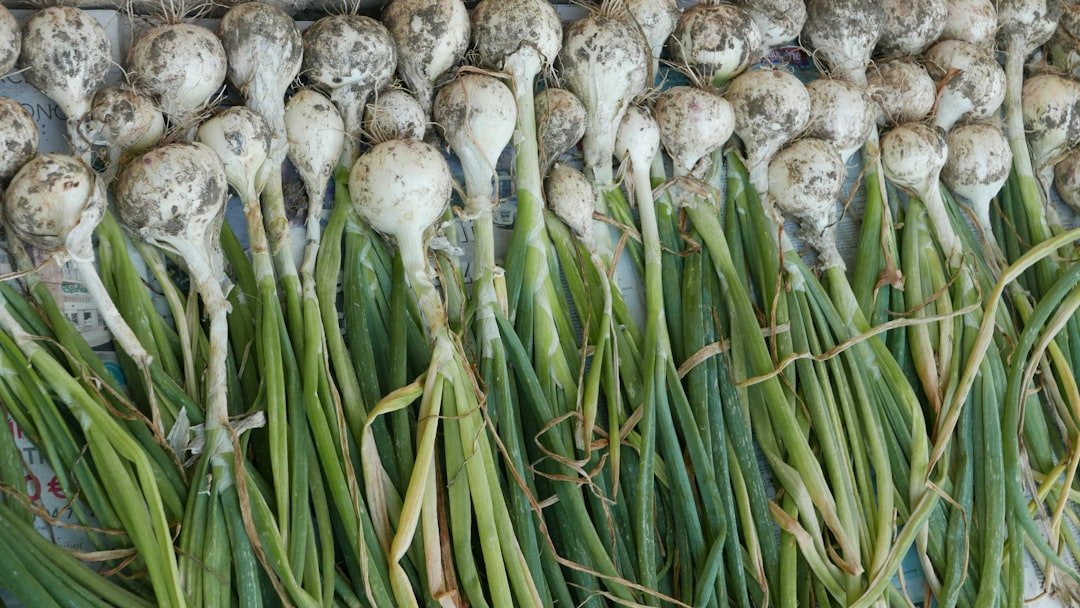
Harvesting Garlic for Curing
| Stage | Time | Temperature | Humidity |
|---|---|---|---|
| Harvesting | Early morning | 60-70°F | 60-70% |
| Curing | 2-3 weeks | 70-80°F | 60-70% |
Good curing starts before the bulbs enter your garage. Harvest garlic when the lower leaves turn yellow or brown while several upper leaves stay green. This timing helps the bulb form protective wrappers around the cloves.
Don’t pull garlic straight from hard soil. Loosen the soil first with a garden fork or spade, then lift each bulb gently. Keep the tool far enough from the bulb to avoid cuts.
Shake off loose soil after harvest, but don’t wash the bulbs. Water can raise the risk of mold and slow the cure. Let the garlic sit in shade for a short time, then move it to your prepared garage.
Cleaning and Preparing Garlic for Curing
Clean garlic with a light touch before curing. Trim long roots with scissors or pruning shears, but don’t cut into the bulb. Short roots make handling easier and reduce places where dirt can hold moisture.
Remove only loose, dirty, or badly damaged outer skin. Leave at least one or two wrapper layers in place because they protect the cloves during drying. Removing too much skin can shorten storage life.
Check each bulb before you cure it. Set aside bulbs with mold, soft spots, deep cuts, or broken wrappers. You can use lightly damaged bulbs first in the kitchen, but don’t store them with your best bulbs.
Sprouted bulbs also need separate handling. They may still taste fine for cooking, but they won’t store as well after curing. Keeping weak bulbs away from healthy bulbs helps protect your main harvest.
Products Worth Considering

Reduce Hand Strain: These micro tip snips are made to reduces hand fatigue which makes them great for those with arthritis, carpal tunnel, hand or wrist issues; Comfortable “grip” handles will make it easy to work for long-time use without making you feel hand pain

CLEAN CUTS FOR LIVE GROWTH: Bypass blade design is ideal for pruning delicate flower stems and green growth, helping reduce crushing and plant damage while cutting stems and small branches up to 5/8” in diameter

Unbreakable sharpness! Japanese SK5 steel blade with titanium coating endures 100,000 cuts. Built for lifelong clean cuts
Hanging Garlic to Cure
Hanging garlic works well because air can move around the bulbs. Gather three to five bulbs into each bundle, then tie the stems with twine, string, or a rubber band. Keep the bundles small so the inner bulbs can dry evenly.
Hang bundles upside down from hooks, nails, or a ceiling beam. Leave space between bundles so the air can reach every bulb. Crowded garlic dries slowly and may develop mold.
You can also cure garlic on wire racks or mesh screens. Spread the bulbs in a single layer and turn them every few days. This method works well when stems are too short for hanging.
Pro tip: Label each bundle by variety so you can compare flavor and storage life later.
Monitoring and Maintaining Proper Curing Conditions
Check your garlic every few days during curing. Most garlic needs about 2 to 4 weeks, but bulb size and garage conditions can change the timeline. Larger bulbs and humid rooms usually need more time.
A good curing space feels dry, shaded, and airy. Moderate room temperatures work well, especially when airflow stays steady. Avoid direct sun because it can heat the bulbs and damage flavor.
Watch for damp skins, musty smells, or mold spots. If you see moisture, increase airflow and lower humidity. Remove affected bulbs right away so the problem doesn’t spread.
Don’t trim the tops too early if you plan to braid softneck garlic. Wait until the leaves and necks dry well. The stems should feel dry but still workable when you braid them.
Troubleshooting Common Issues During Garlic Curing
Mold usually means the space has too much moisture or too little airflow. Move the bulbs farther apart, run a fan on low, or use a dehumidifier. Discard bulbs with heavy mold or soft spots.
Uneven drying often happens when bundles sit too close together. Rotate hanging bundles or move rack-cured bulbs every few days. Give the slowest-drying bulbs more space and better airflow.
Soft or shriveled bulbs need closer inspection. Soft bulbs may have internal rot, while badly shriveled bulbs may have dried too fast or lacked maturity. Use questionable bulbs soon, or remove them from storage.
Sprouting after curing often points to warm storage or immature bulbs. Store cured garlic in a cooler, darker place with airflow. Don’t place it near onions, potatoes, or damp produce bins.
Note: One bad bulb can spoil nearby bulbs, so inspect stored garlic often.
Testing for Readiness and Storing Cured Garlic
Your garlic is ready when the outer skins feel dry and papery. The necks should feel tight, dry, and no longer soft. The roots should also feel dry and brittle.
Gently squeeze a bulb to test firmness. The cloves should feel solid, not spongy or wet. If the neck still feels moist, give the garlic more time to cure.
After curing, trim the roots and cut the stems to about one inch above the bulb unless you plan to braid them. Brush off remaining dry soil with your hands or a soft cloth. Don’t wash cured garlic before storage.
Store cured garlic in a cool, dark, breathable space. Mesh bags, baskets, and open crates work better than plastic bags. Plastic traps moisture and can cause mold.
Using Cured Garlic in Cooking and Recipes
Cured garlic works in many everyday meals. You can mince it for soups, sauces, stir-fries, dressings, and marinades. Its flavor often feels rounder than very fresh garlic.
Roasting cured garlic makes it sweet, soft, and spreadable. Cut the top from a bulb, add a little oil, and roast until the cloves turn tender. Use the roasted cloves on bread, mashed potatoes, pasta, or vegetables.
You can also add cured garlic to homemade bread, focaccia, and savory biscuits. Minced garlic adds aroma without making the dough too sharp. Start with a small amount, then adjust to your taste.
Save your best cured bulbs for long storage. Use smaller, damaged, or thin-skinned bulbs first. This simple habit helps you waste less of your harvest.
Final Tips for Curing Garlic in Your Garage
Clean tools, gentle handling, and steady airflow make the biggest difference. Keep notes on harvest date, variety, curing time, and storage results. Those notes help you improve your next garlic crop.
Try more than one garlic variety if your garden space allows it. Some types may cure faster, store longer, or taste better in your kitchen. Testing them side by side helps you find what works best for your climate.
Curing garlic in your garage doesn’t need special equipment. Start with healthy bulbs, keep them dry, and check them often. With care, your harvest can stay useful and flavorful for months.
FAQs
What is curing garlic?
Curing garlic means drying freshly harvested garlic bulbs so they store better. The process dries the outer skins, tightens the neck, and helps protect the cloves inside.
Why is it important to cure garlic?
Curing improves storage life and helps prevent mold, sprouting, and rot. It also lets the bulb form a dry protective wrapper around the cloves.
How do you cure garlic in a garage?
Hang garlic in small bundles or spread the bulbs on a mesh or wire rack. Keep the garage shaded, dry, and well ventilated so the bulbs dry evenly.
How long does it take to cure garlic in a garage?
Garlic usually takes about 2 to 4 weeks to cure in a garage. The exact time depends on bulb size, humidity, airflow, and temperature.
What are the ideal conditions for curing garlic in a garage?
The best garage conditions include good airflow, low humidity, moderate temperatures, and no direct sunlight. Avoid damp corners and spaces with strong chemical odors.
How do you know when garlic is properly cured?
Properly cured garlic has dry, papery outer skins and firm cloves. The necks should feel dry, and the roots should feel brittle.