Northern California does not have one potato-growing calendar. Coastal gardens, inland valleys, foothills, and mountain communities can differ sharply in frost timing and summer heat. The most reliable approach is to match your planting date to your local soil temperature, frost risk, drainage, and expected heat.
Quick Answer
Plant certified seed potatoes when the soil is about 45°F and workable. In Northern California, UC IPM lists February and April–May for the North and North Coast, and February–March plus August for interior valleys. Use loose soil, steady moisture, repeated hilling, and protection from frost and extreme heat.
Key Takeaways
- Use your local microclimate and a soil thermometer instead of relying on a statewide calendar.
- Start with certified seed potatoes, not grocery-store potatoes, to reduce the risk of introducing disease.
- Plant seed pieces about 3 inches deep and 6 to 12 inches apart, then hill soil around the stems as they grow.
- Keep moisture even but never leave the bed waterlogged. Drip or furrow irrigation helps keep foliage dry.
- Harvest new potatoes after flowering or mature storage potatoes after the vines yellow and die back.
At a Glance
| Time Required | About 30–60 minutes to prepare and plant a small bed; many varieties mature in roughly 90–120 days, while new potatoes can be lifted earlier. |
| Difficulty | Easy to moderate |
| Tools Needed | Spade or garden fork, rake, soil thermometer, watering system, and a clean knife for large seed potatoes |
| Cost | Low to moderate, mainly for certified seed potatoes, compost, and any soil-test-based amendments |
Understand Your Northern California Microclimate
Potatoes grow best during cool conditions, but their shoots are sensitive to frost. Coastal and Bay Area gardens often stay cooler for longer, while inland valleys can warm quickly and shorten the useful spring growing window. Higher-elevation gardens may have a later planting date and a shorter frost-free season.
Coastal fog can lower daytime temperatures, raise humidity, and reduce evaporation. However, it should not be treated as a dependable replacement for irrigation. Check the soil by hand and water according to actual moisture conditions.
Note: UC IPM says its regional planting dates are approximate because conditions vary greatly within each region. A local UC Master Gardener office can help you narrow the window for your county.
Choosing the Right Potato Varieties for Northern California
Choose varieties by your local season length, cooking use, and expected harvest date. UC resources list types such as Yukon Gold, Red Pontiac, Kennebec, Russet, White Rose, Red LaSoda, and Russian Banana for parts of California. Availability and performance still vary by county and seed supplier.
Early Varieties
Early potatoes are useful where summer heat arrives quickly or the frost-free period is short. Yukon Gold and Red Norland are common examples. Maturity labels are estimates, so use the seed supplier’s days-to-maturity range and watch the plants rather than relying on a fixed 70- to 90-day promise.
Mid-Season Varieties
Kennebec and many russet types need a longer cool period than early potatoes. They are useful when you want larger tubers, baking potatoes, or a crop that may store longer. Russet Burbank is a long-season cultivar, so it is a better fit where the garden can avoid both late frost and severe summer heat.
Late-Season and Specialty Varieties
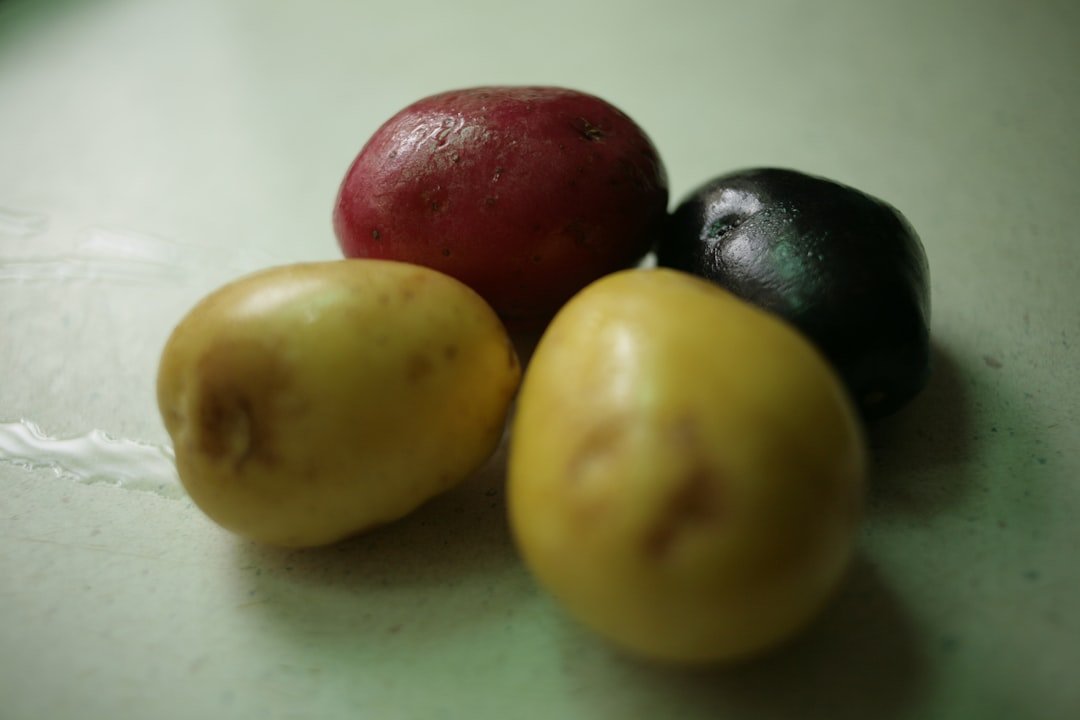
Colorful cultivars such as Purple Majesty or All Blue can add variety to a home harvest, while fingerlings such as Russian Banana are useful for roasting and salads. Check the supplier’s maturity estimate before planting a late cultivar in a hot inland or short mountain season.
Pro Tip: Plant two cultivars with different maturity ranges. You can harvest one early and leave the other to size up for later use.
Start With Certified Seed Potatoes
Buy certified seed potatoes from a nursery or reputable seed supplier. Grocery-store potatoes may carry disease or may have been treated to slow sprouting.
- Plant small seed potatoes whole if they are about egg size.
- Cut larger tubers into pieces about 1½ inches across, with at least one healthy eye per piece.
- Use a clean knife and let the cut surfaces dry at room temperature for 1 to 3 days before planting.
- Discard pieces that are soft, moldy, badly shriveled, or rotten.
Preparing the Soil for Planting Potatoes
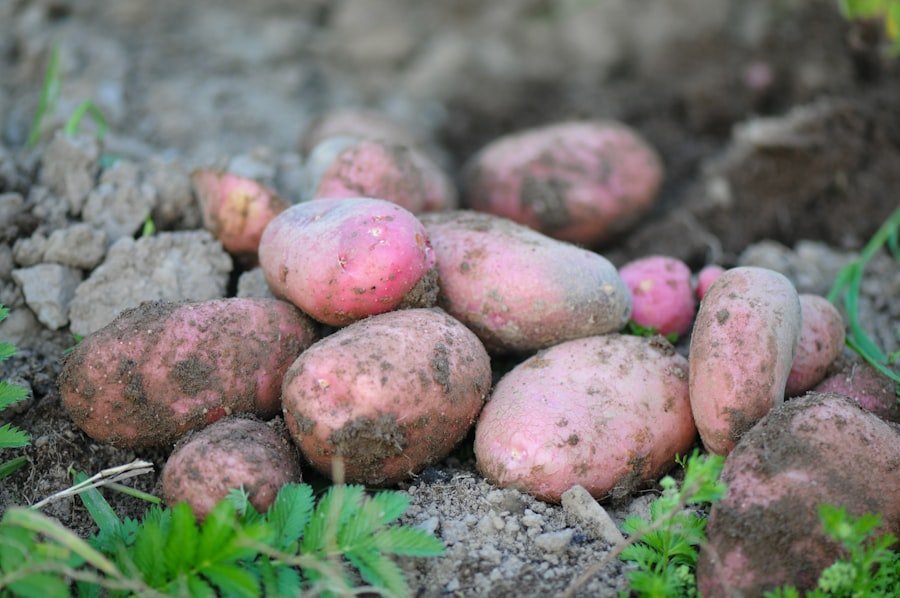
Potatoes need loose, well-drained soil that can stay evenly moist without becoming soggy. Sandy loam is ideal, but a raised bed or large container can improve drainage where native soil is heavy clay.
Before planting, test the soil. UC IPM’s home-garden guidance recommends a pH around 6.0 to 6.5. Common scab is less favored near pH 5.5, but lowering pH does not prevent every scab species and can create other nutrient problems. Do not add sulfur or lime without a soil test and local guidance.
- Loosen the upper 8 to 12 inches of soil and remove rocks, old roots, and large clods.
- Mix in finished compost to improve structure and moisture control.
- Avoid fresh or uncomposted manure, especially where common scab has been a problem.
- Use raised beds or containers if the site drains slowly after rain or irrigation.
- Choose a location with at least 4 to 6 hours of direct sun.
Best Timing for Planting Potatoes in Northern California
Plant when the soil is workable and close to 45°F. UC IPM notes that potatoes can go into the ground 1 to 4 weeks before the last frost, depending on soil temperature, but emerging shoots may need frost protection.
| UC IPM Region | Approximate Planting Window | Main Risk to Watch |
| North and North Coast, Monterey County north | February and April–May | Late frost, cool wet soil, and coastal disease pressure |
| Interior valleys, including Sacramento and San Joaquin valleys | February–March, with another window in August | Rapid spring warming and extreme summer heat |
| Some mild Bay Area microclimates | February onward in some locations, with local variation | Neighborhood-level differences in fog, wind, drainage, and heat |
| Foothill and mountain gardens | After soil warms to about 45°F and can be worked | Short season and late or early frost |
The old month-by-month temperature and rainfall approach is too broad for Northern California. Check your local forecast, measure soil temperature in the planting bed, and avoid planting into saturated soil.
How to Plant Potatoes Step by Step
- Make furrows: Create furrows deep enough to place the seed pieces about 3 inches below the finished soil surface.
- Set the spacing: Place pieces 6 to 12 inches apart. Closer spacing usually produces smaller potatoes. Leave enough room between rows or furrows for hilling and access; about 3 feet is practical in many beds.
- Place the pieces: Set each piece with the eyes facing up and cover it with loose soil.
- Water gently: Settle the soil without leaving it saturated.
- Hill the plants: When shoots are about 8 inches tall, pull soil around them while leaving about 4 inches of the tops visible. Repeat after 2 to 3 weeks, then once more if tubers could become exposed.
Warning: Keep developing tubers covered. Light exposure can turn potato skin green and raise glycoalkaloid levels. Do not eat green or bitter portions, and discard heavily green tubers.
Growing Potatoes in Containers
Use a large container with drainage holes and at least about 12 inches of usable depth. Start with several inches of loose potting mix, plant the seed potatoes, and add more mix or clean mulch as the stems grow. Containers dry faster than in-ground beds, so check moisture often.
Caring for Potato Plants During the Growing Season
Watering
Potatoes are shallow rooted and need light, frequent irrigation. UC IPM recommends watering at least weekly with drip or furrow irrigation while keeping soil moisture uniform. In hot, windy, or container conditions, you may need to check more often. Avoid a cycle of bone-dry soil followed by heavy soaking because it can lead to rough or misshapen tubers.
Fertilizing
Base fertilizer on a soil test and the amount of compost already added. Excess nitrogen can produce heavy leaf growth at the expense of tubers. If nitrogen is needed, UC IPM recommends side-dressing after plants are about 3 to 4 inches tall, keeping fertilizer away from the stems and watering it in. Do not wait until flowering and then apply a heavy dose.
Hilling, Mulching, and Weed Control
Continue hilling so no tubers are visible. A light layer of clean straw or other loose mulch can reduce evaporation and weeds, but it should not keep the crown wet or block drainage. Remove weeds while they are small so you do not damage shallow potato roots.
Pests and Diseases to Watch
UC IPM lists aphids, cutworms, flea beetles, slugs, wireworms, potato tuberworm, early blight, late blight, common scab, and several rots among possible potato problems in California. Late blight is especially important in cool, humid coastal conditions.
- Use certified seed potatoes and remove volunteer potato plants.
- Rotate potatoes, tomatoes, peppers, and eggplants out of the same bed for 3 to 4 years when space allows.
- Water at soil level and allow foliage to dry quickly.
- Keep tubers covered and harvest promptly to reduce tuberworm damage.
- Remove badly diseased plants and tubers instead of composting them in a home pile.
Warning: Colorado potato beetle is covered by a California exterior quarantine. If you suspect it, avoid moving plants, tubers, or attached soil and contact the California Department of Food and Agriculture Pest Hotline at 1-800-491-1899.
Harvesting Potatoes in Northern California
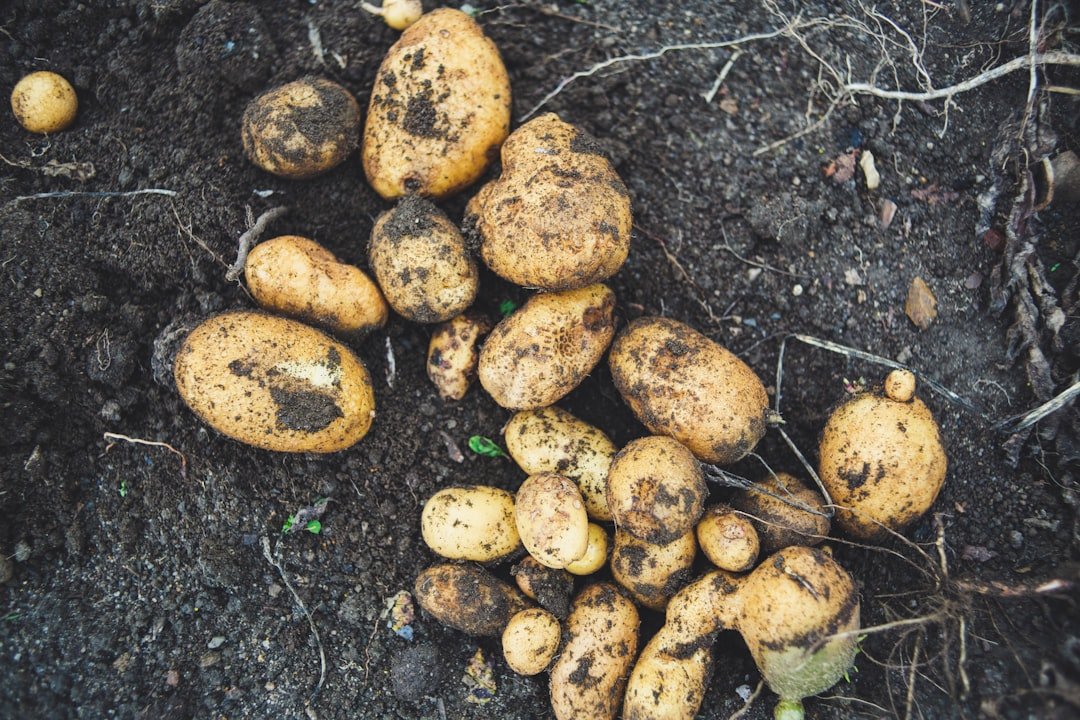
You can lift a few “new” potatoes after the plants flower and the tubers reach the size you want. For mature storage potatoes, wait until much of the foliage has yellowed or died back.
- Stop watering when the vines yellow and begin to die.
- For firmer skins, leave mature tubers in the soil for about one to two weeks if the ground is not wet and hard frost is not expected.
- Insert a garden fork well away from the stems and lift gently.
- Do not pull hard on the stems or throw the potatoes into a pile, because bruises shorten storage life.
- Move harvested tubers out of direct sunlight promptly.
Harvest timing depends more on the plant’s stage and your intended use than on a fixed number of days after planting.
Storing Potatoes After Harvest
Brush off loose soil, but do not wash potatoes before curing or storage. Set aside any cut, bruised, soft, or diseased tubers for immediate use or disposal.
For potatoes you plan to store, cure them for about two weeks at 50°F to 60°F with high humidity and ventilation. Then move them to a dark, well-ventilated place near 40°F with high relative humidity. A warmer home storage area around 45°F to 50°F may be easier to maintain, but sprouting can begin sooner.
- Keep potatoes completely dark to prevent greening.
- Do not seal them in an airtight plastic bag.
- Do not store them with apples or other ripening fruit, which can encourage sprouting.
- Check the crop regularly and remove any tuber that begins to rot.
- Avoid long-term storage in a cold refrigerator because temperatures below about 40°F can make potatoes taste sweeter.
Tips for Success in Growing Potatoes in Northern California
- Choose the planting window for your microclimate, not just your county.
- Use certified seed potatoes and a cultivar suited to the length of your cool season.
- Prioritize drainage, steady moisture, and repeated hilling.
- Rotate away from other nightshades and remove volunteer potatoes.
- Watch coastal plantings for late blight during cool, humid weather.
- Contact your local UC Master Gardener program when a pest, disease, or soil problem is difficult to identify.
With the right timing and steady care, Northern California gardeners can grow potatoes in coastal beds, inland spring gardens, raised beds, or containers. The key is to keep the crop cool enough to form tubers, dry enough to avoid rot, moist enough for even growth, and fully covered from sunlight.
Frequently Asked Questions
What is the best time to plant potatoes in Northern California?
UC IPM lists February and April–May for the North and North Coast, and February–March plus August for interior valleys. Use these as starting points, then confirm that your soil is near 45°F and not saturated.
What soil pH is best for potatoes?
For a home garden, UC IPM recommends about pH 6.0 to 6.5. A pH near 5.5 can suppress common scab, but it does not stop every scab species. Test the soil before changing pH.
How deep and far apart should seed potatoes be planted?
Plant seed pieces about 3 inches deep and 6 to 12 inches apart. Closer spacing usually gives you more small potatoes, while wider spacing gives each plant more room.
Which potato varieties grow well in Northern California?
UC sources list cultivars such as Yukon Gold, Red Pontiac, Kennebec, Russet, White Rose, Red LaSoda, and Russian Banana for parts of California. Match the cultivar’s maturity range to your local cool season.
How often should potato plants be watered?
Check the soil regularly and provide light, frequent irrigation, at least weekly under typical conditions. Containers, hot inland weather, and wind may require more frequent checks. The goal is even moisture, not constant saturation.
Can I plant a sprouted grocery-store potato?
It may grow, but certified seed potatoes are safer because grocery potatoes can carry disease or may be treated to delay sprouting. If you experiment with one, keep it in a container and do not reuse suspect soil.
When are potatoes ready to harvest?
Harvest small new potatoes after flowering once they reach the size you want. For mature storage potatoes, wait until the foliage has yellowed or died back and the skins have had time to firm.
Can potatoes be grown in containers?
Yes. Use a large container with drainage holes and at least about 12 inches of usable depth. Add soil or loose mulch as the stems grow, and check moisture more often than you would in an in-ground bed.
Sources
- UC Statewide IPM Program: Cultural Tips for Growing Potato — planting windows, spacing, hilling, irrigation, fertilizer, and harvest guidance
- UC Marin Master Gardeners: Potato — varieties, soil, seed preparation, planting, and harvest guidance
- UC Statewide IPM Program: Potato — California potato varieties, pests, diseases, and disorders
- UC Statewide IPM Program: Common Scab — soil pH, moisture, seed, and rotation considerations
- California Department of Food and Agriculture: Quarantine Information — pest reporting and quarantine contacts
- Iowa State University Extension: How Should I Store Potatoes? — curing and long-term storage conditions