

If you’re planning the Havasupai permit route, you’ll need a clear plan for getting to Hualapai Hilltop, hiking the 10 miles to camp, and managing side trails to Havasu, Mooney, and Beaver Falls. Expect steep descents, exposed sections, and river crossings that demand care and good gear. Know permit rules, water risks, and rescue limits—keep going to learn the specific steps that make these hikes safe and doable.
Planning Your Havasupai Permit and Reservation Strategy
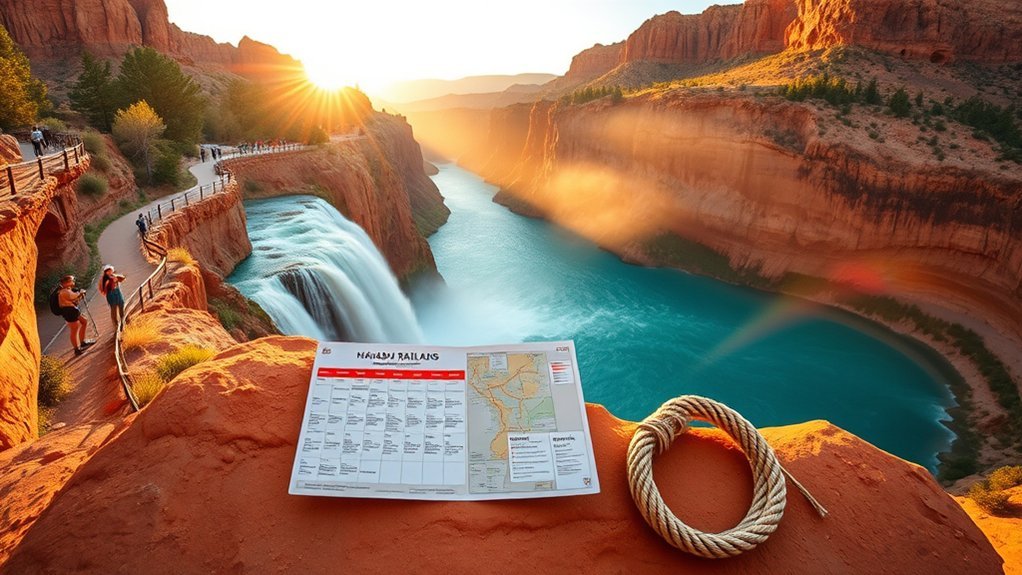
Want the best chance at visiting Havasupai? You’ll need to plan precisely to secure a permit and keep safety first. Enter the advanced lottery (Dec 16–Jan 3) to maximize odds; results are posted soon after. If you don’t win, be ready when public reservations open Feb 1 at 8:00 a.m. PST — permits vanish fast. Each Havasupai reservation covers 3 nights, 4 days, up to 12 people; cost runs about $455 per person including fees. Stay flexible with dates to improve outcomes, since the lottery doesn’t force specific days. Coordinate multiple party members to book simultaneously for leftover spots. Once you’ve locked a permit to hike, confirm gear, water plans, and evacuation options before approaching Falls.
Getting to Hualapai Hilltop: Parking and Logistics
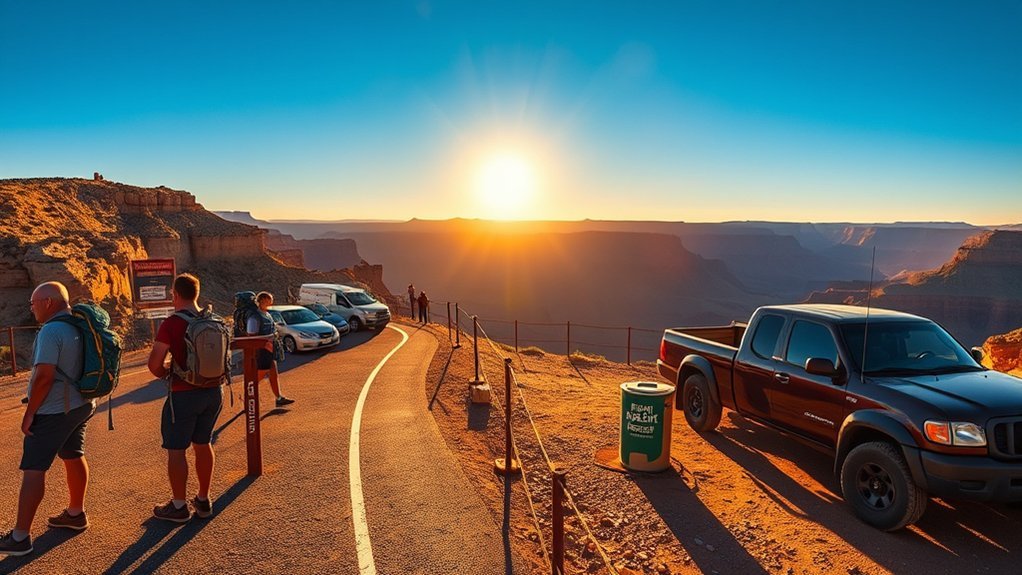
Because the Hualapai Hilltop sits at the end of a 60‑mile dirt road from Route 66, plan your timing, vehicle, and supplies before you go: arrive early (or drive at night to beat heat and wildlife), avoid large RVs or trailers if you can, and expect crowded parking during peak season. You’ll find a basic parking lot with limited spaces and little cell service, so secure a spot and lock valuables. Prepare for the trek: hiking to Havasu Falls begins here, with about 8 miles to Supai Village and another 2 to the campground. No drinking water is available on trail; carry at least one gallon per person. Pack spare fuel, spare tire gear, and notify someone of your plan before you leave.
The 10-Mile Hike to Havasu Campground: What to Expect
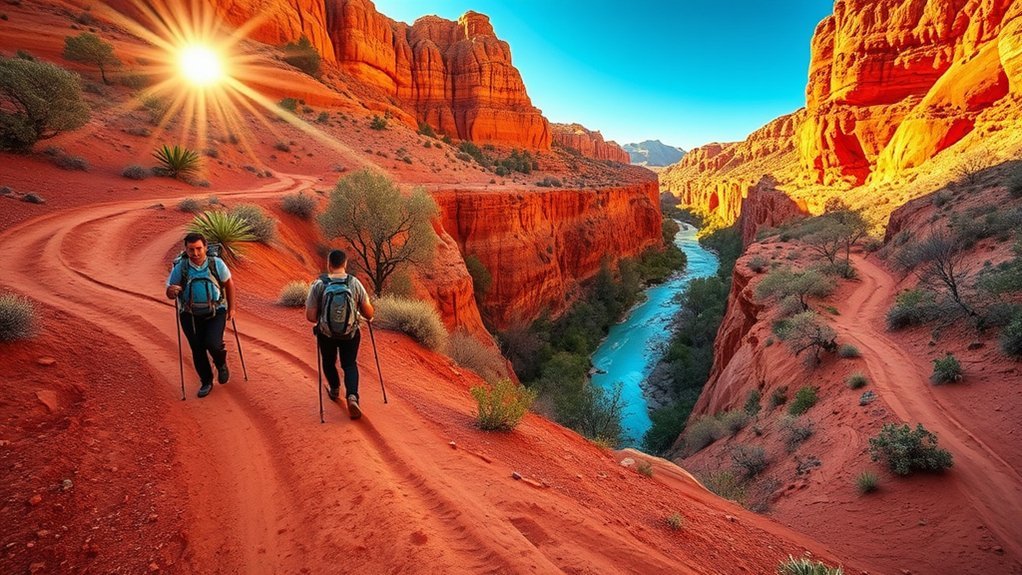
With parking sorted at Hualapai Hilltop and your gear checked, you’ll set off on the roughly 10‑mile (16.1 km) trek down into the canyon — expect about 3,300 ft (1,006 m) of elevation loss and then gain on the return. You’ll follow the Havasupai Trail through steep switchbacks for the first 1.4 miles, then a mix of built path and natural terrain with good views and occasional wildlife. Limited shade makes early starts essential; midday heat raises risk of heat illness. There’s no water on trail, so carry at least a gallon per person and sip regularly for proper hydration. Pace yourself on descents and save energy for the uphill return to Hualapai Hilltop.
Havasu Falls: Access, Safety, and Best Viewing Spots
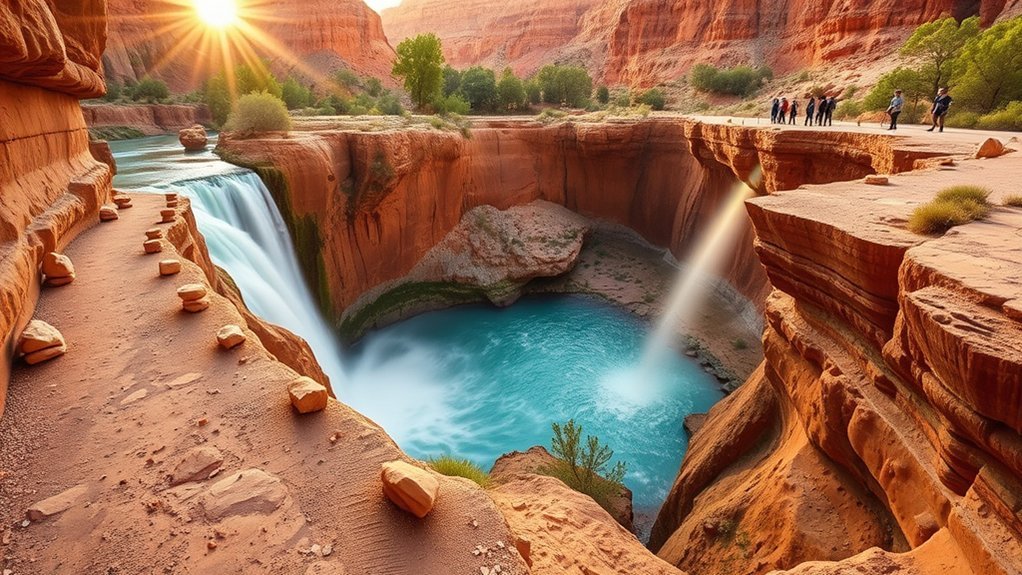
You’ll need a permit to reach Havasu Falls, so enter the lottery on February 1st and lock in reservations early. On the trail, pick safe vantage points—the base for turquoise views and select overlooks along the route—but avoid hiking in the heat and be alert for flash floods during monsoon season. Plan trips for late April through early June for the best weather and colors, and always carry enough water and a basic emergency kit.
Trail Access & Permits
One thing to know before you go: access to Havasu Falls and Supai Village starts at the Hualapai Hilltop trailhead and demands a strenuous 10-mile hike one way—plan for at least 20 miles round-trip. You must secure Havasupai permits (bookings open Feb 1) before hiking; they’re competitive, cover camping for three nights, and can hold up to 12 people. Expect roughly $455 per person for fees. No drinking water exists on trail, so carry at least one gallon per person and filter extra if you can. Monitor weather closely: flash floods during monsoon season (July–September) can be deadly. Travel light but prepared, pace yourself, and leave plans with someone because rescue access is limited and conditions change fast.
Viewing Spots & Safety
After you’ve made the long push from Hualapai Hilltop and secured permits, focus next on where and how you’ll view the falls safely. Plan to arrive at Havasupai Trailhead before dawn so you can reach Havasu Falls and other viewing spots in the cool, early morning light. Know the route to Mooney Falls and Beaver Falls, and avoid midday heat on the exposed trail.
- Base of Havasu Falls — best turquoise views; watch for slippery rocks and stay on designated ledges.
- Mooney Falls descent — technical, steep; use fixed ropes and proceed only if confident.
- Beaver Falls & Confluence — allow extra time; scout safe swim zones.
Carry water, check flash-flood forecasts, and identify escape routes; rescues are difficult here.
Mooney Falls and the Descent to the Base
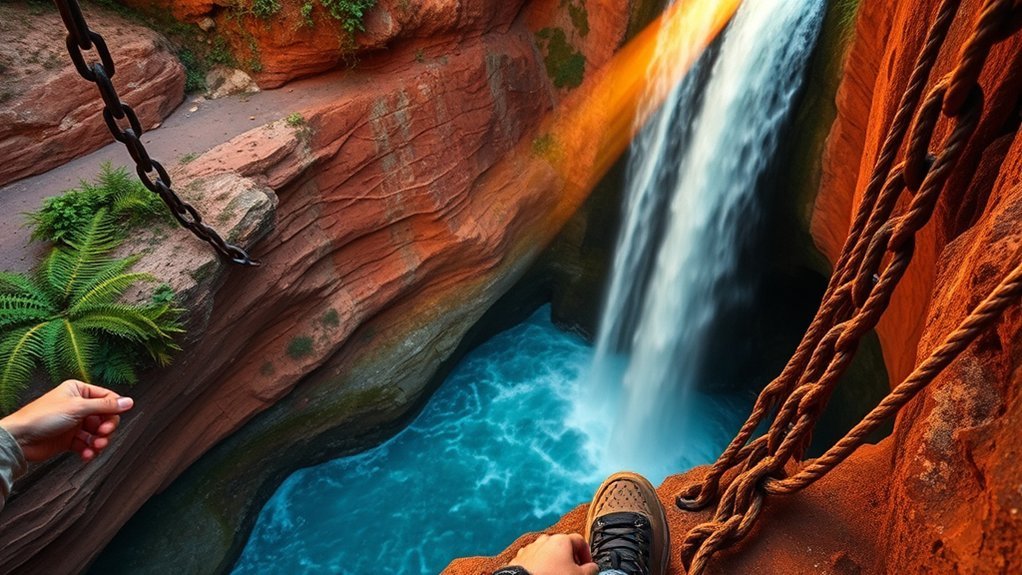
When you make the short but steep hike from Havasu Campground to Mooney Falls, be prepared for a 0.7-mile descent that includes chains and ladders down to the 194-foot plunge and its blue‑green pool. You’ll tackle a steep descent of rock and metal—chains and ladders are fixed where the trail drops—so use three points of contact and wear shoes with good grip. The scramble to the base rewards you with a breathtaking perspective of cascading water and a popular swimming spot, but wet rock and sudden flows raise risk. Visit early to beat crowds and heat, check weather for flash‑flood warnings, and move deliberately. Prioritize safety and enjoyment: steady footing, trimmed pack, and turn back if conditions feel unstable.
Beaver Falls Day Hike: Route and Swim Spots

From Havasu Campground you’ll follow a moderate 4-mile roundtrip route to Beaver Falls, with river crossings and a tricky descent near Mooney Falls to watch for. The cascades create several inviting pools, but stick to shallow entry points, check current and footing, and never swim alone. Plan for spring or early fall, carry sturdy shoes for wet rocks, and allow time to rest before retracing the trail.
Route Overview & Distances
The route to Beaver Falls is a doable 2.1-mile (3.4 km) one-way hike from Havasu Campground, so plan on about 4.2 miles (6.8 km) round trip and give yourself plenty of time to return before dark. You’ll follow the Havasu Creek corridor, enjoying scenic beauty while negotiating moderate terrain, river crossings, and the steep descent from Mooney Falls. Pace yourself and watch footing.
- Terrain: moderate, rocky sections, multiple creek crossings — expect slower miles than flat ground.
- Navigation: well-marked but stay on the trail along Havasu Creek; avoid shortcuts that risk erosion.
- Timing: allow ample time to reach Beaver Falls, explore safely, and return before dusk.
Swim Spots & Safety
Looking for a cooling dip on the Beaver Falls hike? You’ll find turquoise swimming holes en route and at Beaver Falls itself — perfect for a brief soak after the 4-mile roundtrip. Use clear safety precautions: scan water conditions, avoid strong currents, and enter slowly. Watch for slippery rocks at edges and on river crossings. During monsoon season (July–September) don’t assume calm water; flash floods can change conditions fast.
| Spot | Quick Tip |
|---|---|
| Upper swimming holes | Test depth, watch current |
| Main Beaver Falls pool | Enter with caution |
| Cascade pools near Mooney | Avoid after heavy rain |
Stay conservative with jumps, keep gear dry, and turn back if conditions look unstable.
Trail Hazards & Tips
Since the route to Beaver Falls drops steeply and crosses the creek several times, watch your footing, test rocks before committing, and move slowly on wet surfaces. You’ll tackle a moderate 4-mile roundtrip that feels like a hike 2+ miles each way when factoring in rough terrain and a steep climb back. There are real trail hazards: slippery rocks, sudden drops, and tempting boulder climbs that have caused injuries.
- Always carry at least 1 gallon of water per person — there’s no potable water along the trail.
- Wear grippy shoes, use trekking poles for creek crossings, and avoid risky climbs near cascades.
- Plan a full day for exploration and relaxation; finish swims below the cascades before late-day descent.
The Confluence Hike to the Colorado River
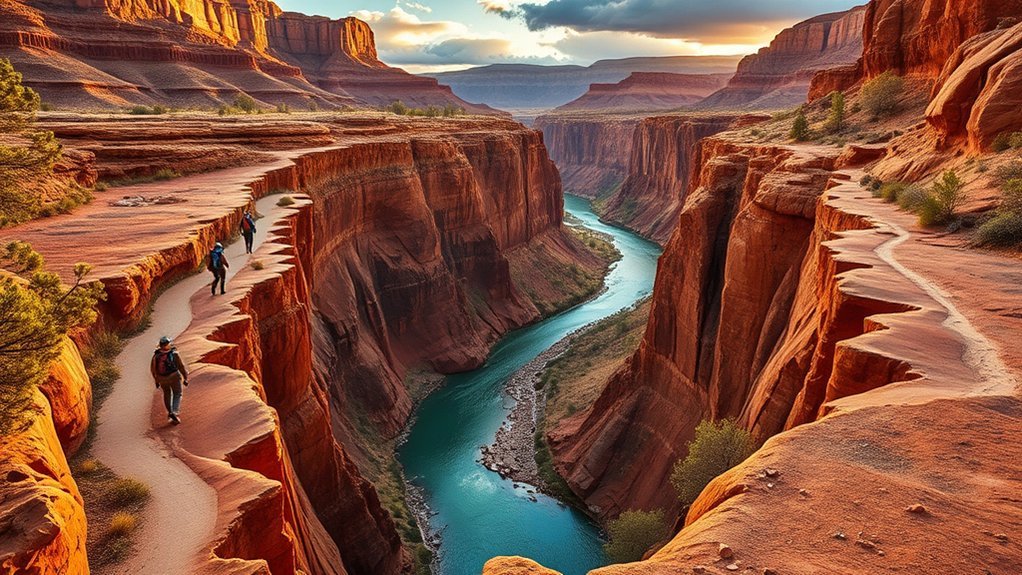
Beyond Havasu Campground you’ll tackle a strenuous 16.5-mile roundtrip that brings you to where Havasu Creek meets the Colorado River. The Confluence Hike rewards you with blue-green waters and towering canyon walls, but it’s a full day in rugged terrain. You should be in good physical condition, carry ample water, wear sturdy shoes, and know route‑finding in remote areas. Expect multiple river crossings and uneven footing; move deliberately, pace yourself, and conserve energy for the return.
| Feature | Distance | Key Tip |
|---|---|---|
| Trail length | 16.5 miles RT | Start early, plan time |
| Terrain | Rugged canyon | Sturdy footwear required |
| Highlights | Confluence views | Stay observant, cautious |
| Time | Full day | Bring food & water |
Seasonal Conditions, Weather, and Flash Flood Safety
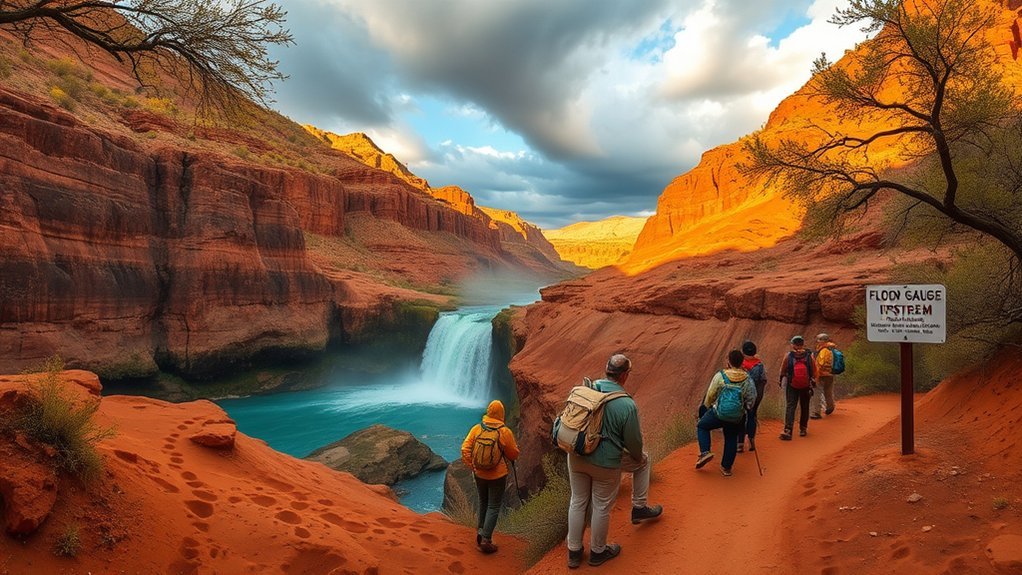
After the Confluence Hike you’ll need to pay close attention to seasonal conditions and weather before you set out on any trail in the canyon. You’ll plan trips March–May or Sept–Nov to avoid extreme heat; summer temperatures over 100°F raise heat-stroke risk. Monsoon season (July–Sept) drives flash floods—watch forecasts, avoid narrow slots, and move to high ground in storms. The first 1.4 miles drops steeply; don’t descend in slick or windy weather.
Plan trips in spring or fall, carry a gallon of water, avoid monsoon flash floods and steep slick descents.
- Carry at least 1 gallon water per person for hydration; no reliable water on trail.
- Hike early/late to limit exposure to peak temperature; use sun protection.
- If thunder or sudden runoff appears, evacuate canyon sections immediately for safety.
Camping, Lodging, and Village Check-In Procedures
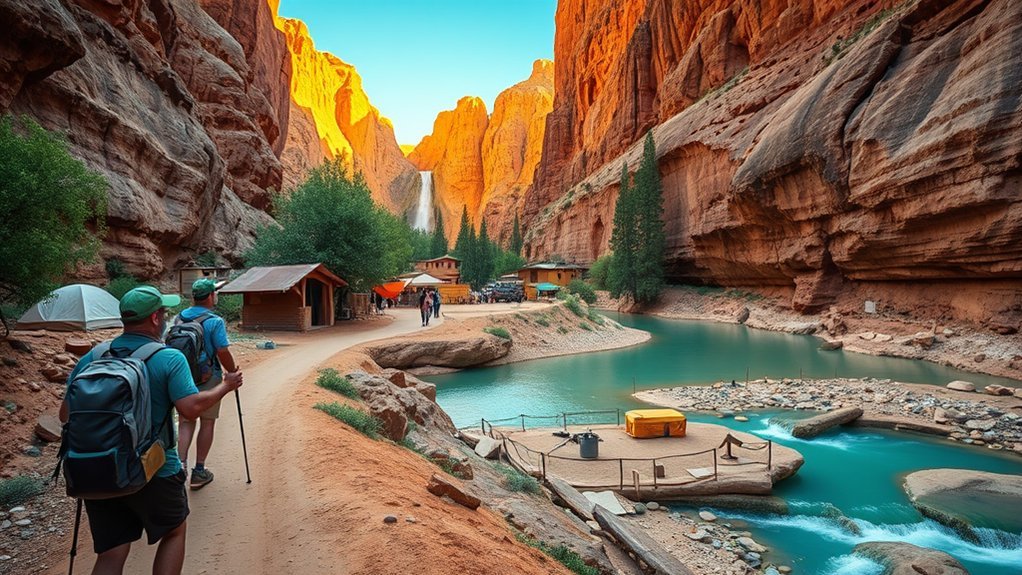
You’ll need to choose between primitive campground camping—where you pack in your tent, food, and gear and follow strict pack-in/pack-out rules—or reserving one of the 24 rooms at Havasupai Lodge, which requires a minimum three-night stay. Reservations (camping: 4 days/3 nights, up to 12 people; lodge: per-room limits) open Feb 1 and the named reservation holder must present photo ID and a printed reservation at the Tourist Check-In Office. Note the village has a small market and unpredictable cafe hours, and photography is prohibited to protect residents’ privacy.
Campground vs. Lodge
If you want comfort and running water, book the Havasupai Lodge in Supai Village — it takes a three-night minimum, sleeps up to four, and runs around $2,277 per room — but if you prefer wilderness and lower cost, plan to camp at Havasu Creek Campground (about 300 spots) where each reservation is 3 nights/4 days and costs roughly $455 per person. You’ll choose between lodge amenities (AC, showers) and primitive camping (bring tent, food, gear). Both options run Feb 1–Nov 30; cancellations release daily at 8:00 AM. Consider safety, weight, and resupply limits in the village store.
- Compare comfort: lodge amenities vs primitive camping self-sufficiency.
- Plan gear: pack in, pack out, water treatment.
- Expect high demand; book early.
Reservation & Check‑In
Because reservations are mandatory and release each year on February 1, plan and book early—camping runs about $455 per person for a 3-night/4-day stay, and lodge rooms require a three-night minimum (roughly $2,277 per room for up to four). You’ll need a reservation to enter Havasupai Falls and each allows up to 12 people. Check availability daily—cancellations post at 8 AM on the Havasupai Tribe’s website for last-minute chances. On arrival, complete check-in at the Tourist Check-In Office in Supai Village: the reservation holder must show photo ID and a printed campground reservation. Keep copies accessible, pack essentials, and expect protocol enforcement. Follow guidance from rangers and village staff to protect safety, water sources, and tribal land access while on trail and at campground.
Village Amenities & Rules
When you reach Supai Village after the 7-mile descent from Hualapai Hilltop, check in immediately at the Tourist Check‑In Office—only the reservation holder with photo ID and a printed confirmation can complete registration. You’ll follow village rules: no photography in town, and posted mask guidance may exist.
- Market: Supai has a small market with snacks and drinks; expect high prices because delivery is limited.
- Campground: The campground along Havasu Creek has no amenities. You must bring your tent, food, and pack out all waste—leave no trace.
- Lodge: Havasupai Lodge sits about 2 miles from the falls, offers 24 rooms, a 3-night minimum, and is costly; reserve early.
Stay respectful, prepared, and self‑sufficient.
Packing List, Gear Recommendations, and Leave No Trace Practices
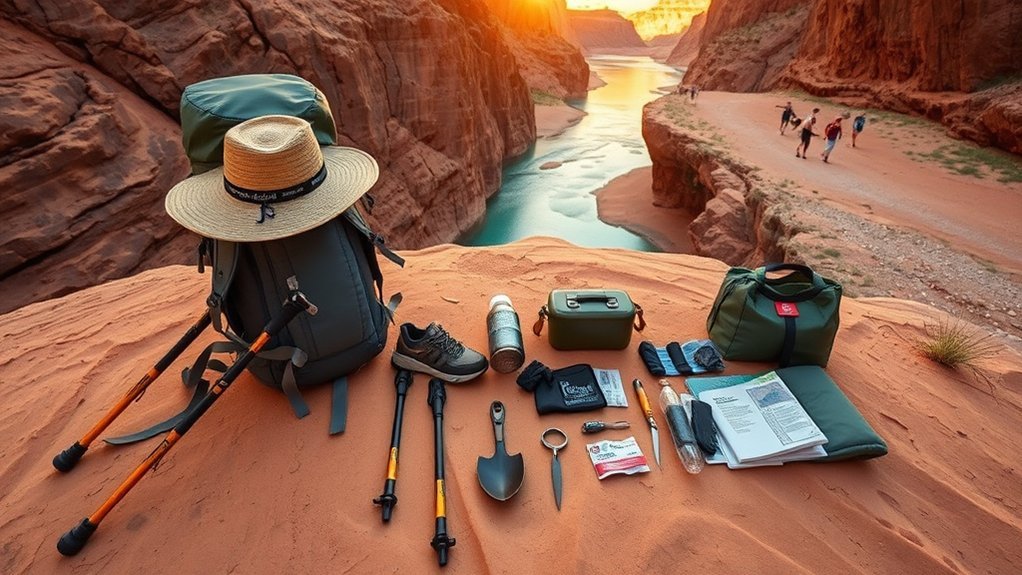
Although the trail to Havasu Falls is stunning, you’ll need to prepare seriously: carry at least 1 gallon of water per person, wear sturdy hiking shoes, pack a hat and sunscreen, and bring a solid backpack with a lightweight tent if you’re camping at Havasu Campground. Check water sources aren’t available on-trail; treat any container water you find only if necessary. Your essential gear list should include layered clothing, headlamp, map, and a compact stove for meals. Pack lightweight food—calorie-dense, non-perishable items—and store food securely. Bring a well-stocked first-aid kit and personal hygiene supplies (extra toilet paper, hand sanitizer). Follow Leave No Trace: pack out trash, food scraps, and human waste if required. Respect campsite rules and other hikers; leave the canyon as you found it.
Frequently Asked Questions
Can Dogs Accompany Me on Havasupai Hikes and Campsites?
No — dogs aren’t allowed; check official dog policies before planning. Respect trail etiquette, prioritize pet safety, pack proper hiking gear, and note limited campsite amenities. Consider alternative locations that welcome dogs and nearby pet-friendly trails.
Are Drones Allowed for Photos or Videos in the Reservation?
No, you can’t fly drones—flight restrictions prohibit them; follow drone regulations, prioritize environmental impact, use photography tips and video guidelines from scenic viewpoints, stay safety-focused and trailwise, and capture scenes responsibly from the ground.
Is There Cell Service or Wi‑Fi at Havasu Campground or Village?
You won’t get reliable service; campground amenities are basic. I once waited like a stranded hiker for a bar to blink. Expect cell coverage limitations, pack phone charging options, use wifi accessibility tips, plan communication during hikes, note emergency contact information.
Can I Resell or Transfer My Havasupai Permit to Someone Else?
No — you can’t resell or transfer your Havasupai permit; permit transfer policies prohibit resale. You’ll follow hiking regulations and visitor guidelines, pay applicable permit fees, and obey cancellation policies to avoid fines and keep everyone safe.
Are There Guided Tours or Shuttle Services Available From Nearby Towns?
Yes — you can book guided hike options and group hike packages; check shuttle service details and tour company reviews, follow transportation tips, heed local guide recommendations, and prioritize safety with experienced guides and reliable logistics.
Conclusion
You’ll need a permit, plan logistics, and respect trail risks to enjoy Havasupai safely. Stick to marked routes from Hualapai Hilltop, pace yourself on the 10-mile approach, and save Mooney and Beaver Falls for clear, dry conditions. Pack for heat, flash floods, and steep descents, and check village check-in rules. Leave no trace, treat water, and turn back if conditions worsen — the canyon’s beauty rewards caution like a well-earned badge.
