

If you’re planning hikes around Jerome, Arizona, you’ll want routes that match your fitness and the season, plus plenty of water and sun protection. Trails range from easy riverwalks and marsh boardwalks to steep ridgelines with loose rock and exposure, so pick your shoes and timing carefully. I’ll outline top options, what to expect, and key safety tips—keep going to find the right trail for your day.
Hike Through Dead Horse Ranch State Park
Starting at Dead Horse Ranch State Park, you’ll find a network of well-marked trails that suit both casual walkers and seasoned hikers, with paths winding among cottonwoods, marshes, and riverside meadows. You’ll pick routes by distance and terrain: flat loops around the ponds are great for easy outings and birdwatching, while longer connector trails climb gentle slopes for broader views of Verde Valley. Pack water, sun protection, and a basic first-aid kit—the high desert sun and sudden temperature shifts can surprise you. Stick to signed routes to protect wetland habitats and avoid rattlesnake-prone brush at dawn and dusk. Bring a map or use a downloaded offline trail map; cellphone service can be spotty. Wear sturdy shoes for uneven boardwalks and occasional muddy sections. If you’re hiking with dogs, keep them leashed and carry waste bags. Finish before peak heat, and leave the area as you found it to preserve this accessible, family-friendly park for others.
Stroll the Verde River Trail
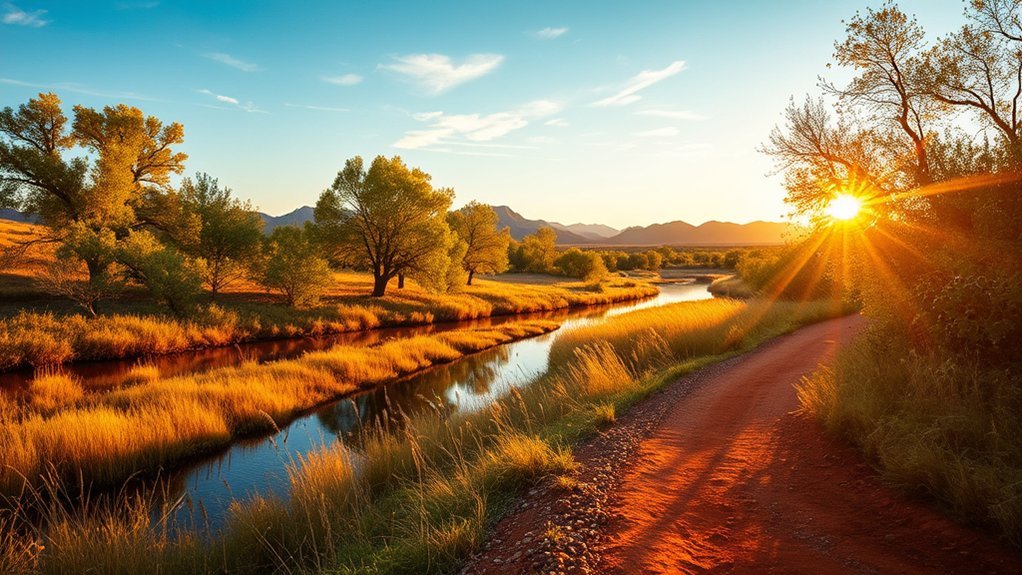
You’ll start the Verde River Trail at well-marked trailheads with parking and restrooms, so plan your arrival and water accordingly. The flat, shaded path runs close to the river for long stretches, offering steady scenic views and easy photo opportunities. Stay on the maintained trail, watch for uneven footing near the banks, and keep pets leashed to protect wildlife and yourself.
Trailhead and Access
From the small parking area at Dead Horse Ranch State Park, head east along the clearly signed path to reach the Verde River Trailhead — it’s an easy walk from the lot and well marked so you won’t get turned around. You’ll find a staffed kiosk with maps, trail rules, and current conditions; stop and note closures or flood warnings. The surface shifts from packed dirt to decomposed granite; wear sturdy shoes and expect some uneven sections. Bike and equestrian use is common—yield appropriately and announce yourself when passing. Restrooms and potable water sit near the lot; refill before you go. If you plan a longer loop, leave your itinerary with someone and check cell coverage, which is spotty along the corridor.
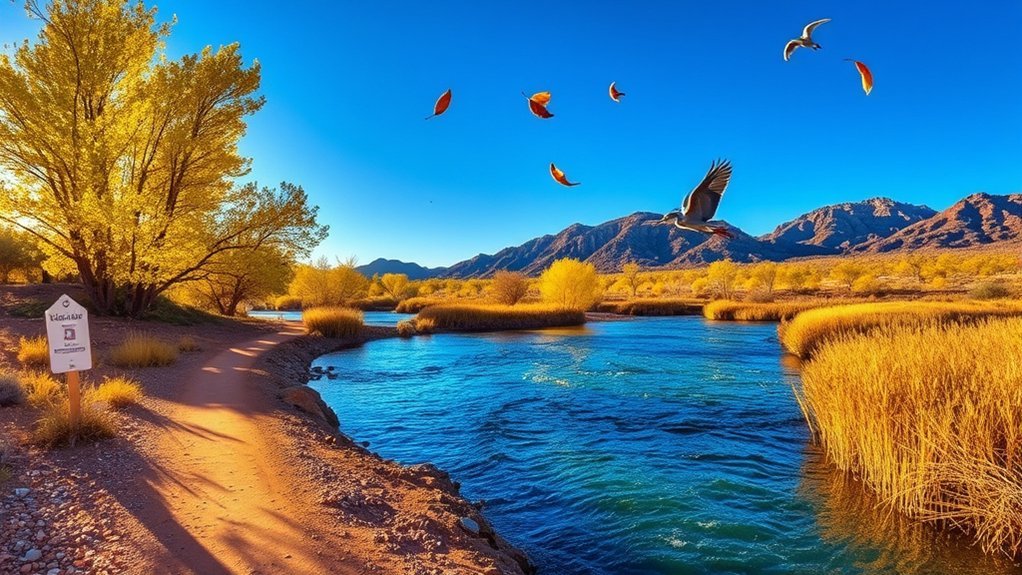
Scenic River Views
Take a slow, steady pace along the Verde River Trail and let the river set the tempo—its riffles, cottonwoods, and occasional heron sightings provide a steady stream of visual interest without demanding constant navigation. You’ll stay close to water, with shaded stretches and open banks that reveal rock layers and wildlife. Wear sturdy shoes, bring water, and watch for slippery rocks near crossings. Keep a moderate pace to avoid overheating; summer sun can be intense even in riparian shade. Carry a map or use GPS—cell service can be spotty—and pack a basic first-aid kit.
- Bring 1–2 liters of water per person.
- Use closed shoes with good grip.
- Respect posted signs and private property.
- Keep dogs leashed near wildlife.
Explore Mingus Mountain Loop
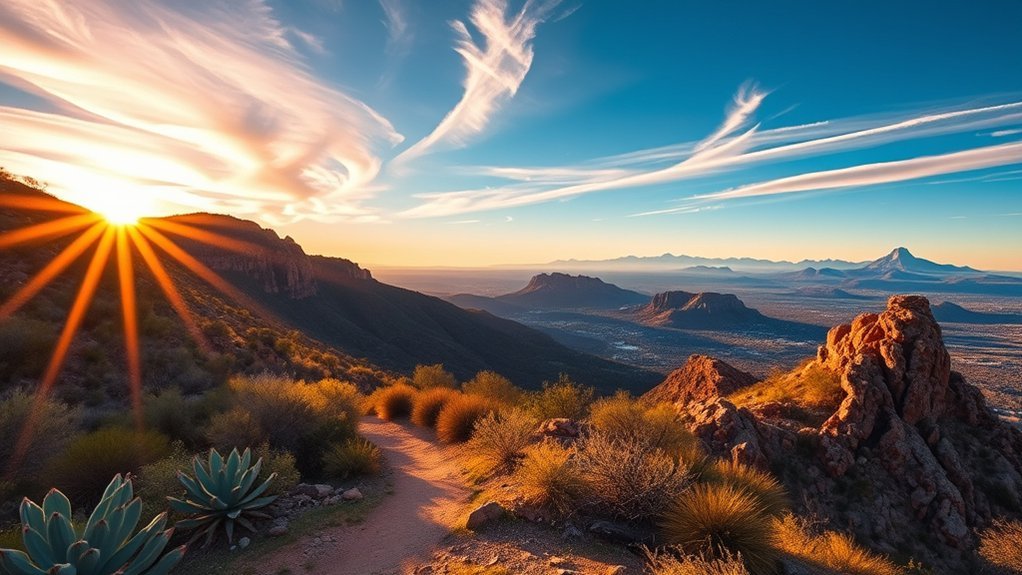
Heading up Mingus Mountain Loop rewards you with cooler air, sweeping canyon views, and a mix of high-desert and pine forests that change with each mile. You’ll start on a well-marked trail that gains elevation steadily; expect loose rock and occasional steep switchbacks. Pace yourself, drink water often, and layer clothing—temperatures can drop quickly under the pines. Navigation is straightforward if you carry a map or use a GPS; cell service is spotty, so don’t rely on it alone.
Trail surfaces vary from packed dirt to rocky footing; sturdy boots and trekking poles improve stability. Wildlife encounters are possible—keep distance from deer and snakes, and store food securely. There are limited shade breaks above tree line, so sun protection matters. Plan for at least a half-day, check weather before you go, and tell someone your route and expected return. Leave no trace: pack out trash and stay on the trail to protect fragile alpine vegetation and preserve the views for others.
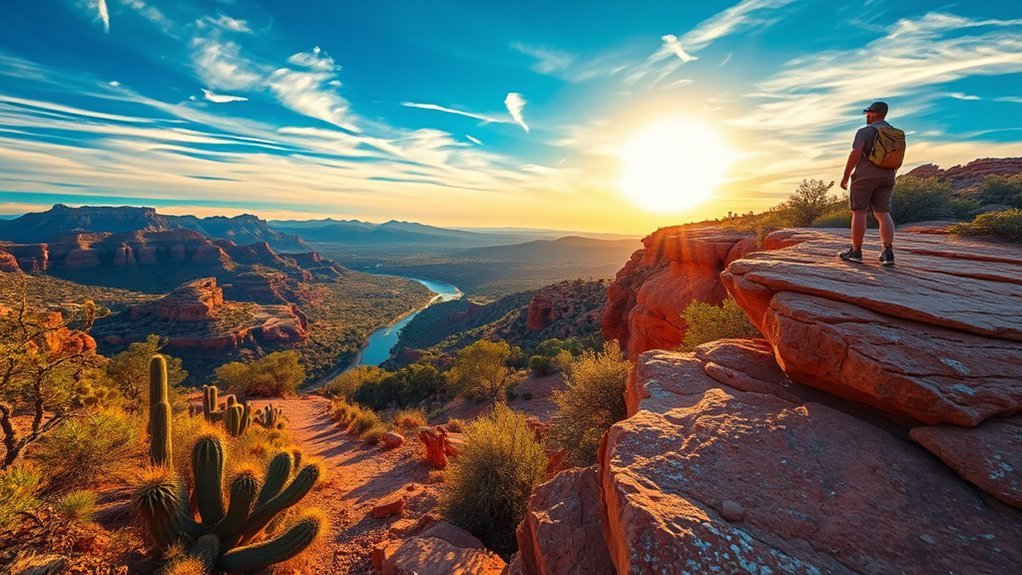
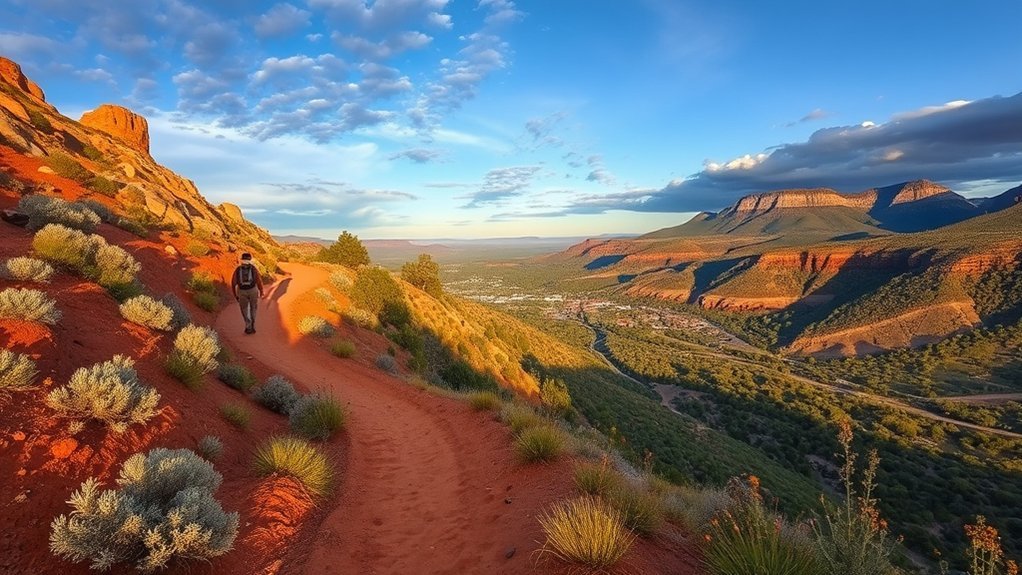
Trek the Sycamore Canyon Rim Trail
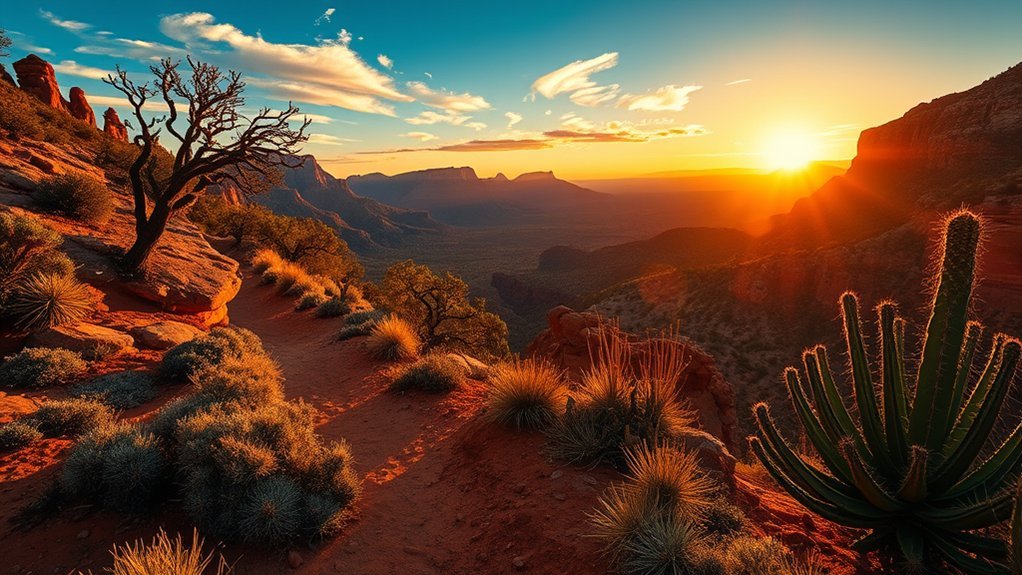
Set out early to beat the heat and catch the canyon in sharp morning light; the Sycamore Canyon Rim Trail rewards steady hikers with dramatic red-rock overlooks, narrow ridgelines, and intermittent pine-shaded sections. You’ll follow well-defined switchbacks and exposed stretches where footing matters—wear grippy boots and test each step. Water, sun protection, and a map go in your pack; cell service is unreliable, so tell someone your plan.
Set out early to beat the heat; Sycamore Canyon Rim rewards steady hikers with red-rock views, narrow ridges, and exposed switchbacks.
- Distance & difficulty: plan for 6–9 miles round trip depending on turnarounds; moderate to strenuous with elevation changes.
- Navigation: cairns and blazed sections help, but bring a topo or GPX file for backup.
- Wildlife & plants: watch for rattlesnakes, juniper roots, and loose scree on descents.
- Timing & weather: avoid midday heat, expect sudden wind or storms; if lightning approaches, descend to lower, sheltered terrain.
Stay paced, check conditions, and turn back if route or weather becomes unsafe.
Walk the Dead Horse Mesa Overlook Trail
Perched above a sweep of scrub and sandstone, the Dead Horse Mesa Overlook Trail gives you a short, steady walk to a wide, exposed viewpoint where you can scan Verde Valley and the distant Mogollon Rim. The trail is well-defined but rocky; wear sturdy shoes with good tread and watch your footing on loose gravel. Expect minimal shade—bring sun protection, a hat, and at least a liter of water per person for an hour-long visit. The overlook drops away abruptly in places, so keep children and dogs close and avoid edging out for photos. Trail markers are infrequent; stick to the main tread to prevent erosion and protect fragile desert plants. Sunrise and late afternoon light make for the best views and cooler temperatures, but be aware of afternoon storms in monsoon season. Pack out trash, check weather and trail conditions before you go, and allow extra time to return before dark if you start late.
Hike to Jerome Ghost Town Ruins
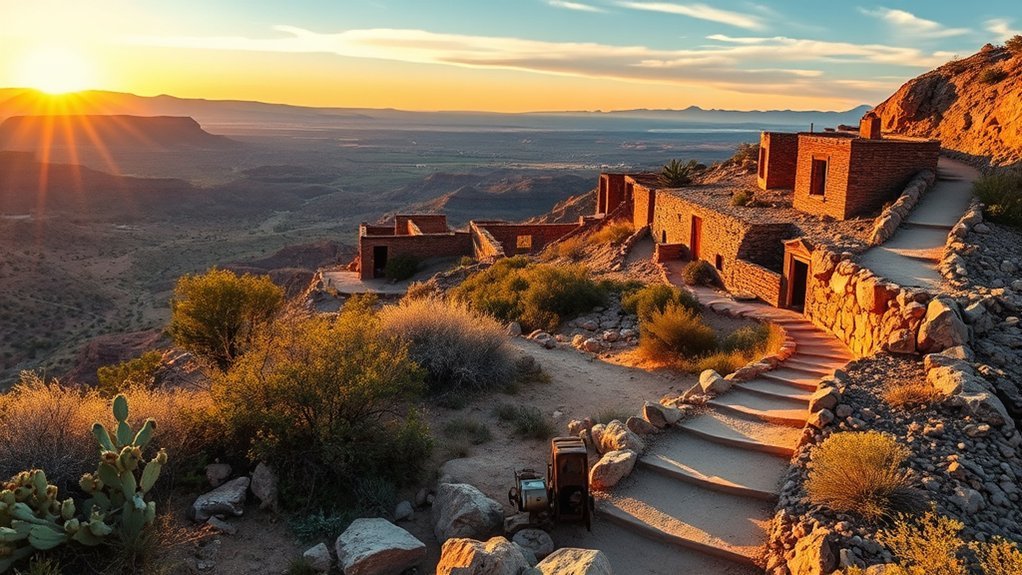
Start at the signed trailhead off Mingus Avenue and follow the well-worn switchbacks toward the old mining area, noting the short spur to the main ruins. Watch your footing on loose shale and be prepared for steep sections, sun exposure, and unstable structures—carry water, wear sturdy shoes, and don’t enter fenced or clearly collapsing buildings. Along the route you’ll see foundation walls, tailings, and rusted equipment that tell the town’s mining story, so take photos and read posted interpretation panels where available.
Route and Trailhead Details
Although the ruins are close to town, you’ll want to pick a clear trailhead and plan for steep, rocky footing; the main access begins at the Jerome State Historic Park parking area where signed paths lead toward the old mining structures. From there, follow the marked dirt track west, watch for cairns and interpretive signs, and expect occasional short switchbacks as elevation changes. The trail forks near a collapsed headframe—take the left spur for the most intact foundations and the right for panoramic views of Verde Valley. Trails are unpaved and narrow; stick to established routes to avoid unstable ground.
- Start: Jerome State Historic Park parking lot
- Distance: ~1.5 miles round trip (variable)
- Elevation change: moderate
- Navigation: marked paths and cairns
Safety and Terrain Tips
Because the terrain is uneven and loose, take deliberate steps, wear sturdy hiking shoes with good tread, and use trekking poles if you have balance concerns. Stay aware of loose rock, slick clay after rain, and sudden drop-offs near old mine cuts; test footholds before committing your weight. Bring layered clothing for temperature swings and a hat for sun exposure—shade is sparse. Carry at least 1.5 liters of water per person, a basic first-aid kit, and a headlamp if you might return after dusk. Stick to durable surfaces and established paths to avoid unstable ground and cultural damage. Let someone know your plan and expected return time, and check weather and park alerts before you go.
Historical Highlights and Ruins
While you explore the trail to the Jerome ghost town ruins, keep your focus on the scattered remnants of a once-thriving mining community—collapsed timber supports, rusted headframes, and weathered foundations that mark former homes and businesses. You’ll want sturdy shoes, a flashlight for shaded shafts (never enter), and a camera to document plaques and remaining structures. Stay on trails to protect fragile artifacts and avoid loose rock.
- Note: read interpretive signs for context and hazard warnings.
- Beware: unstable beams and open mine portals—keep distance.
- Observe: stone foundations, cisterns, and tailings piles tell daily-life stories.
- Respect: leave artifacts in place; report hazards to park staff.
Traverse the Sacred Mountain Trail
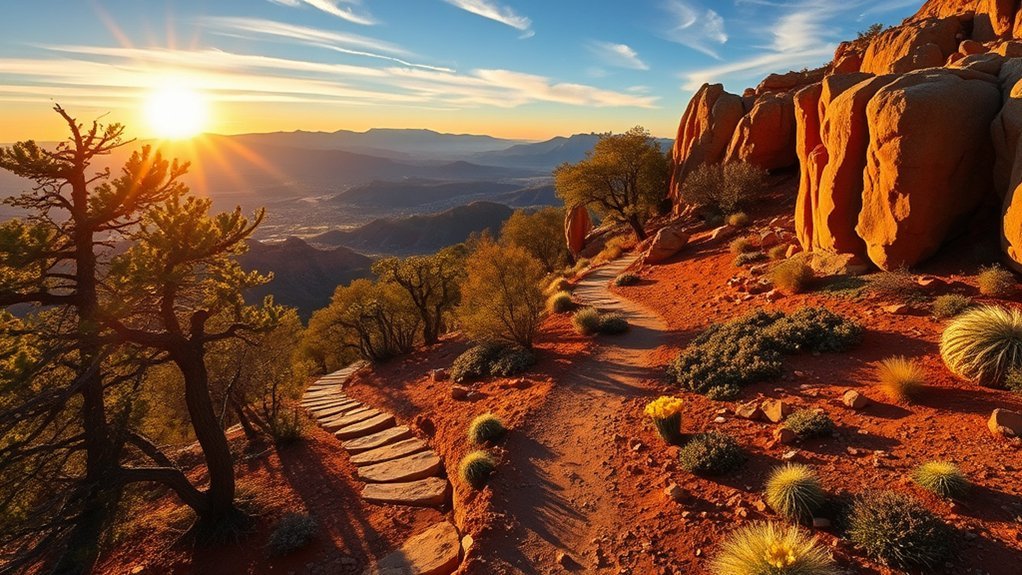
If you want a challenging day hike that rewards effort with sweeping canyon views and quiet pine ridgelines, plan to traverse the Sacred Mountain Trail. You’ll cover varied terrain—rocky switchbacks, exposed ridgelines, and shaded stretches under pines—so wear sturdy boots and carry trekking poles. Start early to avoid midday heat and aim for a clockwise route to tackle the steepest ascent first. Bring at least 2–3 liters of water, sun protection, a map, and a basic first-aid kit; cell service can be spotty. Watch for loose scree on descents and use cairns and blazes to stay on the singletrack; straying leads to fragile vegetation and erosion. Wildlife sightings are possible—keep a respectful distance and secure food. Expect changing conditions: temperatures drop quickly in shade or at higher elevation. If weather turns, turn back early rather than pushing to the trail end. Finish with gentle stretches to reduce soreness and leave no trace.
Journey Along the Woodchute Trail
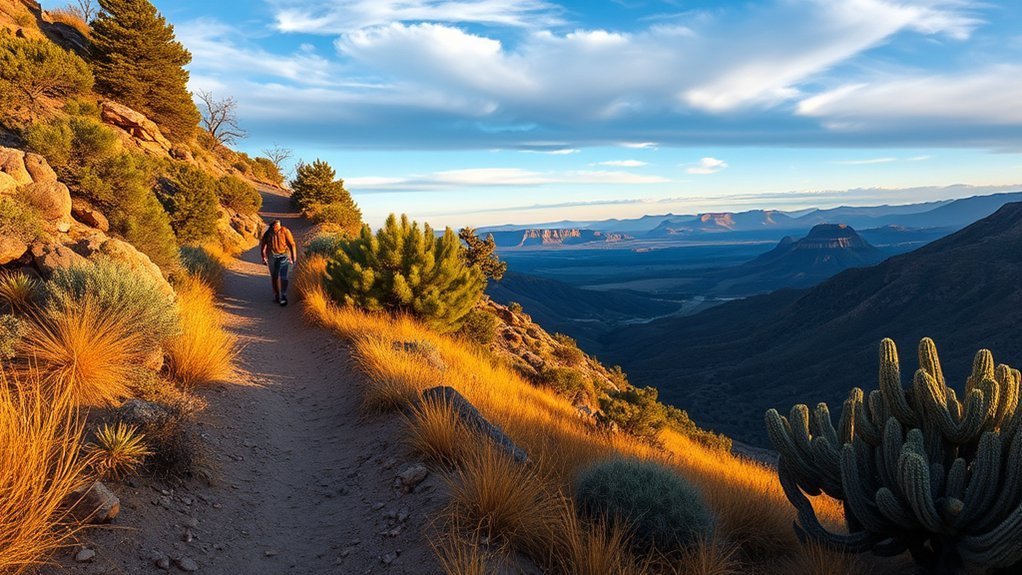
Beginning at the shaded trailhead just outside Jerome, you’ll follow the Woodchute Trail as it climbs a steady ridge of mixed pine and oak, offering frequent overlooks of the Verde Valley below. You’ll gain about 700 feet over moderate terrain, with well-marked switchbacks, rocky sections, and exposed ridgelines where wind can pick up. Carry water, layered clothing, and a map or GPS; cell signal can be spotty. Watch for loose rock on descents and step carefully on steeper pitches. Wildlife encounters are possible—give animals space and store food securely. Plan your hike to avoid hottest hours in summer and start early for winter daylight limits. Trail shoes with good tread and trekking poles will make technical sections safer. Leave no trace: pack out trash and stay on the tread to protect vegetation.
- Elevation gain and distance: moderate, steady climb.
- Water and heat: bring extra, hike morning or late afternoon.
- Footing: expect loose rock—use poles.
- Navigation: trail is marked, but carry backup.
Ramble the Jerome to Clarkdale Connector
Start at the marked Jerome trailhead where parking is limited—plan to arrive early or use street spots to avoid blocking driveways. The connector climbs and drops through mixed singletrack and rocky sections, so watch your footing and pace yourself for short, steeper pitches. You’ll be rewarded with layered canyon views and Verde Valley overlooks, so bring sun protection and water for safe, scenic stops.
Trailhead and Parking
At the Jerome trailhead you’ll find a small, well-marked parking area with room for a dozen cars and clear signage pointing toward the Jerome–Clarkdale Connector; park only in designated spaces to avoid blocking the narrow access road and follow posted trail rules. You’ll want sturdy shoes before you step off: the lot sits near a restroom and a trail map kiosk that shows distances, permitted uses, and emergency contacts. Pack out trash, lock valuables, and be mindful of limited cell service so someone knows your plan. Leave gates as you find them and avoid turning around on the narrow road.
- Arrive early on busy weekends.
- Use pullouts for quick stops.
- Observe posted vehicle limits.
- Report hazards to county patrol.
Terrain and Elevation
From the parking area you’ll move onto a trail that quickly shifts from packed dirt to rocky, uneven surfaces, so keep your footing and watch for loose scree on steeper pitches. You’ll gain about 600 feet over the first mile with short, exposed sections where each step matters; use trekking poles if you have them and descend facing the slope when scrambling. Expect narrow singletrack that alternates with wider service-grade stretches; roots and ledges demand attention after rain. The route undulates rather than climbs continuously, so manage your pace to conserve energy for sudden pitches. Trail markers are intermittent—note cairns and blazes and stay left at forks to avoid unnecessary elevation changes that add strain.
Scenic Highlights
While you’ll be focused on footing much of the way, don’t miss the sudden panoramas over Verde Valley where the trail crests—you’ll get sweeping views of Cottonwood and the meandering Verde River framed by red-rock ridges. You’ll notice changing vegetation: manzanita and juniper on slopes, cottonwoods near washes, and occasional wildflowers in season. Pack water and a hat; exposed viewpoints offer no shade and wind can be deceptive. Binoculars help you scan for raptors circling thermals and for historic Clarkdale structures across the valley. Stay on the trail to protect fragile soils and reduce slip risk on loose rock when approaching edges.
- Crest viewpoint: best for sunrise, watch footing.
- River outlook: easier access, bring water.
- Red-rock ridges: photo ops, stay back from cliffs.
- Juniper flats: shaded rest, check for ticks.
Adventure on the Tavasci Marsh Boardwalk
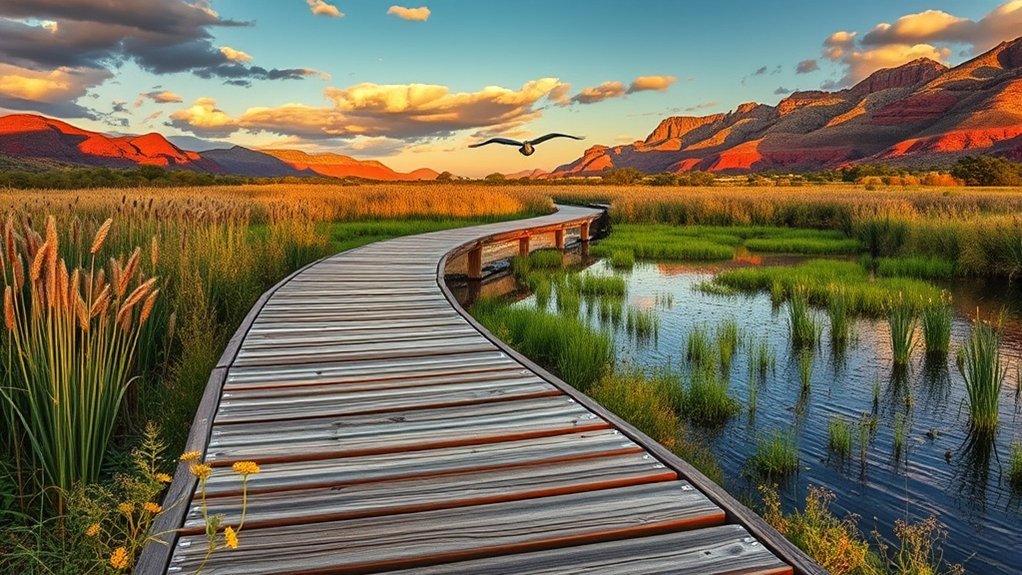
You’ll often find the Tavasci Marsh boardwalk humming with birdcalls and the soft slap of water as you step onto the elevated trail, so keep your eyes and ears alert from the start. You’ll follow a flat, well-maintained boardwalk that threads through cattails and willows, offering close views of marsh birds, dragonflies, and occasional beavers. Move deliberately—boards can be slick after rain—wear sturdy shoes and watch for gaps or loose planks. Bring binoculars and a field guide to identify species without disturbing nests. Stay on the boardwalk to protect fragile vegetation and prevent erosion; dogs should be leashed and kept off sensitive areas. Midday sun can be intense, so pack water, sunscreen, and a hat; mornings and evenings give the best light and cooler temperatures. Respect posted closures and private-property signs near the marsh edges. Exit promptly if you see flooding or hazardous wildlife activity; the trail is short, rewarding, and safest when you stay informed and cautious.
Frequently Asked Questions
Are Dogs Allowed on These Trails and Are Leash Laws Enforced?
Yes — dogs are allowed on many trails, but you’ll need to keep them leashed and under control; rangers and locals enforce rules, so bring waste bags, water, and a sturdy leash to protect wildlife and hikers.
What Is the Best Season for Wildflower Viewing Near Jerome?
Like a carpet unfolding, spring (March–May) is the best season for wildflowers near Jerome; you’ll see peak blooms, cooler temps, and manageable trails, so carry water, sun protection, and check recent trail conditions for safety.
Are There Guided or Ranger-Led Hikes Available in the Area?
Yes — you can join guided and ranger-led hikes nearby; check Prescott and Mingus Mountain schedules, local outfitters, and Verde Ranger District postings. You’ll get route info, safety briefings, gear checks, and wildlife awareness tips.
Where Are the Nearest Medical Facilities or Emergency Services?
You’ll find the nearest emergency room in Cottonwood (20 minutes), with Verde Valley Medical Center offering full ER services; Sedona hospitals are 30–40 minutes. I once flagged down an EMT like waving down a lifeline—always carry a charged phone.
Is Dispersed or Primitive Camping Permitted Along These Trails?
Generally, you can’t: most trails cross national forest or state land where dispersed camping’s restricted; designated campsites are required. Check local land management rules, obtain permits if needed, and avoid fragile habitats, water sources, and campfire risks.
Conclusion
You’ll leave Jerome with more than photos — you’ll carry trails like talismans. Let Dead Horse’s easy loops steady your pace, Verde River’s shade refill your breath, and Mingus, Sycamore, and Sacred remind you where caution earns views. Pack water, sturdy shoes, and a map; respect signs and loose rock. Walk the boardwalk and connector with quiet curiosity. Trek smart, stay present, and let each summit be a promise you kept to yourself.
