

When embarking on the journey of growing shallots in pots, the first and perhaps most crucial step is selecting the appropriate container. The size of the pot plays a significant role in the overall health and yield of the shallots. Ideally, a pot with a depth of at least 10 to 12 inches is recommended, as shallots develop a bulb that requires ample space to grow.
A wider pot, around 12 to 16 inches in diameter, can accommodate multiple bulbs, allowing for a more bountiful harvest. Additionally, using pots made from materials such as terracotta or ceramic can be beneficial, as they provide good insulation and help regulate soil temperature. Drainage is another critical factor to consider when choosing a pot for shallots.
Shallots are susceptible to rot if their roots sit in waterlogged soil. Therefore, selecting a pot with adequate drainage holes is essential. If you find a pot that you love but lacks drainage, you can easily modify it by drilling holes or placing a layer of gravel at the bottom to facilitate water flow.
Furthermore, consider the weight of the pot, especially if you plan to move it around for optimal sunlight exposure. Lightweight materials like plastic can be advantageous for this purpose, while heavier materials may provide stability against wind.
Key Takeaways
- Choose a pot that is at least 8 inches deep and has good drainage for growing shallots
- Use well-draining soil with a pH of 6.0-7.0 for planting shallot bulbs in pots
- Plant shallot bulbs 6 inches apart and 1 inch deep in the pot
- Water shallots regularly and fertilize every 3-4 weeks with a balanced fertilizer
- Place shallot pots in a sunny location with at least 6-8 hours of sunlight per day
Selecting the Best Soil for Growing Shallots
The soil composition is paramount when it comes to cultivating healthy shallots in pots. Shallots thrive in well-draining soil that is rich in organic matter. A high-quality potting mix that includes components such as peat moss, perlite, and compost can create an ideal environment for growth.
The organic matter not only provides essential nutrients but also improves soil structure, allowing for better aeration and drainage. A pH level between 6.0 and 7.0 is optimal for shallots, so testing your soil before planting can help ensure that it falls within this range. In addition to using a suitable potting mix, incorporating slow-release fertilizers into the soil can enhance nutrient availability over time.
Organic options like bone meal or fish emulsion can provide a steady supply of nutrients without the risk of chemical buildup. Mixing these fertilizers into the soil before planting will give your shallots a strong start. Furthermore, consider adding a layer of mulch on top of the soil after planting; this not only helps retain moisture but also suppresses weeds that could compete with your shallots for nutrients.
Planting Shallot Bulbs in Pots
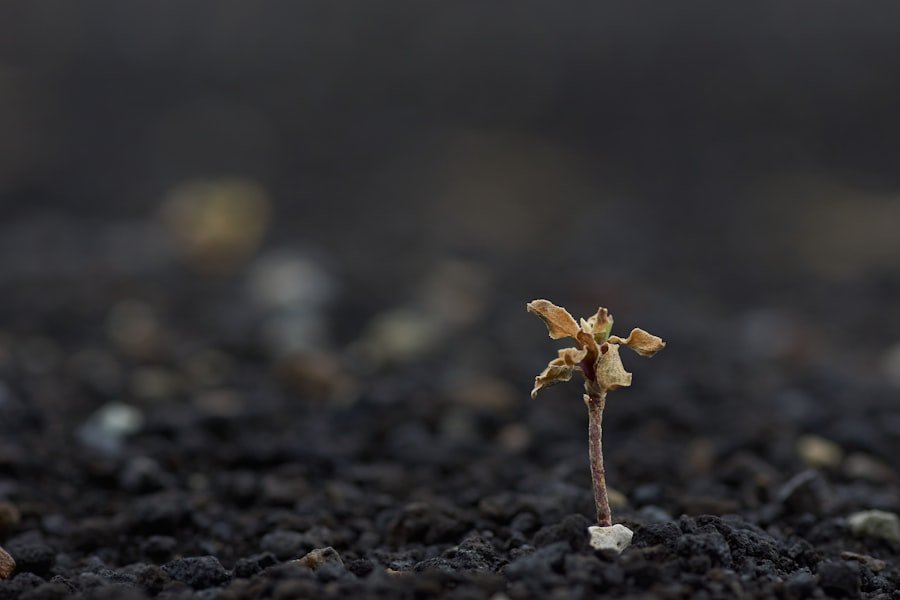
Once you have chosen the right pot and prepared the soil, it’s time to plant your shallot bulbs. Begin by selecting healthy bulbs that are firm and free from blemishes or signs of rot. When planting shallots, it’s essential to position them correctly; place each bulb with the pointed end facing upwards and bury them about 1 to 2 inches deep in the soil.
Spacing is also crucial; ideally, bulbs should be planted about 4 to 6 inches apart to allow for adequate growth and airflow between them. After planting, gently pat down the soil around each bulb to eliminate air pockets and ensure good contact with the soil. Water the bulbs lightly after planting to settle them into their new environment but avoid overwatering, as this can lead to rot.
If you’re planting multiple pots, consider staggering your planting dates to extend your harvest season. This method allows you to enjoy fresh shallots over a more extended period rather than all at once.
Watering and Fertilizing Shallots in Pots
| Week | Watering (times per week) | Fertilizing (times per month) |
|---|---|---|
| 1-2 | 2-3 | 1 |
| 3-4 | 3-4 | 2 |
| 5-6 | 4-5 | 2 |
Watering is a critical aspect of growing shallots in pots, as they require consistent moisture without becoming waterlogged. During the initial growth phase, it’s essential to keep the soil evenly moist but not saturated. A good rule of thumb is to check the top inch of soil; if it feels dry to the touch, it’s time to water.
As shallots mature, they will require less frequent watering, especially as their tops begin to yellow and die back, signaling that they are nearing harvest time. Fertilization should be approached with care; while shallots benefit from nutrients, over-fertilizing can lead to lush foliage at the expense of bulb development. A balanced fertilizer applied every four to six weeks during the growing season can support healthy growth without overwhelming the plants.
Organic options like compost tea or seaweed extract can provide essential micronutrients while promoting overall plant health. Monitoring your shallots for signs of nutrient deficiency—such as yellowing leaves—can help you adjust your fertilization schedule accordingly.
Providing Adequate Sunlight for Shallots
Shallots thrive in full sunlight, requiring at least six hours of direct sunlight each day for optimal growth. When positioning your pots, choose a location that receives ample sunlight throughout the day; south-facing patios or balconies are often ideal spots. If you live in an area with intense summer heat, consider providing some afternoon shade to prevent stress on the plants.
Conversely, if you’re growing shallots indoors or in a less sunny location, supplemental grow lights can help mimic natural sunlight and promote healthy growth. In addition to sunlight exposure, rotating your pots periodically can ensure that all sides of the plants receive equal light. This practice helps prevent uneven growth and encourages a more uniform bulb size.
If you notice that your shallots are leaning towards one side, it may indicate insufficient light; adjusting their position or adding reflective surfaces nearby can help improve light distribution.
Managing Temperature and Humidity for Shallots in Pots
Protecting Shallots from Heat Stress
When growing shallots outdoors in hot weather, it’s essential to provide protection from direct sun exposure.
Maintaining Optimal Humidity Levels
Shallots prefer moderate humidity, but excessive moisture can lead to fungal diseases like downy mildew or rot. Ensuring good air circulation around your pots can help prevent these issues.
Indoor and Greenhouse Growing Tips
When growing shallots indoors or in a greenhouse, where humidity levels may be higher, using fans or dehumidifiers can help maintain an optimal environment for healthy growth.
Controlling Pests and Diseases in Shallot Pots
Pest management is an essential aspect of growing shallots in pots, as these plants can attract various pests such as aphids, onion flies, and thrips. Regularly inspecting your plants for signs of infestation—such as discolored leaves or visible insects—can help catch problems early before they escalate.
Diseases can also pose a threat to shallot health; common issues include fungal infections and bacterial diseases that thrive in overly moist conditions. To prevent these problems, ensure proper watering practices and avoid overcrowding your pots. If you notice any diseased foliage, promptly remove affected leaves and dispose of them away from your garden area to prevent spreading pathogens.
Pruning and Harvesting Shallots in Pots
Pruning shallots is generally minimal; however, removing any yellowing or dead leaves can help improve air circulation and reduce disease risk. As your shallots mature, you may notice their tops beginning to fall over and yellow—this is a natural sign that they are ready for harvest. Typically, shallots are ready to be harvested about 90 to 120 days after planting, depending on the variety and growing conditions.
When harvesting shallots from pots, gently loosen the soil around the bulbs using a hand trowel or fork to avoid damaging them. Carefully lift each bulb out of the pot by grasping the tops or using a tool to pry them up from below. After harvesting, allow the bulbs to cure in a dry, shaded area for several days; this process helps improve their storage life by allowing excess moisture to evaporate.
Storing Shallots After Harvest
Proper storage techniques are crucial for maintaining the quality of harvested shallots. Once cured, trim off any remaining roots and cut back the tops to about an inch above the bulb. Store shallots in a cool, dark place with good ventilation—ideally at temperatures between 32°F and 50°F (0°C to 10°C).
Mesh bags or wooden crates work well for storage as they allow air circulation while preventing moisture buildup. Avoid storing shallots in plastic bags or containers that trap moisture; this can lead to rot and spoilage over time. Regularly check stored bulbs for signs of decay or sprouting; removing any affected bulbs promptly will help preserve the remaining ones.
Tips for Success in Growing Shallots in Pots
To maximize your success with growing shallots in pots, consider implementing several best practices throughout their cultivation cycle. First and foremost, choose disease-resistant varieties suited for container gardening; this can significantly reduce pest and disease issues down the line. Additionally, maintaining consistent care routines—such as regular watering schedules and timely fertilization—will contribute positively to plant health.
Another tip is to keep detailed records of your growing conditions and practices; noting factors such as planting dates, watering frequency, and any pest issues encountered can provide valuable insights for future growing seasons. Experimenting with different pot sizes or soil mixes may also yield beneficial results as you refine your approach over time.
Troubleshooting Common Issues with Growing Shallots in Pots
Despite careful planning and execution, challenges may arise when growing shallots in pots. One common issue is poor bulb development due to inadequate spacing or nutrient deficiencies; if bulbs appear small or underdeveloped at harvest time, reassess your planting density and fertilization practices for future crops. Additionally, if you notice bolting—where shallots produce flowers instead of focusing on bulb growth—it may indicate stress from temperature fluctuations or insufficient nutrients.
Another potential problem is yellowing leaves which could signal overwatering or nutrient deficiencies; adjusting your watering schedule and ensuring proper drainage can help alleviate these symptoms. By staying vigilant and responsive to changes in your plants’ health, you can effectively troubleshoot issues as they arise and enjoy a successful harvest of homegrown shallots from your pots.
FAQs
What are shallots?
Shallots are a type of onion that have a milder, sweeter flavor than regular onions. They are often used in cooking to add depth of flavor to dishes.
Can shallots be grown in pots?
Yes, shallots can be successfully grown in pots or containers. This makes them a great option for gardeners with limited space or those who want to grow them on a patio or balcony.
What type of pot should be used to grow shallots?
Choose a pot that is at least 8 inches deep and has good drainage. Terra cotta or plastic pots work well for growing shallots.
What kind of soil is best for growing shallots in pots?
Use a well-draining potting mix that is rich in organic matter. Adding some compost to the soil can also help provide the nutrients shallots need to thrive.
How should shallots be planted in pots?
Plant shallot bulbs about 1 inch deep in the pot, with the pointed end facing up. Space the bulbs about 6 inches apart to allow room for growth.
How much sunlight do shallots need when grown in pots?
Shallots prefer full sun, so place the pots in a location where they will receive at least 6-8 hours of sunlight per day.
How often should shallots be watered when grown in pots?
Water shallots regularly, keeping the soil consistently moist but not waterlogged. Be sure to water the pots when the top inch of soil feels dry to the touch.
Do shallots need to be fertilized when grown in pots?
Yes, shallots will benefit from a balanced fertilizer applied every 4-6 weeks during the growing season. Follow the instructions on the fertilizer package for best results.
When can shallots be harvested when grown in pots?
Shallots can be harvested when the tops begin to turn yellow and die back, typically around 90-120 days after planting. Carefully dig up the bulbs and allow them to cure in a warm, dry place for a few weeks before using or storing.
