Mount Pilatus gives photographers a rare mix of rugged Alpine peaks, Lake Lucerne, changing clouds, steep paths, and viewpoints that face different directions. You can make strong photographs with a phone or a dedicated camera, but timing and location matter more than carrying a bag full of gear. The best approach is to choose your viewpoint first, watch the weather, and then adapt your composition and settings to the light you actually find.
Quick Answer
For the best Mount Pilatus photos, start with Esel, Oberhaupt, the Dragon Path, or Tomlishorn. Pilatus recommends Esel for sunrise and Oberhaupt for sunset. Use a wide view for the Alps and Lake Lucerne, then switch to tighter compositions for ridges, clouds, people, wildlife, and mountain details.
Key Takeaways
- Choose your viewpoint before worrying about camera settings. Esel, Oberhaupt, Dragon Path, and Tomlishorn all create different compositions.
- Early and late light can add warmth, long shadows, silhouettes, and more texture to the mountain landscape.
- Use foreground rocks, paths, railings, ridges, and people to create depth and a clear sense of scale.
- Carry a lens cloth and spare battery because cloud, mist, wind, and temperature changes can affect your gear.
- Check current weather and viewpoint conditions before leaving the valley.
- Drone photography has separate Swiss aviation and Pilatus restrictions, so never assume a drone can be launched from the summit without checking first.
At a Glance
| Time Required | About 1 to 3 hours around Pilatus Kulm; allow more time for Tomlishorn, changing weather, or special sunrise and sunset plans. |
| Difficulty | Easy to moderate around the main summit area, but some paths can be steep, exposed, snowy, wet, or slippery. |
| Tools Needed | Phone or camera, lens cloth, spare battery, and weather protection. A wide-angle lens, telephoto lens, polarizer, or compact tripod can be useful but is optional. |
| Cost | No special photography equipment is required. Mountain transport, accommodation, guided activities, and special events are separate expenses. |
Best Photography Spots on Mount Pilatus
Pilatus-Bahnen’s official visitor material identifies several places that are particularly useful for photography. Instead of staying beside the mountain station for every shot, walk to different viewpoints and compare how the foreground, Lake Lucerne, surrounding peaks, and light change.
- Esel: One of the best-known viewpoints near Pilatus Kulm. The path starts behind Hotel Bellevue. It gives a broad Alpine panorama and views toward Lake Lucerne. Pilatus recommends Esel for sunrise. The viewpoint is closed in winter.
- Oberhaupt: A short walk from the summit facilities and a strong choice for layered mountain scenes. Pilatus recommends Oberhaupt for sunset.
- Dragon Path: The rock galleries and peepholes create natural frames that can produce very different photographs from the open summit viewpoints.
- Tomlishorn: A longer option for photographers who want more separation from the main summit area and different views back toward the Pilatus massif. Allow extra walking time and check trail conditions first.
- Klimsen Chapel: A small architectural subject that can provide scale and contrast against the mountain landscape.
- Drachenalp and Fräkmüntegg: Useful alternatives when you want trees, slopes, transport infrastructure, or foreground detail instead of only high-alpine panoramas.
See the official Pilatus viewpoints guide and the Pilatus Good to Know guide when planning your locations.
Pro Tip: Take one wide establishing shot when you reach a viewpoint, then stop looking at the whole panorama. Search for smaller scenes such as a ridge disappearing into cloud, light hitting one peak, a person on a path, a cable car, or repeating layers of mountains.
Finding the Perfect Angle
The angle from which you photograph Mount Pilatus can dramatically change the story of the image. A low viewpoint close to rocks or Alpine plants can make foreground details feel larger and give the mountains more depth. A slightly higher position can reveal the relationship between paths, ridges, Lake Lucerne, and the surrounding peaks.
Do not automatically raise the camera to eye level and take every picture from the same standing position. Crouch when the ground is safe, move a few steps sideways, photograph through a natural opening, or use a railing or path as part of the composition. Small changes in camera position can separate overlapping mountain ridges or remove distracting signs and people from the background.
When photographing buildings or summit structures, an oblique angle can emphasize lines and depth, while a straight-on composition can highlight symmetry. With people, try both a closer portrait and a wider environmental photograph that shows how small the person appears against the Alpine landscape.
Utilizing Natural Light
Natural light changes quickly in the mountains. The lower-angle light around sunrise and sunset can create warmer color, longer shadows, silhouettes, and stronger texture across ridges. Pilatus-Bahnen specifically recommends Esel for sunrise and Oberhaupt for sunset in its visitor information.
Do not assume that normal mountain transport will always put you at a viewpoint before sunrise or keep you there until after sunset. Depending on the season and date, you may need an overnight stay, a special event, or another permitted access plan. Check the official Pilatus timetable before planning a time-sensitive shoot.
Midday light can be much harder, especially when the sky is clear. Instead of abandoning the camera, look for strong graphic shapes, backlit clouds, shadows, and tighter scenes. On cloudy days, the softer light can be excellent for details because contrast is lower. Passing clouds can also create moving patches of light across the mountains, so waiting in one safe location for a few minutes can completely change a scene.
Note: Check Pilatus Live before ascending. Its webcams and current facility information can help you judge cloud cover and whether individual viewpoints are open.
Capturing the Details
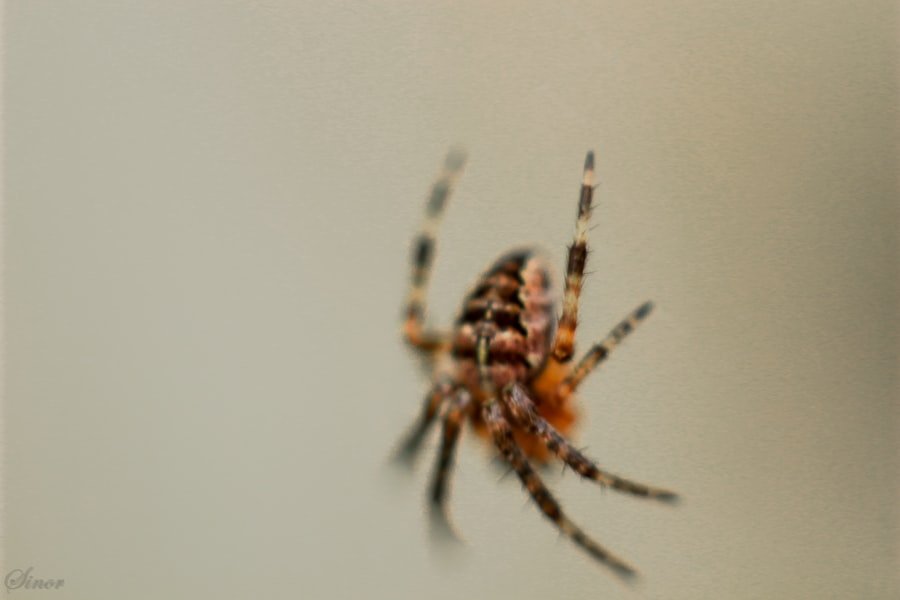
A grand panorama is only one part of a Mount Pilatus photo story. Details can make the final set of photographs feel much richer. Look for weathered rock, Alpine plants, droplets after mist, snow textures, signs, railway details, cable-car structures, and patterns created by shadows.
If you have a lens that focuses closely, use it for small natural subjects without leaving designated paths or damaging vegetation. You do not need true macro equipment to make a strong detail photograph. Moving closer, simplifying the background, and carefully selecting the focus point can often be enough.
People and wildlife can also provide scale. Instead of filling the frame every time, leave enough surrounding landscape to show where the subject is. If wildlife appears, use a longer focal length and give the animal space rather than approaching it for a close photograph.
A complete Pilatus photo story combines the famous panorama with smaller details that show what the mountain actually felt like at that moment.
Incorporating the Surrounding Landscape
| Composition Element | How to Use It | Pilatus Example |
|---|---|---|
| Foreground | Place a nearby object at the bottom or side of the frame to create depth. | Rock, Alpine vegetation, a path, or a safe section of railing. |
| Scale | Include a person, building, train, or cable car to show the size of the landscape. | A hiker beneath a ridge or the summit buildings surrounded by peaks. |
| Layers | Arrange foreground, middle-distance ridges, and distant mountains within the same frame. | A foreground ridge with Lake Lucerne and hazier peaks beyond it. |
The surrounding landscape gives context to every subject on Mount Pilatus. A person standing against an empty sky tells a different story from the same person framed by Lake Lucerne and several mountain layers. Before pressing the shutter, look around the edge of the frame and decide which environmental elements actually help the photograph.
Placing the main subject slightly away from the center can create room for the landscape and make the viewer explore the frame. Foreground rocks, paths, or plants can provide an entry point into a wide scene. Mist and low cloud can be useful too, because they separate ridges and simplify busy backgrounds.
Using Leading Lines
Leading lines direct the eye toward the main subject. On Mount Pilatus, you can find them in mountain paths, rail tracks, cable lines, stairways, fences, railings, rock edges, and the curves of distant ridges.
Move until the line begins near an edge or corner of your frame and leads toward something important, such as a person, viewpoint, peak, or patch of light. A path that disappears around a bend can also create a sense of movement and make viewers imagine continuing through the landscape.
Converging lines can add a stronger sense of depth. Stairways, railway tracks, and architectural edges are especially useful for this approach. Keep an eye on the background so that a strong leading line does not accidentally direct attention toward a distracting object.
Experimenting with Different Perspectives
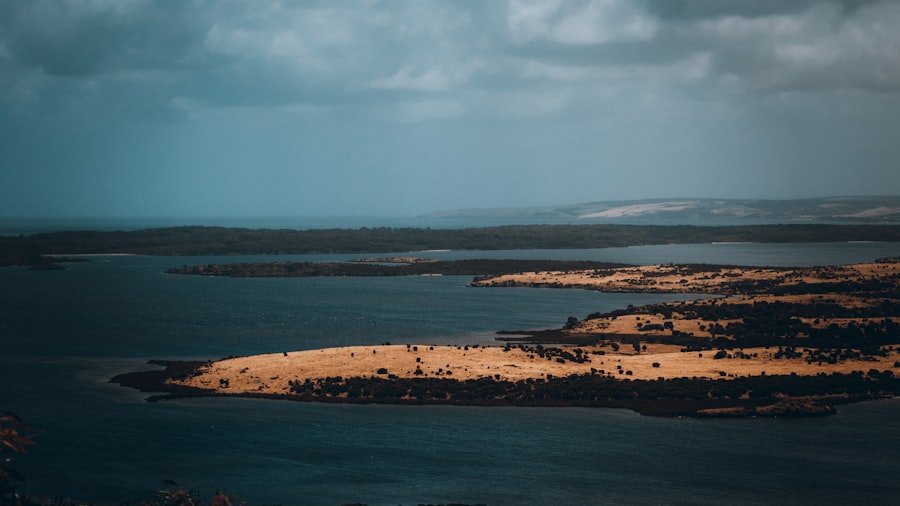
Photographing the same scene from several perspectives is one of the easiest ways to return with a more varied set of images. Start with the obvious wide panorama, then create a vertical composition, a close crop, a low-angle foreground image, and a photograph that includes a person or structure for scale.
Distance changes the story as much as camera height. A close photograph of rock, vegetation, or a person’s expression can feel intimate, while a wide image emphasizes the size of the mountain environment. A telephoto view can compress distant ridges so that they appear stacked together, while a wider lens can emphasize foreground-to-background depth.
The Dragon Path is particularly useful when you want something different from an open panorama. Its openings and rock surroundings can act as natural frames. At other viewpoints, try using doorways, railings, or gaps between rocks while remaining on safe, permitted surfaces.
Playing with Depth of Field
Depth of field describes how much of the scene appears acceptably sharp. A wide aperture with a low f-number can produce shallower depth of field, which is useful when isolating a person, flower, sign, or other detail from a busy background. A narrower aperture with a higher f-number generally increases depth of field and is often useful when you want both foreground and distant landscape elements to appear sharp.
Nikon’s aperture guide explains this relationship in more detail.
Do not select an aperture only because it is traditionally associated with landscape photography. First decide what needs to be sharp. If there is no close foreground, you may not need extreme depth of field. If wind is moving plants or people are walking through the scene, keeping a sufficiently fast shutter speed may matter more than using a very small aperture.
Camera Settings for Mount Pilatus
There is no single correct setting because mountain light can change within minutes. These are practical starting points rather than fixed rules.
- Wide landscapes: Start near your camera’s base ISO and try an aperture around f/8 to f/11 when you want substantial depth of field. Adjust the shutter speed for the available light.
- Handheld photographs: Watch the shutter speed, especially in wind or low light. Raise ISO when necessary rather than accepting camera shake.
- People or wildlife: Use a faster shutter speed if the subject is moving. Continuous autofocus can help with unpredictable movement.
- Sunrise and sunset: Check the histogram or highlight warnings. When the sky is much brighter than the foreground, exposure bracketing can give you more options later.
- Tripod shots: Use a tripod only where it can stand securely without blocking a narrow path or creating a hazard for other visitors.
A polarizing filter can reduce some reflections and deepen parts of a blue sky, but rotate it while watching the effect rather than automatically using maximum polarization. With very wide lenses, polarization across a large area of sky can look uneven.
Photography Gear to Bring
You do not need professional equipment to photograph Mount Pilatus. A lightweight kit is often easier to manage on mountain paths.
- Wide-angle lens: Useful for broad Alpine scenes, dramatic foregrounds, and architecture close to the camera.
- Standard zoom: A flexible choice if you want to carry only one lens.
- Telephoto lens: Useful for compressed mountain layers, distant details, cable cars, and wildlife photographed from a respectful distance.
- Lens cloth: Valuable when mist, drizzle, snow, or condensation reaches the front element.
- Spare battery: Cold conditions and frequent reviewing can reduce practical battery life.
- Small weather cover: Helps protect equipment when conditions change.
- Optional tripod: Helpful for low-light work when it can be used safely and without obstructing others.
Phone Photography Tips
A phone can produce excellent Mount Pilatus travel photographs. Clean the lens before each important shot, especially after carrying the phone in a pocket. Tap the main subject to control focus and exposure, and lower the exposure slightly if bright clouds are losing detail.
Use panorama mode selectively. A panorama works best when the scene genuinely needs extra width. For many photographs, a normal frame with one strong foreground subject will be more effective than including everything you can see.
Weather and Mountain Safety
Warning: Do not remain on an exposed ridge or peak to get a photograph when thunderstorms threaten. MeteoSwiss advises avoiding exposed mountain ridges, peaks, towers, isolated trees, and open terrain because of lightning risk. Follow closures and move to appropriate shelter when conditions deteriorate.
Weather is part of mountain photography, but safety comes first. Check both the forecast and the current mountain conditions before starting. MeteoSwiss thunderstorm guidance explains what to do when lightning is a concern, while Pilatus Live provides webcams and current information for the mountain.
Wear footwear suitable for the actual conditions and stay on designated routes and viewpoints. Do not back toward an edge while composing a photograph, and do not climb over barriers for a cleaner foreground. When using a tripod, keep its legs clear of walking routes.
Season also matters. The official Pilatus hiking information notes that snow can remain on higher trails and that conditions determine when summit routes are suitable. Esel itself is closed in winter, so check the status of the exact viewpoint you intend to use rather than assuming summer access applies year-round.
Drone Photography Rules at Mount Pilatus
Ordinary handheld photography and drone photography should not be treated as the same activity. Pilatus-Bahnen states that drone restrictions apply on Mount Pilatus.
Its 2026 drone guide says that a permit is required for drones weighing more than 250 grams when flying at Pilatus Kulm because the summit is in the vicinity of the Alpnach military airfield. The guide also summarizes requirements involving operator registration, visual line of sight, maximum flight height, crowds, insurance for heavier drones, and wildlife protection.
Before bringing a drone, read the Pilatus Drone Guide and verify the current rules with the Swiss Federal Office of Civil Aviation. Restrictions can depend on the aircraft, operating category, exact launch location, nearby airspace, and current geographical zones.
Note: Never rely on an old blog post or a previous visit to decide whether a drone flight is legal. Check the current official aviation map and requirements before every flight.
Editing and Enhancing Your Photos
Post-processing can refine a Pilatus photograph after the shoot. Basic adjustments to exposure, highlights, shadows, white balance, contrast, and sharpness are often enough. If cloud detail is important, reducing highlights can recover information that is present in the file. Slight shadow adjustments can reveal foreground detail without making the image look flat.
Local adjustments such as dodging and burning can guide attention toward a bright ridge or away from a distracting corner. Color adjustments should support the conditions you actually witnessed rather than turning every mountain sunset into an extreme orange scene.
Depth and atmosphere are important parts of Alpine landscapes, so be cautious with excessive clarity, dehaze, sharpening, or saturation. Over-processing distant ridges can remove the natural atmospheric separation that gives the scene its sense of scale.
The best editing workflow starts before you take the photograph. Arrive with a plan, check current conditions, protect important highlights, make several compositions, and review the edges of the frame before leaving the viewpoint. A well-composed original file needs far less correction later.
Frequently Asked Questions
What is the Pilatus viewpoint?
Mount Pilatus has several viewpoints rather than one single photography platform. Around Pilatus Kulm, well-known options include Esel and Oberhaupt, with additional photographic opportunities along the Dragon Path and toward Tomlishorn.
Where is the Pilatus viewpoint located?
The main viewpoints discussed here are around Pilatus Kulm on Mount Pilatus near Lucerne in Central Switzerland. Visitors normally reach the summit area by the Pilatus mountain railway and cableway system or by appropriate hiking routes.
What are the best photography spots on Mount Pilatus?
Pilatus-Bahnen highlights Esel, Oberhaupt, Klimsen Chapel, the Dragon Path peepholes, Tomlishorn, Drachenalp, and the area outside Fräkmüntegg station as useful photo locations.
What is the best time for photography at Mount Pilatus?
Early and late light can produce warm color, long shadows, and stronger texture. Pilatus recommends Esel for sunrise and Oberhaupt for sunset. Check transport, viewpoint access, weather, and seasonal conditions before planning around those times.
What photography tips work best at the Pilatus viewpoint?
Use a wide view for the main panorama, then photograph smaller details and mountain layers. Add foreground elements, use paths and ridges as leading lines, include people for scale, protect bright cloud highlights, and experiment with both horizontal and vertical compositions.
Do I need a tripod for Mount Pilatus photography?
No. Most daytime photographs can be made handheld. A compact tripod can help in low light or when you deliberately need a slower shutter speed, but use it only where it is stable and does not block a path or create a hazard.
Are there photography regulations or restrictions at Mount Pilatus?
Handheld photography and drone photography are different. Pilatus publishes specific drone restrictions, and Swiss aviation rules also apply. For example, Pilatus’s 2026 guidance states that drones over 250 grams require a permit for flights at Pilatus Kulm because of the nearby Alpnach military airfield. Always verify current official requirements before flying.
What safety tips should photographers follow at Mount Pilatus?
Check weather and viewpoint conditions, wear appropriate footwear, stay on designated paths, keep away from unprotected edges, and never back toward a drop while looking through a camera. If thunderstorms threaten, leave exposed ridges and peaks and follow official safety guidance.
Is the Esel viewpoint open in winter?
No. Pilatus states that the Esel viewpoint is closed in winter. Check Pilatus Live before your visit because seasonal conditions can also affect other paths and viewpoints.
Sources
- Pilatus-Bahnen AG: Viewpoints – official information on Mount Pilatus viewpoints and access.
- Pilatus-Bahnen AG: Good to Know 2026 – official recommended photo spots and sunrise/sunset locations.
- Pilatus Live – current webcams, weather information, facilities, and viewpoint status.
- MeteoSwiss: Thunderstorm Safety – official guidance for lightning and exposed mountain terrain.
- Pilatus-Bahnen AG: Drone Guide 2026 – Mount Pilatus-specific drone requirements and restrictions.
- Swiss Federal Office of Civil Aviation: Drone Flight Rules – official Swiss aviation requirements for drone operations.