The Lion Monument, or Löwendenkmal, in Lucerne is one of Switzerland’s best-known memorials and a rewarding subject for photographers because expression, carved stone, surrounding rock, trees, and changing light can all shape the final image. The roughly 10-by-6-meter relief commemorates Swiss Guards who died during the Storming of the Tuileries in Paris on August 10, 1792. Danish sculptor Bertel Thorvaldsen designed the monument, while Lukas Ahorn carved the monumental relief into the former quarry rock face. It was unveiled in 1821. You can read the official historical interpretation at Lion Monument Lucerne.
Quick Answer
For strong Lion Monument photos, start with a centered establishing shot, then move slightly off-center for depth and tighter details. Soft early or late light and overcast conditions are usually easier to expose than harsh sun. Use your camera or phone’s main lens, protect bright highlights, and avoid blocking other visitors.
Key Takeaways
- Photograph the full rock relief first, then make tighter images of the lion’s face, paws, shields, inscriptions, and surrounding stone.
- Early or late light can be attractive, but overcast weather is also excellent because it reduces harsh contrast across the rock.
- A smartphone, compact camera, DSLR, or mirrorless camera can all produce strong results. Good viewpoint, exposure, and timing matter more than camera price.
- A standard zoom is the most versatile lens choice. A wider lens can show more context, while a moderate telephoto is useful for details.
- The monument is a memorial as well as a tourist attraction, so stay behind barriers, follow current signs, and avoid obstructing other visitors.
At a Glance
| Time Required | About 30–60 minutes for a relaxed photography visit |
| Difficulty | Easy; the main challenge is managing crowds, contrast, and composition |
| Tools Needed | Camera or smartphone; optional standard zoom, telephoto lens, tripod, lens cloth, and spare battery |
| Cost | Free admission to the Lion Monument park; nearby attractions may charge separately |
Choosing the Right Viewpoint for the Lion Monument
Begin from the main viewing area with a straightforward photograph of the complete lion and surrounding rock face. A centered frame works well here because the monument itself is highly symmetrical as a visual subject and the broad view establishes scale and context.
After getting the obvious photograph, move a little to the left and right while remaining within the public viewing area. A slight angle can make the rock face feel deeper and can separate the lion from nearby visual distractions. Compare several positions rather than assuming the first unobstructed spot is the best one.
A slightly lower camera position can strengthen the sense of scale, but avoid forcing an exaggerated angle that distorts the monument. If people are moving through the foreground, either wait for a clean opening or deliberately include one or two visitors as a scale reference rather than cutting random bodies through the bottom of the frame.
Pro Tip: Take the wide establishing photograph first. Then make a second sequence of medium and tight frames. This gives you a complete visual story instead of several nearly identical wide shots.
Lighting Considerations for Better Lion Monument Photos
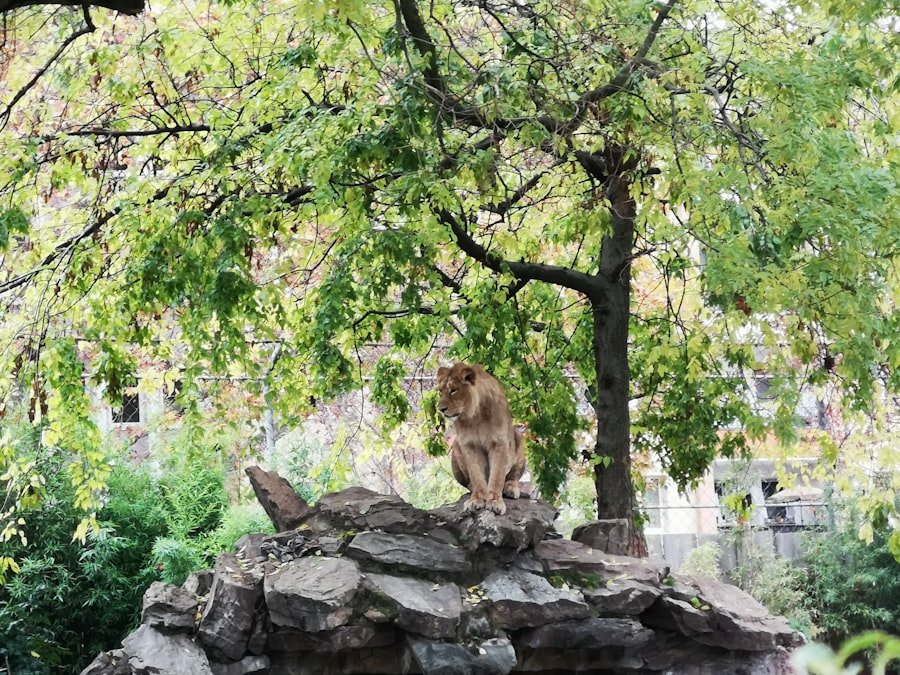
Soft light is usually easier to manage on the Lion Monument because the carved lion sits within a rock setting where deep recesses and brighter stone can create a wide range of tones. Early morning and later-day light may produce warmer color and gentler contrast. Canon’s travel photography guidance describes the period after sunrise and before sunset as golden hour, when the low sun can create warmer illumination.
Do not assume that sunrise or sunset automatically means the lion itself will receive perfect golden light. Trees, weather, the surrounding rock, and the seasonal sun angle affect what reaches the relief. Look at the actual scene and expose for the stone rather than following a fixed time-of-day rule.
Overcast weather can be excellent. Clouds act as a large natural diffuser, reducing harsh shadows and making the texture of the carved rock easier to record. Canon also notes that cloud and mist soften natural light.
If you arrive under hard midday sun, a reflector or handheld diffuser will not meaningfully control the light across a monument of this size. Instead, reduce exposure slightly if highlights are clipping, shoot RAW when available, try a different viewpoint, wait for passing cloud, or return when conditions are softer.
Note: After rain, wet stone and foliage may appear richer and more reflective. Protect your equipment from moisture and watch for slippery surfaces.
Composition Tips for Framing the Lion Monument
| Composition Tip | How to Use It at the Lion Monument |
|---|---|
| Choose a strong focal point | Use the lion’s face as the emotional center in medium and tight photographs. |
| Use leading lines | Look for edges of rock, paths, foliage, or foreground shapes that guide the eye toward the lion. |
| Try the rule of thirds | Place the lion’s head near an intersection when creating an intentionally off-center composition. |
| Change perspective | Compare centered, slightly offset, lower, wider, and tighter frames without crossing visitor boundaries. |
| Watch light and shadows | Keep texture in the stone while avoiding empty white highlights or completely blocked shadows. |
The rule of thirds can be useful, but it is not mandatory. A centered composition often suits this monument because the broad rock opening naturally frames the reclining lion. For a second image, shift the lion’s head away from the middle and give it visual space in the direction it faces.
Foreground foliage can add depth when it is available, but do not let branches cover the lion’s expression. Check every edge of the frame before taking the photograph. Small distractions near corners are much easier to fix by moving a few inches while shooting than by trying to repair them later.
Also make both horizontal and vertical frames. Horizontal compositions are natural for the long rock relief, while vertical images can work well when you want to combine foreground, lion, and the rock face above it.
Equipment Recommendations and Camera Settings
You do not need a professional camera to photograph the Lion Monument well. Modern smartphones, compact cameras, DSLRs, and mirrorless cameras can all create strong images when exposure and composition are controlled carefully.
Useful lens choices
- Wide-angle: Useful when you want the monument and more of its surrounding setting in one frame. Avoid going so wide that the lion becomes tiny.
- Standard zoom: A range around 24–70mm equivalent is especially versatile for full views and medium compositions.
- Moderate telephoto: Useful for isolating the lion’s face, paws, shields, inscriptions, and stone texture from normal visitor positions.
- Macro lens: Usually unnecessary here. The monument is a large relief viewed from a public area, so a standard or telephoto zoom is generally more practical for apparent close-ups.
Good starting settings
There is no single correct exposure because the light changes constantly. As a starting point in daylight, use a moderate aperture such as f/5.6 to f/8 if your camera allows it, keep ISO as low as practical, and select a shutter speed fast enough to avoid camera shake. Review the histogram or highlight warning if your camera provides one.
Focus on the lion rather than the foreground. If your camera offers RAW capture, RAW gives you more flexibility when balancing bright stone and deep shadows later. If you shoot JPEG, pay closer attention to exposure and white balance in-camera.
Smartphone photography
Use the phone’s main camera for the cleanest starting image, then try an optical telephoto camera if your phone has one. Avoid heavy digital zoom because it can reduce fine detail. Tap the lion to focus, lower exposure slightly when bright stone is losing detail, and hold the phone steady with both hands.
A tripod is optional rather than essential. It is most useful when shutter speeds become slow, when you want identical bracketed frames, or when making deliberate low-light photographs. During a busy visit, handheld shooting may be quicker and less obstructive.
Timing Your Visit for Better Photography Conditions
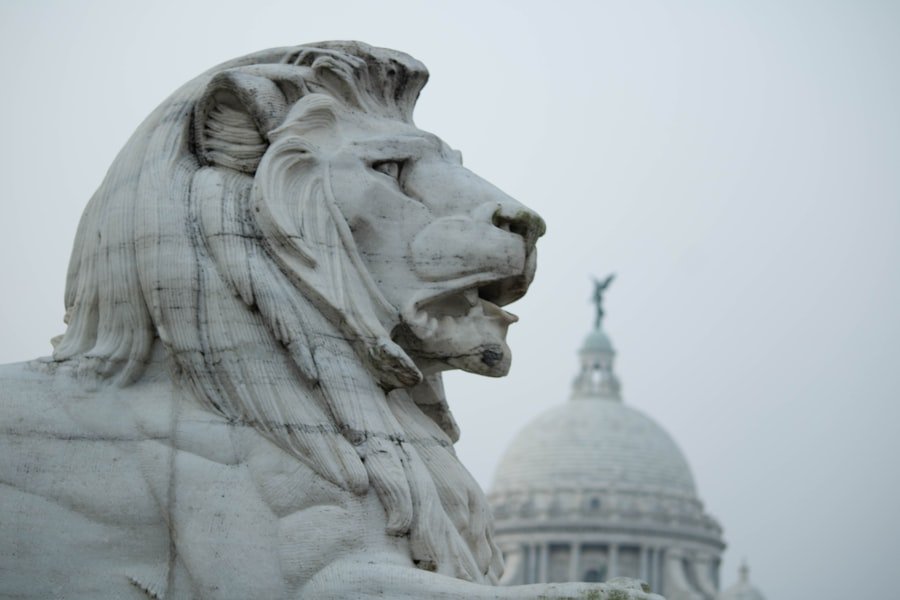
Early morning is often the easiest time for photographers who want a calmer experience. Even when the light is not dramatic, fewer people moving through a composition can make it easier to work carefully through several viewpoints.
Later-day light can also produce attractive color and shadows. However, weather and the surrounding park matter as much as the clock. A bright overcast day may produce more even detail than direct sunshine, while broken clouds can create rapidly changing patches of light.
Spring and summer foliage can add color around the monument, while autumn can introduce warmer leaves. In winter, the scene can become more subdued. Instead of choosing a season solely for photography, work with the colors and atmosphere that are present during your Lucerne trip.
Pro Tip: Before leaving, check your photographs at full-screen magnification. Make sure you have at least one sharp full view, one medium composition, and several detail images. This prevents discovering later that every frame was nearly identical.
Practical Access and Respectful Photography
According to Lucerne Tourism’s current visitor information, admission to the Lion Monument is free and the attraction is wheelchair accessible. It can be reached on foot in roughly 15 minutes from Lucerne station and the Old Town. Lucerne Tourism also lists buses 1 and 19 to the Löwenplatz stop.
The Glacier Garden Lucerne is directly next to the Lion Monument, which makes the two attractions easy to combine during the same outing.
Warning: Treat the Lion Monument as a memorial, not simply a photo backdrop. Stay within public visitor areas, respect barriers and current signs, do not climb on surrounding structures, and keep tripods or bags from blocking other visitors.
The park’s interpretation points also provide useful historical context. Reading them before you photograph the monument can change the images you choose to make, especially once you understand that the site has been interpreted as a memorial, artwork, political statement, and tourist landmark rather than as a simple decorative sculpture.
Post-Processing Lion Monument Photos
Post-processing should reveal the texture and mood already present in the scene rather than turn the stone into something unnatural. Start with exposure and white balance. Recover bright areas if needed, open deep shadows carefully, and keep enough contrast to preserve the carved form.
Adobe Lightroom provides controls for exposure, tonal adjustments, detail, sharpening, cropping, and perspective. Adobe’s current Lightroom editing documentation explains its sharpening controls, while the Crop and Geometry documentation covers reframing and perspective correction.
A simple editing workflow
- Correct overall exposure while watching the brightest stone.
- Set white balance so the rock does not look unnaturally blue, yellow, or magenta.
- Adjust highlights and shadows moderately to reveal carved detail.
- Add only enough contrast or texture to strengthen the relief.
- Crop distracting edges and straighten the frame if necessary.
- Apply sharpening at 100% view and stop before edges look crunchy or haloed.
- Use noise reduction only where it is actually needed, especially on higher-ISO images.
Avoid pushing clarity, texture, saturation, or HDR-style shadow recovery too far. The Lion Monument is powerful because of its restrained, somber appearance. An aggressive edit can weaken that mood.
The same habit of looking closely at texture, shape, and color can be practiced with very different subjects. For another visually detailed topic on this site, see Exploring the Delightful World of Asian Melon.
Capturing the Details of the Monument
Wide photographs establish the setting, but details reveal much of the Lion Monument’s emotional force. Make a second group of images that concentrates on the lion’s face, mane, paws, shields, inscriptions, and the transitions between smooth carving and rough sandstone.
A standard zoom or moderate telephoto lens is useful because it lets you isolate these features without needing to approach the relief closely. With a smartphone, use a true optical telephoto camera when available rather than relying on extreme digital magnification.
Try both deep and shallow depth-of-field approaches when your equipment allows it. More depth of field can keep the lion and surrounding rock legible together. A shallower depth of field can simplify foreground elements, although the large distance to the monument may limit how blurred the background becomes.
A complete Lion Monument photo set should show both scale and emotion: one broad view explains where the lion sits, while tighter frames reveal the expression and carved details that make the memorial memorable.
Sources
- Lion Monument Lucerne: The History — official history, purpose, dimensions, unveiling, and interpretation of the memorial.
- Lion Monument Lucerne: The Artists — Thorvaldsen’s 1819 design and Lukas Ahorn’s carving work.
- Lucerne Tourism: Lion Monument — current admission, accessibility, directions, and visitor information.
- Glacier Garden Lucerne — confirms the Glacier Garden’s location directly beside the Lion Monument.
- Canon: Travel Photography Tips — guidance on golden-hour travel photography.
- Adobe Lightroom Editing Documentation — current editing and sharpening guidance.
Frequently Asked Questions
What is the Lion Monument viewpoint?
The Lion Monument viewpoint is the public viewing area for Lucerne’s famous rock relief of a dying lion. The memorial commemorates Swiss Guards killed during the Storming of the Tuileries in Paris on August 10, 1792.
Where is the Lion Monument located?
The Lion Monument is in Lucerne, Switzerland, at Denkmalstrasse near Löwenplatz. The Glacier Garden Lucerne is directly next to it. Lucerne Tourism says the monument is about a 15-minute walk from the railway station and Old Town.
What are the best photography tips for the Lion Monument?
Start with a full establishing view, then photograph the lion from slightly different positions and make tighter frames of its face and carved details. Soft early or late light and overcast conditions are easier to expose than harsh direct sun. Protect highlights and check every frame edge for distracting visitors or branches.
Are there photography rules at the Lion Monument?
Follow all current signs, barriers, and staff directions during your visit. Stay in public visitor areas, avoid climbing or crossing barriers, and do not place tripods or bags where they obstruct other visitors. Remember that the Lion Monument is a memorial as well as a tourist attraction.
What is the best time to photograph the Lion Monument?
Early morning is a good choice when you want a calmer visit, while early and late daylight can provide softer illumination. Overcast conditions are also excellent because they reduce strong contrast. The actual light on the carving varies with weather, trees, season, and sun angle.
Can I photograph the Lion Monument with a smartphone?
Yes. Use the phone’s main camera for the full monument, tap the lion to focus, and reduce exposure slightly if bright stone is losing detail. If your phone has a true optical telephoto camera, use it for closer-looking photographs rather than relying on extreme digital zoom.
Do I need a tripod at the Lion Monument?
No. A tripod is optional in normal daylight. It becomes more useful when shutter speeds are slow, when you are making carefully aligned bracketed exposures, or when you want maximum stability in low light. Use it only where it will not obstruct other visitors.
Is there an admission fee to see the Lion Monument?
Lucerne Tourism currently lists admission to the Lion Monument as free. The site is also listed as wheelchair accessible. Nearby attractions such as the Glacier Garden have their own separate visitor arrangements and admission policies.