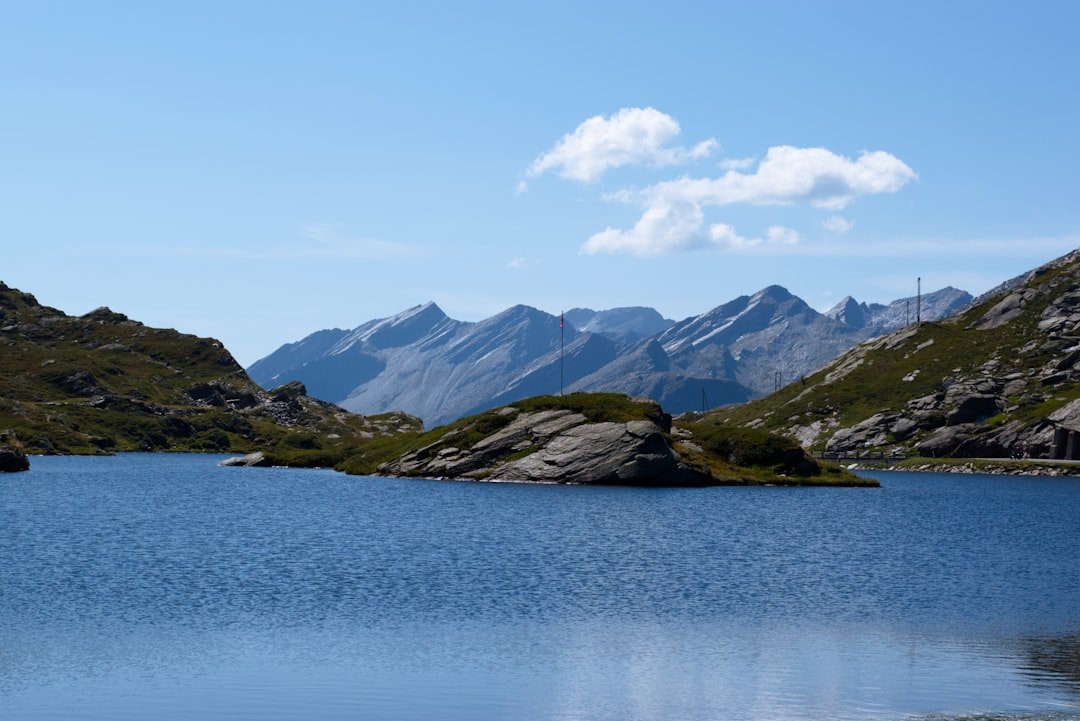
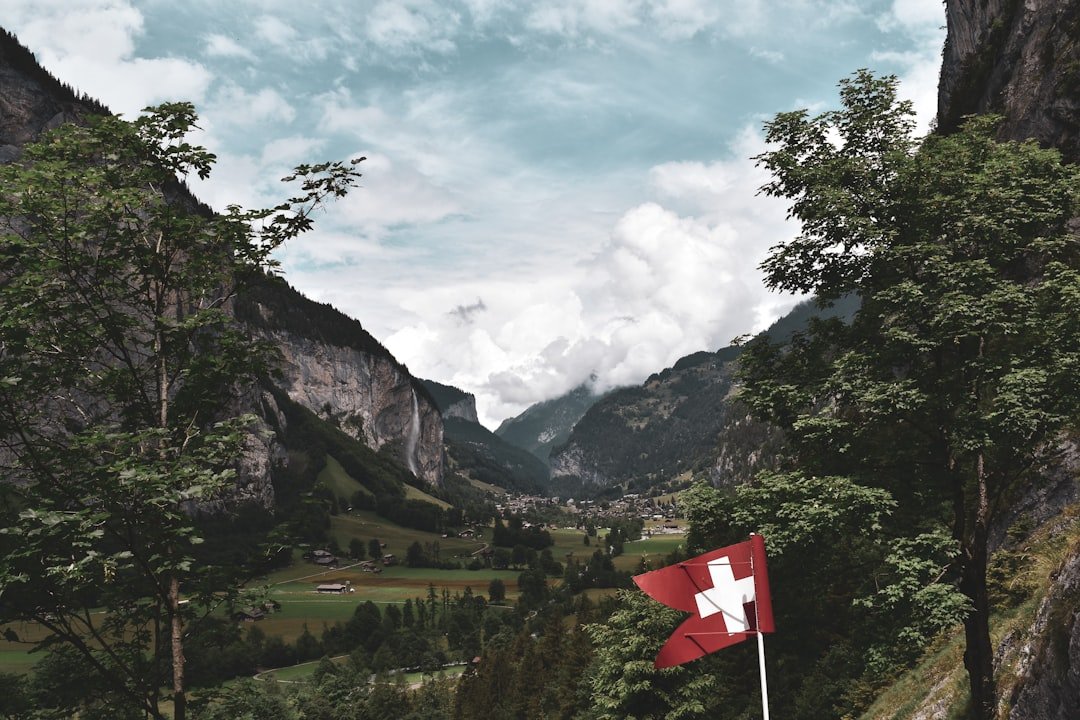
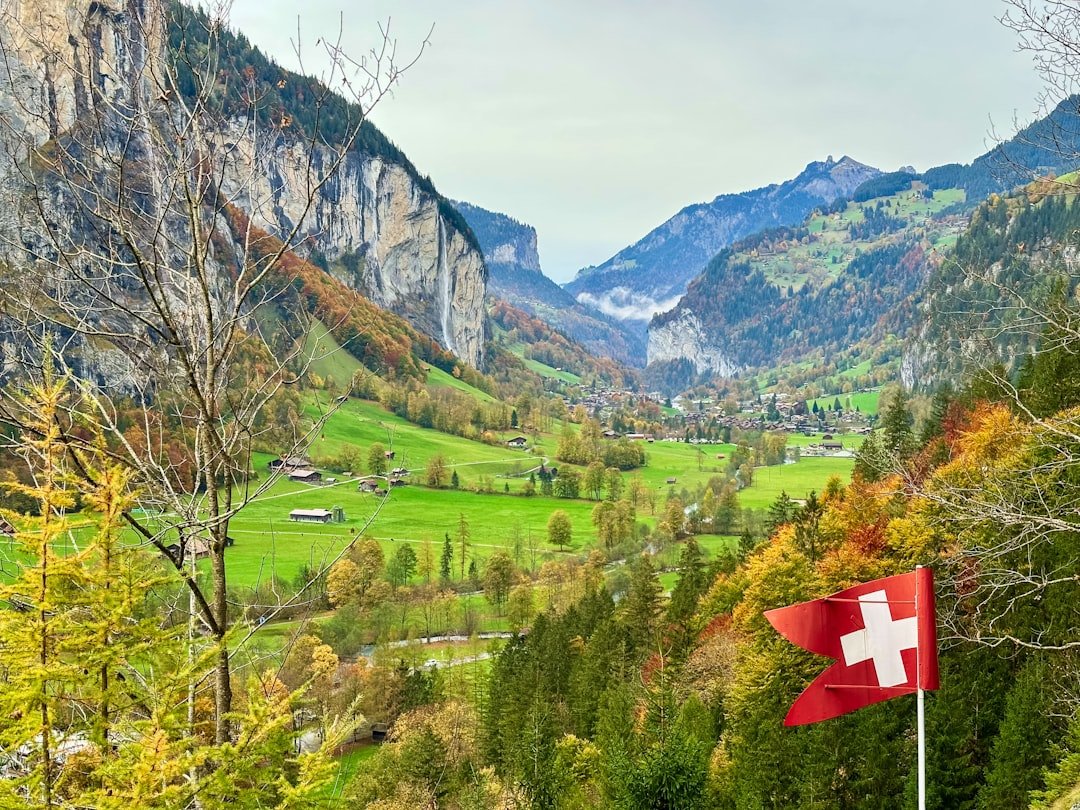
The Stoos ridge hike is one of Central Switzerland’s most dramatic places to photograph: a narrow mountain trail links Klingenstock and Fronalpstock above Lake Lucerne, with steep slopes, layered peaks, changing cloud, and alpine detail in almost every direction. The best images come from treating photography and hiking as one plan: know the route, work with the light, and never trade secure footing for a shot.
Quick Answer
The best Stoos ridge photos come from combining safe hiking with deliberate timing and simple camera choices. Start around Klingenstock, photograph Lake Lucerne and the layered Alpine views along the ridge, and finish at Fronalpstock. Use a wide or standard zoom, protect bright highlights, and only use a tripod where the trail is wide and stable.
Key Takeaways
- The classic ridge route runs between Klingenstock and Fronalpstock, with Lake Lucerne and Central Swiss peaks providing the main photographic backdrop.
- Allow much more time than the basic walking estimate if you plan to stop for photographs.
- Golden light is excellent, but normal chairlift schedules do not always match sunrise or sunset. Check official special Fronalpstock sunrise and evening rides.
- A wide-angle or standard zoom is more useful than carrying several heavy lenses on the exposed ridge.
- Never place a tripod or stop for a photograph where you block a narrow, steep, or chain-secured section of trail.
At a Glance
| Time Required | About 1 hour 50 minutes to 2 hours 30 minutes of ridge walking, plus lift transfers and extra time for photography |
| Difficulty | Medium mountain hiking; sure-footedness and comfort with exposed terrain are recommended |
| Tools Needed | Camera or phone, spare battery, lens cloth, sturdy hiking footwear; optional wide-angle or standard zoom, polarizer, and lightweight tripod |
| Cost | Varies with the mountain-railway and chairlift ticket you use; check current Stoos fares before travel |
Official measurements differ slightly. Switzerland Tourism and SchweizMobil list the ridge route at about 4 km, with roughly 380 m of ascent, 400 m of descent, and a basic walking time of about 1 hour 50 minutes. Stoosbahnen recommends allowing about 2 hours 30 minutes for the ridge section. Photographers should allow longer because repeated stops can add substantial time.
Plan Your Stoos Ridge Photography Day
Stoos is a car-free mountain village in the canton of Schwyz. Visitors normally reach it by the Schwyz-Stoos funicular or the Morschach-Stoos cable car. If you drive, use parking at one of the valley stations rather than expecting to drive into the village. Current parking information is available from Stoosbahnen.
For the classic lift-assisted photography hike, the straightforward plan is to reach Stoos, walk to the Klingenstock chairlift, ride to Klingenstock, follow the ridge toward Fronalpstock, and descend from Fronalpstock by chairlift. This keeps Lake Lucerne, the Muota valley, and surrounding peaks changing position as you move along the ridge.
Check the Chairlifts Before You Leave
For the 2026 summer season, the Klingenstock chairlift timetable lists daily operation from June 13 through October 11, with operation dependent on good weather, followed by selected weekend and public-holiday service later in October and into early November. Schedules can change, so check the official Stoos operating information on the morning of your hike.
Warning: This is an exposed mountain ridge, not an ordinary sightseeing walkway. Some sections are narrow or secured with chains. Keep your camera packed when you need both hands, do not stop in narrow sections, and never step off the established trail simply to improve a composition.
Finding the Best Light on the Stoos Ridge
Light changes the character of this landscape quickly. Warm, low-angle light can define the folds of the mountains and give the ridge more texture, while overcast conditions soften contrast and make greens, rock, and cloud easier to balance in one exposure. Fog can hide distant peaks but create a more mysterious photograph by revealing only parts of the ridge.
The familiar photography advice to shoot at sunrise or sunset needs extra planning here. Standard chairlift hours may not put you on Klingenstock during the actual golden hour. Stoos does, however, schedule special sunrise trips to Fronalpstock and extended evening trips on selected dates. These are safer and more practical options for golden-hour summit photography than assuming the normal ridge-hike lifts will be available.
Midday light is not automatically bad. Strong sun can make Lake Lucerne intensely bright and produce deep mountain shadows, but careful exposure can still create striking photographs. Watch the brightest areas of the lake and clouds, and reduce exposure slightly if highlights are clipping. On an overcast day, concentrate on layers, textures, hikers, alpine flowers, and cloud movement rather than waiting for dramatic sunlight.
Pro Tip: Before boarding the lift, look at the live weather and summit webcams. If the peaks are moving in and out of cloud, prepare for changing scenes rather than waiting for one perfectly clear panorama.
Best Photography Viewpoints Along the Stoos Ridge
The route itself is the viewpoint, but several areas give you different types of photographs.
- Klingenstock: Start with broad establishing photographs. This is a good place to show the ridge stretching ahead and to photograph the larger Alpine setting before you descend into the route.
- Rot Turm and Nollen area: The changing ridge line becomes a strong leading line here. Instead of photographing only distant mountains, include the trail and a hiker for scale.
- Huserstock area: The route changes direction and elevation around this part of the ridge, creating useful foreground-to-background layers. Follow the official route and only use optional summit variations if conditions and your hiking ability allow.
- Furggeli: Looking back toward the ridge can produce a different composition from the classic forward-facing Lake Lucerne views.
- Fronalpstock: The summit and viewing area offer a more spacious place to work with wide panoramas and lake views. It is also the practical location for official sunrise and evening photography trips.
Composition and Framing on the Ridge
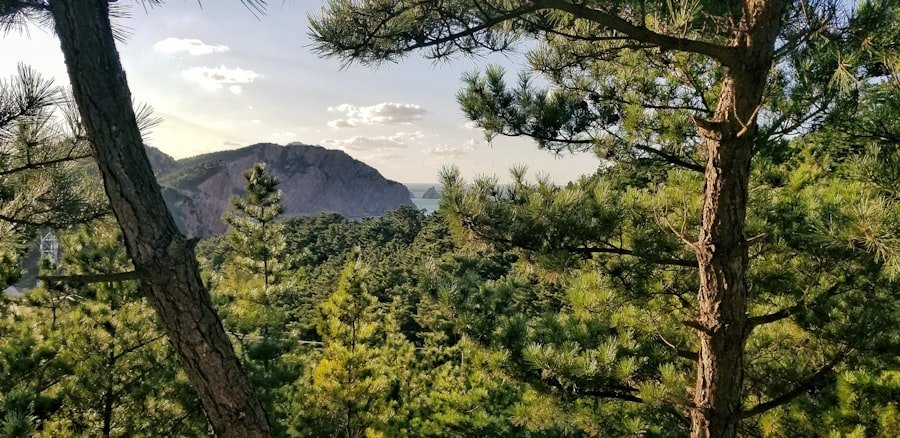
Composition is the arrangement of visual elements inside the frame. On Stoos, you already have strong natural shapes: the ridge, footpath, lake shore, mountain layers, fences, stair sections, and hikers moving through the scene. Use these features deliberately rather than simply pointing the camera toward the widest view.
Leading lines are especially effective here. A bend in the ridge trail can start near a lower corner of the frame and lead the eye toward a distant peak. A single hiker can add scale and show just how large the surrounding landscape is. If people are part of your composition, give them space to walk into rather than cropping them tightly against the frame edge.
Natural framing is another option. Grass, rocks, flowers, or a nearby slope can frame the distant lake without overpowering it. Avoid forcing a branch or object into every photograph. The foreground should add information or depth, not simply fill empty space.
A useful Stoos photograph often has three layers: something close to the camera, the ridge or lake in the middle distance, and fading Alpine peaks in the background.
Using the Rule of Thirds at Stoos
The rule of thirds divides the frame into nine sections using two horizontal and two vertical lines. Placing important elements near these lines or their intersections often creates more tension and balance than placing everything in the center.
| Stoos Scene | Composition Idea |
|---|---|
| Lake Lucerne below the ridge | Place the horizon near the upper third when the lake and ridge are the main subjects. |
| Dramatic cloud-filled sky | Lower the horizon toward the bottom third to give more space to the sky. |
| Hiker on the ridge | Place the hiker near a vertical third and leave open space in the direction of travel. |
The rule of thirds is a starting point, not a law. Centered compositions can work extremely well when the trail, ridge, or mountain forms a strong symmetrical shape. Take both versions when you have time. The comparison will teach you more than following one rule automatically.
Capturing Small Details
Wide panoramas are only part of the Stoos story. Close photographs of alpine flowers, wet grass, weathered rock, trail textures, boots on stone steps, or cloud moving across a summit can make a photo set feel much richer.
A dedicated macro lens is useful but not essential. A standard zoom or phone camera can handle many details. Move closer, simplify the background, and check that the most important texture is sharp. A wider aperture can blur a distracting background, while a smaller aperture keeps more of a rock, flower group, or trail feature in focus.
Backlighting can make grass and translucent petals glow, but watch bright highlights. If the subject is close, a small reflector or gentle fill flash can brighten nearby detail. Flash will not illuminate distant mountains, so treat it as a foreground tool rather than a landscape-lighting solution.
Creating Depth and Perspective
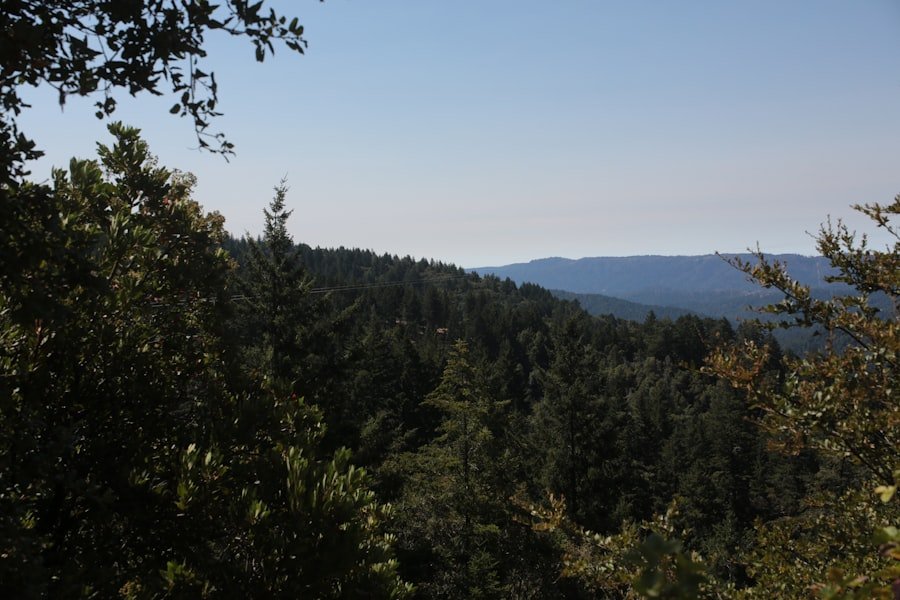
A mountain photograph can look flatter than the real scene because a camera compresses everything into two dimensions. Foreground objects help rebuild the sense of depth. A rock, patch of grass, trail curve, or small group of flowers can anchor the front of the image while the ridge and mountains recede into the distance.
Atmospheric perspective also helps. Distant ridges often appear paler, cooler, and less contrasty than nearby terrain. Do not automatically remove all of that haze in editing. Keeping some separation between foreground and distant peaks can make the scene feel larger and more natural.
Lens choice affects perspective too. A wide lens exaggerates the distance between a close foreground object and the mountains. A longer focal length visually compresses distant peaks into tighter layers. If you have a standard zoom, photograph the same scene at both ends of the zoom range and compare the result.
Camera Settings for Stoos Ridge Photography
No single setting works for every camera or weather condition, but a few starting points make decisions easier.
| Scene | Useful Starting Point |
|---|---|
| Bright landscape | ISO 100 or your camera’s low native ISO, around f/8 to f/11, then set shutter speed for correct exposure. |
| Handheld landscape in wind | Use a faster shutter speed and raise ISO when needed rather than accepting camera shake. |
| Walking hiker | Start around 1/250 second or faster, then adjust for movement and available light. |
| Bright sky and dark foreground | Protect the sky highlights and consider exposure bracketing if the brightness range exceeds what one frame can comfortably hold. |
If your camera supports RAW capture and you are comfortable editing, RAW files preserve more adjustment flexibility than finished JPEGs. On a phone, use the normal camera mode when speed matters and a RAW-capable mode only when you actually plan to edit the files later.
Wide-Angle, Standard Zoom, or Telephoto?
- Wide-angle: Best for showing the ridge, lake, and nearby foreground in one dramatic frame.
- Standard zoom: The most versatile choice for hikers who want to keep their camera bag light.
- Short telephoto: Useful for isolating distant peaks and compressing overlapping mountain layers.
A polarizing filter can reduce glare and deepen some colors, especially when photographing water or wet vegetation. Rotate it while looking through the viewfinder or screen because the effect changes with your angle to the sun. Be cautious with very wide lenses, where strong polarization can make different parts of a blue sky look uneven.
Using a Tripod Safely
A tripod helps for long exposures, careful panoramas, low-light scenes, and exposure bracketing, but the ridge is not the place to extend three legs wherever inspiration strikes. Many photographs can be made handheld, and image stabilization can reduce the need for a tripod in daylight.
If you do carry one, keep it compact while walking. Wait for a broad, stable area such as an established viewpoint before setting it up. Keep all legs clear of the walking line and pack it away before entering a narrow or secured trail section.
Note: A photograph is never worth creating a fall hazard for yourself or other hikers. On exposed ground, secure footing comes before camera position.
Embracing Fog, Rain, Wind, and Cloud
Nature rarely provides the exact conditions a photographer imagined. Rain, fog, moving cloud, and wind can produce photographs that are more memorable than another clear-blue-sky panorama. A dark cloud over a bright lake, for example, can create strong contrast between a calm foreground and an unsettled sky.
Fog simplifies the landscape by hiding distant clutter. Instead of fighting it, photograph isolated ridges, hikers emerging from cloud, or repeating silhouettes. After rain, wet grass and stone may show richer color, but do not assume the atmosphere will automatically become clear.
Wind creates a different problem. It can move flowers, shake a tripod, and make exposed sections uncomfortable. Increase shutter speed when necessary and avoid balancing loosely attached equipment near a drop.
Before leaving, check the official MeteoSwiss hazard information as well as Stoos operating information. Thunderstorms, high winds, snow, and other mountain hazards matter more than photographic conditions.
Post-Processing Stoos Landscape Photos
Editing should strengthen what was already present rather than turn the mountain into a different place. Start with exposure and white balance, then adjust highlights, shadows, contrast, and color gently. Avoid pushing saturation so far that Lake Lucerne, grass, or sunset colors become unnatural.
High-contrast ridge photographs often benefit from local adjustments. In Adobe Lightroom, for example, a Linear Gradient mask can gradually darken a bright sky or adjust one part of the landscape without changing everything else. Adobe’s current Linear Gradient documentation explains this tool.
This should not be confused with a physical graduated neutral-density filter. A physical GND filter is placed in front of the lens while taking the photograph. A software gradient is an editing mask applied afterward.
HDR techniques can help when the difference between a bright sky and dark foreground is too large for a single exposure. If you bracket frames, keep the camera position as stable as possible and avoid extreme processing that creates halos or unnatural tonal transitions.
Drone Photography at Stoos
Do not assume that a drone flight is permitted simply because you are in the mountains. Switzerland’s Federal Office of Civil Aviation states that geographical flight restrictions can change and must be checked before each flight. Review the current FOCA drone restrictions and interactive map guidance, plus the current Daily Airspace Bulletin Switzerland, before launching.
Even where a flight is legally possible, avoid disturbing hikers, wildlife, livestock, or other airspace users. A busy exposed ridge is rarely the right place to launch equipment without first finding a safe, legal location away from pedestrian traffic.
Sources
- Stoosbahnen: Stoos Ridge Hike — route direction, access sequence, chairlifts, and approximate ridge-hiking time.
- Switzerland Tourism / SchweizMobil: Gratweg Stoos — distance, elevation, difficulty, route features, and seasonal guidance.
- Stoosbahnen: Klingenstock Chairlift Timetable — current operating season and weather-dependent service.
- MeteoSwiss: Weather Hazards — official Swiss weather-hazard information.
- Swiss Federal Office of Civil Aviation — current drone geographical restrictions and pre-flight checks.
- Adobe Lightroom: Linear Gradient Mask — post-processing gradient-mask guidance.
If you are also browsing the site’s broader nature and food archive, the existing article on the delightful world of Asian melon is a separate read and is not part of the Stoos hiking or photography guidance above.
Frequently Asked Questions
What is the Stoos ridge hike?
The classic Stoos ridge hike connects Klingenstock and Fronalpstock above the mountain village of Stoos in Central Switzerland. It follows an exposed panoramic mountain trail with views toward Lake Lucerne, the Muota valley, and numerous surrounding Alpine peaks.
Where is the Stoos ridge hike located?
The hike is above Stoos in the canton of Schwyz, Switzerland. Stoos itself is car-free and is normally reached by the Schwyz-Stoos funicular or the Morschach-Stoos cable car.
What are the best photography tips for the Stoos ridge hike?
Use the trail as a leading line, include hikers for scale, protect bright lake and sky highlights, and photograph both broad panoramas and small alpine details. A wide-angle or standard zoom is the most practical lens choice for many hikers. Keep your camera packed whenever you need both hands for safe movement.
What are the best viewpoints along the Stoos ridge hike?
Klingenstock and Fronalpstock provide the broadest summit views, while the ridge around Rot Turm, Nollen, Huserstock, and Furggeli offers strong trail-leading lines and changing mountain layers. Fronalpstock is particularly convenient for panoramic photography and official sunrise or evening trips.
Is the Stoos ridge hike suitable for all skill levels?
No. Official route information rates the technical requirement as medium. The trail contains exposed sections, constructed mountain path, and areas secured with chains. Sure-footedness, suitable footwear, and comfort with heights are recommended. Hikers who dislike exposure may prefer the easier Fronalpstock Panorama Trail instead.
What safety considerations matter most for photographers?
Check the weather, trail conditions, and lift operations before starting. Wear proper hiking footwear, carry water and suitable layers, and keep both hands available on difficult sections. Never stop in a narrow passage or place a tripod where it blocks other hikers. Move to a broad, stable area before concentrating on the camera.
When is the best time to photograph the Stoos ridge?
Clear mornings, broken cloud, and low-angle light can all produce excellent photographs. However, normal lift schedules may not coincide with sunrise or sunset. Stoos offers selected Fronalpstock sunrise and evening rides, so check the current official schedule if golden-hour photography is your priority.
Can I fly a drone on the Stoos ridge?
Do not assume a drone flight is allowed. Swiss geographical flight restrictions and temporary airspace restrictions can change. Check the Federal Office of Civil Aviation’s current drone map and the Daily Airspace Bulletin Switzerland before every flight, and follow any local restrictions or permission requirements.