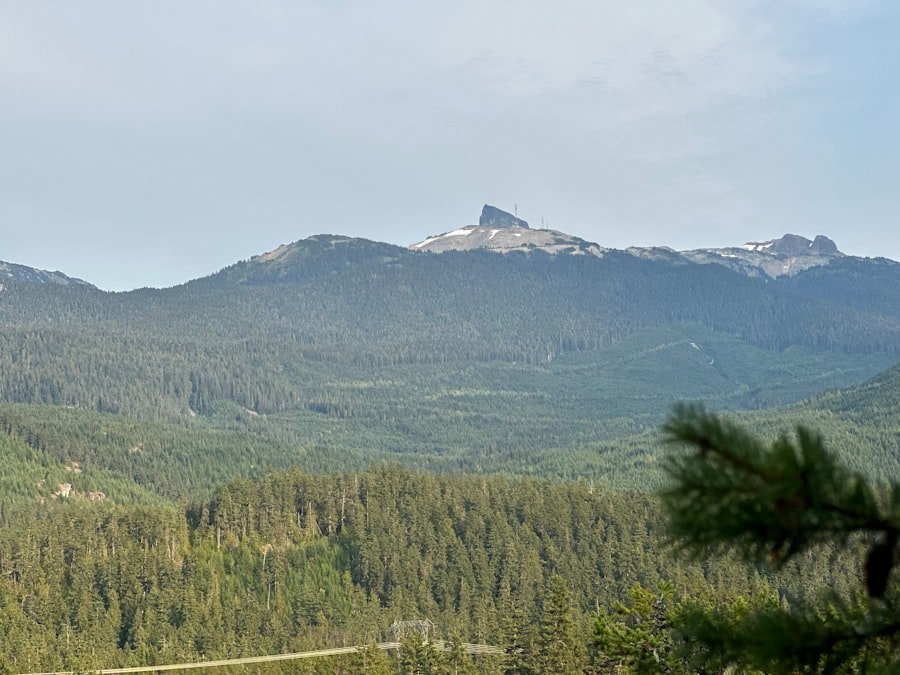
The time of day you choose to photograph landscapes can dramatically influence the mood and quality of your images. Early morning and late afternoon, often referred to as the “golden hours,” provide soft, diffused light that enhances colors and textures. During these times, the sun is low on the horizon, casting long shadows and creating a warm glow that can transform even the most mundane scenes into captivating compositions.
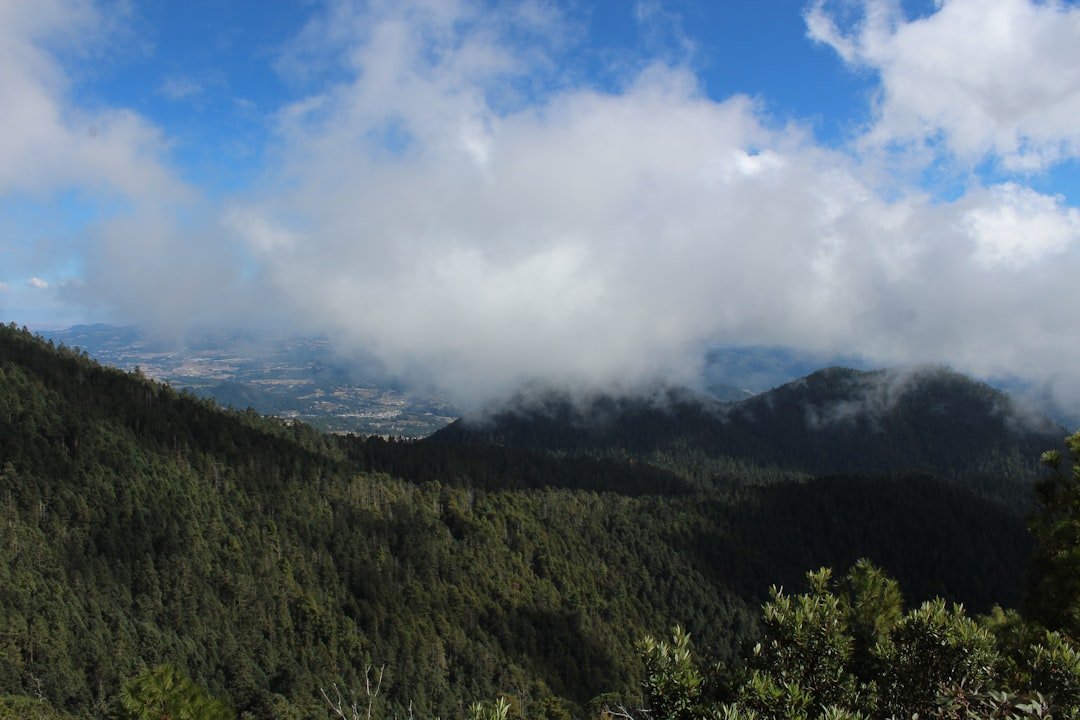
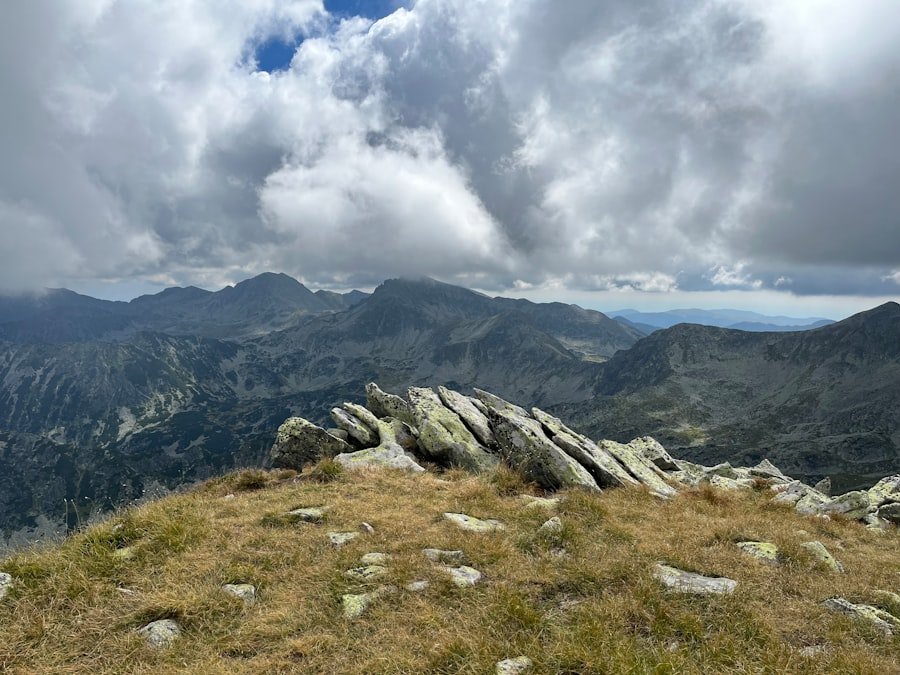
For instance, capturing a mountain range at sunrise can yield breathtaking results, as the first rays of sunlight illuminate the peaks, creating a stunning contrast against the cool blues of the pre-dawn sky. Conversely, midday light can be harsh and unflattering, leading to overexposed highlights and deep shadows that can obscure details in your landscape. However, this time can also be utilized creatively.
For example, if you are photographing a desert landscape, the stark light can emphasize the textures of sand dunes or rock formations. Understanding how different times of day affect light quality allows photographers to make informed decisions about when to shoot, ultimately enhancing the visual impact of their images.
Key Takeaways
- The best time to capture landscapes is during the golden hours of sunrise and sunset for beautiful lighting and colors.
- Utilize the rule of thirds to create a balanced and visually appealing composition in your landscape photos.
- Experiment with different vantage points such as low angles or elevated positions to find the most interesting and unique perspectives.
- Adjust camera settings such as aperture, shutter speed, and ISO to achieve the best results for landscape photography.
- Use filters such as polarizers or neutral density filters to enhance the colors and contrast in your landscape photos.
- Capture the play of light and shadow to add depth and dimension to your landscape images.
- Incorporate foreground elements such as rocks or trees to create a sense of depth and scale in your landscape photos.
- Use editing techniques such as adjusting contrast, saturation, and sharpness to enhance the overall quality of your landscape images.
Utilizing the Rule of Thirds
The Rule of Thirds is a fundamental principle in photography that can significantly enhance composition. By dividing your frame into a grid of nine equal parts with two horizontal and two vertical lines, you can strategically place key elements along these lines or at their intersections. This technique creates a sense of balance and draws the viewer’s eye into the photograph.
For instance, when photographing a sunset over a lake, positioning the horizon along the top third of the frame allows for a more dynamic composition that emphasizes both the sky and the reflective water below. While the Rule of Thirds is a valuable guideline, it is essential to remember that it is not a strict rule. Creative deviations can lead to compelling images.
For example, centering a solitary tree in an expansive field can evoke feelings of isolation and tranquility. Experimenting with this principle encourages photographers to explore various compositions, ultimately leading to more engaging and visually striking landscapes.
Products Worth Considering

Rule of Thirds Viewfinder — classic nine-zone composition grid for photography, video, and art; use as an artist viewfinder grid for drawing, composition viewfinder, or photography viewfinder

Professional Composition Tool Kit: The set includes 10 different composition framing cards, covering key techniques such as the Rule of Thirds, Fibonacci Spiral, Golden Triangle, Crosshairs, Diagonals, Radial Lines, Compound Curves, Pyramid, and more—must-have tools for photography and art. Master the art of wonderful framing with this essential guide.

Finding the Best Vantage Points
The vantage point from which you capture a landscape can dramatically alter its perception. Elevation plays a crucial role; shooting from a higher perspective can provide sweeping views that showcase vast expanses of land, while lower angles can create intimacy with foreground elements. For instance, photographing a valley from a hilltop can reveal intricate patterns in the terrain that might go unnoticed from ground level.
Conversely, crouching down to capture wildflowers in the foreground can create a sense of depth and scale that invites viewers into the scene. Additionally, scouting locations ahead of time can yield significant advantages. Visiting a site during different times of day allows photographers to understand how light interacts with the landscape at various angles.
Utilizing tools like topographic maps or smartphone applications that indicate sun positions can help identify optimal shooting locations. By taking the time to explore and experiment with different vantage points, photographers can uncover unique perspectives that elevate their landscape photography.
Adjusting Camera Settings for the Best Results
| Camera Setting | Effect |
|---|---|
| Shutter Speed | Controls motion blur |
| Aperture | Controls depth of field |
| ISO | Controls sensitivity to light |
| White Balance | Controls color temperature |
Understanding camera settings is essential for capturing stunning landscape photographs. The exposure triangle—aperture, shutter speed, and ISO—plays a pivotal role in determining how an image is rendered. A smaller aperture (higher f-stop number) increases depth of field, ensuring that both foreground and background elements remain sharp.
This is particularly important in landscape photography, where you often want to capture intricate details across vast distances. For example, using an aperture of f/11 or f/16 can help maintain clarity throughout the scene. Shutter speed also requires careful consideration.
A slower shutter speed can create beautiful effects, such as silky smooth water in a waterfall or soft clouds in a long exposure shot. However, this necessitates using a tripod to prevent camera shake. On the other hand, if you are capturing fast-moving elements like waves crashing against rocks, a faster shutter speed will freeze motion and preserve detail.
Balancing these settings according to your creative vision is crucial for achieving the desired outcome in your landscape photography.
Products Worth Considering

Adjustable 20″–74″ Height: Easily extend from tabletop to full height for portraits, vlogs, outdoor photography, travel shots, and events — perfect for photographers and content creators of all levels.

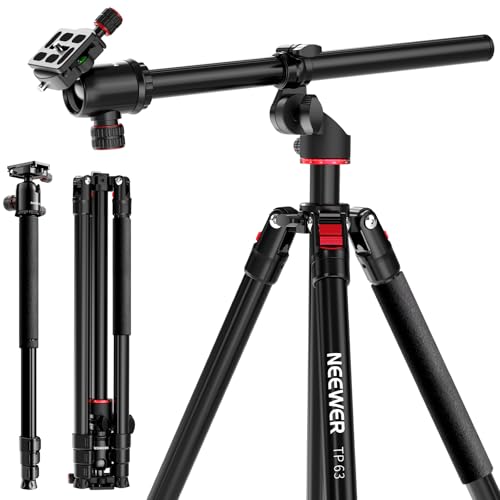
【Versatile Setup & Flexible Center Column】 The camera tripod features an adjustable center column that can be raised for higher shooting angles, and horizontal positioning for 360° horizontal rotation and 120° vertical tilt. With a ball head, it additionally supports 360° panoramic photography and various shooting angles, essential and must have for content creator and influencers on low angle shots, sports photography, weddings, travel, vlogging and urban landscapes
Using Filters to Enhance the Landscape
Filters are invaluable tools for landscape photographers, allowing for greater control over light and color in images. One of the most commonly used filters is the polarizing filter, which reduces glare from reflective surfaces such as water or wet rocks while enhancing color saturation in skies and foliage. By rotating the filter, photographers can adjust its effect based on their angle relative to the sun, resulting in richer blues and more vibrant greens that breathe life into landscape scenes.
Neutral density (ND) filters are another essential tool for landscape photography. These filters reduce the amount of light entering the lens without affecting color balance, enabling longer exposures even in bright conditions. This is particularly useful for capturing smooth water effects or softening clouds in dynamic skies.
For instance, using an ND filter during daylight hours allows photographers to achieve long exposure shots of waterfalls or ocean waves without overexposing their images. By incorporating filters into their toolkit, photographers can enhance their creative possibilities and achieve stunning results.
Products Worth Considering

Linear Polarizer:Widely used in photography industry, kinds of LCD screens
7.8x11.8 inches/ 20x30cm Polarizing film: Both sides have protective film, before you use it, you have to peel a protective film off the front and back.

Polarization: Linear, Size: 7.8x11.8 inches/ 20x30cm, Thickness: 0.19mm.
Capturing the Play of Light and Shadow
Light is one of the most critical elements in photography, especially in landscapes where it interacts with various features to create depth and dimension. The interplay between light and shadow can evoke emotions and set the tone for an image. For example, shooting during golden hour allows for dramatic contrasts between illuminated areas and shadows, adding depth to mountains or trees.
The warm light accentuates textures and colors while casting long shadows that create visual interest. In addition to timing, understanding how to manipulate light through composition is vital. Positioning your subject so that it is backlit can create silhouettes that emphasize shape and form while allowing for striking color gradients in the background sky.
Alternatively, side lighting can highlight textures in rocks or foliage, revealing intricate details that might otherwise go unnoticed. By being attuned to how light interacts with landscapes at different times and angles, photographers can create compelling images that resonate with viewers.
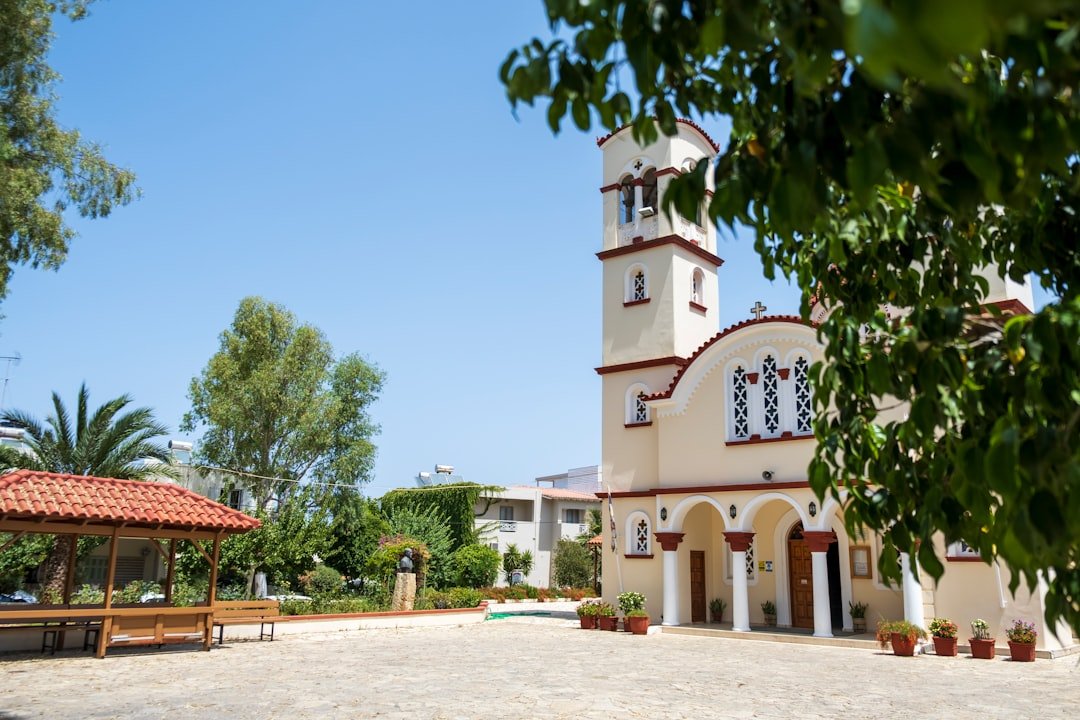
Incorporating Foreground Elements for Depth
Incorporating foreground elements into landscape compositions adds depth and context to images, inviting viewers into the scene rather than presenting them with a flat view.
For instance, including rocks or wildflowers in the foreground can lead to a more immersive experience as viewers feel as though they are stepping into the landscape themselves.
When selecting foreground elements, consider their relationship with background features. A winding path leading through a field toward distant mountains creates a sense of journey and exploration. Similarly, using leading lines—such as rivers or roads—can draw attention toward focal points in the background while enhancing depth perception.
By thoughtfully incorporating foreground elements into compositions, photographers can create more dynamic and engaging landscapes that resonate with viewers on multiple levels.
Editing Techniques to Enhance the Image
Post-processing is an integral part of modern landscape photography that allows photographers to refine their images further and bring their creative vision to life. Software like Adobe Lightroom or Photoshop provides tools for adjusting exposure, contrast, saturation, and sharpness—elements that can significantly enhance an image’s overall impact. For example, increasing contrast can help define textures in clouds or mountains while adjusting saturation can make colors pop without appearing unnatural.
Moreover, advanced editing techniques such as dodging and burning allow photographers to selectively lighten or darken specific areas within an image. This technique can be particularly effective for emphasizing certain features or creating mood within a landscape photograph. Additionally, utilizing gradient filters in post-processing can help balance exposure between bright skies and darker foregrounds, ensuring that details are preserved throughout the image.
By mastering editing techniques, photographers can elevate their landscape images from good to extraordinary, showcasing their unique artistic vision while remaining true to the beauty of nature.
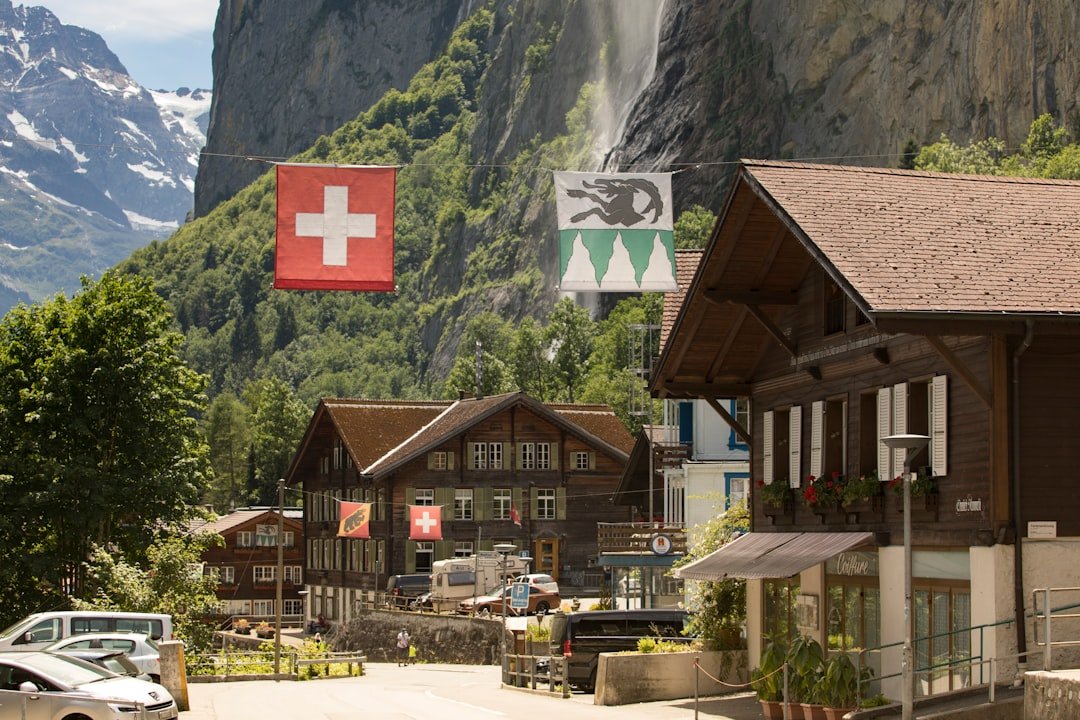
Monte Brè, a stunning viewpoint located near Lugano, Switzerland, offers breathtaking panoramic views that are a paradise for photographers.
Additionally, using a polarizing filter can help reduce glare and enhance the vibrancy of the sky and surrounding scenery. For those interested in exploring more delightful experiences, you might enjoy reading about the “Exploring the Delightful World of Asian Melon” in this related article, which delves into the unique flavors and culinary uses of this refreshing fruit.
FAQs
What is Monte Bre viewpoint?
Monte Bre viewpoint is a popular scenic spot located in the Swiss city of Lugano. It offers stunning panoramic views of Lake Lugano and the surrounding mountains.
What are some photography tips for capturing the views at Monte Bre viewpoint?
When photographing the views from Monte Bre viewpoint, it’s important to consider the lighting conditions. Early morning or late afternoon light can create beautiful, warm tones in your photos. Additionally, using a wide-angle lens can help capture the expansive views, and incorporating elements such as trees or buildings can add depth to your compositions.
Are there any specific photography restrictions at Monte Bre viewpoint?
There are no specific photography restrictions at Monte Bre viewpoint, but it’s always important to be respectful of other visitors and the natural environment while taking photos.
What are the best times of day to visit Monte Bre viewpoint for photography?
The best times of day to visit Monte Bre viewpoint for photography are early morning and late afternoon, when the light is softer and creates a warm, golden glow over the landscape. These times also offer the opportunity to capture stunning sunrise or sunset shots.
What are some recommended camera settings for photographing the views at Monte Bre viewpoint?
Recommended camera settings for photographing the views at Monte Bre viewpoint include using a low ISO to reduce noise, a narrow aperture for greater depth of field, and a slower shutter speed to capture the details of the landscape. Additionally, using a tripod can help stabilize your camera for longer exposures.