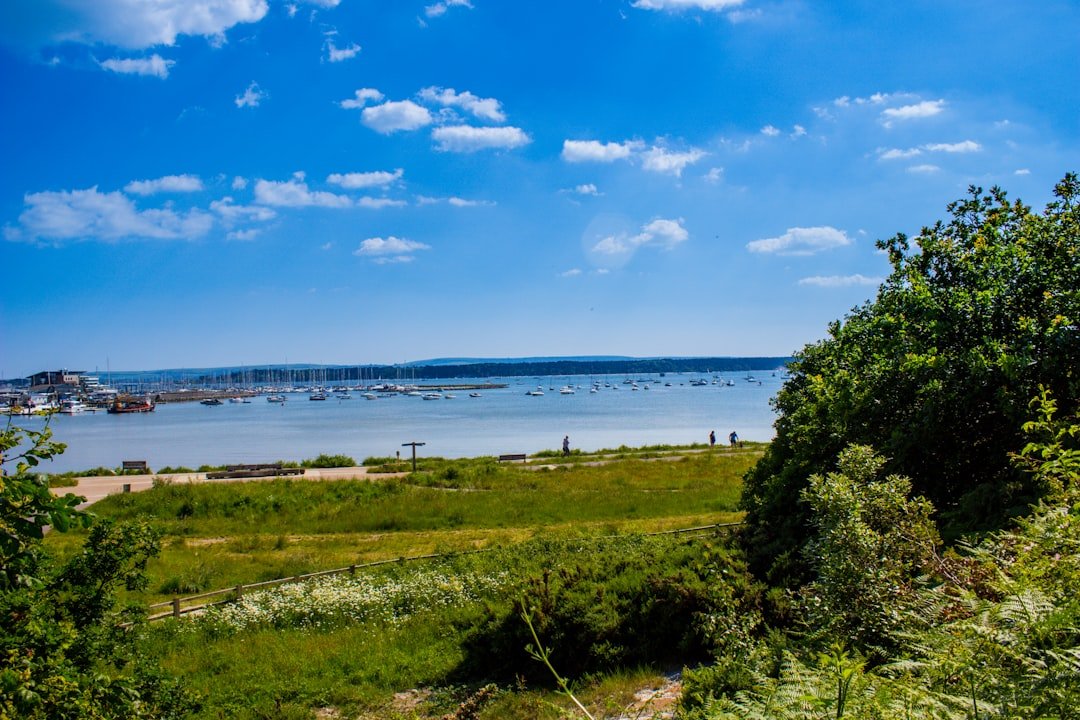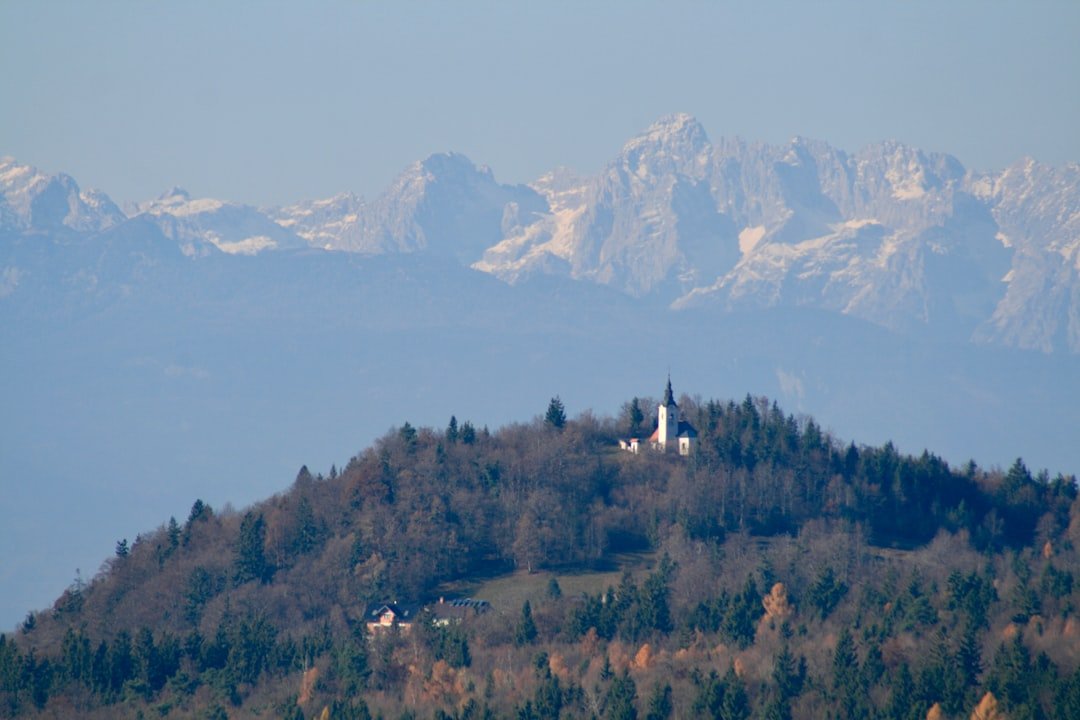
Crestasee, also known as Lake Cresta, gives you several strong landscape-photography subjects in one compact location: clear water, dense forest, mountain scenery, reflections, shoreline details, and changing light. Good photographs here depend less on owning expensive equipment and more on arriving with enough time to scout, watching the light, controlling reflections, and choosing a composition that keeps the frame simple.
Quick Answer
For better Crestasee photos, arrive early, scout the shoreline, and work with the light you find. Use a wide lens for the lake and surrounding forest, a telephoto for details, and a polarizer when you want to control reflections. A tripod and ND filter are useful for low light and long exposures but are not essential.
Key Takeaways
- Sunrise, sunset, overcast conditions, mist, and even strong midday light can produce useful photographs if you adapt your composition.
- You do not need a full-frame camera. A phone, compact camera, APS-C camera, Micro Four Thirds camera, or full-frame system can all work well.
- Use a wide lens for broad lake views and a longer lens to isolate reflections, trees, mountains, wildlife, or shoreline details.
- A circular polarizer controls glare and reflections, while an ND filter reduces light so you can use slower shutter speeds.
- Try reflections, foreground rocks, trees, paths, leading lines, symmetrical compositions, and tighter detail shots instead of taking every image from eye level.
- Crestasee is a protected natural site, so avoid damaging shoreline vegetation or disturbing wildlife while searching for a photograph.
- Keep editing natural. The lake already has strong greens and blue-green tones, so heavy saturation can quickly make the image look artificial.
At a Glance
| Time Required | Allow at least 1–2 hours for scouting and photography, plus walking time to and from the lake. |
| Difficulty | Beginner to intermediate. The photography is straightforward, but low-light work and filters require more practice. |
| Tools Needed | Camera or smartphone. Optional: tripod, circular polarizer, ND filter, remote release, lens cloth, and weather cover. |
| Cost | No extra photography equipment is required if you use gear you already own. Seasonal visitor or bathing-area charges can apply, so check the official Lake Cresta information before visiting. |
Understand Crestasee Before You Start Photographing
Lake Cresta sits on the eastern border between Flims and Trin in Graubünden. The official Flims Laax Falera Lake Cresta page describes it as a clear mountain lake surrounded by a dark green belt of trees. It is also listed as a protected natural landmark of regional importance.
The wooded setting is important for photography. Trees can block direct sunlight earlier than you might expect, create patches of bright and dark exposure, and produce strong reflections when the surface is calm. Instead of treating Crestasee as one fixed viewpoint, walk around the permitted areas and look for several compositions.
At roughly 375 metres long and 180 metres wide, Lake Cresta is compact enough to explore photographically without relying on a single official viewpoint.
The colors also change through the year. Summer usually emphasizes green forest and water, autumn can add warmer foliage, and winter conditions can bring snow and a quieter atmosphere. Weather matters just as much as season. Mist, broken clouds, rainfall, and calm air can completely change the mood and reflections.
Plan Your Arrival and Scout the Lake
Crestasee itself is reached on foot. According to the official destination information, the walk from the Trin, Felsbach-Crestasee public-transport stop takes about 15 minutes, while the walk from designated parking areas takes roughly 20 minutes. Allow for that extra time if you want to photograph sunrise or early morning light.
For a longer walk, Graubünden Tourism also describes routes through the surrounding forest and meadows.
Pro Tip: Arrive before the light you want to photograph. Use the first 15–30 minutes to find foregrounds, check where reflections are strongest, notice which parts of the lake are shaded, and decide where you can safely place a tripod without blocking paths.
If you arrive before sunrise or leave after sunset, bring a small light for the walk and make sure you can navigate the route safely without relying only on your phone screen.
Choosing the Right Time: Best Lighting for Capturing Crestasee
Sunrise and the period before sunset often produce attractive landscape light because the sun is lower and shadows are longer. Adobe’s landscape photography guidance also recommends paying close attention to sunrise, sunset, weather, and the direction of light.
At Crestasee, however, do not assume that the most interesting photograph will happen exactly at sunrise or sunset. The surrounding forest can shade parts of the lake, so watch what the light is doing rather than relying only on the clock.
Early Morning
Early morning is a strong option when you want calm-looking water, soft contrast, cooler colors, or possible mist. If the water is still, reflections of the trees can become one of the main elements in your composition.
Late Afternoon and Evening
Low-angle evening light can bring warmer tones to trees and mountains. Arrive early enough to compose before the lake falls into deep shade.
Overcast Conditions
Cloud cover can be useful rather than disappointing. Diffused light reduces harsh highlights and can make forest colors easier to control. It also works well for close-ups of leaves, rocks, water, and shoreline details.
Midday
Midday light can create strong contrast, but that does not make photography impossible. Try tighter compositions, patterns of light and shadow, reflections, or a polarizer to control glare. If the sky is uninteresting, reduce the amount of sky in the frame and concentrate on the lake and forest.
Selecting the Best Gear: Camera and Lens Options for Crestasee Photography
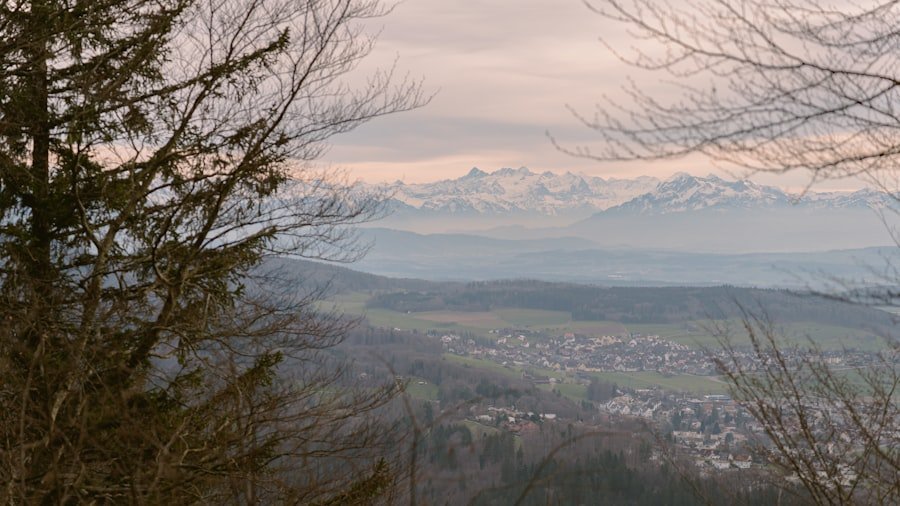
You do not need a specific camera format to photograph Crestasee well. A smartphone, compact camera, APS-C camera, Micro Four Thirds camera, or full-frame camera can all work. Manual exposure controls and RAW capture are useful when available because they give you more flexibility with highlights, shadows, white balance, and long exposures.
Wide-Angle Lens
A wide lens is useful when you want to show the lake, forest, foreground, and mountain scenery together. Something around 16–35mm in full-frame-equivalent terms gives you plenty of flexibility, but it is not a requirement. Pay attention to the edges of the frame because very wide lenses can make foreground objects appear disproportionately large.
Normal or Standard Lens
A standard focal length can produce a more natural sense of scale and often helps you simplify a busy woodland scene. Do not overlook focal lengths around 35–70mm equivalent just because the subject is a landscape.
Telephoto Lens
A telephoto lens can isolate a section of reflected forest, compress layers of trees and mountains, or photograph details that disappear in a wide composition. Telephoto landscapes are especially useful when the overall scene feels visually cluttered.
Tripod
A tripod becomes valuable when shutter speeds get slow, when you want exact framing for exposure bracketing, or when you use an ND filter for long exposures. For normal daylight photography, you may prefer to work handheld.
Circular Polarizer
A circular polarizing filter can reduce glare from the water and deepen some colors. Rotate it while looking through the viewfinder or screen because its effect changes with angle. Sometimes you will want less reflection so you can see into the water; at other times the reflection itself is the photograph.
Neutral Density Filter
An ND filter has a different job. It reduces the amount of light reaching the sensor, which allows a slower shutter speed in brighter conditions. This can help smooth movement in water or clouds. Adobe’s water photography guide explains the different roles of polarizing and ND filters.
Note: A polarizer and an ND filter are not interchangeable. Use the polarizer mainly to manage reflections and glare. Use the ND filter mainly when you need less light so you can extend the exposure.
Camera Settings for Crestasee Photography
There is no single correct exposure because the light changes constantly. Use the following settings as starting points, then check your histogram, highlights, focus, and shutter speed.
| Scene | Starting Settings | Why |
| Classic landscape | ISO 100, f/8–f/11, shutter speed as needed | Good starting point when you want foreground and background detail. |
| Handheld walkaround | f/5.6–f/8, 1/125 sec or faster, Auto ISO if needed | Helps reduce camera shake while you explore different angles. |
| Still reflections | ISO 100, f/8, shutter speed to match the light | Keeps image quality high while preserving a naturally calm surface. |
| Long exposure | ISO 100, f/8–f/11, tripod, ND filter, approximately 0.5–5 seconds to begin | Allows you to experiment with smoothing visible movement. |
| Bright sky and dark forest | Expose for highlights and consider a 3-frame bracket | Helps preserve information when the scene exceeds your camera’s comfortable dynamic range. |
Use your histogram and highlight warning rather than trusting screen brightness alone. If important highlights are clipping, reduce exposure and recover darker areas carefully during editing.
Composition Techniques: Framing and Angles for Stunning Crestasee Photos
| Composition Technique | Description |
|---|---|
| Framing | Use branches, trees, rocks, or other existing elements to create a visual frame around the lake or another subject. |
| Angles | Change camera height and position to separate foreground, reflections, and background elements. |
| Leading Lines | Use paths, shoreline edges, branches, or patterns in the water to guide attention through the frame. |
| Rule of Thirds | Place major elements around the thirds of the frame when that creates useful balance. Treat it as a guideline rather than a requirement. |
| Symmetry | When reflections are clean, a centered horizon can create a deliberately symmetrical composition. |
The rule of thirds is useful when you need a starting structure, but it should not control every photograph. If the lake produces a nearly perfect reflection, placing the horizon close to the middle may create stronger symmetry than placing it on a third.
Try varying your camera height. A lower viewpoint can enlarge nearby rocks, leaves, or flowers and create stronger depth. A higher position can simplify overlapping foreground elements and reveal more water.
Leading lines can come from a trail, shoreline curve, fallen branch, pier, or repeating reflection. Before pressing the shutter, check the corners and edges of the frame for distracting bright patches or cut-off branches.
A Simple Crestasee Shot List
- Wide establishing photograph of the lake and forest.
- Horizontal reflection photograph.
- Vertical composition using a foreground tree or shoreline element.
- Tight telephoto photograph of reflected trees.
- Low-angle foreground composition.
- Detail photograph of leaves, rocks, ripples, or texture.
- One symmetrical composition.
- One intentionally off-center composition.
- A photograph showing a person at a respectful distance for scale, when appropriate.
Capturing the Water: Tips for Photographing Crestasee’s Crystal-Clear Lake
The clear water is one of Crestasee’s strongest visual features. Decide first whether you want to photograph the reflection on the surface or reduce that reflection so more detail beneath the surface becomes visible. Those two goals require different polarizer settings.
Rotate a circular polarizer slowly while watching the water. Stop when the balance of reflection and underwater detail supports your composition. Maximum polarization is not automatically the best setting.
For Crisp Reflections
Look for calm water and use a shutter speed fast enough to preserve the reflection pattern you see. A tripod can help with precise framing but is not mandatory if the shutter speed remains comfortably handholdable.
For Long Exposures
If water or wind is creating visible movement, an ND filter can let you extend the shutter speed and soften that motion. Start around half a second to several seconds and adjust based on the effect. Use a tripod, a two-second timer or remote release, and check sharpness after each test.
Long exposure is an artistic choice, not an automatic improvement. If the surface is already completely still, an extra-long exposure may not noticeably change the water.
Embracing the Surroundings: Incorporating Crestasee’s Natural Elements into Your Photos
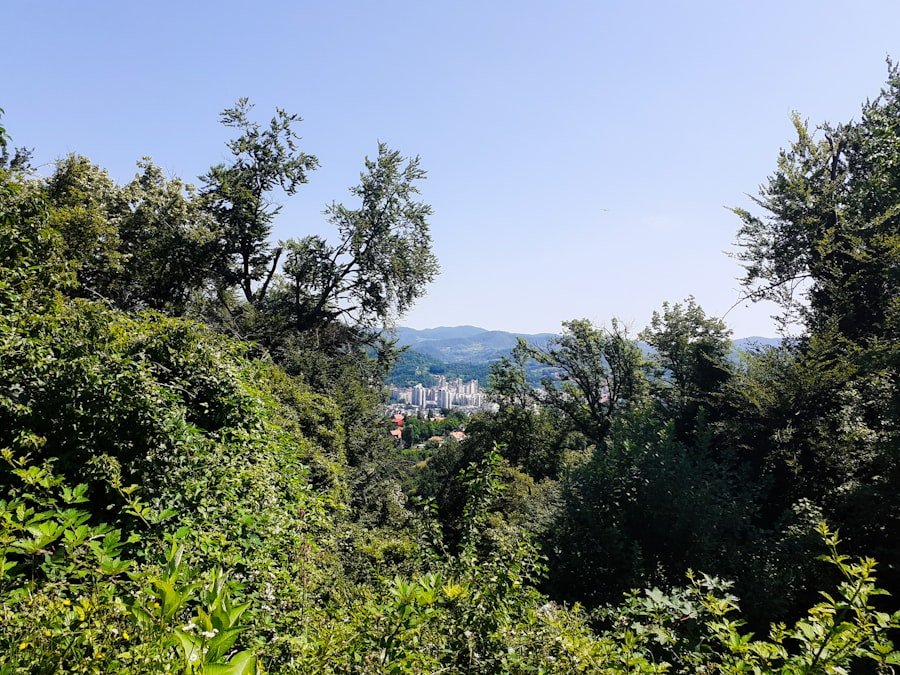
The forest is part of Crestasee’s identity, so do not treat it merely as background. Overhanging branches, tree trunks, rocks, foliage, and changing reflections can all add depth or provide a natural frame.
Foreground elements work best when they contribute to the picture rather than simply filling empty space. Move slightly left or right and watch how branches overlap with mountains, reflections, or other trees before settling on a position.
Weather can also change your approach. Mist can simplify the background, rain can enrich colors and create water texture, broken clouds can produce patches of directional light, and strong wind can replace clean reflections with ripples.
Photograph Crestasee Responsibly
Crestasee is not simply a photo set. The official destination identifies the lake as a protected natural landmark, and local wildlife information asks visitors to avoid disturbing animals in the area. The destination specifically notes the presence of white-clawed crayfish around Lake Cresta and Lake Cauma and advises visitors not to handle them. See the official Flims Laax Falera wildlife guidance.
Warning: Do not damage vegetation, disturb wildlife, enter restricted areas, or create an unofficial trail just to improve a composition. Use established access areas and follow local signs and seasonal restrictions.
Keep tripods and bags out of busy paths, especially when hikers and cyclists are sharing nearby routes. If you photograph wildlife, use distance and a longer focal length rather than approaching closely.
Smartphone Photography at Crestasee
A phone can handle many of the same compositions as a larger camera. Clean the lens before you start, turn on the grid, tap carefully to set focus and exposure, and reduce exposure slightly if bright sky or reflections are losing detail.
Use the main camera when possible rather than heavy digital zoom. If your phone offers RAW capture, exposure bracketing, or a dedicated long-exposure mode, these features can give you more flexibility later.
For reflections, hold the phone level and close to the water only from a safe, permitted position. A small phone tripod can also help with blue-hour photographs or longer exposures.
Editing Tips: Enhancing Crestasee Photos to Showcase Its Beauty
Editing should strengthen what was already present rather than turn Crestasee into a different place. Start with exposure and white balance. Recover bright highlights if needed, open dark forest shadows carefully, and check that the lake’s color still looks believable.
Next, straighten the image and correct obvious lens distortion. Crop only after you decide what the composition needs. A slight crop may strengthen the rule of thirds, symmetry, or edge cleanup, but avoid cutting away useful context automatically.
A Practical Editing Order
- Choose the strongest frame and remove obvious duplicates.
- Correct white balance.
- Adjust overall exposure.
- Recover highlights and lift shadows where necessary.
- Set black and white points carefully.
- Apply lens corrections.
- Straighten and crop.
- Use local masks for sky, water, or forest only when needed.
- Add modest sharpening and noise reduction.
- Check color saturation at normal viewing size before exporting.
Adobe Lightroom or Photoshop can handle these adjustments, but similar controls are available in many other desktop and mobile editors. The important part is the editing decision, not the software brand.
Pro Tip: Be especially cautious with green, aqua, and blue saturation. Crestasee already has strong natural color, so pushing those sliders too far is one of the fastest ways to make the photograph look artificial.
Preserving the Moment: Tips for Printing and Displaying Your Crestasee Photography
Printing gives you a different view of your photographs than a bright phone or monitor. Before ordering a large print, inspect the file at full resolution for missed dust spots, motion blur, excessive noise, sharpening halos, or uneven edits.
Choose the print surface based on the photograph. Glossy and lustre papers can emphasize color and fine detail, while matte or fine-art papers can suit softer forest scenes. A canvas can work for decorative display but usually shows less fine detail than a high-quality photographic or fine-art paper.
If your print lab provides a color profile or preparation guide, follow its recommendations for color space, sharpening, file format, and resolution. A small test print can save money before committing to a very large size.
For a gallery wall, combine a wide establishing view with two or three tighter photographs rather than printing several nearly identical compositions. This gives the display a clearer visual story of the lake, forest, reflections, and details.
Frequently Asked Questions
What is the Crestasee viewpoint?
Crestasee, or Lake Cresta, is a mountain lake between Flims and Trin in Graubünden. Official tourism information does not identify one single attraction called the “Crestasee viewpoint.” Photographers can instead use several permitted positions around the lake and surrounding paths to photograph the water, forest, reflections, and mountain scenery.
What are some photography tips for capturing the Crestasee viewpoint?
Arrive early enough to scout, try both wide and tight compositions, watch the direction of light, and photograph reflections when the water is calm. A tripod helps in low light. A circular polarizer can control glare, while an ND filter can help you create longer exposures.
What is the best time to photograph Crestasee?
Early morning and late-day light are strong starting points because low-angle light can be softer and more directional. Overcast weather is also excellent for forest details and controlled contrast. Because trees surround much of the lake, watch the actual light rather than depending only on the official sunrise or sunset time.
How do you get to Crestasee for photography?
The lake itself is reached on foot. Official visitor information says the walk from the Trin, Felsbach-Crestasee bus stop takes about 15 minutes, while the walk from designated parking areas takes about 20 minutes. Allow extra time if you are planning an early-morning or evening shoot.
What lens is best for Crestasee photography?
There is no single best lens. A wide-angle lens can show the whole landscape, a standard lens can create a natural perspective, and a telephoto can isolate reflections, trees, mountains, or small details. A versatile zoom is useful if you want to carry less equipment.
Do I need a tripod at Crestasee?
No. You can photograph handheld when there is enough light. A tripod becomes useful around sunrise or sunset, when making long exposures, when bracketing multiple exposures, or whenever your shutter speed becomes too slow for reliable handheld sharpness.
Should I use a polarizing filter at Crestasee?
A circular polarizer can be very useful around water because it lets you control glare and reflections. Do not automatically turn it to maximum strength. Sometimes the reflection of the forest is the most interesting part of the photograph, so adjust the filter while watching the effect.
Can I photograph Crestasee with a smartphone?
Yes. Use the phone’s main camera, clean the lens, enable the composition grid, and protect bright highlights by adjusting exposure when necessary. A small tripod or stable support can help in low light, and RAW capture gives you more editing flexibility when your phone supports it.
Sources
- Flims Laax Falera: Lake Cresta — official lake description, conservation status, access, facilities, and visitor information.
- Graubünden Tourism: Crestasee Circular Hike — walking route, access, equipment, and local visitor guidance.
- Flims Laax Falera: Wildlife — wildlife protection and responsible behavior around the destination.
- Adobe: Landscape Photography — lighting, landscape planning, and lens guidance.
- Adobe: Water Photography — tripod, ND filter, polarizer, and water-photography techniques.
- Adobe: Rule of Thirds — composition guidance and when to break the rule of thirds.