Via ferrata in Switzerland lets you cross protected alpine terrain using fixed steel cables, rungs, ladders, and bridges while wearing a harness and energy-absorbing via ferrata set. It can suit fit beginners, but it is exposed mountain travel rather than a casual hike. Your first route should match your fitness, height tolerance, weather, and ability to complete the approach and descent.
Quick Answer
Start with a K1 or K2 route, use a helmet, harness, and current EN 958-compliant via ferrata set, and learn the clipping method before leaving the ground. Choose a short route with a simple descent, check its live status and weather, and hire a certified guide for exposed K3 terrain or your first outing.
Last updated: July 23, 2026 · Reviewed against current Swiss Alpine Club and official destination guidance for route grading, beginner suitability, equipment, weather, and emergency planning.
Key Takeaways
- Via ferrata means “iron way” and combines hiking, scrambling, and protected climbing on fixed mountain hardware.
- K1-K2 is the best starting range for most fit beginners who are comfortable with heights; K3 can be much more exposed.
- Essential equipment includes a helmet, correctly fitted harness, via ferrata set, sturdy footwear, gloves, water, weather layers, and emergency basics.
- Storms, wet rock, wind, cold, and snow matter. Steel cables do not make a route safe in poor conditions.
- Check current information on the day. Route closures, cable-car schedules, snow, damaged anchors, and local restrictions can change.
At a Glance
| Time Required | About 2-5 hours for many beginner-suitable outings, including the approach and descent; always use the official route time. |
| Difficulty | Start around K1-K2. Treat K3 as a guided first experience unless you already have relevant practice and strong exposure tolerance. |
| Tools Needed | Helmet, harness, via ferrata set, grippy footwear, gloves, layers, water, food, phone, route information, and first aid basics. |
| Cost | Varies by route. Equipment rental, guiding, lift tickets, and public transport may be separate costs. |
What Is Via Ferrata?
Via ferrata means “iron way” in Italian. Modern recreational routes use steel cables, steps, ladders, pegs, and bridges to help people move through steep terrain. Protected alpine routes existed before World War I, while military routes in the Dolomites helped make the activity widely known.
You still need fitness, sure-footedness, focus, and proper equipment. Unlike a normal hike, you attach two lanyard arms to the safety cable. Unlike traditional rock climbing, you usually make progress using fixed hardware as well as natural rock holds.
A steel cable reduces risk only when you use the correct equipment and technique. It does not remove the consequences of a fall, lightning, rockfall, damaged anchors, or a poor route choice.
Is Via Ferrata in Switzerland Suitable for Beginners?
Yes, some Swiss via ferrata routes suit beginners, but the grade is only one part of the decision. You must also consider exposure, total duration, altitude, approach and descent difficulty, escape options, wet or snowy sections, and whether the route is easy to reverse.
A fit beginner with a calm head for heights may enjoy a well-secured K1-K2 route. Someone who freezes on ladders, struggles with sustained uphill walking, or has never used the equipment should begin with a guide or course. Famous does not always mean beginner-friendly: Mürren is K3 and psychologically exposed, while Piz Trovat reaches high alpine terrain and has a steep T4 descent.
Beginner-Friendly Via Ferrata Routes in Switzerland
The following routes show the range of beginner options. The times and grades come from official tourism or Swiss Alpine Club pages, but they are not live guarantees of opening conditions. Check the route page, situation warnings, local operator, weather, and transport schedule shortly before starting.
| Route | Official difficulty and time | Beginner fit |
|---|---|---|
| Chäligang, Engstligenalp | K1 with K2 passages; about 2½ hours total. | One of the clearest first-route choices. It is well secured, but you still need full equipment and must check waterfall, snow, and route conditions. |
| Schweifinen Route A, Zermatt | K2 in the SAC portal; Zermatt lists it as easy, with roughly 1 hour on the route and a 30-minute approach. | Suitable for beginners who are sure-footed and comfortable with exposure. The official tourism page says it can suit families with children aged 10 and above, subject to fit and ability. |
| Gorge Alpine, Saas-Fee to Saas-Grund | Listed locally as K2 and about 3½-4 hours for the full summer gorge. | A guided adventure with ladders, bridges, steel ropes, and zip-line features. The official destination states that you must not attempt the gorge without a mountain guide. |
| Pinut, Flims | K2; about 5 hours total, including a long descent. | Technically moderate and well secured, but the lower section is airy and the day is long. Better for fit beginners than for a first short practice route. |
| Mürren-Gimmelwald, Bernese Oberland | K3; about 2¾ hours on the route. SAC rates the psychological demand 3 out of 4. | Not an ideal independent first route. It is mostly downhill but includes extreme valley exposure, slippery ground, bridges, and sections that are difficult to reverse. First-timers should use a guide. |
| Piz Trovat I, Diavolezza | K2 with K3 sections; about 2½-3 hours total. The descent is T4. | Only for confident beginners with suitable mountain experience, snow-free conditions, and preferably a guide or experienced partner. Do not take the Piz Trovat II branch, which is K5-K6. |
Note: A route may be technically easy but still unsuitable because of altitude, a difficult descent, long exposure, cold, snow, or no practical escape. Read the whole route description, not just the K grade.
How Swiss Via Ferrata Grades Work
Swiss route descriptions commonly use the Hüsler scale from K1, easy, to K6, extremely difficult. The Swiss Alpine Club route legend also uses a four-part challenge profile for mountain experience, force, endurance, and psyche.
- K1: the easiest protected terrain, although exposed sections can still occur.
- K2: a common starting range for fit beginners with correct technique and a good head for heights.
- K3: steeper, more sustained, or more exposed terrain. A guide is a sensible choice for a first route.
- K4-K6: difficult to extremely difficult routes that can demand strength, technique, endurance, and a high tolerance for exposure.
Grades do not account for every condition you will meet that day. Wet metal, mud, loose rock, crowding, fatigue, snow, and a missed lift can make the outing much harder than the printed grade suggests.
What to Expect on a Swiss Via Ferrata
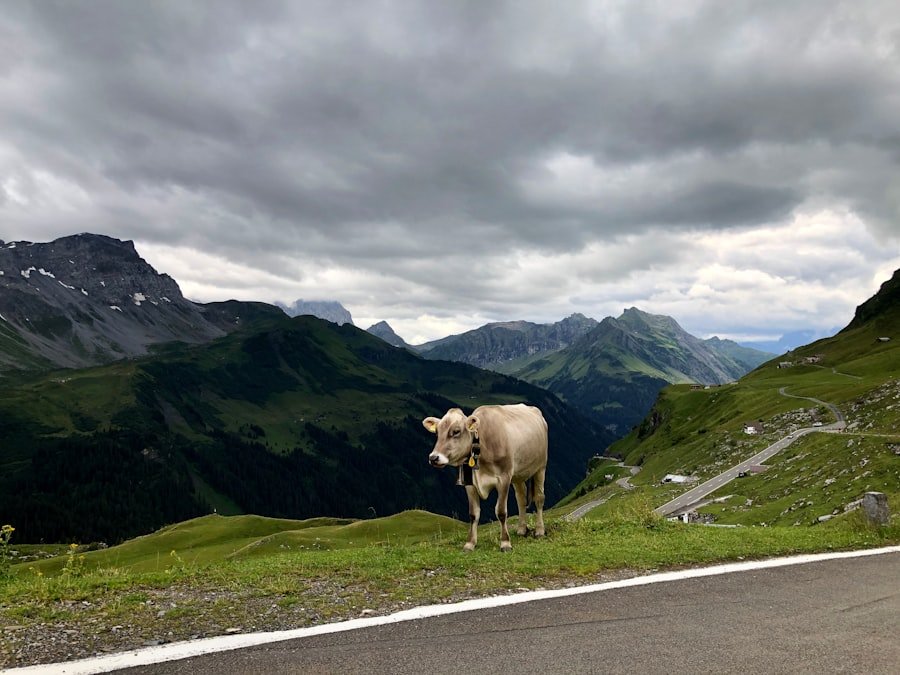
A via ferrata day often starts with a walk, train, bus, or lift ride to the route entrance. Before clipping in, check your harness, helmet, lanyard attachment, carabiners, shoes, layers, route status, and the forecast. Practice transferring both carabiners across an anchor at ground level before entering exposed terrain.
You may encounter walking, scrambling, vertical ladders, iron rungs, narrow ledges, cable bridges, muddy ground, and steep descents. The mental challenge often surprises beginners. Standing on iron steps above a valley can feel intense even when the cable and anchors are in good condition.
Fatigue can build in your forearms if you pull on the cable instead of using your legs. Keep your body balanced, take small steps, and use the rungs and natural footholds. Do not rush to keep up with a faster group.
Essential Gear and Equipment for Via Ferrata
| Item | Why you need it |
|---|---|
| Climbing helmet | Protects against falling stones, low rock, ladders, and accidental impacts. Fasten the chin strap before approaching the route. |
| Climbing harness | Connects you to the via ferrata set. It must fit snugly and be worn exactly as the manufacturer instructs. |
| Via ferrata set | A Y-shaped, energy-absorbing lanyard with two via ferrata carabiners. Use a current, standard-compliant model that matches the manufacturer’s user-weight and attachment instructions. |
| Gloves | Reduce cable friction and help you handle cold or rough metal. They do not replace good hand placement. |
| Grippy footwear | Approach shoes, hiking shoes, or boots should grip rock, mud, ladders, and the descent trail. |
| Weather layers | Carry a waterproof shell and a warm layer even when the valley is mild. Higher routes can be colder and windier. |
| Small backpack | Carry water, food, sunscreen, first aid basics, an emergency blanket, phone, offline route information, and transport details without restricting movement. |
You can often rent equipment from guide companies, mountain-sports shops, huts, or lift stations. Ask trained staff to check the fit and show you the correct attachment. Inspect webbing, stitching, carabiners, the absorber pouch, and the product label. Check the manufacturer and the UIAA recall list if you own older or second-hand equipment.
Warning: Do not use an improvised sling or ordinary climbing lanyard as a substitute for an energy-absorbing via ferrata set. If the absorber has deployed in a fall, stop using the set and follow the manufacturer’s retirement instructions.
How to Clip and Move Safely
- Attach the set correctly. Connect it to the harness only at the point and with the method specified by both manufacturers.
- Clip both carabiners to the safety cable. Keep both attached whenever the cable section allows.
- Transfer one carabiner at a time at each anchor. Move the first carabiner beyond the anchor and clip it, then move the second. At least one carabiner must remain connected during the transfer.
- Keep the carabiners ahead of you. This reduces snagging and makes the next anchor easier to reach.
- Use your legs. Step on rungs and rock holds instead of hanging your full weight from the cable.
- Rest only with an approved method. A rest loop, if your set has one, is not a fall-arrest connection. Follow the product instructions or your guide’s directions.
Pro Tip: Practice clipping, anchor transfers, turning around, and asking to pass while standing on flat ground. Smooth carabiner handling saves energy and reduces mistakes once the route becomes exposed.
Safety Tips for Beginners
The Swiss Alpine Club safety guidance emphasizes fitness, planning, standard-compliant equipment, partner checks, sound cables and anchors, storm avoidance, spacing, and respect for closures. Apply those checks before you leave and again at the route entrance.
Do a complete partner check
Confirm the harness buckles, lanyard attachment, absorber pouch, carabiner operation, helmet fit, footwear, and backpack straps. Check the cable and first anchors for visible damage. Never enter a route that is closed or has a reported defect.
Keep safe spacing
There should never be more than one person between two fixed anchors. Leave extra space below steep sections so another climber’s fall or loose stone does not pull you into danger. Overtake only where the terrain is wide and both parties agree.
Avoid storms and poor conditions
Lightning around steel cables can be fatal. Rain makes rock, roots, mud, ladders, and cables slippery. Strong wind, cold, poor visibility, and fresh snow also increase the chance of a fall or becoming stranded. If the forecast is doubtful, choose another day.
Know the exit and turnaround limits
Some routes are difficult or impossible to reverse safely once you enter. Note every escape point before starting, and do not rely on an unplanned rope descent. Confirm the return trail, lift closing time, final train or bus, and daylight margin.
Plan carefully with children
Children may have trouble reaching widely spaced rungs and may not fit every harness or via ferrata set. Check the operator’s minimum age, height, weight, and supervision rules. The Swiss Alpine Club notes that exposed sections may require an additional rope belay by a competent adult. A qualified guide is the safer choice when you lack that skill.
Carry an emergency plan
Save the local route and emergency details offline. In a Swiss mountain emergency, call Rega on 1414 or the European emergency number 112. Give your route name, position, number of people, injuries, and weather. Phone reception is not guaranteed, so tell someone your plan and expected return time before leaving.
Choosing the Right Route for Your Skill Level
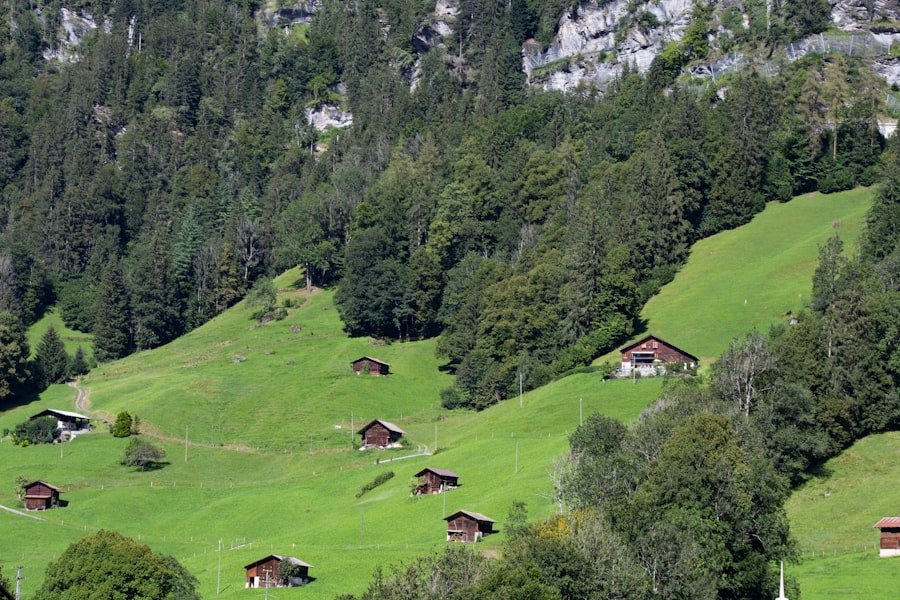
Choose your first Swiss via ferrata by difficulty, exposure, total time, approach, descent, altitude, weather risk, and escape options. Do not pick a route only because its photos look beautiful. Many famous routes are scenic precisely because they cross steep cliffs, high bridges, or remote alpine terrain.
A short K1-K2 route with a simple approach and descent is usually the strongest first choice. A K3 route can work as a guided experience if you are fit and calm with exposure. Avoid K4-K6 until you have built movement skill, clipping speed, endurance, and sound mountain judgment.
Use this self-check before booking:
- Can you hike uphill for at least 60-90 minutes and still climb with control?
- Can you cross a ladder or narrow bridge without freezing?
- Can you clip both carabiners smoothly while wearing gloves?
- Can you complete the descent after the climbing section?
- Do you know what you will do if the weather changes or someone becomes exhausted?
Guided Tours and Courses for Beginners
A guided tour is the safest first step if you have never used a via ferrata set or are considering an exposed route. Swiss mountain schools and outdoor companies commonly provide equipment, instruction, route selection, pacing, and supervision. Ask whether the price includes the helmet, harness, via ferrata set, lift tickets, and transport.
A beginner course should teach partner checks, correct clipping, anchor transfers, body position, safe resting, spacing, overtaking, route reading, weather decisions, and descent planning. Your goal is smooth and controlled movement, not speed.
Tell the guide your hiking experience, climbing experience, medical limitations, height concerns, and the ages and approximate sizes of any children. Honest information helps the guide choose the right route and equipment.
Etiquette and Environmental Considerations in Switzerland
Swiss via ferrata routes pass through fragile alpine terrain. Stay on marked approaches and descents, respect closures and nesting restrictions, follow local signs, and pack out food wrappers, tissues, and all other waste.
Be considerate on crowded routes. Keep the required distance, communicate before overtaking, and avoid dislodging stones. Do not stop for photos where you block the cable or expose people below. Use public transport where practical; many Swiss alpine villages and lift stations connect by train, bus, cable car, or funicular.
Beginner Planning Checklist
- Choose a K1-K2 route that matches your fitness and comfort with heights.
- Read the full official description, including approach, descent, escape points, and challenge profile.
- Check route status, situation warnings, local restrictions, and visible cable or anchor damage.
- Confirm lift times, last public transport, total duration, and daylight.
- Check the mountain forecast again on the morning of the outing.
- Wear a helmet, harness, via ferrata set, grippy footwear, gloves, and suitable layers.
- Carry water, food, phone, offline route details, first aid basics, and emergency numbers.
- Complete a partner check and practice clipping before entering exposed terrain.
- Keep only one person between fixed anchors and communicate before passing.
- Book a guide if the route is K3, highly exposed, high alpine, unfamiliar, or beyond your current judgment.
Sources
- Swiss Alpine Club: Safety on via ferrata — equipment, partner checks, spacing, children, weather, closures, and emergency planning.
- Swiss Alpine Club: Route portal legend and explanations — Hüsler K1-K6 scale and challenge factors.
- Swiss Alpine Club: Chäligang Via Ferrata — beginner grade, timing, equipment, and seasonal guidance.
- Swiss Alpine Club: Via Ferrata Mürren — K3 grade, exposure, timing, route character, and access period.
- Zermatt Tourism: Schweifinen Via Ferrata Route A — difficulty, duration, equipment, approach, and family guidance.
- Swiss Alpine Club: Piz Trovat Via Ferrata — route variants, grade, high-alpine descent, and snow-free condition warning.
Frequently Asked Questions
What is a via ferrata?
A via ferrata is a protected mountain route with fixed steel cables and aids such as rungs, ladders, bridges, or pegs. You wear a helmet, harness, and energy-absorbing via ferrata set and remain connected to the cable while moving through exposed terrain.
Is via ferrata in Switzerland suitable for beginners?
Yes, when the route, conditions, and equipment match your ability. Start with a well-secured K1-K2 route with a manageable approach and descent. Use a guide when you are new to the equipment, uncomfortable with exposure, or considering K3 terrain.
What equipment do I need for a via ferrata in Switzerland?
You need a climbing helmet, correctly fitted harness, standard-compliant via ferrata set, grippy footwear, and suitable clothing. Gloves, water, food, a phone, offline route details, a waterproof layer, first aid basics, and an emergency blanket are also sensible.
Do I need prior climbing experience?
Many beginner routes do not require technical rock-climbing experience. You still need basic fitness, sure-footedness, comfort with heights, and instruction in clipping and spacing. A beginner course or guided trip is the safest way to learn those skills.
What grade should beginners choose?
Most beginners should begin around K1-K2. Do not use the number alone: check exposure, total time, descent, altitude, escape options, and the SAC challenge profile. K3 is better treated as a guided first experience.
Are guided via ferrata tours available in Switzerland?
Yes. Mountain schools and guide companies operate in major Swiss alpine regions. A guided tour can include equipment, fitting, clipping instruction, route choice, pacing, weather decisions, and help with exposed sections.
Can children do via ferrata in Switzerland?
Some routes accept children, but age alone is not enough. The child must reach the hardware, fit the equipment, stay focused, and meet the operator’s rules. Exposed sections may require an additional rope belay by a competent adult or guide.
What should I do if a storm is forecast?
Choose another day. Lightning around metal cables can be fatal, while rain, wind, cold, and poor visibility make movement and rescue harder. Do not start because a storm looks distant or because you have already paid for transport.