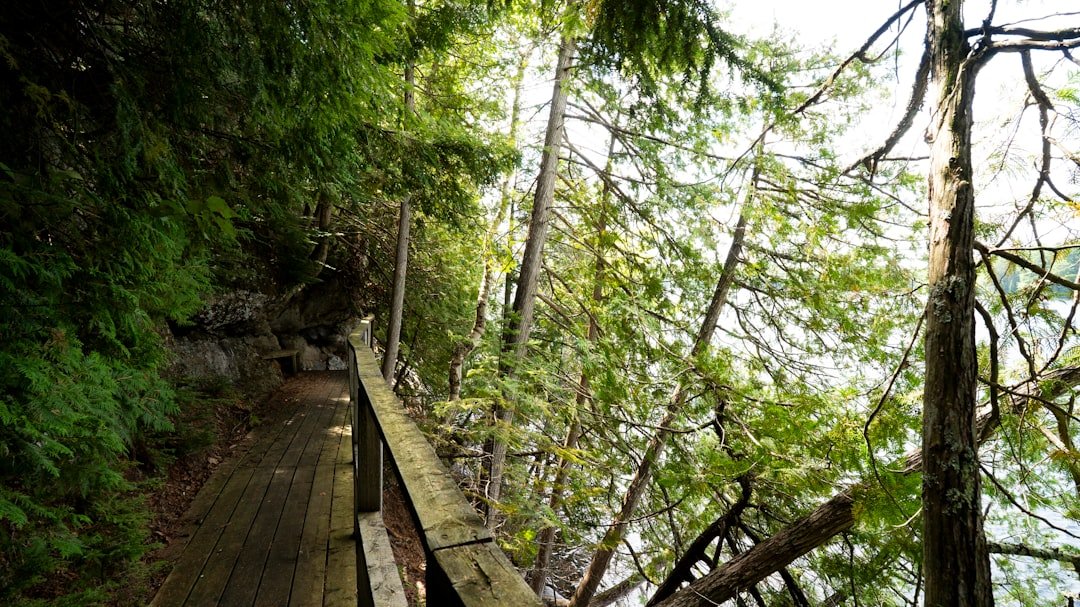
Bachalpsee is one of the most photogenic stops above Grindelwald, combining an accessible high-altitude hike with open alpine scenery and classic mountain reflections. The standard route starts at the First mountain station and leads across alpine terrain to the lake, where Schreckhorn and Wetterhorn provide the most recognizable mountain backdrop. Good photographs depend as much on wind, weather, timing, and preparation as they do on camera equipment.
Quick Answer
The best Bachalpsee photo spots are along the lakeshore, where calm water can reflect Schreckhorn and Wetterhorn, plus the open approach trail and alpine-meadow viewpoints between First and the lake. Allow extra time beyond the normal hike so you can wait for better light, calmer wind, and cleaner compositions.
Key Takeaways
- The standard First-Bachalpsee-First hike is about 5.8 km return with roughly 202 m of ascent and descent and is officially classified as easy.
- Schreckhorn and Wetterhorn are the key mountain subjects for the classic Bachalpsee reflection composition.
- Calm wind is often more important than perfectly clear skies because even a light breeze can break up reflections on the lake.
- A phone or basic camera is enough for good photographs; a polarizing filter, tripod, spare battery, and lens cloth are useful but optional.
- Check the First gondola timetable, trail status, weather forecast, and thunderstorm warnings before leaving Grindelwald.
At a Glance
| Route | First mountain station to Bachalpsee and back |
| Distance | About 5.8 km return |
| Time Required | About 1 hr 40 min to 1 hr 50 min walking; allow roughly 2.5-3+ hours if you stop regularly for photography |
| Elevation Change | About 202 m ascent and 202 m descent |
| Difficulty | Easy by the official route classification, subject to weather and trail conditions |
| Photography Gear | Phone or camera; optional wide-angle lens, telephoto lens, polarizer, tripod, spare battery, memory card, and lens cloth |
| Cost | No separate hiking fee for the trail; transportation and the First gondola are paid separately and fares can change |
Plan the Bachalpsee Hike Before You Shoot
The most common approach is to travel to Grindelwald and take the First gondola to the First mountain station. According to Jungfrau Railways, the gondola ride from Grindelwald to First takes about 25 minutes and passes the intermediate stations of Bort and Schreckfeld.
From First, follow the marked route toward Bachalpsee. Grindelwald Tourism’s verified route description lists the return hike at about 5.8 km, with approximately 202 m of ascent and descent. The highest point is around 2,280 m. The trail begins with some climbing before continuing through open alpine terrain with gentler rises and dips.
The official walking estimates vary slightly. Grindelwald Tourism lists about 1 hour 40 minutes for the return route, while Jungfrau Railways gives about 1 hour 50 minutes. Photographers should allow significantly more time. Waiting for wind to ease, changing lenses, exploring the shoreline, and stopping for viewpoints can easily turn the outing into a 2.5- to 3-hour visit or longer.
Warning: Check the current Jungfrau timetable, operating information, trail conditions, and weather before starting. Do not plan a late photography session on the assumption that a gondola will still be available for your return.
If you prefer an official map on your phone, the swisstopo app includes Swiss national maps, hiking information, elevation data, route-planning tools, panorama identification, and offline map support.
The Best Photo Spots on the Bachalpsee Hike
The best Bachalpsee photography is not limited to one exact tripod hole. Light, cloud, wind, snow, vegetation, and the position of other hikers change from visit to visit. Treat the locations below as composition zones rather than fixed coordinates.
1. The Main Bachalpsee Shoreline
The lake itself is the essential photo stop. The classic composition uses Bachalpsee as the foreground and Schreckhorn and Wetterhorn as the mountain backdrop. When the surface is calm, their shapes can appear in the water and create the reflection for which Bachalpsee is known.
Walk a short distance along established shoreline areas and compare your angles instead of stopping at the first open view. A small sideways movement can separate overlapping peaks, remove distracting people from the frame, or improve the amount of reflected mountain visible in the water.
Pro Tip: If reflections are your priority, watch the water rather than only the sky. A dramatic sky can still produce a weak reflection photograph when the lake is rippled by wind. If conditions are breezy, wait a few minutes and watch for temporary calmer patches.
2. Low Shoreline Foregrounds
Instead of photographing the lake only from standing eye level, look for a safe low viewpoint near the established path or shoreline. Rocks, grasses, and small patches of alpine vegetation can add depth without requiring you to trample sensitive ground.
With a wide-angle lens or a phone’s main camera, place a nearby foreground element low in the frame, keep the lake in the middle distance, and let the mountains fill the upper part of the image.
3. The Approach Trail From First
The hike itself provides useful compositions before you reach the lake. The open path, rolling alpine slopes, hikers in the distance, and surrounding peaks can all give a stronger sense of scale than a lake-only photograph.
Use curves in the trail as leading lines. A person wearing a contrasting jacket can also provide scale, but avoid blocking the path or photographing strangers prominently without their permission.
4. Alpine Meadows and Seasonal Details
Wildflowers and grasses can provide colorful foregrounds when they are present. Rather than stepping into vegetation for a cleaner angle, shoot from the established trail and use a longer focal length or a low camera position to compress the flowers and mountains together.
Streams or small water channels encountered along the route can also work as leading lines when conditions allow. Their appearance and water flow can change, so they are better treated as opportunistic compositions rather than permanent named photo spots.
5. First Before or After the Hike
The First area itself is worth photographing before or after Bachalpsee. Jungfrau Railways lists a “First View” vantage platform near First, offering broad perspectives across the Bernese Alps. It can provide a useful wide panorama when conditions at the lake are windy or crowded.
For the classic Bachalpsee photograph, calm water and a clean view toward Schreckhorn and Wetterhorn matter more than owning an expensive camera.
Tips for Capturing the Beauty of Bachalpsee
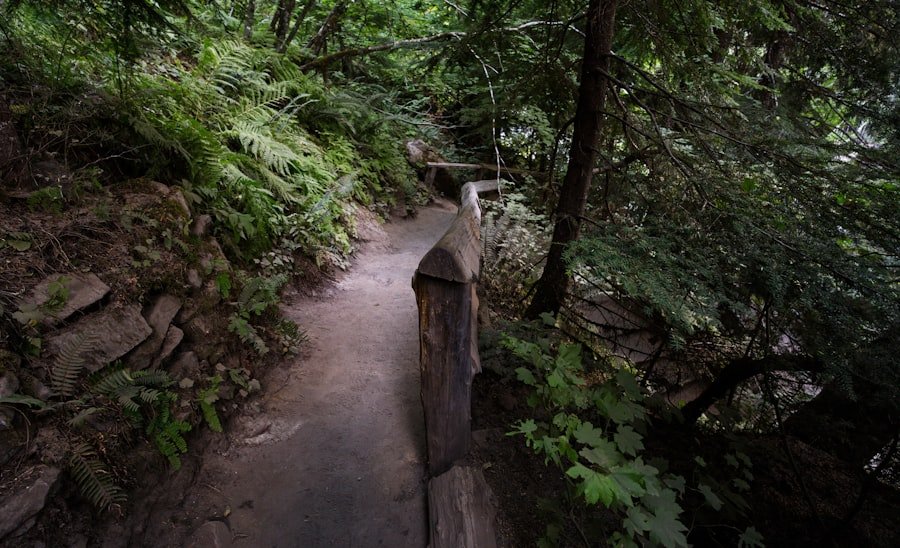
Start by changing your camera position before changing equipment. Shoot one frame from normal eye level, one from lower down, and one from slightly farther back with more foreground. These small adjustments often make a bigger difference than switching lenses.
Use Wide and Tight Compositions
A wide-angle lens is useful for showing the lake, mountains, sky, and foreground in a single frame. A moderate telephoto is useful for isolating mountain ridges, hikers, patches of light, or details in Schreckhorn and Wetterhorn.
If you only have a smartphone, use the main camera for maximum image quality whenever possible. An ultra-wide view can work for a dramatic foreground, but keep an eye on distorted rocks or people near the edges.
Watch the Wind for Reflections
A mirror reflection depends on the water surface. When wind increases, ripples break up the reflected mountains. Take several frames during brief calm periods instead of assuming conditions will remain constant.
If reflections disappear completely, change strategy. Use the rippled water as texture, photograph tighter mountain details, or include moving clouds and people to create a more atmospheric image.
Use a Polarizing Filter Carefully
A circular polarizing filter can reduce glare from some reflective surfaces and increase contrast in parts of the sky. However, maximum polarization is not always desirable at Bachalpsee because reducing the lake’s surface reflection can work against the very effect you came to photograph.
Rotate the filter while looking through the viewfinder or rear screen and stop where the water, sky, and mountain contrast look natural. With very wide lenses, strong polarization can also make one part of a blue sky appear darker than another.
Start With Simple Landscape Settings
Exact settings depend on light and equipment, but these starting points work well for many daylight landscape photographs:
- ISO: Keep it low when there is enough light, commonly around ISO 100 or your camera’s base ISO.
- Aperture: Around f/8 to f/11 is a practical starting range when you want foreground and mountains reasonably sharp.
- Shutter speed: Adjust to the available light. Use a faster speed for handheld shots or moving people and a tripod when a slower exposure is necessary.
- Focus: Check important foreground and mountain details rather than relying blindly on automatic focus selection.
- RAW: Use RAW if your camera or phone supports it and you expect to edit exposure and color later.
Note: A tripod is not required for most daytime Bachalpsee photographs. It becomes more useful in low light, for carefully aligned panoramas, or when you intentionally want a slower shutter speed.
The Importance of Lighting in Photography
| Lighting Factor | Effect at Bachalpsee |
|---|---|
| Exposure | Balanced exposure helps retain detail in bright clouds, snow, mountains, and darker foregrounds. |
| Contrast | Low-angle light can reveal ridges and terrain more clearly than flat overhead light. |
| Color | Warm light near the beginning or end of the day can change the appearance of rock, grass, clouds, and reflected sky. |
| Texture | Side lighting can reveal texture in mountain ridges, rocks, and alpine vegetation. |
| Reflections | Light determines reflected color and contrast, while wind determines how clearly the reflection appears. |
| Mood | Clouds, shafts of sunlight, mist, and changing weather can create stronger atmosphere than a cloudless midday sky. |
Early and late light can be attractive because the sun sits lower and shadows become longer. However, “golden hour” advice comes with an important logistical problem at Bachalpsee: gondola operating times do not necessarily match sunrise or sunset.
Before planning very early or late photography, confirm transportation using the official Jungfrau timetable. Never assume that you can stay at the lake until sunset and still ride down from First afterward.
Midday is not automatically bad. Passing clouds can create moving light across the mountains, and a higher sun may illuminate the lake more evenly. If the midday light feels harsh, concentrate on shapes, hikers, details, or reflected clouds rather than forcing a classic golden-light composition.
Composition Techniques for Stunning Bachalpsee Photos
Rule of Thirds
The rule of thirds is a useful starting point rather than a requirement. For a broad landscape, place the horizon near the upper or lower third depending on whether the reflection or sky is more interesting.
If the reflection is nearly symmetrical, breaking the rule and putting the horizon close to the center can create a stronger photograph.
Leading Lines
The trail, shoreline, water channels, and mountain ridges can direct the viewer toward the main subject. Look at the edges of your frame before taking the photo. A strong leading line loses impact if it directs the eye toward an accidental cut-off object or a cluster of distractions.
Foreground, Middle Ground, Background
A simple three-layer composition works particularly well here:
- Foreground: rock, grass, flowers, or shoreline.
- Middle ground: Bachalpsee or the hiking trail.
- Background: Schreckhorn, Wetterhorn, clouds, and surrounding alpine ridges.
This creates depth and gives viewers a visual path through the scene.
Natural Framing
Instead of relying on trees, which are not the defining feature of the open high-altitude lake setting, use nearby terrain, rocks, slopes, or vegetation at the edge of the frame to create natural borders.
Include People for Scale
A distant hiker can show the size of the landscape and make a frame feel less static. Keep people small unless they are intentionally the main subject, and respect other visitors’ privacy.
Equipment and Gear for a Successful Photo Hike
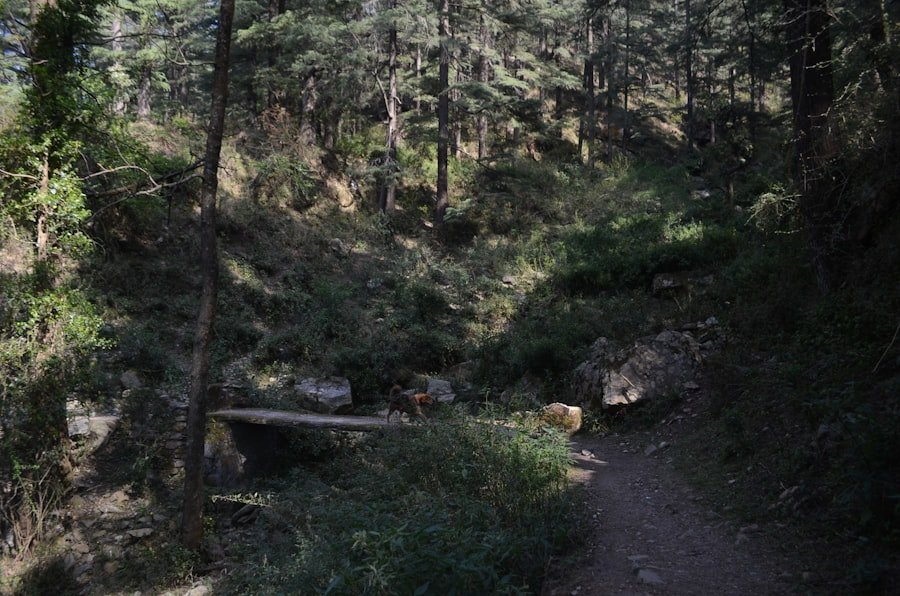
You do not need a large camera kit to photograph Bachalpsee successfully. Every extra lens also adds weight that you must carry at altitude, so choose equipment around the types of pictures you actually intend to make.
Camera and Lenses
- Smartphone: Sufficient for wide landscapes, panoramas, video, and social sharing.
- Mirrorless or DSLR: Useful when you want more control over exposure, focal length, filters, or RAW files.
- Wide-angle lens: Good for lake reflections and foreground-heavy landscapes.
- Standard zoom: Often the most versatile single-lens option.
- Telephoto lens: Useful for compressed mountain scenes and distant details.
Useful Accessories
- Spare battery or power bank
- Extra memory card
- Lens cloth
- Optional circular polarizing filter
- Optional lightweight tripod
- Rain protection for electronics
Cold conditions can reduce battery performance, so carrying a charged spare is sensible even outside winter. Keep batteries protected from moisture and avoid leaving your camera bag open during rain or rapidly changing weather.
Hiking Essentials Matter More Than Another Lens
The verified Grindelwald Tourism route equipment guidance includes sturdy comfortable footwear, weather-appropriate layered clothing, sun and rain protection, provisions, drinking water, a mobile phone, and basic first-aid supplies. These are more important than carrying every piece of camera equipment.
Bring enough food and water for your outing. If you want an unusual fruit-snack idea for your trip, the existing site guide to exploring the delightful world of Asian melon offers one option, although practical hiking snacks should still be easy to carry and store safely.
Weather, Trail Safety, and Responsible Photography
Even an officially easy route deserves mountain-level preparation. First sits above 2,100 m, and the Bachalpsee route reaches roughly 2,280 m. Conditions can therefore feel very different from Grindelwald village.
Check the MeteoSwiss forecast and official trail information shortly before departure. Summer deserves particular attention because MeteoSwiss reports that thunderstorm activity across Switzerland peaks from June through August.
Warning: Do not remain beside the lake or on exposed alpine ground during a thunderstorm. MeteoSwiss advises avoiding bodies of water, exposed ridges, peaks, isolated trees, and open terrain when lightning is a threat. Turn back early when conditions deteriorate rather than waiting for a dramatic photograph.
Before Leaving First
- Confirm the route is open.
- Check the forecast and hazard warnings.
- Know the final gondola connection you intend to use.
- Carry water and weather protection.
- Save or download a map if you may lose mobile coverage.
- Wear footwear suitable for a natural alpine trail.
Protect the Landscape
Use established paths and durable surfaces for photography. Do not step through vegetation simply to remove grass from a composition. Avoid blocking the trail with a tripod, give other hikers room to pass, and pack out everything you carry in.
Drone Photography
Do not assume that a drone may be flown at Bachalpsee simply because the area looks remote. Swiss drone restrictions can vary by location and can change. The Swiss Federal Office of Civil Aviation instructs drone pilots to check the current drone map and applicable geographical restrictions before every flight. General Swiss drone rules, including altitude, visual-line-of-sight, people, and registration requirements, may also apply depending on the aircraft and operation.
Editing and Post-Processing Tips for Bachalpsee Photos
Post-processing can help a photograph resemble what you saw without turning the mountains or lake into unrealistic colors. Adobe Lightroom, Photoshop, and many phone editors provide enough control for the basic adjustments most Bachalpsee images need.
Correct Exposure First
Begin with overall exposure and white balance. Then inspect bright snow, clouds, and dark foreground areas separately. Reduce highlights if bright areas have usable detail and raise shadows gently when the foreground is too dark.
Keep Color Believable
Alpine blues and greens can become unnatural quickly when saturation is pushed too far. Increase vibrance or saturation gradually and compare the edited image with the original before exporting.
Use Local Adjustments Sparingly
A graduated adjustment can help balance a bright sky and darker land, while a local mask can subtly improve the foreground or mountains. Avoid creating obvious halos around ridgelines.
Check the Horizon and Edges
Lake photographs make a tilted horizon easy to notice. Straighten the frame and inspect all four edges for half-cut people, bags, poles, or bright objects that pull attention away from the landscape.
Do Not Force a Perfect Reflection
If the lake was rippled when you visited, keep the texture unless your goal is clearly creative digital art. A realistic photograph of changing alpine conditions often tells a stronger story than an artificially perfect mirror.
Preserving and Sharing Your Bachalpsee Hike Memories
After the hike, copy your photographs to more than one storage location rather than leaving the only version on a memory card or phone. Keep the original high-resolution files if you may want to make prints later.
A simple folder structure using the date and location, such as “2026-08-16 Bachalpsee,” makes the photographs easier to find. You can then create a smaller collection containing only your strongest images for sharing.
Instagram and photography communities are useful for sharing the experience, but a printed photo book or framed landscape gives the trip a more permanent form. Include a mix of wide lake views, trail photographs, mountain details, and people or hiking moments so the collection documents the whole outing rather than six versions of the same reflection.
Frequently Asked Questions
What is the Bachalpsee hike?
The standard Bachalpsee hike is an out-and-back walking route from the First mountain station above Grindelwald to Bachalpsee and back. The verified Grindelwald Tourism route is about 5.8 km with roughly 202 m of ascent and descent.
Where is the Bachalpsee hike located?
Bachalpsee is above Grindelwald in Switzerland’s Bernese Oberland. Most visitors take the First gondola from Grindelwald to the First mountain station and begin the hike there.
What are the best photo spots along the Bachalpsee hike?
The main Bachalpsee shoreline is the essential location, particularly when Schreckhorn and Wetterhorn reflect in calm water. Other good compositions include low shoreline foregrounds, the approach trail, alpine meadows, seasonal stream details, and viewpoints around First.
What is the difficulty level of the Bachalpsee hike?
Grindelwald Tourism’s verified First-Bachalpsee-First route is classified as easy. However, it is still a high-altitude outdoor hike, so wet ground, snow, strong wind, changing weather, or poor fitness can make the outing more demanding.
How long does it take to complete the Bachalpsee hike?
Official estimates are approximately 1 hour 40 minutes to 1 hour 50 minutes for the return walk. If photography is a major goal, allow around 2.5 to 3 hours or more so you can stop, explore compositions, and wait for changing light or wind.
When is the best time to visit Bachalpsee for photography?
There is no single guaranteed best month or hour. Visit when the hiking route is open and conditions are safe. Calm wind is especially useful for reflections. Early or late light can be attractive, but always check the First gondola timetable because operating hours may not match sunrise or sunset.
Can I photograph Bachalpsee with a smartphone?
Yes. A modern smartphone is sufficient for landscape photographs, panoramas, reflections, and video. Clean the lens before shooting, use the main camera when possible, hold the phone steady, and avoid excessive digital zoom.
Do I need a tripod at Bachalpsee?
Not for most daylight photographs. A lightweight tripod can help in low light, with slower shutter speeds, or when making carefully aligned panoramas. Keep tripod legs clear of the walking route so other visitors can pass safely.
Can I fly a drone at Bachalpsee?
Do not assume drone use is automatically permitted. Switzerland has national and cantonal geographical flight restrictions that can change. Check the current FOCA drone map, relevant restrictions, and general Swiss drone requirements immediately before any planned flight.
Sources
- Jungfrau Railways: Hike to Bachalpsee — official destination information, elevation, and approximate hiking time.
- Grindelwald Tourism: First-Bachalpsee-First Route — verified route distance, ascent, descent, difficulty, equipment guidance, and Schreckhorn/Wetterhorn views.
- Jungfrau Railways: Grindelwald-First — gondola access, travel information, First elevation, and local attractions.
- MeteoSwiss: Thunderstorm and Lightning Frequency — seasonal thunderstorm information for Switzerland.
- Federal Office of Topography: swisstopo App — official maps, hiking information, navigation, panorama mode, and offline mapping.
- Swiss Federal Office of Civil Aviation: Geographical Flight Restrictions — current drone-map and flight-restriction guidance.