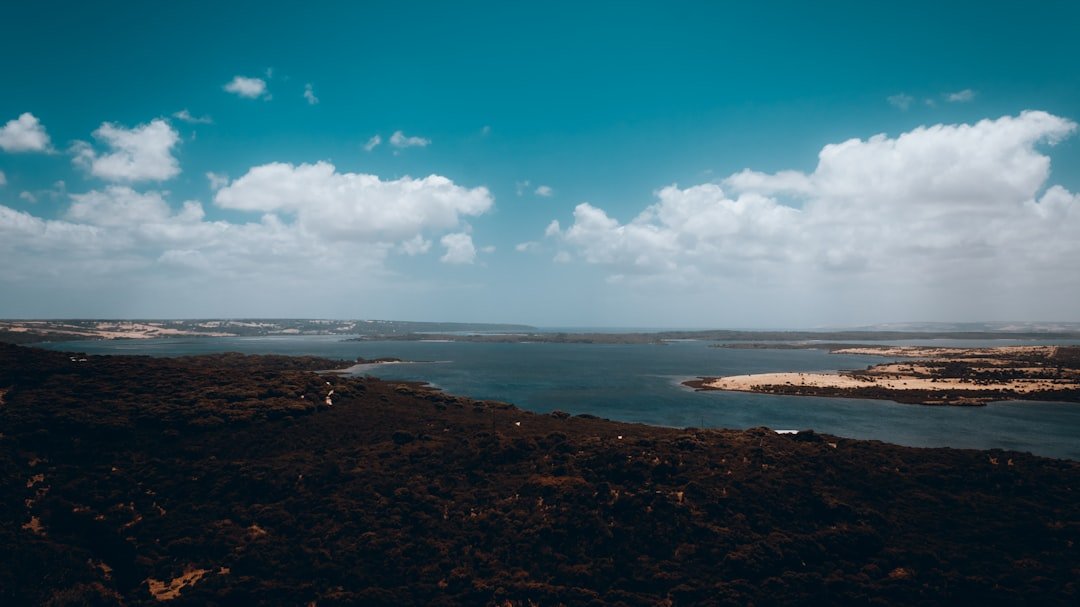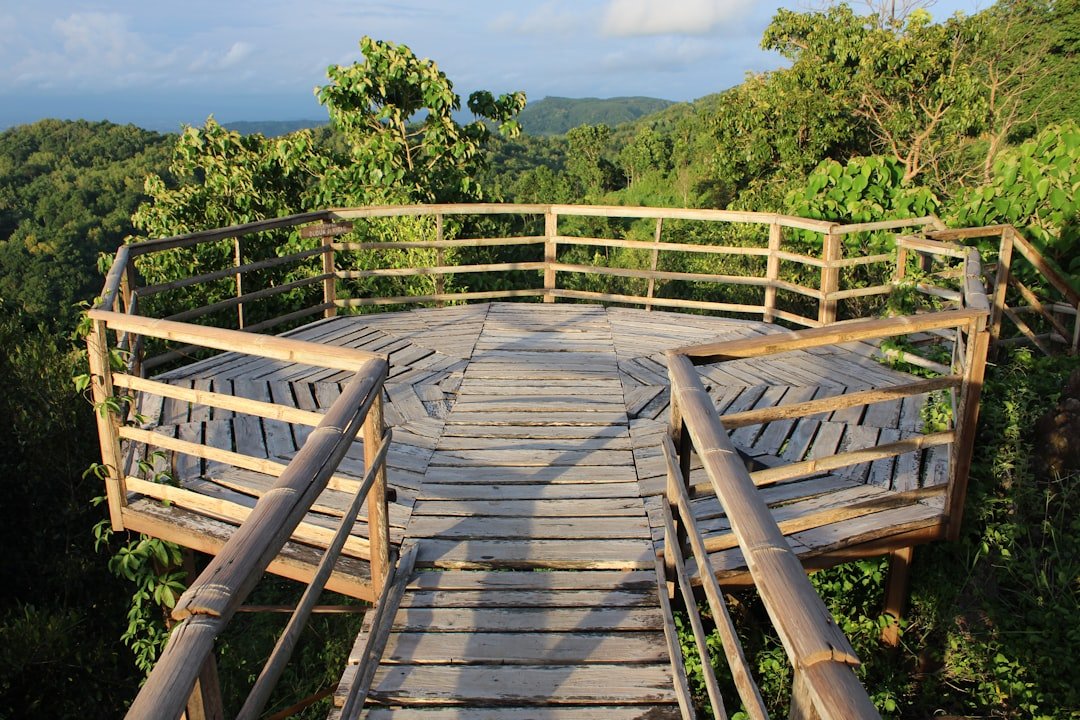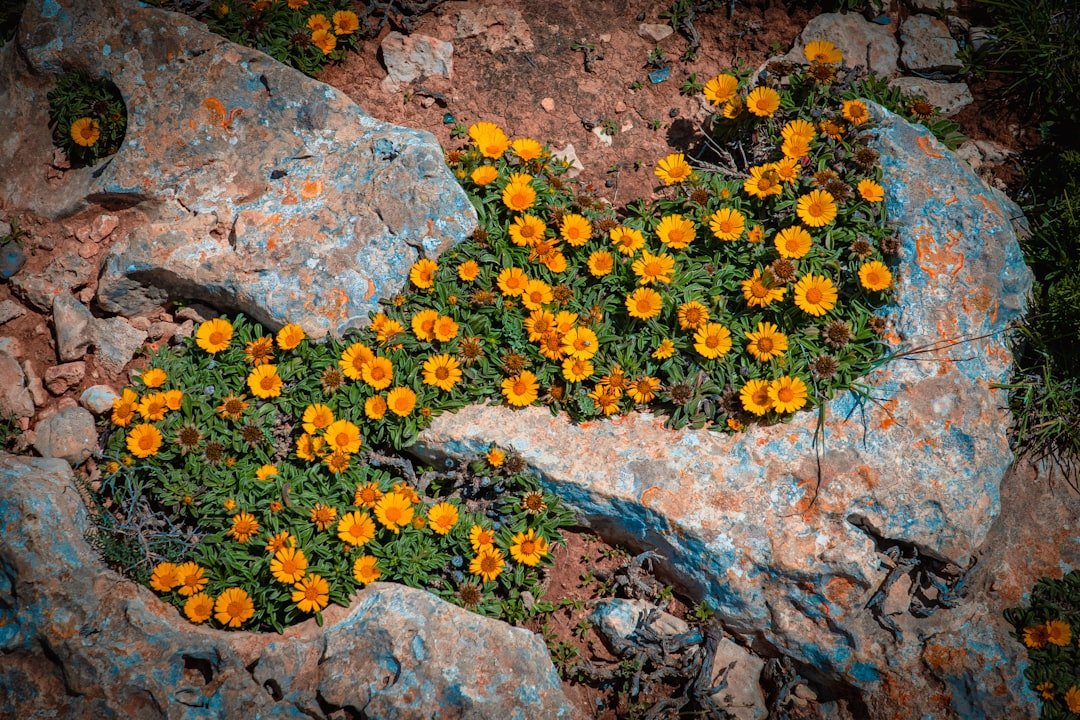
The Pilatus Flower Trail combines alpine flowers, high-mountain scenery, and wide views in a relatively short walk from Pilatus Kulm toward Tomlishorn. For photographers, its strongest feature is variety: you can move from close-up flower details to layered mountain landscapes without needing a long hike. Good timing, careful composition, and respect for the protected alpine plants matter more than carrying a large camera kit.
Quick Answer
The best Pilatus Flower Trail photo spots are the flower-rich sections after Pilatus Kulm, the secured panoramic ridge toward Tomlishorn, and the Tomlishorn viewpoint itself. Plan about 1 hour 30 minutes for the return walk, shoot close-ups and wide landscapes, and check trail conditions before visiting because high-altitude weather and access can change.
Key Takeaways
- The official Flower Trail runs from Pilatus Kulm toward Tomlishorn and normally takes about 1 hour 30 minutes for the return walk.
- The trail is usually accessible from around mid-June to October, but you should check current conditions before traveling.
- Use a wide-angle or standard zoom for the mountain panorama and a macro or telephoto lens for individual flowers and details.
- A faster shutter speed is often more useful than a tripod when wind is moving the flowers.
- All alpine plants in the Pilatus region are protected, so photograph them without picking, bending, moving, or trampling them.
- Sunrise and sunset can provide attractive light, but early or late summit access requires advance planning around transportation or overnight arrangements.
At a Glance
| Time Required | About 1 hour 30 minutes for Pilatus Kulm to Tomlishorn and back, plus photography stops |
| Difficulty | Easy mountain walk, but weather and the final approach to Tomlishorn still require care |
| Tools Needed | Camera or smartphone; optional macro/telephoto lens, wide-angle or standard zoom, lens cloth, and lightweight tripod |
| Cost | The Flower Trail itself is free; transportation to and from Pilatus Kulm is separate |
Plan Your Pilatus Flower Trail Photo Walk
The official Pilatus Flower Trail begins at Pilatus Kulm and continues toward Tomlishorn. You can reach Pilatus Kulm by the panorama gondolas and aerial cableway from the Kriens side or by the cogwheel railway from Alpnachstad. From the summit area, cross the Hotel Pilatus-Kulm terrace to reach the Flower Trail.
Pilatus lists the trail as normally open from about mid-June to October and gives a return walking time of approximately 1 hour 30 minutes. That is the walking estimate, not a realistic photography schedule. If you plan to stop frequently for close-ups, panoramas, or changing light, allow substantially more time.
Note: High-altitude trails can be affected by snow, wind, fog, storms, and maintenance. Check Pilatus Live and the day’s transportation schedule before setting out rather than relying only on the calendar.
For an easy Pilatus hike, the operator recommends good shoes, weatherproof clothing, and enough water. Those basics are especially important for photographers because standing still while composing images can make cold or windy conditions feel more severe than they do while walking.
Capturing the Beauty of Alpine Flowers
Alpine flowers are compelling subjects partly because they grow in a demanding mountain environment. Wind, strong sunlight, exposed rock, and a relatively short growing season can all influence what you see on a particular visit. Pilatus specifically mentions alpine anemones and gentians along the Flower Trail, while information signs identify additional plants, their colors, and flowering periods.
Instead of trying to photograph every flower you encounter, look for one clear visual idea. A single bloom against a simple background can work well as a close-up. A small cluster can show color and texture. A wider composition can place the flowers in context with the surrounding ridge and mountains.
The changing conditions also create useful photographic opportunities. Side light can show texture in petals and rocks, clouds can soften harsh contrast, and wind can either spoil a close-up or create intentional movement. Adjust your technique to the scene rather than forcing one setting on every subject.
Low viewpoints can make a small flower feel prominent against the mountains or sky. Higher viewpoints can show patterns within a group of plants. When working close to the ground, keep your feet and equipment on durable surfaces and avoid stepping into vegetation simply to improve an angle.
Warning: Alpine plants are protected throughout the Pilatus region. Do not pick flowers, bend stems, move plants, or step into vegetation to stage a photograph. A stronger composition is never worth damaging the subject.
The Best Photo Spots Along the Pilatus Flower Trail
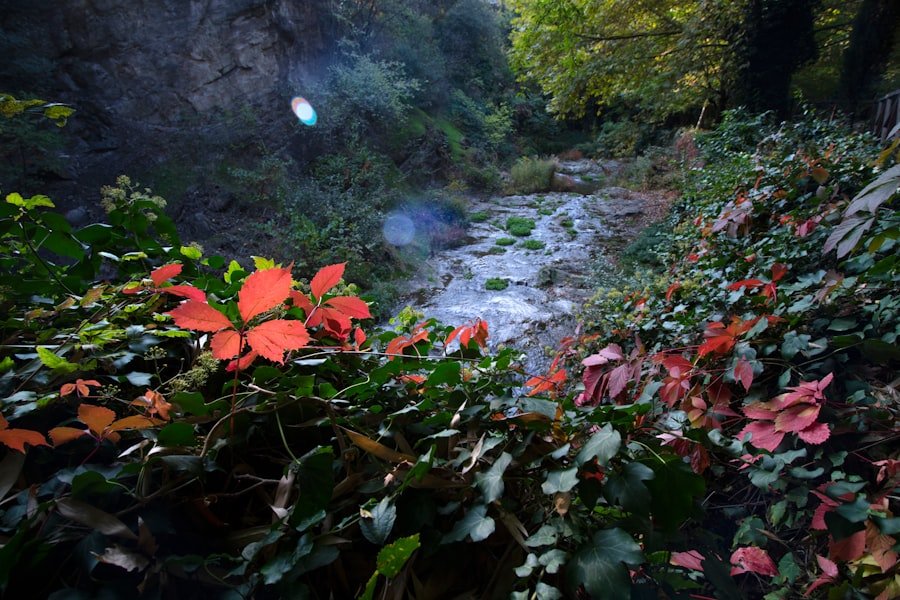
The most useful way to think about the Pilatus Flower Trail best photo spots is as a sequence rather than a list of secret coordinates. Flowering conditions change during the season, so the strongest patch on one visit may not be the strongest on another.
1. Pilatus Kulm and the Start of the Flower Trail
Begin looking for compositions as you leave the Pilatus Kulm summit area and cross the Hotel Pilatus-Kulm terrace toward the trail. This is a good place to think about your wider establishing photographs: mountain layers, changing clouds, the trail itself, and alpine vegetation in the foreground.
A standard zoom is especially useful here because you can move quickly between broad scenes and tighter details without changing lenses in exposed conditions.
2. Flower-Rich Sections Along the Secured Panorama Trail
The middle sections of the route provide the strongest combination of flower details and mountain context. Look for plants that can be photographed from the path without disturbing the surrounding vegetation. The informational signs can also help you identify species and understand their flowering periods.
For a close-up, simplify the background by changing your camera position a few centimeters at a time. A flower photographed against distant mountains, shadowed rock, or a clean patch of sky often separates more clearly than one photographed against a busy mass of leaves and stems.
One of the strongest Pilatus compositions is the contrast between a small alpine flower in the foreground and the scale of the mountain landscape behind it.
Do not overlook smaller scenes. A patch of flowers beside the established path, a bloom growing against textured rock, or several flowers at different heights may produce a more distinctive image than the obvious panorama.
3. Tomlishorn and the Final Viewpoint
Tomlishorn is the destination of the Flower Trail and provides the natural place for your broadest landscape photographs. After spending much of the walk concentrating on small flowers, switch your attention to ridge lines, mountain layers, clouds, and distant scenery.
Try both horizontal and vertical frames. A horizontal image works naturally for a wide mountain panorama, while a vertical composition can use flowers or trail features in the lower part of the frame to lead the eye toward the distant landscape.
Pro Tip: Take your wide landscape photograph first, then walk the same scene visually from foreground to background. You may discover a stronger second image by isolating one flower, a rock pattern, or a compressed mountain layer with a longer focal length.
Tips for Taking Stunning Flower Trail Photos
| Tip | Description |
|---|---|
| 1 | Choose softer light when possible, but do not ignore overcast conditions, which can also work well for flower detail. |
| 2 | Use a macro lens, close-focusing zoom, or phone macro mode for close-up details. |
| 3 | Experiment with different heights and angles while staying on the path and avoiding vegetation. |
| 4 | Check the background before pressing the shutter. Small camera movements can remove distracting stems, signs, or bright patches. |
| 5 | Use a tripod when it genuinely adds stability, especially for static landscapes or carefully composed close-ups. |
| 6 | When flowers are moving in the wind, prioritize a faster shutter speed rather than assuming a tripod will solve blur. |
Light has a major effect on flower photographs, but “golden hour” is not the only useful condition. Low-angle morning or evening sun can provide warmth and side lighting. Overcast skies can produce softer contrast and more even color. Strong midday sun can still work if you deliberately use shadows, backlighting, or tighter compositions.
Composition matters just as much. The rule of thirds can provide a starting point, but it should not become a formula. Centering a symmetrical flower, placing a bloom close to the edge of the frame, or using the trail as a leading line may work better depending on the scene.
Foreground elements such as rocks or low plants can add depth to wider images, provided you can include them without moving off the path. When photographing a flower close to ground level, use a tilting screen if your camera has one so you do not need to kneel or lean into fragile vegetation.
Equipment and Camera Settings for Flower Photography
You do not need a professional camera to photograph the Pilatus Flower Trail. A modern smartphone can handle wide mountain scenes, environmental flower photographs, and many close-ups. A DSLR or mirrorless camera gives you more control over focal length, aperture, shutter speed, and RAW files, but the best system is one you can comfortably carry and operate in changing mountain weather.
For interchangeable-lens cameras, a standard zoom is the most flexible single-lens choice. A macro lens is valuable when you want high-magnification details. A short or medium telephoto can also isolate flowers by narrowing the field of view and simplifying the background. Nikon, for example, notes that both macro and telephoto lenses can be effective for flower photography.
There is no single correct aperture. A wide aperture such as f/2.8 to f/5.6 can isolate one flower against a soft background, while f/8 to f/11 can give more depth when photographing several flowers or combining foreground plants with the landscape. Canon’s macro-photography guidance also emphasizes that depth of field becomes especially limited at close focusing distances.
Practical Starting Settings
| Scene | Aperture | Shutter Speed | Approach |
|---|---|---|---|
| Single flower | f/2.8-f/5.6 | About 1/250 sec or faster if needed | Focus carefully on the most important part of the bloom and simplify the background. |
| Flower moving in wind | f/4-f/8 | Try 1/500 sec or faster | Raise ISO as necessary rather than accepting motion blur you do not want. |
| Group of flowers | f/8-f/11 | Adjust for wind and focal length | Use greater depth of field when several blooms need to remain recognizable. |
| Flowers plus mountains | f/8-f/11 | Fast enough for a sharp handheld frame | Focus deliberately and check both foreground and distant detail. |
These values are starting points, not rules. Light, wind, focal length, camera stabilization, subject distance, and your creative goal all matter. Auto ISO can be useful when conditions change quickly because it lets you protect a minimum shutter speed while controlling aperture.
A lightweight tripod can help with carefully framed landscapes, low-light scenes, or focus stacking. However, it cannot stop a flower from moving in the wind. If the subject is swaying, a faster shutter speed and a higher ISO may produce a sharper result than a long exposure on a perfectly stable tripod.
A circular polarizing filter can sometimes reduce glare on foliage and deepen parts of the scene, but rotate it while watching the effect. With very wide lenses, polarization can become uneven across a large area of blue sky.
Sunrise and Sunset Photography Opportunities
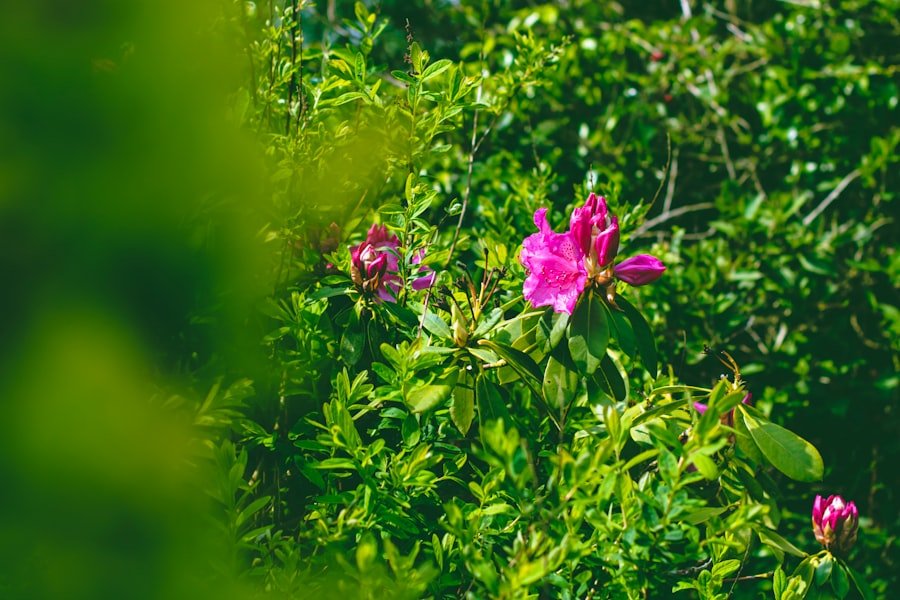
Low-angle morning and evening light can transform the Flower Trail. Early light can pick out flower edges, reveal texture in the rock, and create layers across the mountain landscape. Evening light can produce the same benefits from a different direction and may create strong warm-to-cool color transitions as the sun drops.
The important limitation is access. Do not assume that normal gondola, cable-car, or cogwheel-railway schedules will place you on the Flower Trail before sunrise or let you remain there after sunset. Check the current timetable before planning the photograph.
Pilatus also operates selected special experiences such as an official sunrise hike. Staying at Pilatus Kulm or using an appropriate organized experience may make very early or late photography more practical, depending on your dates.
Once the light begins changing, work efficiently. Capture a safe exposure first and then experiment. Watch the histogram or highlight warnings if your camera provides them, especially when bright sky sits behind darker flowers or rocks.
As twilight approaches, shutter speeds can drop quickly. A tripod can stabilize the camera, but moving flowers can still blur. Decide whether you want that motion creatively or whether you need to increase ISO to maintain a faster shutter speed.
Editing and Enhancing Flower Trail Photos
Post-processing can help your images reflect the conditions you saw without turning the alpine landscape into something artificial. Software such as Adobe Lightroom or Photoshop can adjust exposure, white balance, contrast, highlights, shadows, color, cropping, and sharpness.
Begin with exposure and white balance before increasing saturation. Alpine flowers can already be intensely colored, so excessive saturation can quickly make petals look unnatural. A modest increase in vibrance or selective color adjustment is usually easier to control than pushing every color equally.
Next, check the edges of the frame. Cropping can remove distracting fragments, strengthen balance, and place more emphasis on the main flower. For mountain photographs, also check that the horizon or distant ridge does not feel accidentally tilted.
Local adjustments can be more effective than global edits. Brighten the main bloom slightly, reduce a distracting highlight, or add a little texture to a rock without forcing the entire image to carry the same adjustment.
If you used a polarizing filter while shooting, remember that some contrast and saturation may already have been increased optically. Avoid stacking heavy digital effects on top of an already strongly polarized image.
Finally, zoom in and check critical focus before applying strong sharpening. No amount of sharpening can fully repair a flower blurred by wind or missed focus, so editing works best when the original capture is already technically sound.
Sharing Your Pilatus Flower Trail Photos on Social Media
Once you have selected and edited your strongest photographs, social media can help you share both the scenery and what you learned on the trail. Instagram is well suited to visual sequences, and relevant hashtags such as #Pilatus, #PilatusFlowerTrail, or #AlpineFlowers can help people understand the location and subject.
Instead of posting several nearly identical flower photographs, build a small visual story. For example, begin with a wide view from the route, follow it with a close-up of an alpine flower, show a detail from the trail, and finish with the landscape toward Tomlishorn. This gives viewers a clearer sense of place.
You can also use captions to add useful context, such as the lighting conditions, lens choice, or the fact that alpine vegetation is protected. If you identify a flower species, verify the identification rather than guessing from appearance alone.
Facebook and Pinterest can support longer captions or collections, while short-form stories can show changing weather, the walk itself, and behind-the-scenes camera choices. Whatever platform you use, avoid sharing behavior that encourages people to leave the established trail or handle protected plants for photographs.
Responsible Photography on the Flower Trail
Flower photography is most successful when the subject remains exactly where you found it. Pilatus states that alpine plants are protected throughout the region, so leave flowers, stems, rocks, and surrounding vegetation undisturbed.
- Photograph flowers from the established walking surface whenever possible.
- Do not pick or reposition flowers for a cleaner composition.
- Do not place bags, tripods, or other equipment on fragile vegetation.
- Give other hikers room to pass while you compose photographs.
- Keep loose straps and equipment under control in exposed or windy sections.
- Take all packaging, batteries, lens wipes, and other waste back with you.
Drone photography requires additional attention. Pilatus Bahnen states that drone flying at Pilatus is subject to restrictions. Check the operator’s current guidance and all applicable aviation rules before bringing or launching a drone. Do not assume that rules for a handheld camera also apply to unmanned aircraft.
If you are organizing a commercial production rather than taking ordinary personal travel photographs, contact Pilatus Bahnen directly before the shoot to confirm any location-specific arrangements that may apply.
Using a Smartphone on the Pilatus Flower Trail
A smartphone can produce strong Flower Trail photographs if you work within its strengths. Use the main camera for the best general image quality, tap precisely on the flower you want in focus, and reduce exposure slightly when bright petals or clouds are losing detail.
For wide mountain scenes, avoid automatically choosing the widest possible lens. Ultra-wide cameras can make distant mountains look very small. The standard camera or a short telephoto setting can often create a stronger sense of scale.
For close-ups, move only as close as the camera can focus reliably. If the flower becomes soft, step back instead of continuing forward. Some phones automatically switch into a macro mode; check which lens is active because image quality can change between lenses.
Use burst shooting when a flower is moving in the breeze. A short sequence gives you several frames to compare and increases the chance that one was captured during a moment of stillness.
Best Time to Photograph the Pilatus Flower Trail
The trail is normally accessible from around mid-June into October, but access and flower timing should not be treated as the same thing. Different alpine species flower at different times, and snowmelt and weather can shift conditions from year to year.
Rather than relying on a promised “peak bloom” date, check current trail conditions and use the information signs along the Flower Trail to learn which species you are seeing and their typical flowering periods.
For photography, the time of day can matter as much as the month. Softer morning or evening light can produce attractive depth, while an overcast day can provide even light for close-ups. Strong midday light is more challenging but can still work when you control the background and expose carefully for bright petals.
If wind is strong, consider concentrating on wider landscapes rather than fighting constantly for motionless macro subjects. On calmer days, spend more time with detailed flower compositions.
If you’re planning a full day around Pilatus and also want a simple food idea for afterward, the site’s existing guide to delicious homemade cottage cheese is an optional after-hike read. It is a food article rather than a Flower Trail or photography resource.
Frequently Asked Questions
What is the Pilatus Flower Trail?
The Pilatus Flower Trail is a high-altitude walking route from Pilatus Kulm toward Tomlishorn on Mount Pilatus in Switzerland. It combines alpine vegetation, information signs about plants, and wide mountain views.
Where are the best photo spots on the Pilatus Flower Trail?
Start with wider photographs near Pilatus Kulm, look for accessible flower compositions along the secured panoramic trail, and finish with broader mountain views near Tomlishorn. Exact flower patches change during the season, so let current conditions guide you.
When is the best time to visit the Pilatus Flower Trail for photography?
The trail is normally accessible from around mid-June to October, subject to current conditions. There is no guaranteed single peak-bloom date because flowering varies by species and weather. Check official trail information before your visit and use the plant signs along the route.
How long does the Pilatus Flower Trail take?
Pilatus gives approximately 1 hour 30 minutes for the walk from Pilatus Kulm to Tomlishorn and back. Photographers should allow additional time for composition, lens changes, changing light, and breaks.
What photography equipment is recommended for the Pilatus Flower Trail?
A camera or smartphone is enough. For interchangeable-lens cameras, a standard zoom is versatile, a macro lens helps with small flower details, and a telephoto can isolate subjects or compress mountain layers. A lightweight tripod is useful for some low-light and landscape photographs but is optional.
Can I photograph the Pilatus Flower Trail with a smartphone?
Yes. Smartphones work well for wide views, environmental flower photographs, and many close-ups. Tap precisely to focus, protect bright highlights, and use burst mode when wind is moving the flowers.
Are there photography restrictions on the Pilatus Flower Trail?
Ordinary photography should be done without disturbing protected alpine vegetation or blocking other hikers. Drone flying is subject to additional restrictions published by Pilatus Bahnen. For a commercial production, contact Pilatus Bahnen in advance to confirm any applicable arrangements.
Can I photograph sunrise or sunset from the Flower Trail?
The light can be excellent, but you need to plan access carefully. Standard mountain transportation may not operate early enough for sunrise or late enough for every sunset. Check current timetables and consider suitable overnight or organized sunrise options when necessary.
What should I bring besides camera equipment?
Bring good footwear, weatherproof layers, water, sun protection, and enough battery power for your camera or phone. Mountain conditions can change quickly, so check the official status before leaving for Pilatus Kulm.
Sources
- Pilatus Bahnen: Flower Trail to Tomlishorn — official route, access, season, duration, cost, flower examples, and alpine-plant protection.
- Pilatus Live — current facilities, trail-area access information, weather, and operating notices.
- Pilatus Bahnen: Hiking FAQ — hiking-season context, footwear, weatherproof clothing, water, and transportation guidance.
- Pilatus Bahnen: Media Information — official notice that drone flying at Pilatus is subject to restrictions.
- Pilatus Bahnen: Sunrise Hike — official information demonstrating the planning required for very early summit experiences.
- Canon USA: Macro Photography, How to Look Sharp — depth-of-field, aperture, motion-blur, shutter-speed, and macro-photography guidance.