Did you know that capturing the auroras in Alaska requires more than just a good camera? You’ll need specific gear and settings to truly showcase the vibrant displays of the Northern Lights. From choosing the right lenses to understanding exposure settings, every detail matters. Plus, knowing the best locations and times can make or break your experience. So, let’s explore what you need to elevate your aurora photography game.
Essential Gear for Aurora Photography
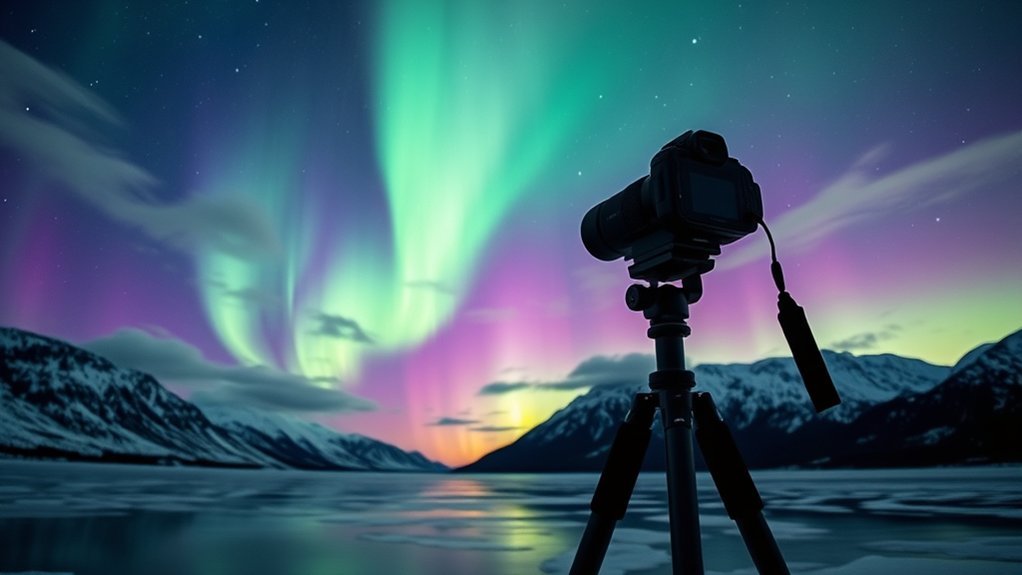
When you’re gearing up for aurora photography in Alaska, having the right equipment is essential to capture the stunning beauty of the Northern Lights. A sturdy tripod is your best friend, providing stability for long exposures. You’ll want a camera that performs well in low light, so consider a model with manual settings to control your exposure, ISO, and aperture. Don’t forget extra batteries; the cold can drain them quickly. A remote shutter release allows you to minimize camera shake, while wide-angle lenses help you frame those sprawling skies. Finally, pack warm clothing and a headlamp to navigate the dark. With the right gear, you’re not just taking pictures, you’re creating memories that’ll last a lifetime.
Products Worth Considering


【Adjusable Light Stand】 The 2-section center column can be adjusted from 14.5-22.8 inches/37-58cm which makes the total height can be adjusted from 20-28.3 inches/51-72cm. It can be used as a background light stand, or a low-angle light stand for photography. You can adjust the height at will

Video Lighting Kit:-The small LED panel light is equipped with a 1/4 universal ball head, which can adjust the panel 180°to to easily meet your different shooting angle requirements; cable control 10%-100% brightness level option. The up and down buttons can easily meet the needs of your shooting occasion.
Recommended Cameras and Lenses
When you’re ready to capture the mesmerizing dance of the auroras, choosing the right camera and lens is essential. High-quality DSLRs or mirrorless models with excellent low-light performance will serve you well, while wide-angle lenses allow for expansive night skies. With the right gear in hand, you’ll transform fleeting moments of brilliance into stunning images that tell a story.
Products Worth Considering

✔ COMPATIBLE WITH ALL SMARTPHONES, TABLETS, and LAPTOPS including ALL iPhone models, Samsung Galaxy and Note, Google Pixel, Huawei and more. CONTENTS INCLUDE: TruView 0.45x Wide Angle Lens, Clarus 15x Macro Lens, TruGrip Lens Clip, GlowClip Mini Rechargeable LED Light + Charging Cable, Quick-Release Lanyard, DuraCase, EasyClip, and Cleaning Cloth.

HD Resolution and Low Light: This camera adopts the 2MP 1/2.8” IMX291 Color COMS sensor with an 80DB wide dynamic range, can capture the minimum illumination 0.001Lux.

2.5mm Replaceable Ultra-Wide Angle/M12 Thread Interface Camera Lens.
Best Camera Models
Capturing the mesmerizing dance of the aurora borealis requires a camera that can handle low-light conditions while delivering stunning detail and vibrant colors. Here are four excellent camera models that excel in such challenging environments:
- Nikon D850 – Renowned for its exceptional dynamic range and high ISO performance, making it perfect for night photography.
- Canon EOS R6 – This mirrorless camera offers superb low-light capabilities and fast autofocus, ideal for capturing the aurora in motion.
- Sony A7 III – A favorite among astrophotographers, it combines a full-frame sensor with impressive noise control at high ISOs.
- Fujifilm X-T4 – Lightweight and versatile, this camera delivers rich colors and sharp details, perfect for those chasing the northern lights.
Choose wisely, and let your creativity shine through!
Ideal Lens Types
To truly capture the ethereal beauty of the aurora borealis, you’ll want to pair your chosen camera with the right lens. A fast wide-angle lens, ideally between 14mm to 24mm, is essential for encompassing the expansive night sky. Look for a lens with a wide aperture, such as f/2.8 or lower, to allow maximum light intake—this is vital for those low-light conditions. Prime lenses often produce sharper images, so consider adding one to your kit. If you’re aiming for dramatic foregrounds, a versatile zoom lens can provide the flexibility you need. Don’t forget to invest in a sturdy tripod to stabilize your shots. With the right lens, you’ll elevate your aurora photography to new heights, capturing nature’s magic.
Understanding Camera Settings
To capture the breathtaking auroras in Alaska, mastering your camera settings is essential. You’ll want to understand the exposure triangle, fine-tune your ISO for ideal performance, and select the right shutter speed to create stunning images. With the right adjustments, you can transform the night sky into a canvas of vibrant colors.
Products Worth Considering

【64MP Digital Camera with Dual Lens for Photography】 Capture stunning details with this 64MP digital camera, featuring a Wide-Angle Lens for landscapes, a Macro Lens for close-ups, and 16X digital zoom. This camera is not a professional camera. The photo-taking pixels range from the default 12MP to 64MP. Please select the corresponding pixel when taking photos.
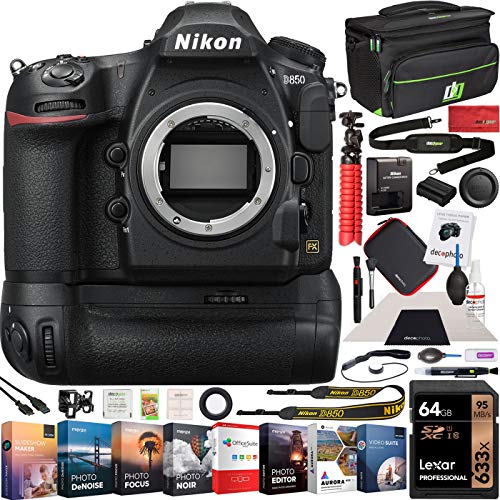
NIKON USA AUTHORIZED - Includes Full NIKON USA WARRANTY
Exposure Triangle Basics
While photographing the mesmerizing auroras in Alaska, mastering the exposure triangle is essential for achieving stunning results. This triangle consists of three fundamental elements: aperture, shutter speed, and ISO. Each plays a vital role in capturing the vibrant colors and intricate details of the night sky.
- Aperture: Control the lens opening to manipulate light; a wider aperture lets in more light, creating a beautiful depth of field.
- Shutter Speed: Determine how long your sensor is exposed to light; slower speeds capture more light, vital for the faint auroras.
- ISO: Adjust your camera’s sensitivity to light; higher ISO settings can help in low-light conditions but may introduce noise.
- Balance: Find harmony among these settings to optimize your exposure and reveal the magic of the northern lights.
Optimal ISO Settings
Finding the right ISO setting is key to capturing the beauty of Alaska’s auroras without sacrificing image quality. A higher ISO can make a difference in dim lighting, but it also introduces noise, which you want to minimize. Typically, an ISO range of 800 to 3200 works best for aurora photography.
| ISO Setting | Noise Level | Best Use |
|---|---|---|
| 800 | Low | Clear nights |
| 1600 | Moderate | Average nights |
| 3200 | High | Faint auroras |
Experiment within this range and adjust based on the aurora’s intensity and your camera’s capabilities. Embrace the magic of the moment, and let your creativity shine through your lens!
Shutter Speed Selection
Shutter speed plays an essential role in capturing the ethereal dance of the auroras across Alaska’s night sky. By selecting the right shutter speed, you can showcase the mesmerizing movement of the lights while preserving their vibrant colors. Here are some tips to guide your selection:
- Start Slow: Begin with a shutter speed of 5-10 seconds to capture the full spectrum of colors and details.
- Adjust as Needed: If the auroras are particularly active, you might want to shorten the exposure to 2-5 seconds to avoid blurring.
- Experiment: Don’t hesitate to test different speeds to find your creative sweet spot.
- Use a Tripod: Stability is key; a sturdy tripod guarantees sharp images at longer exposures.
With practice, you’ll master the art of aurora photography!
Best Time of Year to Photograph the Aurora
The best time of year to photograph the aurora borealis in Alaska is during the winter months, from late September to early April. During this period, the long nights and clear skies create perfect conditions for capturing stunning auroras.
| Month | Conditions |
|---|---|
| September | Early displays, cooler nights |
| December | Peak activity, darkest nights |
| March | Increased solar activity, milder temperatures |
As the solar activity peaks around the equinoxes, you’ll witness vibrant colors dancing across the sky. Pack your gear, dress warmly, and head to dark locations away from city lights. Each moment spent under the shimmering auroras is a chance to create breathtaking images that tell a story of nature’s wonder.
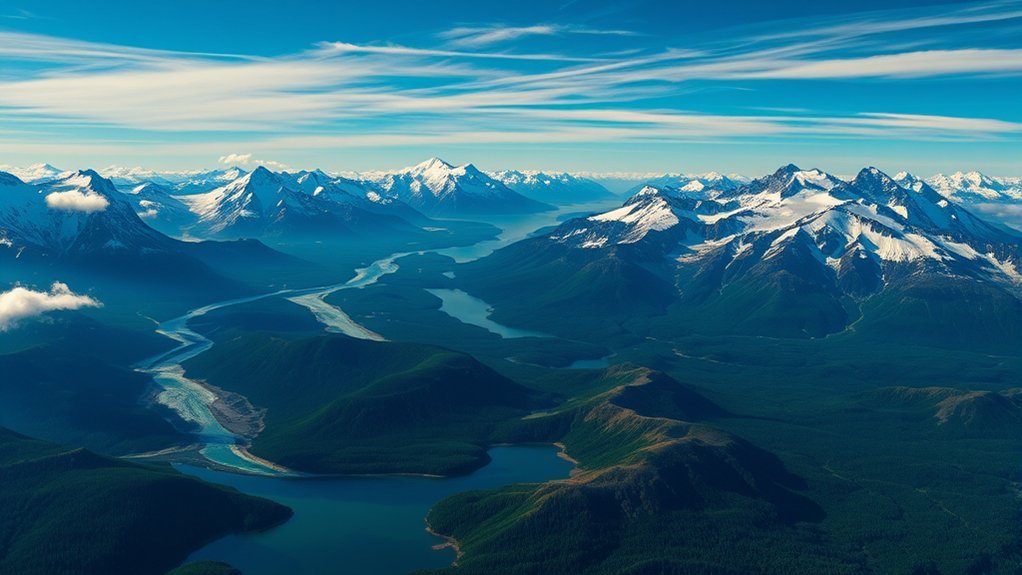
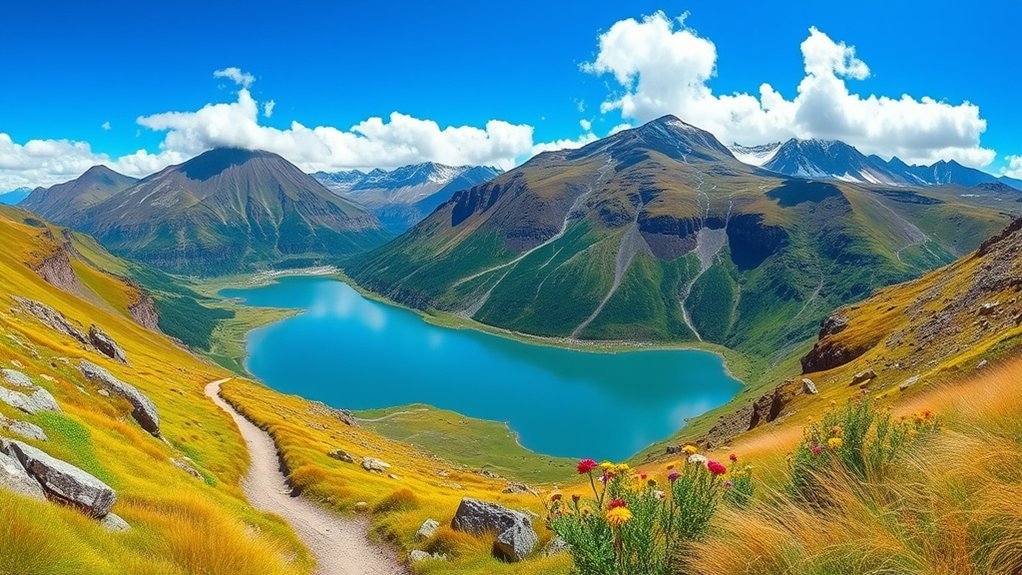
Ideal Locations in Alaska for Aurora Viewing
When it comes to capturing the mesmerizing aurora borealis, choosing the right location can greatly enhance your experience and photography. Alaska offers several prime spots, each with unique landscapes and dark skies that make the lights pop. Consider these ideal locations:
- Fairbanks – Known for its clear skies, it’s one of the most accessible places to view the aurora.
- Denali National Park – The backdrop of majestic mountains adds depth to your photos.
- Anchorage – Just a short drive from the city, you can escape light pollution while enjoying expansive views.
- Chena Hot Springs – Combine your aurora experience with a relaxing soak in natural hot springs.
Each location provides a distinct canvas for your photography, ensuring unforgettable memories.
Tips for Planning Your Aurora Photography Trip
As you prepare for your aurora photography adventure, keep in mind that meticulous planning can elevate your experience from ordinary to extraordinary. Start by selecting the right time of year; the best months are typically September through April. Check the aurora forecast regularly to increase your chances of capturing those mesmerizing lights. Research locations known for minimal light pollution, and scout them out during the day. Don’t forget to pack essentials like extra batteries, warm clothing, and a sturdy tripod. Consider your camera settings ahead of time, ensuring you’re familiar with long-exposure techniques. Finally, stay flexible; nature is unpredictable, and sometimes the most magical moments happen when you least expect them. Embrace the journey, and let your creative spirit soar!
Techniques for Capturing the Northern Lights
Capturing the ethereal beauty of the Northern Lights requires a blend of technical skill and artistic vision. To accomplish stunning images, follow these essential techniques:
- Long Exposures: Use exposures of 5-30 seconds to capture the movement and vibrancy of the auroras. A tripod is crucial for stability.
- Wide Aperture: Set your lens to the widest aperture (f/2.8 or lower) to allow more light in, enhancing the colors and details.
- High ISO: Adjust your ISO between 800 to 3200 based on the brightness of the auroras. This increases sensitivity but be mindful of noise.
- Manual Focus: Switch to manual focus, setting it to infinity. This guarantees sharp images, especially in low light conditions.
With these techniques, you’ll create breathtaking aurora photographs.
Post-Processing Your Aurora Images
Post-processing your aurora images can transform stunning captures into mesmerizing works of art. Start by adjusting the exposure and contrast to bring out the vibrant colors of the northern lights. Use software like Adobe Lightroom or Photoshop to enhance the details; clarity can help the textures of the auroras pop. Don’t shy away from tweaking the white balance to achieve that ethereal glow, making the greens and purples more vivid. You can also employ noise reduction techniques to rid your images of unwanted grain, especially in low-light conditions. Finally, consider cropping to emphasize the composition, drawing the viewer’s eye to the dancing lights. With these adjustments, your aurora photographs will shine brighter than ever!
Safety Considerations While Photographing in Alaska
When venturing out to photograph the stunning auroras in Alaska, it is essential to prioritize safety amidst the breathtaking beauty. The remote landscapes can pose unexpected challenges, so keep these considerations in mind:
- Dress in Layers: Temperatures can plummet quickly, so wear thermal layers, insulated boots, and waterproof outer clothing to stay warm and dry.
- Stay Aware of Wildlife: Be mindful of your surroundings; wildlife encounters can occur, so make noise and carry bear spray as a precaution.
- Know Your Location: Familiarize yourself with the terrain and potential hazards, like ice or steep drops, to avoid accidents.
- Travel in Pairs: Whenever possible, don’t venture alone. Having a companion can enhance safety and share the experience.
Embrace the adventure, but always prioritize your well-being!
Frequently Asked Questions
What Clothing Should I Wear While Photographing the Auroras in Alaska?
You’ll want to wear layered, insulated clothing to stay warm while photographing the auroras. Don’t skimp on thermal base layers, a waterproof outer shell, and insulated gloves—comfort fuels creativity during those breathtaking moments you’ll capture!
Are There Any Mobile Apps for Tracking Aurora Activity?
Yes, there are several mobile apps for tracking aurora activity. Apps like My Aurora Forecast and Aurora Alerts provide real-time notifications and forecasts, helping you plan your photography sessions and capture stunning northern lights displays.
Can I Use a Tripod for Aurora Photography in Extreme Cold?
Absolutely, you can use a tripod in extreme cold! Just guarantee it’s sturdy and frost-resistant, like a steadfast sentinel against the icy winds. Embrace the challenge, and capture the mesmerizing dance of the auroras.
How Do I Protect My Camera From Freezing Temperatures?
To protect your camera from freezing temperatures, use insulated bags, keep it close to your body when not shooting, and wrap it in thermal cloth. These steps help maintain functionality and guarantee stunning shots in harsh conditions.
What Is the Best Way to Manage Battery Life in Cold Weather?
To keep your battery alive in the cold, you’ve gotta think ahead. Keep spare batteries warm in your pocket, use them sparingly, and turn off unused features. Your camera’s performance will thank you later!