Shallots can rot quickly in a soggy pot, but they grow well when you give them room, drainage, and steady care. The container you choose affects root growth, bulb size, and how often you need to water. This guide explains how to grow shallots in pots from planting through storage, with clear steps you can follow at home.
Quick Answer
Grow shallots in a pot that is at least 8 to 12 inches deep with good drainage. Plant bulbs pointed side up, about 1 to 2 inches deep and 4 to 6 inches apart. Keep the soil evenly moist, give the plants at least 6 hours of sun, and harvest when the tops yellow and fall over.
Start with the right container. A pot with a diameter of at least 12 inches gives shallot bulbs enough space to form. The depth should be at least 10 to 12 inches, though an 8-inch-deep pot can work for smaller plantings if it drains well.
Shallots form clusters beneath the soil, so extra space helps roots spread and take up nutrients. A wider pot also gives each bulb more room and helps reduce crowding.
Pot material affects watering. Terracotta pots breathe well and help reduce excess moisture, but they dry out faster than plastic pots.
Choose either material, but make drainage your top priority. Drainage holes stop water from pooling at the bottom, which helps lower the risk of fungal disease and root rot. A well-drained pot gives shallots the stable growing space they need for a strong harvest.
Key Takeaways
- Choose a pot that is at least 8 inches deep and has good drainage for growing shallots.
- Use well-draining soil with a pH of 6.0-7.0 for planting shallots in pots.
- Plant shallot bulbs 1 to 2 inches deep and 4-6 inches apart in the pot.
- Water shallots regularly, keeping the soil consistently moist but not waterlogged.
- Place the pot in a sunny location with at least 6-8 hours of sunlight for optimal growth of shallots.
What’s in This Article
- Selecting the Right Soil for Shallots
- Before You Begin Growing Shallots in Pots
- Planting Shallot Bulbs in Pots
- Providing the Right Amount of Water for Shallots
- Ensuring Adequate Sunlight for Shallots
- Fertilizing Shallots in Pots
- Managing Pests and Diseases in Shallots
- Pruning and Thinning Shallots in Pots
- Harvesting Shallots from Pots
- Storing Shallots after Harvest
- Tips for Success in Growing Shallots in Pots
- Frequently Asked Questions
Selecting the Right Soil for Shallots
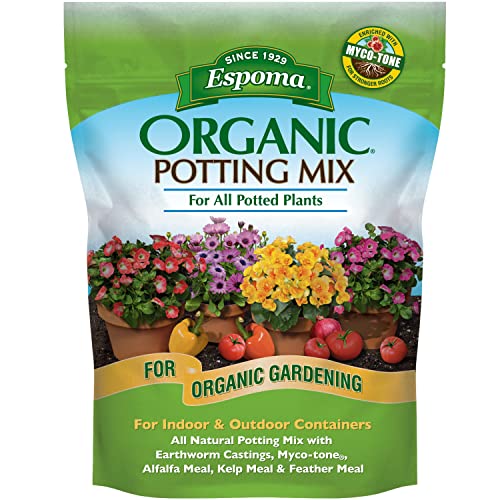
The choice of soil matters when you grow shallots in pots. Shallots grow best in loose, well-draining soil that contains plenty of organic matter. A high-quality potting mix often works well because it usually includes peat moss or coir, perlite, and compost.
The ideal soil pH for shallots ranges from 6.0 to 7.0, which means slightly acidic to neutral. You can test soil pH with a simple home kit from a garden center. This helps you avoid soil that is too acidic or too alkaline for steady growth.
Mixing in compost can improve the soil before planting. Well-rotted compost or aged manure adds nutrients and improves soil texture. If you use a commercial potting mix, add compost or worm castings to increase fertility and support root growth.
Products Worth Considering

ALL-NATURAL MIX: Burpee Organic Premium Potting Mix is formulated with plant food & coconut coir to promote seed & root growth and healthy flower, vegetable & herb plants. OMRI Listed for organic use.
FOR USE ON: Not just an indoor potting soil, this can also be used as a potting soil for outdoor plants and is a great soil mix for vegetables, herbs & all other container plants & flowers.

FOR USE ON: Not just an indoor potting soil, this can also be used as a potting soil for outdoor plants and is a great soil mix for vegetables, herbs & all other container plants & flowers.
Before You Begin Growing Shallots in Pots
Gather your supplies before you plant. You’ll need healthy shallot bulbs, a pot with drainage holes, well-draining potting mix, compost, water, and a sunny growing spot. A hand trowel and clean scissors will also help during planting and harvest.
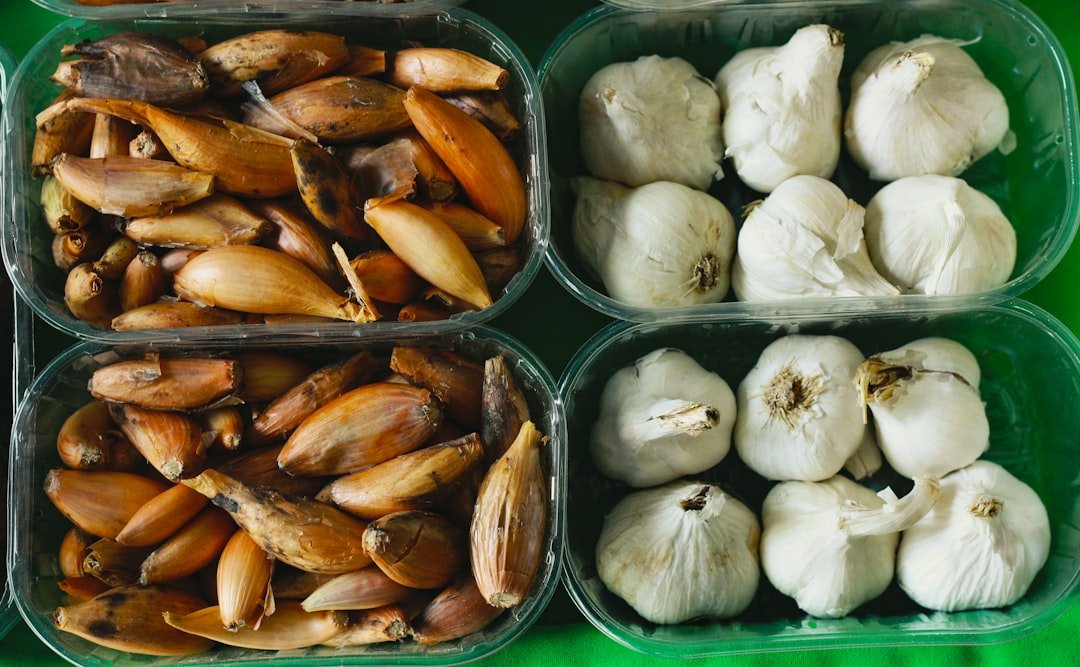
Estimated total time from planting to harvest is usually 90 to 120 days. The exact timing depends on the variety, weather, sunlight, and growing conditions. Choose firm bulbs that show no mold, soft spots, or strong signs of sprouting before planting.
Planting Shallot Bulbs in Pots
Once you have the right pot and soil, you can plant the bulbs. Follow these steps for a strong start:
- Fill the pot with prepared soil mix, leaving about 1 inch of space at the top.
- Place each shallot bulb with the pointed end facing up.
- Plant bulbs about 1 to 2 inches deep and 4 to 6 inches apart.
- Cover the bulbs with soil and press the surface gently.
- Water lightly to settle the soil without soaking it.
This spacing gives each bulb enough room to grow without heavy competition. It also improves airflow around the shoots as they develop.
Don’t overwater right after planting. A light watering helps the soil settle around the bulbs. Green shoots often appear within a few weeks when the bulbs start to root and grow.
Products Worth Considering

HELPS REGULATE SOIL MOISTURE: Miracle-Gro Organic Indoor Potting Soil Mix is an organic potting soil that protects indoor plants against over and under watering

🌱 PERFECT FOR ALL PLANTS Versatile all-purpose potting mix designed for indoor plants, outdoor gardening, seeds, herbs, flowers, and vegetables. Ideal for beginners and experienced growers.

ORGANIC INDOOR POTTING SOIL, MADE WITHOUT PEAT: Biochar, worm castings, mycorrhizae, compost, and bark fines replace peat moss entirely; every ingredient of this house plant soil is natural, sustainably sourced, and confirmed organic — no synthetic fertilizers, no fillers

Providing the Right Amount of Water for Shallots
| Watering Schedule | Amount of Water | Frequency |
|---|---|---|
| Early Growth Stage | 1 inch per week | Every 5-7 days |
| Bulb Formation Stage | 1-2 inches per week | Every 7-10 days |
| Maturation Stage | Reduce water | As needed, to prevent rot |
Watering plays a key role in growing shallots in pots. Shallots need steady moisture, but wet soil can damage the bulbs. During the early growth stage, water more often, usually every few days in hot weather or direct sun.
As the plants mature, water less often but don’t let the soil dry out completely. Check the top inch of soil with your finger. Water when it feels dry.
Water deeply at the base of the plant so moisture reaches the roots. Avoid overhead watering when you can because wet leaves can raise the risk of fungal disease. A watering can with a narrow spout or a drip system helps you keep moisture near the soil.
Warning: Don’t let shallot pots sit in standing water because soggy soil can cause bulbs to rot.
Products Worth Considering

Adjustable Water Flow: The drip emitter can be adjusted to stop, micro-drip, and spray so that you can use the water drip system to water many kinds of plants in your garden. Moreover, the drip emitters have a support stake for easy placement in the soil

100% recycled polymer: guilt free from environmental concerns, the tank is made from 100% recycled polymer, better for the environment and less in the landfill

Customizable Water Flow: Watering can with a detachable shower nozzle, easily switch between a steady stream or gentle shower to suit your plant's watering needs. Great for both indoor and outdoor plants
Ensuring Adequate Sunlight for Shallots
Shallots need at least 6 hours of direct sunlight each day. A sunny patio, balcony, or south-facing window can work well. If you grow shallots indoors or in a shaded space, use grow lights to support healthy growth.
Strong light helps the leaves grow and supports bulb formation. Without enough light, shallots may grow tall, thin, and weak. If the shoots lean toward a window or light source, move the pot to a brighter spot.
Fertilizing Shallots in Pots
Container-grown shallots use nutrients faster than shallots grown in garden beds. Feed them with a balanced fertilizer that contains nitrogen, phosphorus, and potassium. You can mix a slow-release granular fertilizer into the soil at planting time or add it as a top dressing every four to six weeks during the growing season.
Organic options such as fish emulsion or seaweed extract can also support growth. These fertilizers add nutrients and may help soil life in the pot. When you use liquid fertilizer, dilute it according to the label and apply it during regular watering.
Watch the leaves for signs of stress. Yellow leaves can point to overwatering, poor drainage, or low nutrients. Check the soil moisture first before adding more fertilizer.
Managing Pests and Diseases in Shallots
Pots can reduce some pest problems, but they don’t remove the risk. Onion flies, aphids, and thrips may still attack shallots. Check your plants often for curled leaves, pale streaks, sticky residue, or visible insects.
If you find pests early, you can often control them with insecticidal soap or neem oil. Follow the product label and test a small area first. Avoid spraying plants during intense sun because leaves can burn.
Wet, crowded conditions can also lead to disease. Downy mildew and white rot can harm shallots when soil stays too wet or airflow stays poor. Space pots well, avoid crowding, and water at the soil line to lower disease risk.
Pruning and Thinning Shallots in Pots
As your shallots grow, you may need to thin them so bulbs can develop well. Thin crowded shoots when they reach about 4 inches tall. Keep the strongest plants and remove smaller, weak ones.
You can also trim yellow, damaged, or diseased leaves. Use clean scissors or pruning shears to reduce the chance of spreading disease. This helps the plant put more energy into healthy leaves and bulbs.
Harvesting Shallots from Pots
Harvest time usually arrives when the tops yellow and fall over. This often happens about 90 to 120 days after planting, depending on variety and growing conditions. Stop heavy watering as the tops begin to die back so the bulbs can firm up.
To harvest, loosen the soil around the bulbs with a hand trowel or fork. Lift the bulbs gently so you don’t bruise or cut them. Handle them carefully because damaged bulbs don’t store as well.
After harvest, cure the shallots in a dry, shaded place with good airflow for about two weeks. Curing helps toughen the skins and improves storage life.
Storing Shallots after Harvest
Good storage keeps harvested shallots firm and flavorful for longer. Once the bulbs cure, trim excess roots and cut the tops back to about 1 inch above the bulb. Store them in a cool, dark, dry place with low humidity.
Mesh bags, baskets, or wooden crates work well because they allow airflow. Avoid plastic bags or sealed containers because trapped moisture can cause rot.
Tips for Success in Growing Shallots in Pots
Start with firm, healthy seed bulbs from a reliable source. Weak or moldy bulbs can lead to poor growth and disease problems later. Keep notes on planting dates, watering, feeding, and harvest timing so you can improve each season.
If you grow shallots in pots every year, refresh the soil or rotate crops. This helps reduce soil-borne disease and keeps nutrients more balanced. Try different shallot varieties to see which ones perform best in your growing space and climate.
Stay flexible as the plants grow. Adjust watering during heat, move pots when light changes, and thin crowded plants early. Small changes can make a big difference in bulb size and quality.
Frequently Asked Questions
What are shallots?
Shallots are onion relatives with a milder, sweeter flavor than many common onions. Cooks often use them in sauces, dressings, sautés, and roasted dishes.
Can shallots be grown in pots?
Yes, shallots grow well in pots when the container has enough depth and good drainage. They suit container gardening because their bulbs stay compact compared with many larger onion types.
What type of pot is best for growing shallots?
A pot that is at least 8 inches deep and has drainage holes works for shallots. A 10- to 12-inch-deep pot gives roots and bulbs more space, especially when you plant several bulbs together.
How do you plant shallots in pots?
Fill the pot with well-draining potting soil and plant each bulb pointed side up. Set bulbs about 1 to 2 inches deep and 4 to 6 inches apart, then water lightly after planting.
What are the best growing conditions for shallots in pots?
Shallots need full sun, well-draining soil, and regular moisture. They prefer slightly acidic to neutral soil with a pH of 6.0 to 7.0.
How do you care for shallots in pots?
Keep the soil evenly moist but not waterlogged. Feed the plants every few weeks with a balanced fertilizer, and add mulch if you need help holding soil moisture.
When can you harvest shallots grown in pots?
Harvest shallots when the tops yellow, soften, and fall over. This usually happens about 90 to 120 days after planting, depending on variety and growing conditions.
Successful potted shallots start with drainage, sun, and steady moisture. Choose healthy bulbs, plant them with enough space, and watch the soil closely as they grow. Once the tops yellow and fall over, lift the bulbs gently and cure them before storage. With simple care and close attention, you can grow flavorful shallots even in a small container garden.