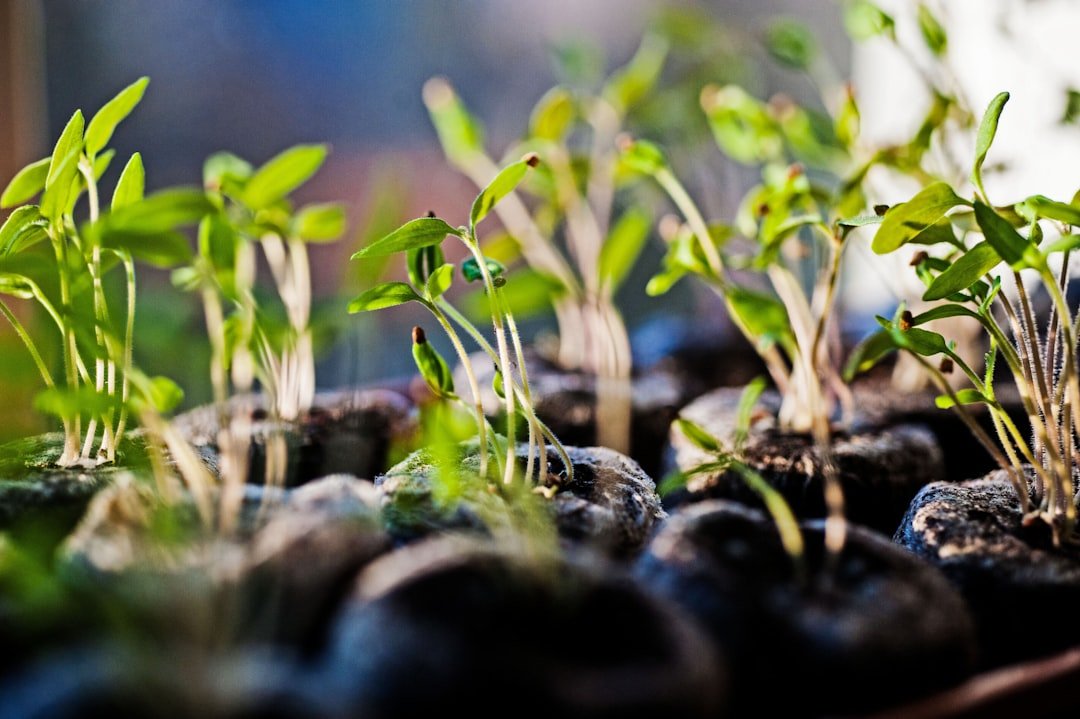
Shallots are mild, sweet members of the onion family that can be grown from small bulbs called sets or from seed. Planting depth matters because a deeply buried set may emerge slowly or rot in wet soil, while a set left too loose may be pulled out by birds or frost movement. This guide explains the right depth, spacing, timing, and care for healthy shallot clusters.
Quick Answer
Plant shallot sets with the pointed end up. Seat the base about 1–2 inches into loose soil while keeping the tip at the surface or only lightly covered. In heavy or wet soil, leave the tip clearly visible. Space sets 4–6 inches apart, or up to 8 inches apart when you want larger clusters.
Key Takeaways
- Keep the pointed tip of each set near the soil surface instead of burying a small bulb under several inches of soil.
- Space most sets 4–6 inches apart. Use 6–8 inches when you want to give expanding clusters more room.
- Choose full sun, fertile soil, and excellent drainage. Waterlogged soil greatly increases the chance of rot.
- Sow seeds about ¼–½ inch deep unless the seed packet gives different instructions.
- Reduce watering as the bulbs finish swelling, then harvest when most tops yellow and fall over.
At a Glance
| Time Required | About 15–30 minutes to plant a small bed or container; growing time varies by variety, season, and climate. |
| Difficulty | Easy |
| Tools Needed | Hand trowel, ruler or spacing guide, watering can or hose, and garden fork for soil preparation |
| Cost | Low to moderate, depending on the number of sets, soil amendments, and whether you need a container |
What Are Shallots?
Shallots (Allium cepa Aggregatum Group) are a type of small onion. Unlike many bulbing onions that form one main bulb, a shallot set usually divides underground and produces a cluster of new bulbs.
The Royal Horticultural Society describes shallots as smaller, milder, and sweeter than most onions. Their balanced flavor works well in dressings, sauces, salads, soups, and roasted dishes without overpowering other ingredients.
One healthy shallot set can divide into a cluster of bulbs, so each set needs enough room to expand below the soil.
Should You Plant Shallot Sets or Seeds?
Sets are immature bulbs and are usually the easiest choice for beginners. They establish quickly and commonly divide into a cluster. Choose sets that feel firm and dry, with no soft patches, mold, deep cuts, or strong signs of sprouting.
Seed-grown shallots take longer and need more early care. A single seed usually produces one bulb, although several seedlings can be grown together to create a clump. Seed-raised varieties may also be less prone to premature flowering than untreated sets.
Note: Set size varies. A large set may sit 1–2 inches into the soil while its tip remains visible. Do not interpret “1–2 inches deep” as a requirement to place 1–2 inches of soil above the pointed tip.
Selecting the Right Planting Site
Choose a site that receives full sun and has free-draining soil. Shallots have relatively shallow roots and perform best where they do not have to compete heavily with weeds.
Avoid low spots where rainwater collects. Persistent wetness can cause poor rooting, fungal disease, and bulb rot. Good airflow helps leaves dry faster after rain or irrigation.
Warning: Do not plant shallot sets in waterlogged soil. Use a raised bed or container if your ground remains wet for long periods after rain.
Preparing the Soil for Planting
Loosen compacted soil and work in finished compost or well-rotted manure before planting. Do not place fresh manure directly around the sets because it may damage roots and encourage soft growth.
According to Utah State University Extension, shallots prefer fertile, well-drained soil with a pH of about 5.5 to 7.5. A soil test is the best way to identify nutrient or pH problems before adding fertilizer.
How Deep to Plant Shallot Sets
Depth recommendations may look different because extension services measure or describe the position in different ways. Utah State University advises planting bulbs about 1–2 inches deep, while the RHS recommends leaving the tip just visible at the surface.
A practical method is to press the base of the set into loosened soil so the bulb is stable while the pointed tip remains at the surface or is only lightly covered. Keep the tip clearly exposed in heavy, cool, or wet-prone soil. In loose, well-drained soil, the tip can sit level with the surface or under a very thin layer of soil.
| What You Are Planting | Planting Depth | Important Detail |
|---|---|---|
| Shallot sets | Seat the base about 1–2 inches into loose soil, with the tip visible or barely covered | Place the pointed end up. Keep sets shallower in heavy or wet soil. |
| Shallot seeds | About ¼–½ inch deep | Follow the seed packet if its variety-specific directions differ. |
| Young transplants | At the same depth they were growing in the module or pot | Do not bury the base of the leaves. |
How to Plant Shallot Sets Step by Step
- Inspect the sets. Keep firm, healthy bulbs. Discard any that are soft, moldy, badly damaged, or rotting.
- Prepare the bed. Loosen the soil, remove weeds and stones, and mix in mature compost if the soil needs organic matter.
- Mark the spacing. Plan for 4–6 inches between most sets and at least 10–18 inches between rows.
- Place each set upright. The broad root end goes down and the pointed end goes up.
- Set the depth. Press the base into the soil until the bulb is stable and the pointed tip remains visible or only lightly covered.
- Firm the soil gently. Remove large air pockets without crushing or compacting the soil around the bulb.
- Water once after planting. Moisten the root zone without saturating the bed.
- Check the bed regularly. Replant sets that birds, frost movement, or heavy rain push out before they establish roots.
Pro Tip: Birds sometimes pull newly planted sets from the soil. If this happens repeatedly, cover the bed with properly secured garden fleece or suitable netting until the sets have rooted. Keep netting taut and check it regularly so wildlife cannot become trapped.
How Far Apart to Plant Shallots
Spacing affects airflow, bulb size, and the room available for each cluster. It also depends on whether you want small individual bulbs or larger clusters.
- Standard set spacing: 4–6 inches apart
- For larger clusters: 6–8 inches apart
- Between rows: 10–18 inches apart
- Seedlings after thinning: about 2–4 inches apart, unless the seed packet recommends otherwise
Close spacing may produce more small bulbs in a limited area. Wider spacing gives each set more soil, light, and room to divide. Variety and whether the plant began from a set or seed also influence the final result.
When to Plant Shallots
In many climates, plant sets in early spring as soon as the soil is workable and no longer waterlogged. Spring planting is the safest general choice for cold regions and heavy soils.
Some varieties are suitable for autumn or winter planting and may produce an earlier harvest. Only use a variety sold for that planting season. Avoid fall planting where saturated soil, repeated freeze-thaw cycles, or severe winter cold are likely to damage the sets.
Local climate matters more than a fixed calendar date. Follow the set label or seed packet and compare it with guidance from your regional extension service.
How to Sow Shallot Seeds
Sow shallot seeds about ¼–½ inch deep. You can start them indoors in modules or sow them outdoors after the soil begins to warm and can be prepared without clumping.
Keep the seed-starting mix or garden soil evenly moist during germination, but do not leave it saturated. Thin outdoor seedlings to approximately 2–4 inches apart. When transplanting module-grown seedlings, place them at the same depth they were growing previously.
Several seedlings may be grown together as a small clump, but a single seed generally forms one bulb rather than the multiplying cluster commonly produced by a set.
Watering, Mulching, Feeding, and Weeding
Watering
Keep the soil evenly moist while roots and leaves are actively growing. Water deeply enough to moisten the root zone, then allow excess water to drain. Avoid frequent shallow watering that only wets the surface.
Reduce watering as the bulbs become fully swollen and the tops begin to yellow. Excess water late in the season may delay curing and reduce storage quality.
Mulching
A light organic mulch can reduce weeds and slow moisture loss. In wet weather, keep thick mulch away from the bulb neck so the surface can dry. Overwintered shallots may benefit from protective mulch in cold regions, but remove or thin it when growth resumes.
Feeding
Use a soil test to guide fertilizer applications. Compost worked into fertile soil may provide enough nutrition for a home crop. Avoid heavy late-season nitrogen feeding because it encourages leaf growth when the bulbs should be maturing and may reduce storage quality.
Weeding
Remove weeds regularly, especially during early growth. Shallots cast little shade, so weeds can quickly compete for water and nutrients. Weed by hand or cultivate very shallowly to avoid damaging roots and developing bulbs.
Managing Flower Stalks
Remove flower stalks when they appear so the plant can direct more energy toward its bulbs. Mark any plant that bolts and use those bulbs first after harvest because bolted bulbs may not store as well.
Tips for Raised Beds and Containers
Raised beds are useful where the native soil drains poorly. Fill them with fertile, well-drained soil rather than a dense mix that remains saturated after rain.
Shallots also grow well in containers. Use a pot at least 30 cm or 1 foot wide and deep, with several unobstructed drainage holes. Fill it with a free-draining, soil-based potting mix.
Use the same depth and basic spacing recommended for garden beds. A 12-inch-wide pot may only hold a few sets comfortably. Larger containers give clusters more room and dry out less quickly.
Check container moisture more often than garden soil because pots can dry rapidly in sun and wind. Water when the upper layer begins to dry, then allow extra water to drain completely.
Common Planting Mistakes to Avoid
- Burying small sets too deeply: Deep planting can slow emergence and increase rot risk in cold, wet soil.
- Planting upside down: Place the broad root end down and the pointed tip up.
- Using damaged sets: Soft or moldy bulbs may decay before they establish.
- Planting in standing water: Improve drainage or use a raised bed or container.
- Crowding the sets: Tight spacing reduces airflow and limits room for clusters.
- Overwatering: Constant saturation encourages bulb and root problems.
- Applying too much late nitrogen: Late leafy growth may delay maturity and reduce storage life.
- Ignoring displaced sets: Replant bulbs that birds or frost movement push out of the ground.
Monitoring and Troubleshooting
Inspect the crop each week. Look at the pattern, location, and timing of symptoms before deciding that a plant needs fertilizer or more water.
| What You See | Possible Cause | What to Do |
|---|---|---|
| Most tops yellowing and falling near the expected harvest period | Normal maturity | Reduce watering and prepare to harvest once most tops have fallen. |
| Early yellowing with wet soil or a soft bulb base | Poor drainage, overwatering, or rot | Reduce watering, improve drainage, and remove badly rotted plants. |
| Silvery or whitish streaks and distorted leaves | Possible thrips feeding | Inspect inside leaf folds, control weeds, maintain steady plant growth, and ask a local extension service about appropriate controls. |
| Pale patches followed by gray, white, or purple fuzzy growth | Possible downy mildew | Improve airflow, avoid overhead watering, remove infected debris, and rotate away from alliums. |
| Wilting plants with damaged roots or larvae near the base | Possible onion or root maggots | Remove badly affected plants and rotate the next crop. Properly installed row covers can help exclude adult flies when the soil does not already contain overwintering pests. |
| A stiff flower stalk rising from the center | Bolting caused by variety, plant stress, or temperature changes | Remove the flower stalk and plan to use that plant’s bulbs before long-storing bulbs. |
The University of California Statewide IPM Program notes that downy mildew infects alliums, including shallots, and is favored by high humidity and leaf wetness. Reduce risk with good drainage, airflow, clean planting material, and a rotation of at least three years away from alliums where the disease has occurred.
The University of Minnesota Extension recommends crop rotation for reducing onion-maggot problems. Do not place a row cover over ground that grew onions or related crops the previous season if adult flies may emerge from that soil beneath the cover.
Harvesting and Curing Shallots
Harvest when most leaves have turned yellow and fallen over naturally. Do not judge maturity from one yellow leaf; look for the majority of the crop to show the same change.
- Choose a dry period when possible.
- Loosen the soil with a garden fork, keeping the tines away from the bulbs.
- Lift each cluster gently without pulling hard on the neck.
- Separate clusters into individual bulbs carefully.
- Set aside bruised, cut, soft, or bolted bulbs for early use.
- Arrange healthy bulbs in a single layer where air can circulate.
- Allow them to cure until the skins and foliage feel dry and papery.
Curing often takes about one to two weeks, depending on humidity, temperature, airflow, and whether the bulbs were harvested wet. Use a covered, well-ventilated location during rainy or humid weather.
Storing Shallots for Maximum Shelf Life
Only store fully cured, undamaged bulbs. Trim the dried foliage or braid the tops, then place the shallots in mesh bags, slatted trays, or another breathable container.
Keep them in a cool, dry, well-ventilated place and inspect them occasionally. Remove any bulb that becomes soft, moldy, or begins to rot so it does not affect nearby bulbs.
Under suitable conditions, properly cured shallots may keep for six to eight months. Actual storage life varies by variety, bulb condition, humidity, temperature, and airflow.
Frequently Asked Questions
What are shallots?
Shallots are a small type of onion with a mild, slightly sweet flavor. They can be grown from seeds, young plants, or bulb sets. A planted set commonly divides into a cluster of new bulbs.
How deep should shallot sets be planted?
Seat the base about 1–2 inches into loosened soil while keeping the pointed tip at the surface or only lightly covered. Leave the tip more exposed in heavy, cold, or wet-prone soil.
Should shallot sets be completely buried?
Usually not. The bulb should be stable in the soil, but the pointed tip should remain visible or sit just beneath a thin layer. Deep burial is especially risky in heavy or waterlogged soil.
How many shallot sets should go in each hole?
Plant one set in each hole. A healthy set can divide into several bulbs, so planting multiple sets in one hole creates unnecessary crowding.
Why does planting depth matter?
Correct depth keeps the set stable while allowing the shoot to emerge easily. Sets planted too deeply may emerge slowly or rot in wet soil, while very loose sets may be displaced before roots develop.
When is the best time to plant shallots?
Early spring is the safest general planting time once the soil is workable and not waterlogged. Varieties sold for autumn or winter planting can be planted earlier in free-draining soil where local winter conditions are suitable.
Can grocery-store shallots be planted?
A healthy grocery-store shallot may sprout, but its variety, storage treatment, disease status, and suitability for your climate may be unknown. Garden sets or seed from a reputable supplier provide more predictable results.
Can shallots be planted in containers?
Yes. Use a free-draining, soil-based potting mix and a container at least 30 cm or 1 foot wide and deep. The pot must have drainage holes, and its soil should be checked more often because containers dry faster than garden beds.
What should I do if newly planted sets pop out of the soil?
Press them gently back into place with the root end down and the tip near the surface. Birds, heavy rain, or freeze-thaw movement may dislodge unrooted sets. Temporary fleece or properly secured netting can help until roots form.
Sources
- Utah State University Extension: Shallots in the Garden — planting depth, seed depth, spacing, soil pH, watering, curing, and storage guidance
- Royal Horticultural Society: How to Grow Shallots — shallow set planting, seasonal timing, containers, bird protection, bolting, harvesting, and storage
- University of Minnesota Extension: Managing Plant Diseases in the Home Garden — crop-rotation guidance for onion-family crops
- University of Minnesota Extension: Cabbage and Onion Maggots — onion-maggot prevention, rotation, and row-cover limitations
- UC Statewide IPM Program: Downy Mildew in Onion and Garlic — symptoms, favorable conditions, sanitation, airflow, irrigation, and rotation