

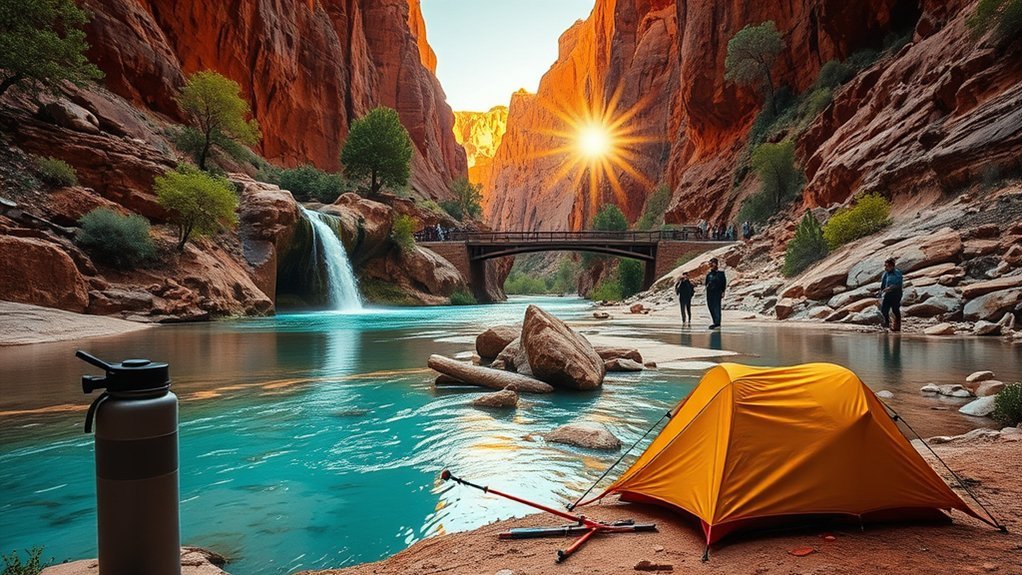
You’ll trade city comforts for canyon silence, but you’ll still need permits and planning to make it work. You’ll want to know when reservations open, how to check in, and what facilities are available at the Havasupai campground. Keep your pack smart, follow trail and water safety, and pick a campsite that suits your group — the details that follow will help you prepare for a solid trip.
Planning Your Havasupai Permit and Reservation Timeline
Because permits for Havasu Falls open every year on February 1 at 8:00 am Mountain Time and often sell out within hours, you’ll want a clear timeline and accounts ready well before that date. Set reminders: presale option in January can give you a head start on select dates, but general Havasupai permits often sell out quickly. Each camping reservation requires a minimum stay of 3 nights and can cover up to 12 people under one Trip Leader, so plan party size and dates carefully. To secure a permit, create an account for every traveler on the Havasupai Reservations website ahead of time and confirm payment details. Expect a camping permit cost near $455 per person; have funds ready to complete the booking.
Getting to the Trailhead and Check-In Requirements
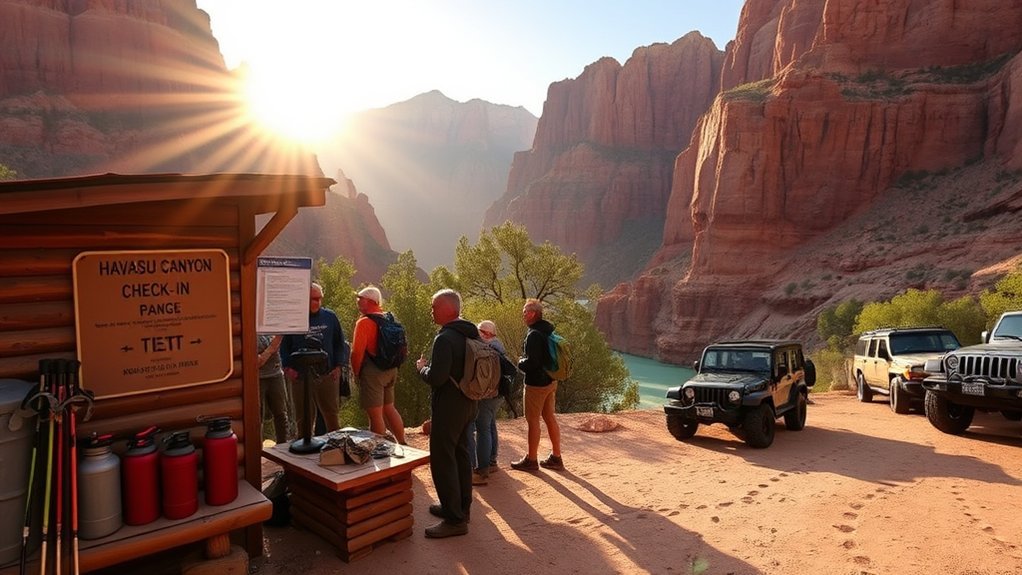
When you make the drive to Hualapai Hilltop—the only access point to Havasu Falls—plan for about 1.5 hours from Peach Springs and arrive early since parking fills fast and roadside spots may be your only option. At the Hualapai Hilltop Havasupai Trailhead you’ll gather gear, then descend to Supai Village; before you go, head to the Tourist Check-In Office to complete check-in. The Trip Leader named on the campground reservation must be present with photo ID and printed necessary documents—no phone reception exists in Supai Village or the falls area. Keep your campground reservation confirmation and IDs accessible, expect limited parking near the trailhead, and verify rules with staff at the Tourist Check-In Office to avoid delays before starting the hike.
Havasupai Campground Layout, Amenities, and Rules
When you arrive at Havasupai Campground, use the informal layout map to pick a spot—sites run about a mile along the creek, some open and some tucked under trees. Note the essentials: four composting toilets (cleaned daily), Fern Spring for refillable drinking water, and a strict pack-in, pack-out policy with only small stoves allowed. Follow capacity and site-movement rules (up to 300 campers nightly, 100 per entry day) and avoid low-lying, flood-prone sites for safety and privacy.
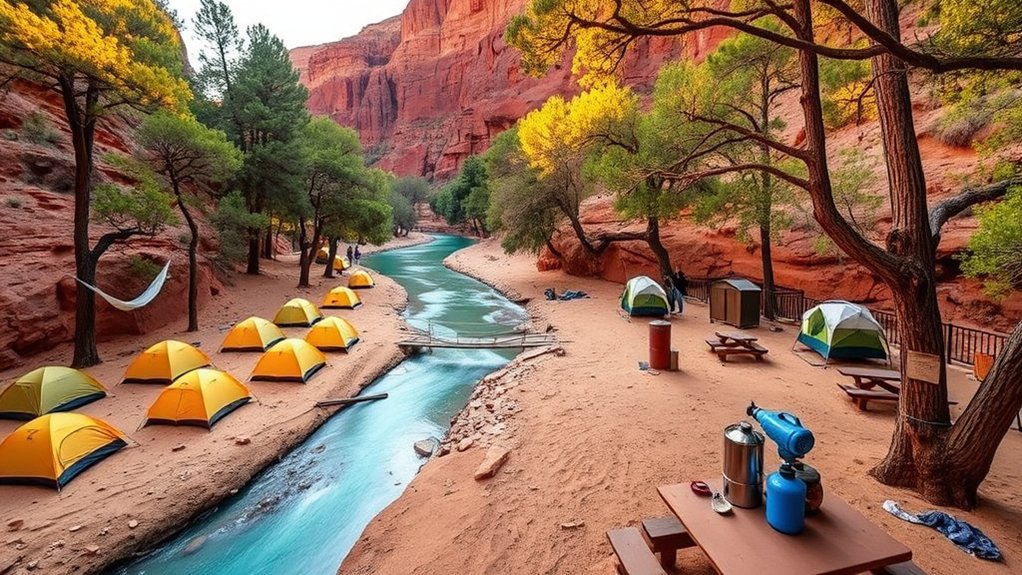
Campground Layout Map
The Havasupai Campground stretches roughly a mile along Havasu Creek, so you’ll want to pick a spot with the mix of privacy, shade, and water access that fits your trip—sites aren’t marked, camps are first-come/first-served, and some pitch right on the creek while others tuck into trees. Use a mental campground layout map: creekside areas offer easy drinking water access at Fern Spring and scenic views; shaded tree pockets give privacy from other campers; central flats are closer to the four composting toilets and picnic tables; outer edges feel quieter and are good if you plan day hikes. Remember regulations limit alcohol, fires, and amplified music, accommodate up to 300 campers, and allow 100 per entry day.
Rules and Amenities
Because the campground stretches a mile along Havasu Creek and fills on busy days, you’ll want to know the key rules and amenities before you pick a spot. The Havasupai Campground is the only site for camping at Havasu Falls and operates first-come, first-served within its informal layout, accommodating up to 300 campers. You’ll find occasional picnic tables and may rely on Fern Spring as the only drinking water source that doesn’t require filtering. There are four composting toilets serviced regularly. A permit for Havasu Falls is required to stay, and prohibited items include alcohol, drugs, campfires, and drones. Small cooking stoves are allowed; otherwise pack out trash and keep your footprint low for everyone’s safety and enjoyment.
Choosing and Securing the Best Campsite for Your Group
If you arrive early and move quickly, you’ll have the best chance of claiming a prime spot at Havasupai Campground—sites are first-come, first-served and the most desirable ones near the water go fast. Plan to secure permits ahead, then race the midmorning crowd to pick among campsites. Prioritize elevated spots near but above the creek to avoid flooding; crossing the stream can uncover quieter, more private areas. With up to 300 campers nightly, steer clear of obvious trails and picnic clusters to reduce foot traffic and improve your camping experience. Remember Fern Spring is the only potable water source—factor proximity into your choice. You can also take advantage of moving campsites after night one to optimize comfort.
- Early arrival for best selection
- Elevated sites to avoid floods
- Sites across creek for privacy
- Near Fern Spring when needed
Packing List and Safety Tips for the Havasupai Backcountry

Pack smart for Havasu Falls: bring a reliable tent, sleeping bag and pad, cooking gear with bear‑proof food storage, a headlamp, gloves, rain gear, and at least one gallon of water per person to refill at Fern Spring. Prioritize campsite safety by choosing elevated ground near facilities when possible, keeping gear packed out, and checking forecasts for flash‑flood risk—especially during the July–September monsoon. Stay practical and cautious on the trail and at camp so you can enjoy the canyon while minimizing hazards and impacts.
Essentials to Pack
Bring at least a gallon of water per person for the hike and plan to refill at Fern Spring once you reach the campground, since there’s no reliable drinking water along the trail. Your essentials packing list should prioritize hydration, shelter, and minimizing wildlife encounters. Pack sturdy water bottles or a hydration bladder, a reliable tent, sleeping bag and pad, and secure food storage to keep critters away. Check weather conditions — monsoon season raises flash floods — and include rain gear and layers.
- Headlamp, spare batteries, and a small cook set for meals
- Water shoes for river crossings and gloves for campsite tasks
- Blanket for relaxing and light stretching, plus cash for village supplies
- Trash bags; practice Leave No Trace at all times
Backcountry Safety Tips
Because the Havasupai backcountry can change quickly, you’ll want a focused safety-first packing list and plan before you leave the trailhead. Carry at least 1 gallon of water per person for the 10-mile hike to Havasu Falls—no potable water exists on the trail—plus a filter for emergencies. Pack a headlamp, first-aid kit, map, and extra layers for shifting weather; monsoon season brings flash floods, so avoid exposed sections during storms. Use a bear can or rat sack to store food and minimize wildlife encounters; secure belongings when you go day hiking to deter theft. Know the switchbacks and tough terrain; pace yourself on the ascent and descent while wearing sturdy boots. Stick to your permit, share your itinerary, and prioritize safety.
Itineraries and Activities: Waterfalls, Hikes, and Relaxation
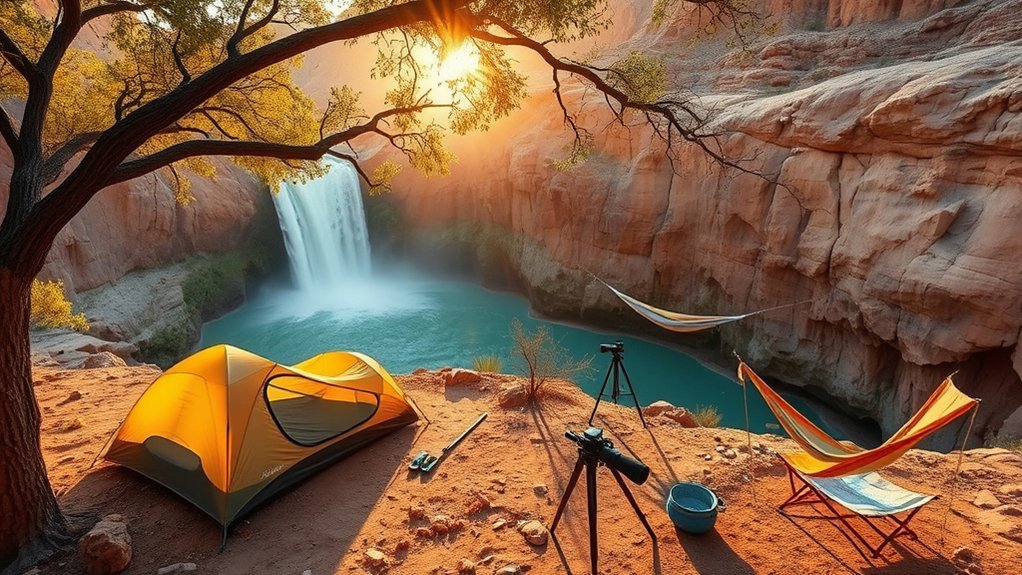
When you plan your Havasu Falls itinerary, aim to hike in and set camp the first day, spend dedicated time at Havasu Falls with its large cascade and vivid blue swimming pool, and reserve a second day for the tougher Mooney Falls descent and the lush, swim-friendly Beaver Falls — with the optional 16-mile confluence hike if you’re up for a longer challenge. You’ll treat Havasupai camping as a balance of exploration and relaxation: hike early to avoid heat, enjoy morning light on the best campsites, and savor swimming opportunities and sunset at the campground. Be practical: pack water, plan day hiking legs, and respect trail difficulty on Mooney Falls and longer routes.
- Morning swim in Havasu Falls’ vivid blue pool
- Tackle Mooney Falls’ steep descent with care
- Wade and relax among Beaver Falls’ greenery
- Camp meals and social time at picnic tables
Frequently Asked Questions
How Hard Is It to Get a Havasupai Permit?
It’s very tough; the Havasupai permit process sells out fast. You’ll need permit application tips, know group size limits, Permit fees breakdown, cancellation policy details, Popular hiking trails, Best visiting seasons, Day hike options, Wildlife safety tips, Alternative camping locations.
Where to Sleep the Night Before Havasupai?
Sleep near Peach Springs or Grand Canyon Caverns; they’re your sunrise anchor. For Pre trip accommodations, book Nearby hotels, plan Camping gear, Travel logistics, Hiking safety, Food options, Local attractions, Transportation methods, Weather considerations, Night before preparation.
How Much Does It Cost to Camp at Havasupai Campground?
You’ll pay about $455 per person for camping fees (three‑night minimum); during Permit application season you’ll check Seasonal availability, consider Group size, follow Camping regulations, Gear recommendations, Water sources, Campfire rules, Waste disposal, and Hiking trails.
How to Make Havasupai Campground Reservations?
You book Havasupai camping via the Reservation process: create individual accounts, complete the Permit application through Online booking for Group reservations, monitor Seasonal availability, follow Cancellation policy, use Waitlist options, and heed Tips for success in Travel planning.
Conclusion
With your Havasupai permit in hand, you’ll be set to savor the canyon like a well-planned expedition. Stick to permit dates, arrive early to claim a great campsite, and respect pack-in/pack-out rules and water sources. Pack layered clothes, plenty of water, and safety gear; know the Fern Spring location and toilet rules. Move deliberately but flexibly—your trip will unfold like a careful map, revealing waterfalls, hikes, and quiet moments worth protecting.
