

When embarking on a journey to capture the breathtaking beauty of waterfalls, selecting the appropriate equipment is paramount. A DSLR or mirrorless camera is often the best choice for this type of photography due to their superior image quality and versatility. These cameras allow for interchangeable lenses, which can be crucial for achieving the desired composition and perspective.
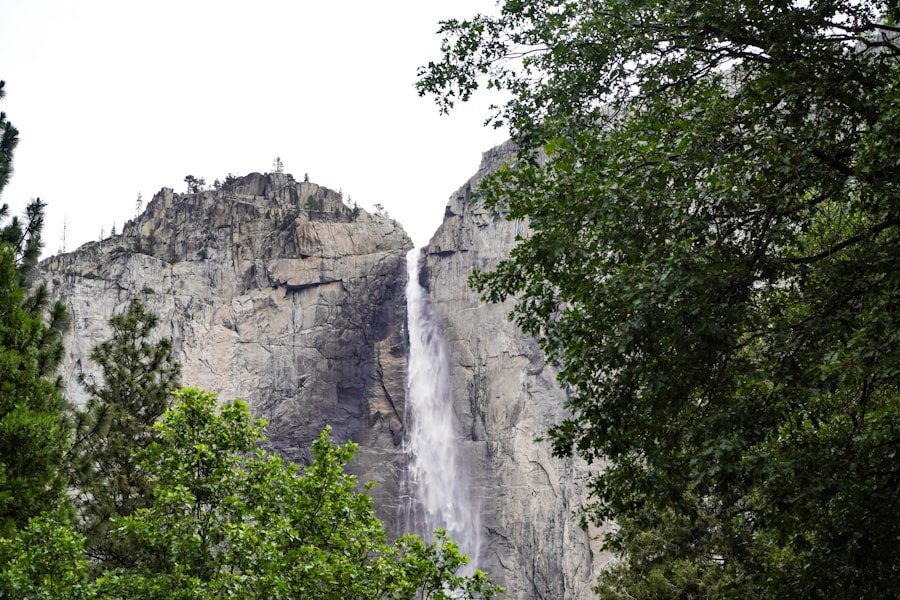
A wide-angle lens, typically ranging from 16mm to 35mm, is particularly effective for capturing expansive scenes that include both the waterfall and its surrounding environment. This lens choice enables photographers to encapsulate the grandeur of the waterfall while also providing context through the landscape. In addition to the camera and lens, a sturdy tripod is essential for waterfall photography.
Long exposure shots, which are often used to create that silky smooth effect on flowing water, require stability to avoid any unwanted blur from camera shake. A tripod allows photographers to set their camera at a specific angle and height, ensuring that they can focus on composition without worrying about holding the camera steady. Furthermore, a remote shutter release or a camera with a timer function can help eliminate any vibrations caused by pressing the shutter button, further enhancing image sharpness.
Filters, such as neutral density (ND) filters, can also be beneficial; they reduce the amount of light entering the lens, allowing for longer exposure times even in bright conditions.
Key Takeaways
- Choose a sturdy tripod and a wide-angle lens for waterfall photography
- Consider the direction and intensity of natural light for the best results
- Experiment with different vantage points to find the most captivating composition
- Use long exposure techniques to create a smooth, silky effect on the water
- Capture the movement of the water by adjusting shutter speed and aperture settings
Understanding the Lighting Conditions
Lighting plays a crucial role in photography, and waterfall photography is no exception. The time of day can significantly affect how a waterfall is captured. Early morning or late afternoon, often referred to as the “golden hours,” provides soft, diffused light that enhances the natural colors of the scene.
During these times, shadows are less harsh, and the warm tones can add a magical quality to the water and surrounding foliage. Photographers should aim to arrive at their chosen location well before sunrise or stay until after sunset to take advantage of this optimal lighting. Conversely, shooting during midday can present challenges due to harsh sunlight creating strong contrasts and unwanted glare on the water’s surface.
In such conditions, it may be beneficial to seek out shaded areas or wait for overcast days when clouds diffuse sunlight, resulting in more even lighting across the scene. Understanding how different lighting conditions interact with water can also inform decisions about exposure settings. For instance, bright sunlight may necessitate faster shutter speeds to prevent overexposure, while softer light allows for longer exposures that can create that ethereal effect on flowing water.
Finding the Best Vantage Points
The location from which a waterfall is photographed can dramatically influence the final image. Exploring various vantage points is essential for discovering unique perspectives that highlight the waterfall’s features and its relationship with the surrounding landscape. Climbing higher ground or moving closer to the water’s edge can yield dramatically different compositions.
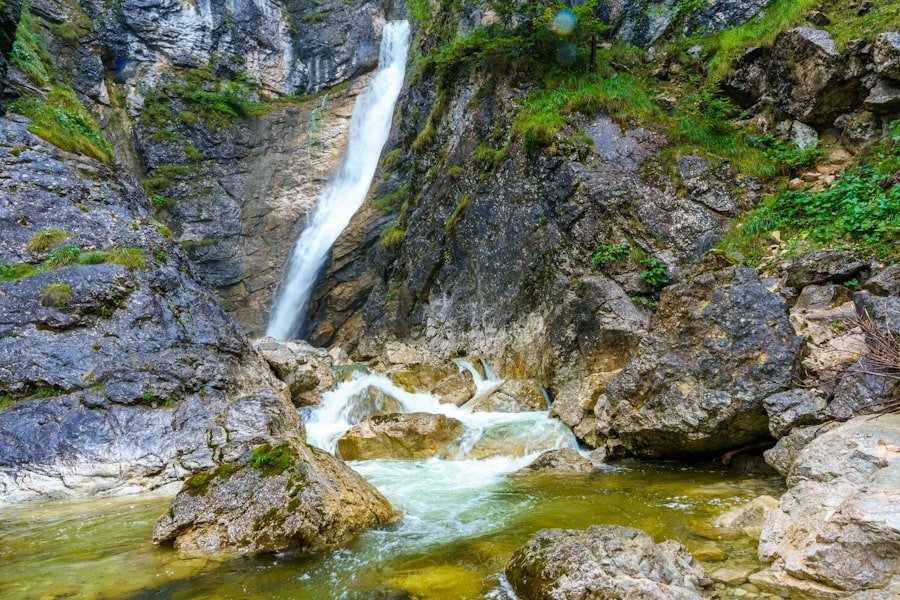
For example, shooting from above may provide a sweeping view of the waterfall cascading down into a pool below, while positioning oneself at water level can create an intimate connection with the flow of water. Additionally, considering foreground elements can enhance depth and interest in waterfall photography. Rocks, plants, or even fallen branches can serve as leading lines that draw the viewer’s eye toward the waterfall itself.
Experimenting with different angles and distances will help photographers find compositions that resonate with their artistic vision. It’s also important to be mindful of safety when exploring these vantage points; slippery rocks and unstable terrain can pose risks that should not be overlooked in pursuit of the perfect shot.
Using Long Exposure Techniques
| Technique | Definition | Example |
|---|---|---|
| Long Exposure | A photography technique that involves using a long-duration shutter speed to sharply capture the stationary elements of images while blurring, smearing, or obscuring the moving elements. | Capturing light trails of moving vehicles at night. |
| Light Painting | Creating an image by moving a light source while taking a long exposure photograph. | Writing words with a flashlight in a dark room. |
| Star Trails | Creating a circular pattern of stars in the sky due to the Earth’s rotation during a long exposure. | Photographing the night sky with a long exposure to capture the movement of stars. |
Long exposure techniques are a hallmark of waterfall photography, allowing photographers to create stunning images that convey motion and fluidity. By using slower shutter speeds—often ranging from one second to several seconds—photographers can capture the movement of water in a way that transforms its appearance from a chaotic rush into a smooth, silky flow. This technique not only enhances the aesthetic appeal of the image but also evokes a sense of tranquility and serenity.
To achieve long exposures effectively, it is crucial to use a tripod to maintain stability throughout the shot. Additionally, employing neutral density filters can help manage light intake, enabling longer exposures even in bright conditions without overexposing the image. When setting up for a long exposure shot, it’s advisable to experiment with different shutter speeds to find the right balance between capturing motion and maintaining detail in both the water and surrounding elements.
A speed of around 1/4 second might yield a gentle flow effect, while longer exposures of several seconds can create an almost ethereal quality as water appears to blend seamlessly into its surroundings.
Capturing the Movement of the Water
The essence of waterfall photography lies in capturing the dynamic movement of water as it cascades over rocks and ledges. To effectively convey this motion, photographers must consider both shutter speed and composition carefully. A faster shutter speed can freeze individual droplets in mid-air, showcasing the power and force of the waterfall, while slower speeds create a sense of fluidity and softness that invites viewers into the scene.
In addition to shutter speed, framing plays an important role in how movement is perceived in an image. Including elements such as swirling eddies or splashes at the base of the waterfall can enhance the sense of motion and energy within the photograph. Photographers might also experiment with panning techniques—moving the camera slightly during exposure—to create a sense of dynamic movement across the frame.
This approach requires practice but can yield striking results that emphasize both speed and fluidity.
Incorporating the Surrounding Landscape
While waterfalls are often the focal point of photographs, incorporating surrounding landscapes can add depth and context to images. The interplay between water and land creates a narrative that enriches viewers’ understanding of the scene. Elements such as trees, rocks, and hillsides not only frame the waterfall but also provide scale and contrast that enhance its visual impact.
When composing an image, photographers should consider how these elements interact with one another. For instance, including lush greenery or vibrant wildflowers in the foreground can create a beautiful contrast against the cool blues and whites of cascading water. Additionally, capturing reflections in pools at the base of waterfalls can add another layer of interest and complexity to an image.
By thoughtfully integrating these surrounding elements into their compositions, photographers can create more compelling narratives that invite viewers to explore every aspect of the scene.
Adjusting Camera Settings for Waterfall Photography
Fine-tuning camera settings is essential for achieving optimal results in waterfall photography. The exposure triangle—comprising aperture, shutter speed, and ISO—plays a critical role in determining how an image is captured. For waterfalls, a smaller aperture (higher f-stop number) is often preferred as it increases depth of field, ensuring both foreground elements and distant backgrounds remain sharp and in focus.
Shutter speed is perhaps one of the most crucial settings when photographing waterfalls. As previously mentioned, slower shutter speeds are typically used to create that smooth effect on flowing water; however, it’s important to balance this with other settings to avoid overexposure or underexposure. Adjusting ISO settings is also vital; keeping ISO low (around 100-200) minimizes noise and maximizes image quality, especially when using longer exposures.
Photographers should also consider using manual mode to have complete control over these settings, allowing them to make real-time adjustments based on changing light conditions.
Post-Processing Tips for Staubbach Falls Photography
Post-processing is an integral part of modern photography that allows photographers to enhance their images further after capture. For waterfall photography, particularly iconic locations like Staubbach Falls in Switzerland, post-processing can help bring out details that may not be fully realized in raw captures. Software such as Adobe Lightroom or Photoshop provides tools for adjusting exposure, contrast, saturation, and sharpness—each playing a role in refining an image’s overall impact.
One effective technique is adjusting highlights and shadows to ensure that both bright areas of flowing water and darker surrounding elements are well-represented without losing detail. Additionally, applying subtle clarity adjustments can enhance textures in rocks or foliage without making them appear unnatural.
Finally, cropping or straightening images during post-processing can help refine compositions further, ensuring that every element contributes harmoniously to the overall visual narrative. By mastering these techniques—from choosing equipment and understanding lighting conditions to employing long exposure methods and post-processing—photographers can capture stunning images of waterfalls like Staubbach Falls that resonate with beauty and artistry. Each step in this process contributes to creating photographs that not only showcase nature’s splendor but also reflect personal artistic vision and style.
Staubbach Falls, one of the highest free-falling waterfalls in Europe, offers a breathtaking viewpoint that is a must-visit for photography enthusiasts. Capturing the majestic beauty of the falls requires some strategic planning.
A tripod is essential for stability, especially if you’re aiming for long exposure shots to capture the silky flow of the water. For more tips on capturing stunning natural landscapes, you might find inspiration in this related article about exploring the delightful world of Asian melon, which offers insights into capturing the vibrant colors and textures of nature: Exploring the Delightful World of Asian Melon.
FAQs
What is the Staubbach Falls viewpoint?
The Staubbach Falls viewpoint is a popular spot in Lauterbrunnen, Switzerland, that offers a stunning view of the 297-meter-high waterfall.
What are some photography tips for capturing the Staubbach Falls?
When photographing the Staubbach Falls, it’s important to use a tripod to keep the camera steady, experiment with different shutter speeds to capture the motion of the water, and consider the lighting conditions for the best results.
Is the Staubbach Falls viewpoint easily accessible?
Yes, the Staubbach Falls viewpoint is easily accessible by foot from the town of Lauterbrunnen. It’s a short walk from the town center to the viewpoint.
What is the best time of day to visit the Staubbach Falls viewpoint for photography?
The best time to visit the Staubbach Falls viewpoint for photography is in the early morning or late afternoon when the light is softer and creates a more dramatic effect on the waterfall.
Are there any safety precautions to keep in mind when visiting the Staubbach Falls viewpoint?
Visitors should be cautious of slippery paths and wet rocks near the waterfall, especially during or after rainfall. It’s important to stay on designated paths and follow any posted safety guidelines.
