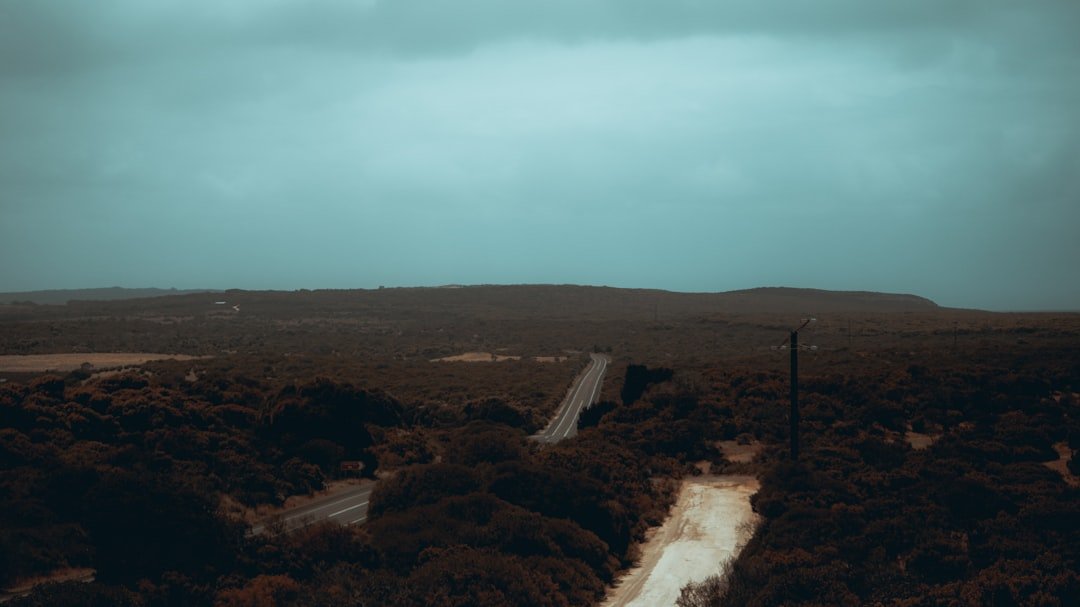
Monte San Salvatore rises above Lugano in Switzerland’s Italian-speaking canton of Ticino and gives photographers a broad view across Lake Lugano, the city, nearby hills, and distant mountain ranges. Official Ticino tourism information places the summit at 912 meters above sea level. The mountain also combines natural scenery with cultural features such as the summit church and San Salvatore Museum, giving you more to photograph than a single panoramic view.
Quick Answer
For the best Monte San Salvatore photos, prioritize clear or textured weather, late-day light, and a wide-to-normal lens. Use the church-roof lookout or Capodoro Terrace for broad Lake Lugano views, expose carefully for highlights, and check the funicular timetable before planning sunset or sunrise photography.
Key Takeaways
- Monte San Salvatore reaches 912 meters above sea level and offers wide views over Lake Lugano and the surrounding region.
- Late-afternoon and golden-hour light can add warmth, shadows, and texture, but access times must be checked before planning a shoot.
- Use wide-angle compositions for the panorama and longer focal lengths to isolate villages, ridges, boats, and distant mountain details.
- Protect bright skies by watching your highlights, and consider exposure bracketing when the sky is much brighter than the foreground.
- Do not remain on an exposed summit or ridge during a thunderstorm just to get a photograph.
At a Glance
| Time Required | About 1.5 to 3 hours for a relaxed photo visit; allow longer if you are waiting for changing light. |
| Difficulty | Easy to moderate for photography near the summit viewpoints; walking difficulty increases if you explore trails. |
| Tools Needed | Camera or smartphone, charged battery, lens cloth; optional tripod, polarizing filter, spare battery, and telephoto lens. |
| Cost | Photography gear cost varies. The published 2026 adult return funicular fare is CHF 32; check the official timetable and fares page before visiting. |
Seasonal changes can alter the photographs you make. Spring vegetation and flowers can provide colorful foregrounds, while autumn can bring warmer foliage tones. Winter may bring snow or other wintry conditions, but snow should not be assumed at this elevation. Check the current weather and webcam before traveling.
In spring, fresh vegetation and flowers can brighten foregrounds, while autumn can turn wooded slopes into warmer shades of yellow, orange, and brown.
The official panorama information describes 360-degree views from the mountain. It also identifies the Capodoro Terrace near Restaurant Vetta as a dedicated panoramic viewpoint. Ticino’s official tourism site additionally highlights the church-roof lookout for broad views across the landscape.
Plan Your Viewpoints and Access First
Your photography plan should begin with access rather than camera settings. The Monte San Salvatore funicular carries visitors from Lugano-Paradiso toward the summit in about 12 minutes and normally operates at half-hour intervals during published service periods.
The official timetable and fares page lists date-specific operating hours. For the published 2026 season, opening begins at 9:00 during the listed operating periods. That means the funicular is not a sunrise-access service. Evening operation is available only during certain periods, so check the current timetable before building a sunset shoot around the last descent.
Pro Tip: If sunset is your priority, work backward from the last funicular departure. Give yourself enough time to photograph changing light and still reach the station without rushing.
Best Summit Viewpoints for Photography
The official panorama page identifies Capodoro Terrace as a panoramic lookout near Restaurant Vetta. This is a useful place for layered compositions looking across the lake and toward distant ridges.
The church-roof lookout is another strong choice for broad views. From high viewpoints, try making one wide establishing frame and then switch to a longer focal length to isolate individual parts of the landscape. Boats, shoreline settlements, mountain ridges, and patches of light can become separate photographs instead of being lost inside one very wide scene.
Choosing the Right Time for Photography
Timing matters because the direction and quality of light can completely change the same view. Golden-hour light, which occurs around sunrise and sunset, comes from a lower angle and can produce longer shadows, warmer tones, and more visible texture. Adobe’s golden-hour photography guidance explains how low-angle light can be used for side lighting, silhouettes, rim light, and other effects.
At Monte San Salvatore, sunset is usually easier to plan around than sunrise when you rely on the funicular because service does not begin around dawn. Always compare the day’s light with the current transport schedule rather than assuming you can arrive or leave at any hour.
Midday should not automatically be dismissed. Strong overhead sunlight can create harder shadows and greater contrast, but clear midday conditions can also produce crisp documentary views across the lake. If the contrast is excessive, frame more tightly, protect the brightest highlights, or wait for clouds to soften the light.
Cloudy and misty weather can be excellent for detail photographs. Soft cloud cover reduces harsh contrast, while fog can hide parts of the landscape and create simpler compositions. In winter, conditions can range from clear and dry to snowy or foggy. Check forecasts rather than planning around assumed seasonal conditions.
Utilizing Natural Lighting
Natural light should guide both your composition and exposure. Early or late light often works well from the side because it reveals shape in hills, ridges, trees, and buildings. Backlighting can produce silhouettes and glowing haze, while front lighting gives a more descriptive view with fewer deep shadows.
Watch the brightest part of the sky carefully. A camera can often recover some shadow detail from a RAW file, but badly clipped highlights may contain little or no usable detail. Use your histogram or highlight-warning display if your camera provides one.
When the sky is much brighter than Lake Lugano or the foreground, consider making several exposures from the same composition. Exposure bracketing gives you the option of choosing the best frame later or carefully blending exposures during editing when the scene’s brightness range exceeds what one exposure can handle cleanly.
Note: A circular polarizing filter can reduce some reflections and deepen color in landscape photography, but its effect depends on your angle to the light. Rotate it while looking through the viewfinder or screen rather than assuming maximum polarization is always best.
Camera Settings for Monte San Salvatore
There is no single correct camera setting because light, focal length, subject movement, and whether you are handholding all matter. Use the following values as starting points rather than fixed rules.
| Aspect | Practical Starting Point |
|---|---|
| Aperture | Try around f/8 to f/11 for broad landscapes when you want substantial depth of field. Use wider apertures such as f/2.8 to f/5.6 when light is low or when isolating details. |
| Shutter Speed | Use a speed fast enough to prevent camera shake when handholding. With a tripod, slower exposures become practical for low-light scenes. |
| ISO | Start near your camera’s base ISO in bright conditions, often ISO 100 or 200, then raise ISO only as much as needed for the shutter speed and aperture you want. |
| Focal Length | Use a wide angle for sweeping lake views, a normal focal length for natural-looking perspective, and a telephoto for distant villages, ridges, or compressed layers. |
| Composition | Try the rule of thirds, leading lines, foreground framing, centered symmetry, and layered foreground-middle-ground-background compositions. |
Framing the Perfect Shot
Framing controls where the viewer looks first and how the scene feels. The rule of thirds is a useful starting point, especially when balancing a bright sky against Lake Lugano or a mountain ridge. It is not a rule you must follow every time. A centered horizon or symmetrical composition can work when reflections, clouds, or geometric forms support it.
Leading lines can help direct attention through the frame. Paths, railings, shorelines, ridges, and rows of trees can guide the eye toward a distant mountain or the lake. Before pressing the shutter, check the edges of your frame for half-cut objects, distracting signs, or branches that compete with the main subject.
Foreground objects can make a wide landscape feel deeper. Rocks, vegetation, flowers, architectural details, or the edge of a viewpoint can provide a near element that leads into the lake and mountains beyond.
Incorporating the Surrounding Landscape
Monte San Salvatore works best photographically when you show its relationship with Lake Lugano and the surrounding landscape rather than treating the summit as an isolated subject. Including the lake, shoreline settlements, distant mountains, or parts of Lugano gives viewers a clearer sense of place.
Seasonal vegetation can change the foreground and color palette. Fresh spring growth can add greens and small areas of color, while autumn foliage can create warmer foregrounds. In winter, use current conditions to decide whether you are photographing snow, bare vegetation, fog, or clear distant views.
Try creating a short visual sequence instead of one photograph: one wide panorama, one medium composition showing the lake and nearby landscape, and one tight detail. That approach gives you a more complete record of the location.
Experimenting with Different Angles
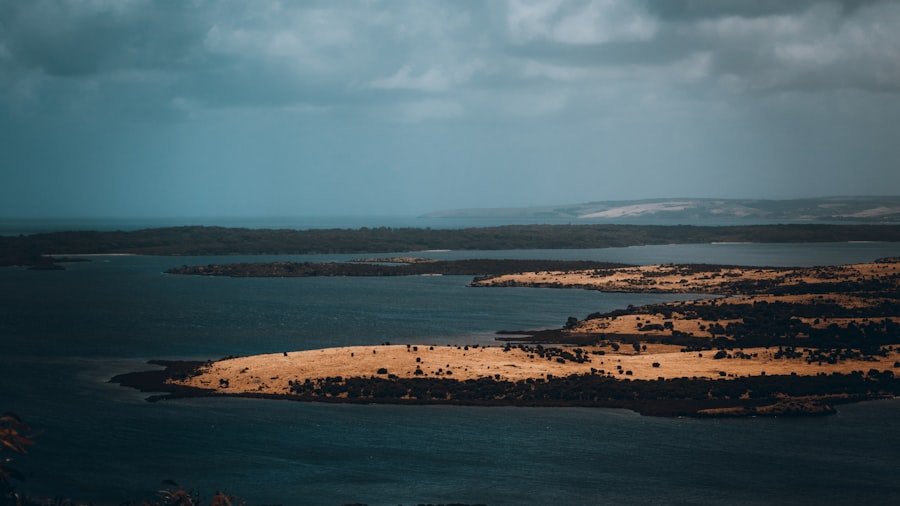
Do not limit yourself to the first eye-level panorama you see. Small changes in height and position can alter how foreground objects overlap the lake and distant mountains. Step sideways, lower the camera, or move to another established viewing position and compare how the layers change.
A lower camera position can make nearby rocks, flowers, or other foreground features appear larger and more important. A higher viewpoint emphasizes the overall geography and relationship between the lake, settlements, and mountains.
Telephoto compositions provide another type of angle without requiring you to move to unsafe terrain. A longer lens can visually compress distant ridges and isolate patches of sunlight, villages, boats, church towers, or other details across the lake.
Warning: Never move onto an exposed edge or remain on a summit or ridge during a thunderstorm for the sake of a photograph. MeteoSwiss advises avoiding exposed mountain ridges, peaks, trees, towers, bodies of water, and open terrain when thunderstorms threaten.
Capturing the Details
Wide views are only one part of Monte San Salvatore photography. Look for smaller subjects such as rock textures, bark, leaves, flowers, architectural details, signs, patterns, and changing light on the landscape.
When photographing plants or other close subjects, overcast light can be useful because it reduces hard shadows. A longer focal length or wider aperture can separate a detail from a busy background.
Wildlife should be photographed without approaching, feeding, or disturbing animals. A telephoto lens lets you keep more distance while still creating a frame in which the animal is large enough to be meaningful.
Using a Wide-Angle, Normal, or Telephoto Lens
A wide-angle lens is useful when you want Lake Lugano, foreground, sky, and several mountain layers in one frame. Be careful not to include empty foreground simply because the lens can fit it. Give every large part of the composition a purpose.
A normal focal length often produces a more natural-looking perspective and is useful when a very wide view makes distant mountains appear too small. A telephoto lens is valuable for isolating distant details and stacking several ridges into a tighter composition.
If you want to travel light, one general-purpose zoom can cover many of these situations. Smartphone users can apply the same principle by switching between the main camera and optical telephoto camera where available instead of relying heavily on digital zoom.
Monte San Salvatore Photography With a Smartphone
You do not need a dedicated camera to make strong photographs from the summit. Clean the phone’s camera lenses before shooting because fingerprints are especially visible around bright skies and sunlight.
- Tap on the brightest important part of the scene and reduce exposure slightly if the sky is losing detail.
- Use the main camera for the best general image quality unless another built-in lens gives you the composition you need.
- Turn on the grid if it helps you keep the horizon level.
- Use HDR when the phone offers it and the scene contains a bright sky with a much darker foreground.
- Avoid excessive digital zoom because it can reduce detail. Crop later if necessary.
- Make several frames as the light changes because phone processing can respond differently from shot to shot.
Weather and Safety for Photographers
Weather can change the quality of a mountain photograph quickly, but it can also change the safety of the visit. Check the forecast before traveling and continue watching the sky while you are on the summit.
MeteoSwiss thunderstorm guidance advises avoiding mountain ridges, peaks, trees, towers, bodies of water, and open terrain when thunderstorms pose a lightning risk. Do not wait for visible lightning to get close before treating an exposed position seriously.
Fog and low cloud can create atmospheric photographs when conditions remain safe, but reduced visibility can also make movement and navigation harder. Prioritize safe access over finding an unusual angle.
What About Drone Photography?
Drone photography is separate from ordinary handheld photography and is subject to Swiss aviation rules. The Swiss Federal Office of Civil Aviation states that pilots must check geographical flight restrictions before each flight. Use the FOCA geographical flight restrictions guidance and the current official drone map before operating a drone.
Do not assume that being allowed to take a photograph from a public viewpoint automatically means a drone can legally be launched or flown there.
Post-Processing and Editing Techniques
Post-processing can help you reproduce what attracted you to the scene without making the landscape look artificial. Start with exposure, white balance, highlights, shadows, and contrast before making strong color adjustments.
If the sky is close to overexposure, reducing highlights can restore some tonal separation when detail was recorded in the file. Shadows can be lifted carefully, but pushing them too far may reveal noise. RAW files normally give you more adjustment flexibility than JPEG files.
Cropping and straightening can improve a photograph when the horizon is tilted or when an edge contains a distraction. Use sharpening carefully and judge the image at normal viewing size rather than applying maximum sharpening simply because fine texture is present.
A polarizing filter used while shooting can reduce certain reflections and strengthen colors in some situations. During editing, avoid trying to reproduce that effect simply by pushing saturation too far.
Thoughtful editing should strengthen the light, color, and composition you captured on Monte San Salvatore without making the landscape look disconnected from the conditions you actually photographed.
Monte San Salvatore is especially useful for photographers because one summit provides both sweeping panoramas and smaller landscape details. A wide lens can establish the scene, a telephoto can isolate distant layers, and changing light can produce very different photographs from the same viewpoint. For current viewpoint information, consult the official Monte San Salvatore panorama page before your visit.
Frequently Asked Questions
What is the Monte San Salvatore viewpoint?
Monte San Salvatore is a 912-meter mountain overlooking Lugano and Lake Lugano in Ticino, Switzerland. Its summit area includes several panoramic viewpoints. Official visitor information highlights the Capodoro Terrace and the church-roof lookout for wide views.
What are the best photography tips for Monte San Salvatore?
Start with a wide establishing image, then use a longer focal length for distant ridges and villages. Watch bright highlights in the sky, include foreground elements when they improve depth, try several viewpoints, and plan your shooting time around both the light and the funicular schedule.
Are there photography restrictions at Monte San Salvatore?
Official visitor material actively promotes taking photographs from the panorama, but you should still follow current onsite signs and staff instructions. Drone photography is regulated separately under Swiss aviation rules, so drone pilots must check current FOCA flight restrictions before every flight.
What is the best time of day to photograph Monte San Salvatore?
Late-afternoon and golden-hour light can produce warm color, long shadows, and stronger texture. Overcast weather can be excellent for details. The best practical time also depends on access, so compare the day’s light with the official funicular operating hours.
Can I take the funicular to Monte San Salvatore for sunrise photography?
Not on the published 2026 daytime timetable. The listed operating periods begin at 9:00, which is well after sunrise. Do not assume early access is available. Check the current official timetable and use only lawful, open access routes.
What camera gear should I bring?
A camera or smartphone is enough for a basic visit. A wide or standard zoom covers most panoramic scenes, while a telephoto helps isolate distant subjects. A lens cloth, spare battery, optional polarizing filter, and tripod for low-light work can also be useful.
What safety considerations should photographers remember?
Do not move onto dangerous edges for a better angle, and leave exposed summit or ridge areas when thunderstorms threaten. MeteoSwiss specifically advises avoiding exposed mountain terrain during thunderstorms. Fog, wet surfaces, and low visibility can also increase risk.
Sources
- Ticino Turismo: Funicular Monte San Salvatore – summit elevation, panorama, viewpoints, and destination information.
- Monte San Salvatore: Panorama – official panorama and Capodoro Terrace information.
- Monte San Salvatore: Timetable and Fares – current operating periods, journey information, and fares.
- MeteoSwiss: Thunderstorm Safety – official Swiss guidance for thunderstorms and exposed terrain.
- Swiss Federal Office of Civil Aviation: Geographical Flight Restrictions – current drone flight-restriction guidance.
- Adobe: Golden Hour Photography – practical guidance on low-angle golden-hour light.