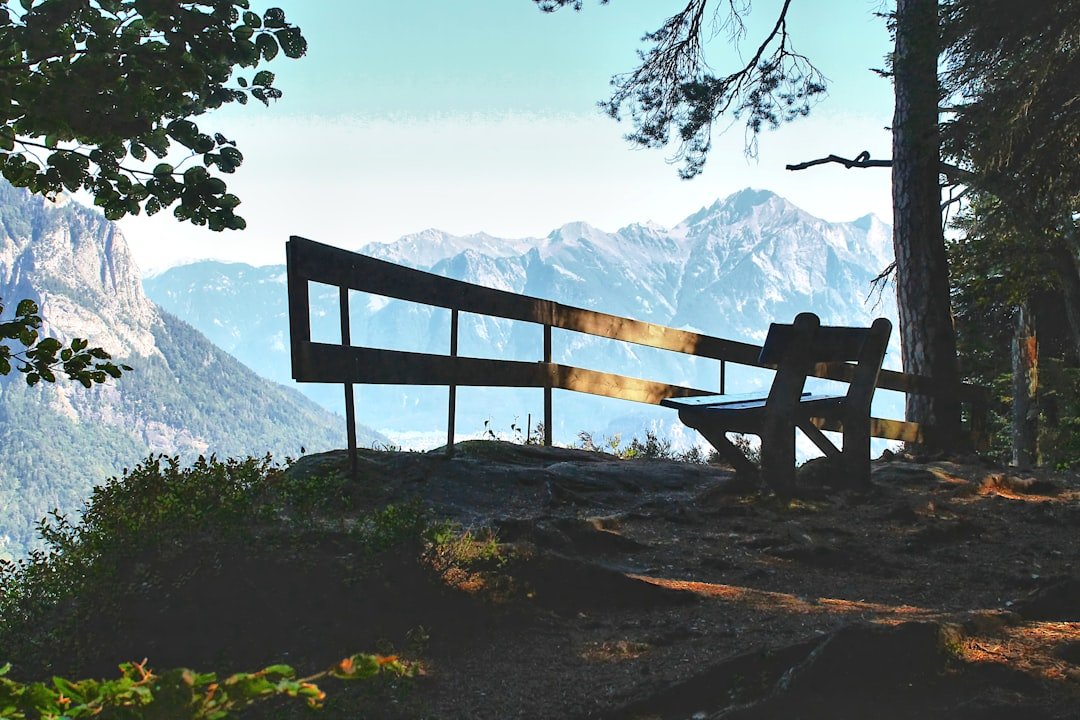
The Swiss National Park offers photographers a rare combination of alpine valleys, forests, high mountain passes, wildlife, and largely undisturbed natural processes. Founded in 1914, it is the oldest national park in the Alps and covers about 170 square kilometres, or roughly 42,000 acres. Photography can be highly rewarding here, but successful shooting starts with understanding the park’s strict protection rules, trail conditions, changing mountain weather, and the amount of hiking required to reach each viewpoint.
Quick Answer
For the best Swiss National Park photography, choose a verified route such as Val Trupchun, Margunet, Macun, or Fuorcla Val dal Botsch, carry both wide-angle and telephoto options, use soft morning or afternoon light, and stay strictly on marked paths. Always check current trail conditions and remember that the park is closed to visitors in winter.
Key Takeaways
- The Swiss National Park was founded in 1914 and protects about 170 km² of alpine wilderness.
- Val Trupchun is one of the most practical choices for combining wildlife and landscape photography.
- Macun offers exceptional high-alpine scenery and numerous lakes, but reaching it requires a long, difficult mountain hike.
- A wide-angle lens is useful for landscapes, while a telephoto lens lets you photograph wildlife without approaching it.
- Leaving marked paths or designated rest areas is strictly forbidden, including when looking for a better camera position.
- Drones, fires, cycling, bathing, and dogs are prohibited inside the park.
- The Swiss National Park is closed to visitors in winter, so winter photography must be done from legal locations outside the closed park area.
At a Glance
| Time Required | About 2 hours for shorter routes to 8 hours or more for demanding high-mountain photography hikes |
| Difficulty | Easy to difficult, depending on the official trail selected |
| Tools Needed | Camera, wide-angle or standard lens, telephoto lens for wildlife, spare battery, memory card, weather protection, hiking equipment, and optional tripod or binoculars |
| Cost | Varies with transport, parking, food, accommodation, equipment, and whether you book a guided excursion |
Know the Photography Rules Before You Go
The Swiss National Park is more strictly protected than a typical recreation area. According to the park’s official protection regulations, visitors must remain on marked paths and designated resting areas. That rule also applies to photographers. A promising foreground, wildlife sighting, or better angle does not permit you to step away from the trail.
Warning: Do not leave marked paths or designated rest areas for a photograph. Visitors are permitted in the park only during the defined daytime period. Dogs are prohibited even on a lead, bathing is prohibited, fires are prohibited, and cycling or flying devices such as drones are not allowed. The park is also closed to visitors during winter.
These rules affect how you plan photographs. Scout compositions from the trail, use a longer lens instead of approaching wildlife, and place a tripod only where it does not require stepping into protected terrain. Night and astrophotography inside the park are not normal visitor activities because entry is restricted to daytime.
Choosing the Right Equipment
You do not need the largest possible camera kit to produce strong images in the Swiss National Park. In fact, lighter equipment can make a long mountain hike much easier. A mirrorless camera, DSLR, or capable compact camera can all work. What matters most is choosing lenses and accessories that match the subjects you expect to photograph.
Wide-Angle or Standard Lens
A wide-angle lens is useful for mountain valleys, forests, lakes, and dramatic foreground compositions. A standard zoom can be more versatile when you want to move between broad landscapes and tighter details without changing lenses frequently.
Telephoto Lens
A telephoto lens is particularly valuable for wildlife. The park is home to species including ibex, chamois, marmots, red deer, and golden eagles. Using a longer lens lets you fill more of the frame while maintaining an appropriate distance and avoiding unnecessary disturbance.
The park’s official animal information also recommends patience and notes that binoculars or telescopes are useful companions for wildlife observation.
Tripod, Filters, Batteries, and Protection
A tripod can help with low-light landscapes, careful compositions, and longer exposures. A polarizing filter can reduce some reflections and deepen contrast in suitable conditions, while a neutral-density filter can allow slower shutter speeds in bright light.
Carry at least one spare battery and enough memory-card capacity for the day. Mountain temperatures can change quickly, and cooler conditions may reduce battery performance. A simple rain cover or waterproof bag also helps protect electronics during sudden showers.
Pro Tip: If your route is long, carry fewer lenses and choose equipment that covers both landscape and wildlife needs. A lighter bag makes it easier to concentrate on photography after several hours of hiking.
Finding the Best Locations
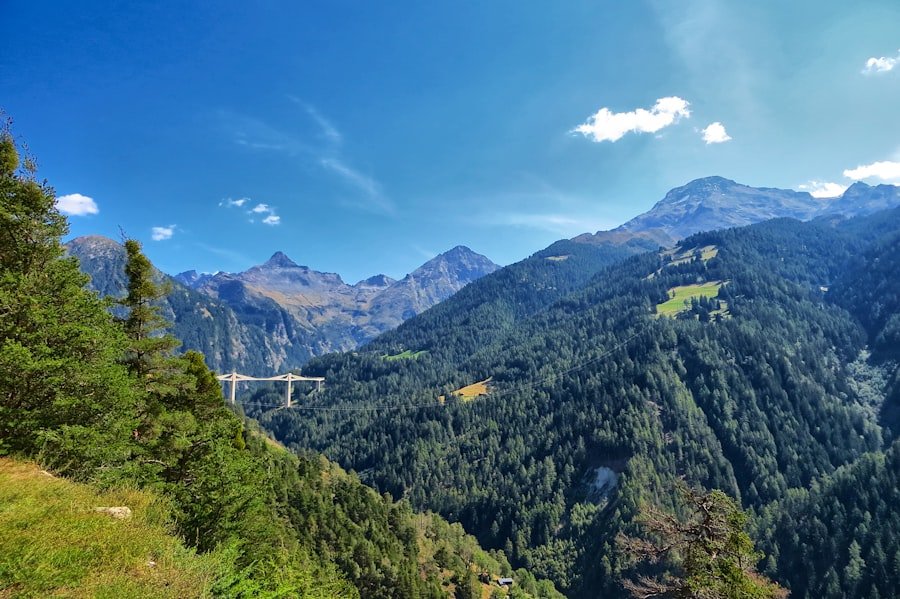
The best photography location depends on the type of image you want and how demanding a hike you can safely manage. The official Swiss National Park walking-route directory should be checked before every visit because trail conditions and closures can change.
| Location | Approx. Route | Photography Strength |
| Val Trupchun | 14 km, about 4 hours for Alp Trupchun route | Wildlife, valley scenery, forests, mountain backgrounds |
| Margunet | 8 km, about 3 hours | Mountain views, forests, geology, possible bird observations |
| Macun | 21 km, about 8 hours, difficult | High-alpine scenery, numerous lakes, rock formations |
| Fuorcla Val dal Botsch | 18 km, about 6 hours 45 minutes | High pass, broad alpine views, layered mountain compositions |
| Champlönch | 5 km, about 2 hours | Mountain-pine forest and Pass dal Fuorn scenery on a shorter outing |
Val Trupchun for Wildlife and Landscapes
Val Trupchun is one of the park’s best-known areas for observing animals and is a strong choice when you want to combine wildlife and mountain photography. The valley gives you a mixture of forests, open slopes, rocky terrain, and distant peaks that work well for both wide views and telephoto compositions.
Wildlife sightings are never guaranteed, so treat them as an opportunity rather than the only purpose of the hike. Watch carefully from legal viewing areas and allow animals to behave naturally.
Margunet for a Shorter Mountain Photography Route
Margunet offers a useful balance between hiking time and scenic variety. The official route is about 8 km and normally takes around three hours. It is a practical option when you want high-quality alpine photographs without committing to one of the park’s longest routes.
Macun for High-Alpine Lake Photography
Macun is one of the most distinctive photography areas in the park. The Swiss National Park describes the area as containing 23 lakes, crystalline bedrock, and unusual alpine vegetation. However, the official route is a difficult high-mountain excursion of about 21 km that takes roughly eight hours and requires surefootedness, suitable equipment, and a head for heights.
Do not choose Macun simply because the photographs look appealing. Your hiking experience and the day’s weather should determine whether the route is suitable.
Fuorcla Val dal Botsch for High Pass Views
The Fuorcla Val dal Botsch route crosses a high pass at about 2,676 metres and provides opportunities for wide mountain compositions, overlapping ridges, and changing perspectives as elevation increases. The full route is demanding, so photographers should allow enough time for both hiking and careful shooting.
The strongest viewpoint is not always the most distant one. In a protected mountain landscape, a good photograph often comes from studying the light, foreground, and wildlife from the trail you are already allowed to use.
Timing Your Shots
| Time / Condition | Best Uses | Photography Approach |
| Early morning | Soft landscapes, quieter trails, wildlife observation | Use gentle side light and watch shutter speed in darker valleys |
| Midday | Forests, details, geology, documentary images | Protect highlights and look for shade or reflected light |
| Late afternoon | Layered mountain scenery and warm directional light | Use side lighting to reveal texture and depth |
| Overcast | Wildlife, forests, plants, intimate landscapes | Use the soft light to preserve detail and control contrast |
Soft morning and late-afternoon light can add texture to mountain slopes and make the landscape feel more three-dimensional. However, photography timing in this park is not simply a matter of chasing sunrise or sunset. Visitor access is restricted to the park’s defined daytime period, so your route must fit within those rules.
Wildlife activity varies by species, season, weather, location, and disturbance. Instead of assuming that every animal will appear at a particular hour, move quietly, watch from the marked trail, use binoculars when helpful, and give yourself enough time to observe before raising the camera.
Embracing Natural Light
Natural light changes quickly in mountain terrain. A valley can be shaded while nearby peaks remain in full sun, and clouds can soften a scene within minutes. Learn to react to those changes instead of waiting only for perfect golden light.
Overcast conditions can be excellent for wildlife, forests, plants, and close landscape details because the softer light reduces deep shadows. Bright sunshine can produce stronger colours and sharper contrast but may also create clipped highlights on pale rock, clouds, or reflective water.
Use your histogram or highlight warning when available. If bright areas are losing detail, reduce exposure slightly and recover darker areas later rather than allowing important highlights to become completely white.
Use Backlighting Carefully
Backlighting can create rim light around fur, leaves, or grasses and can turn mountain layers into dramatic silhouettes. Keep the sun just outside the frame or partly hidden by terrain when flare becomes distracting. A lens hood can also help.
Useful Camera Settings
For Landscapes
Start with a low ISO when you have enough light. Apertures around the middle of your lens’s range often give a useful balance between depth of field and image quality. If the foreground and distant mountains both matter, focus carefully rather than automatically choosing the smallest possible aperture.
When using a tripod, you can lower the shutter speed for maximum image quality as long as wind is not moving grasses, leaves, or other important subjects.
For Wildlife
Wild animals can move suddenly, so shutter speed usually matters more than using the lowest possible ISO. Use continuous autofocus when tracking a moving subject and raise ISO when necessary to maintain a sufficiently fast shutter speed.
For a stationary animal, you may be able to use a slower shutter speed. For walking, running, or flying wildlife, increase shutter speed and shoot short bursts rather than filling the memory card with long sequences.
Composing Your Shots
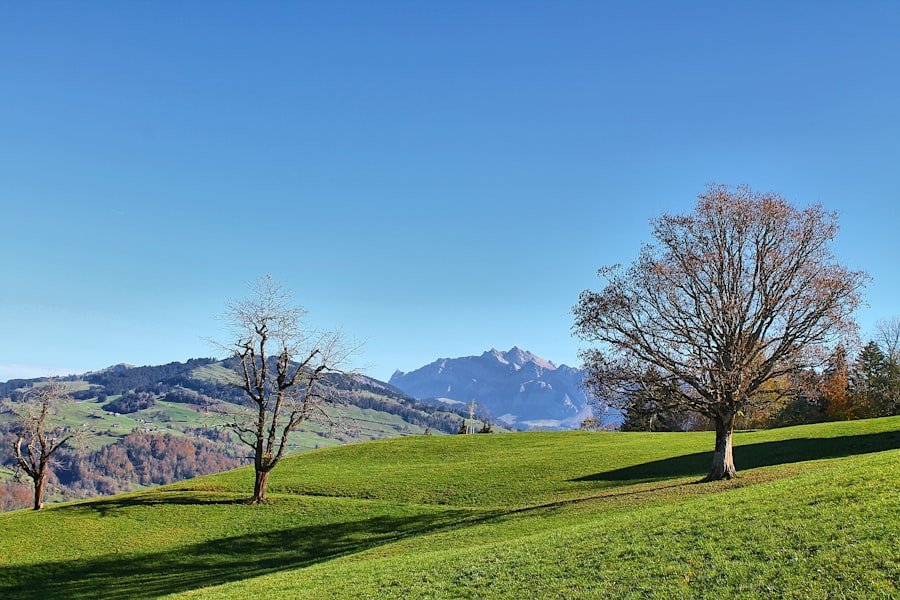
Strong composition matters more than simply recording a famous viewpoint. The Swiss National Park provides natural layers including trails, valleys, forests, rocky ridges, streams, and distant mountains. Use these elements to create a clear path for the viewer’s eye.
Use the Rule of Thirds as a Starting Point
Placing an animal, mountain peak, horizon, or other key subject away from the exact centre can create a balanced photograph. The rule of thirds is useful, but it is not mandatory. Symmetry, centred subjects, and large areas of negative space can also work when the scene supports them.
Look for Leading Lines
Marked trails, river channels, ridges, and rows of trees can lead the viewer into the frame. Because photographers cannot leave the path to search for foregrounds, learning to recognize compositions from legal trail positions is especially valuable here.
Add Foreground Carefully
Rocks, flowers, grasses, or sections of trail can provide scale and depth. Frame these elements from the marked path. Never step into vegetation, move natural objects, or pick plants to improve a composition.
Capturing Wildlife Responsibly
Wildlife photography in the Swiss National Park rewards patience. Ibex, chamois, marmots, red deer, golden eagles, and other species live in the protected landscape, but sightings depend on many factors and should never be forced.
Use a telephoto lens rather than trying to get physically closer. If an animal changes direction, stops feeding, repeatedly watches you, or otherwise appears affected by your presence, avoid adding pressure. Remaining still and quiet often produces better images than following an animal.
Binoculars can help you locate wildlife and study behaviour before you point a large lens in its direction. They are particularly useful when animals are too distant for meaningful photographs but still provide an excellent observation experience.
Note: A wildlife encounter does not have to produce a close-up photograph to be successful. Environmental portraits that show an animal within its mountain habitat can tell a stronger story while allowing you to remain farther away.
Respecting the Environment
Conservation is central to the Swiss National Park. The official rules require visitors to stay on marked paths and designated resting areas, leave natural objects where they are, and avoid disturbing animals, plants, habitats, and natural processes.
Do not pick flowers, collect stones, move branches for a photograph, enter water, or place equipment away from the permitted route. Pack out all litter and keep food secure. Photography should document the landscape without altering it.
Do not bring a drone. The park specifically prohibits flying devices, including drones. Dogs are also prohibited, even on a lead, and fires are not allowed.
Plan for Mountain Weather and Limited Mobile Coverage
Photography equipment is only one part of your preparation. The park warns that many hikes involve considerable elevation change, extend above the tree line, and pass through areas without reliable mobile-phone coverage. Sudden weather changes and falling temperatures are also possible.
Before leaving, check the official trail conditions, review the weather forecast, choose a route suitable for your fitness and experience, and carry appropriate clothing, water, food, navigation information, and emergency essentials.
The free Swiss National Park app can provide maps and park information offline, which is useful when mobile coverage disappears.
Choose the Right Season
Spring access develops gradually. According to the park, lower and sunnier paths may become accessible toward the end of May, while trails at higher elevations can remain snow-covered until much later in June.
July and August generally provide broad access to the trail network, longer days, and extensive alpine vegetation. Autumn brings shorter days, colder nights, changing vegetation, and the possibility of early snow or frozen paths.
Winter is different. The official winter guidance states that the Swiss National Park is closed to visitors during winter. Skiers, snowboarders, snowshoe walkers, and photographers cannot enter the protected park simply because snow has created attractive scenery.
Getting to Photography Trailheads
The Swiss National Park covers areas of the Lower and Upper Engadin and Val Müstair. The Pass dal Fuorn road runs through the park, and many trail starting points can be reached by public transport or car.
The park recommends train and bus travel where practical. Using public transport can also make one-way hikes easier because you do not always need to return to the same parking place. Parking spaces along the Pass dal Fuorn road are limited, so check the official arrival information before travelling.
If photography is your main goal, choose one route and a small number of subjects for the day rather than trying to visit several distant viewpoints. A planned route gives you more time to watch changing light, study wildlife behaviour, and compose carefully without rushing.
Frequently Asked Questions
What is the Swiss National Park?
The Swiss National Park is a strictly protected alpine wilderness in Graubünden, Switzerland. It was founded in 1914, making it the oldest national park in the Alps, and it covers about 170 square kilometres.
What are good photography locations in the Swiss National Park?
Verified options include Val Trupchun for wildlife and valley scenery, Margunet for a shorter scenic mountain route, Macun for high-alpine lakes, Fuorcla Val dal Botsch for high-pass views, and Champlönch for mountain-pine and Pass dal Fuorn scenery.
What photography equipment should I bring?
A wide-angle or standard lens works well for landscapes, while a telephoto lens is useful for wildlife. Spare batteries, memory cards, weather protection, and appropriate hiking equipment are important. A tripod and polarizing filter can also be useful if you can carry them comfortably.
When is the best light for photography?
Morning and late-afternoon light often gives mountain landscapes more depth and texture, while overcast conditions can work especially well for wildlife, forests, plants, and detailed scenes. Your timing must always remain within the park’s permitted daytime access period.
Are there photography restrictions in the Swiss National Park?
Yes. Photographers must remain on marked paths and designated resting areas and must not disturb wildlife or vegetation. Natural objects cannot be removed. Visitor access is restricted to daytime, and several additional protection regulations apply.
Can I fly a drone in the Swiss National Park?
No. The park’s protection regulations prohibit flying devices, including drones. Plan all aerial-style compositions from legal ground-level viewpoints instead.
What wildlife can I photograph?
The park supports wildlife including ibex, chamois, marmots, red deer, golden eagles, and many other species. Sightings are never guaranteed. Use a telephoto lens or binoculars and observe animals without approaching or disturbing them.
Can I photograph inside the Swiss National Park in winter?
No. The Swiss National Park is closed to visitors during winter. Entry is prohibited during the closure, including for skiing, snowshoeing, or photography. Winter landscapes should be photographed from legal locations outside the closed park area.
Sources
- Swiss National Park: Basis and Impressions — park history, size, protection status, and marked trail network.
- Swiss National Park Protection Regulations — marked-path requirements, daytime access, dogs, fires, bathing, drones, cycling, and winter closure.
- Swiss National Park Walking Routes and Conditions — official trails, route lengths, hiking times, difficulty, and current conditions.
- Swiss National Park Visitor Information — mountain preparation, mobile coverage, app, access, and general visit planning.
- Swiss National Park Animals — wildlife observation guidance and information about park species.
- Swiss National Park Winter Information — winter closure and seasonal access restrictions.