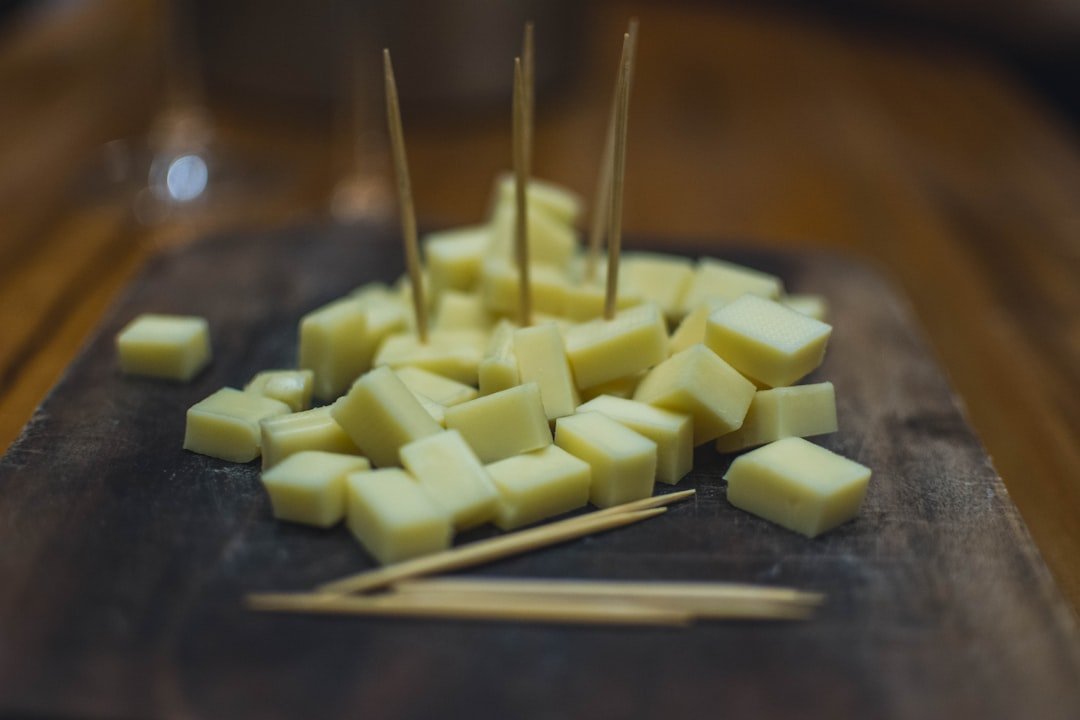
Chocolate peanut butter fudge combines deep chocolate flavor with creamy, nutty peanut butter in a dense candy that is easy to portion, chill, and share. The most reliable version uses a cooked sugar-and-evaporated-milk base, then adds chocolate, peanut butter, marshmallows, and vanilla after the pan comes off the heat. The result should be smooth, rich, and firm enough to cut cleanly.
Quick Answer
For dependable chocolate peanut butter fudge, boil sugar, evaporated milk, butter, and salt for 4–5 minutes, stirring constantly. Remove it from the heat, stir in marshmallows, semi-sweet chocolate chips, peanut butter, and vanilla, then spread it in an 8-inch pan and chill for 2 hours.
At a Glance
| Time Required | 7 minutes prep, 5 minutes cooking, plus 2 hours chilling |
| Difficulty | Easy |
| Tools Needed | Heavy saucepan, 8-inch square pan, foil, spoon or spatula |
Ingredients for Chocolate Peanut Butter Fudge
A consistent ingredient ratio matters because fudge depends on the balance between sugar, dairy, fat, chocolate, and peanut butter. The amounts below follow the Nestlé Toll House Peanut Butter Fudge recipe, which combines semi-sweet chocolate with peanut butter in an 8-inch pan.
Measure everything before you start. Once the cooked mixture comes off the heat, the remaining ingredients need to be stirred in promptly.
| Ingredients | Measurements |
|---|---|
| Butter or margarine | 2 tablespoons |
| Granulated sugar | 1 1/2 cups |
| Evaporated milk | 2/3 cup |
| Miniature marshmallows | 2 cups |
| Vanilla extract | 1 teaspoon |
| Semi-sweet chocolate chips | 1 1/2 cups |
| Creamy or chunky peanut butter | 1 cup |
You will also need 1/4 teaspoon salt. If you want extra crunch, the source recipe allows 1/2 cup chopped peanuts as an optional topping.
How to Make Chocolate Peanut Butter Fudge Step by Step
The key is to cook the sugar mixture first and add the chocolate and peanut butter after removing the saucepan from the heat. Constant stirring during the boil helps prevent scorching, while vigorous stirring afterward melts the marshmallows and distributes the chocolate evenly.
)
- Prepare the pan. Line an 8-inch square baking pan with foil so you can lift the finished fudge out easily.
- Combine the cooked ingredients. Put the granulated sugar, evaporated milk, butter, and salt in a medium heavy-duty saucepan.
- Bring the mixture to a full rolling boil. Cook over medium heat while stirring constantly. A full rolling boil keeps bubbling even while you stir.
- Boil for 4–5 minutes. Continue stirring constantly for the full cooking period so the bottom does not scorch.
- Remove the saucepan from the heat. Do not continue boiling after this point.
- Add the marshmallows, chocolate, peanut butter, and vanilla. Stir vigorously for about 1 minute, or until the marshmallows have melted and the mixture looks evenly blended.
- Transfer it to the pan. Spread the hot fudge evenly in the prepared 8-inch pan. If using chopped peanuts, press them lightly over the top.
- Chill until firm. Refrigerate for 2 hours before lifting the fudge from the pan and removing the foil.
- Cut into pieces. Use a sharp knife and wipe the blade between cuts if the edges begin to drag.
The finished fudge should hold its shape when cut but still feel soft and creamy when bitten. If it is still very soft after the full chilling period, give it more refrigerator time before slicing.
Tips for Smooth, Firm Chocolate Peanut Butter Fudge
Good fudge depends more on timing and preparation than complicated equipment. Measure first, keep the mixture moving while it boils, and avoid making ingredient substitutions that change the sugar-to-liquid ratio.
- Use a heavy saucepan. A thicker base distributes heat more evenly and reduces the chance of scorching the sugar and milk.
- Wait for a true rolling boil. Start the 4–5 minute cooking period only after the mixture is boiling steadily.
- Stir constantly while boiling. Sugar and dairy can burn against the bottom of the pan if left still.
- Have everything ready. Measure the chocolate, marshmallows, peanut butter, and vanilla before you begin cooking.
- Work quickly after removing the pan from the heat. The mixture starts thickening as it cools.
- Give the fudge its full chilling time. Cutting too soon can produce soft, misshapen squares.
Pro Tip: For cleaner squares, lift the chilled slab from the pan first instead of cutting directly inside it. Use a sharp knife and clean the blade between long cuts.
Chocolate Peanut Butter Fudge Variations
The safest variations are those that do not substantially change the liquid or sugar ratio. You can change texture and presentation without rebuilding the basic candy formula.
Use Chunky Peanut Butter
The source recipe specifically allows chunky or regular peanut butter. Chunky peanut butter gives each square more peanut texture without changing the basic preparation method.
Add Chopped Peanuts
For a stronger peanut flavor and more crunch, press up to 1/2 cup chopped peanuts into the surface before chilling. This also makes it easy to see that the candy contains peanuts.
Add a Small Finishing Touch
A light sprinkle of flaky salt can create a stronger sweet-salty contrast. Keep additions modest so they do not overpower the chocolate and peanut butter or make the fudge difficult to cut.
Try a Swirled Presentation
If you prefer visible chocolate-and-peanut-butter swirls rather than one blended mixture, make sure you use a recipe designed specifically for separate fudge components. Simply dividing this cooked recipe without adjusting the ingredients can produce uneven setting.
Serving Suggestions for Chocolate Peanut Butter Fudge
Because chocolate peanut butter fudge is rich and sweet, small pieces usually work best. Arrange the squares in a single layer or stack them with parchment between layers so their edges stay neat.
)
For a dessert platter, serve the fudge alongside fresh strawberries, banana slices, or other fruit. The fruit adds freshness against the dense candy without changing the recipe itself.
Fudge also works well with unsweetened coffee or tea, especially when the pieces are small. For parties or holiday trays, place individual pieces in small paper candy cups to make serving less messy.
How to Store and Freeze Chocolate Peanut Butter Fudge
Store this fudge tightly wrapped or in a sealed container in the refrigerator. Nestlé’s Carnation fudge storage guidance recommends refrigerating wrapped fudge for up to one week or freezing it for up to eight weeks.
For freezing, wrap the pieces in waxed paper, overwrap them with foil, and place them in a heavy-duty resealable freezer bag. Keeping air away from the surface helps protect the candy’s texture and flavor.
When you are ready to serve frozen fudge, remove the wrapping before thawing. Let the pieces thaw before arranging them on a serving plate so condensation does not become trapped inside the wrapping.
Is Chocolate Peanut Butter Fudge Healthy?
Chocolate peanut butter fudge is best treated as a dessert rather than a health food. Peanut butter contributes some protein and fat, but the finished candy also contains substantial sugar from the granulated sugar, chocolate, marshmallows, and other sweet ingredients.
The FDA’s guidance on added sugars notes that desserts and sweets are major sources of added sugar and that added sugars should be limited as part of an overall balanced diet.
Chocolate does contain naturally occurring compounds called flavanols. However, the National Institutes of Health review of chocolate health claims explains that research on cocoa and health does not mean highly sweetened chocolate foods should be viewed as health foods.
Note: If you have been advised to restrict added sugar, saturated fat, or total calories for a medical reason, follow the eating plan recommended by your healthcare professional.
A practical approach is simply to cut smaller squares and enjoy fudge as an occasional sweet rather than relying on it for the nutritional benefits associated with peanuts or cocoa.
Giving Chocolate Peanut Butter Fudge as a Gift
Homemade fudge works well as a holiday, birthday, host, or thank-you gift because it can be prepared ahead and portioned neatly. Place chilled pieces in a clean tin or food-safe box with parchment between layers.
If the recipient will not eat it immediately, include a short storage note explaining that the fudge should remain refrigerated. For longer storage, it can be frozen using the wrapping method described above.
Warning: This recipe contains peanuts and milk, which the FDA identifies as major food allergens. When gifting fudge, tell the recipient what it contains and check the labels of your chocolate and other packaged ingredients for additional allergens.
A handwritten ingredient card is especially useful when the fudge is going to an office, school event, party, or household where you do not know everyone’s food-allergy needs.
The History of Fudge
Fudge became closely associated with American college life in the late 19th century, but the exact identity of its inventor is uncertain. The familiar story that fudge was created when someone accidentally ruined a batch of caramel is widely repeated, but it should not be treated as established history.
Vassar College’s account of fudge history says Emelyn Battersby Hartridge, Class of 1892, has often been credited with inventing fudge, but the evidence does not support that simple version. Hartridge said she had obtained the recipe from a classmate’s cousin.
According to the Vassar account, Hartridge recalled that fudge was being sold in Baltimore in 1886. In 1888, she made 30 pounds for a Vassar senior auction. Fudge later became strongly associated with women’s colleges, where students made the candy for informal gatherings.
That documented history is more reliable than assigning the candy to one accidental kitchen mistake. What is clear is that fudge became an established American confection by the late 19th century and soon developed many flavor variations, including chocolate, nut, and peanut butter versions.
Key Takeaways
- This version uses evaporated milk, sugar, marshmallows, semi-sweet chocolate, and peanut butter rather than sweetened condensed milk.
- Boil the sugar mixture for 4–5 minutes while stirring constantly, then add the chocolate and peanut butter off the heat.
- Give the fudge a full 2-hour chill before cutting so the pieces hold their shape.
- Refrigerate wrapped fudge for up to one week or freeze it for up to eight weeks.
- When sharing or gifting the fudge, clearly disclose the peanut and milk allergens.
Frequently Asked Questions
What ingredients do I need to make chocolate peanut butter fudge?
You need 1 1/2 cups granulated sugar, 2/3 cup evaporated milk, 2 tablespoons butter or margarine, 1/4 teaspoon salt, 2 cups miniature marshmallows, 1 1/2 cups semi-sweet chocolate chips, 1 cup peanut butter, and 1 teaspoon vanilla extract. Chopped peanuts are optional.
How do I make chocolate peanut butter fudge?
Combine the sugar, evaporated milk, butter, and salt and bring them to a full rolling boil while stirring constantly. Boil for 4–5 minutes, remove the pan from the heat, stir in the marshmallows, chocolate chips, peanut butter, and vanilla, then spread the mixture in an 8-inch pan and chill for 2 hours.
How should I store chocolate peanut butter fudge?
Store chocolate peanut butter fudge tightly wrapped in the refrigerator for up to one week. For longer storage, wrap the pieces well and freeze them for up to eight weeks, then remove the wrapping before thawing.
Can I customize chocolate peanut butter fudge?
Yes. You can use chunky instead of creamy peanut butter, add chopped peanuts for extra crunch, or finish the top with a small amount of flaky salt. Avoid major changes to the sugar or liquid amounts unless you are following a recipe designed for that substitution.
Conclusion and Final Thoughts on Chocolate Peanut Butter Fudge
Chocolate peanut butter fudge is easiest to get right when you use one consistent formula and follow the cooking time closely. Prepare the ingredients before heating the saucepan, stir continuously during the boil, and give the finished pan enough refrigerator time to become firm.
Once you have the basic method down, small changes such as chunky peanut butter or chopped peanuts let you adjust the texture without making the recipe unnecessarily complicated. Keep the finished pieces refrigerated, and label the allergens clearly whenever you share them with someone else.
Sources
- Nestlé Toll House Peanut Butter Fudge: Ingredient quantities, preparation method, cooking time, chilling time, pan size, and optional peanuts.
- Nestlé Carnation FAQ: Refrigerator and freezer storage guidance for fudge.
- U.S. Food and Drug Administration: Food Allergies: Major food-allergen information for peanuts and milk.
- U.S. Food and Drug Administration: Added Sugars: Guidance on added sugars and sweets as dietary sources.
- NIH News in Health: Chocolate Health Claims: Evidence and limitations surrounding cocoa and chocolate health claims.
- Vassar College: Fudge Mania: Early documented fudge history, including Emelyn Hartridge and the 1888 Vassar senior auction.