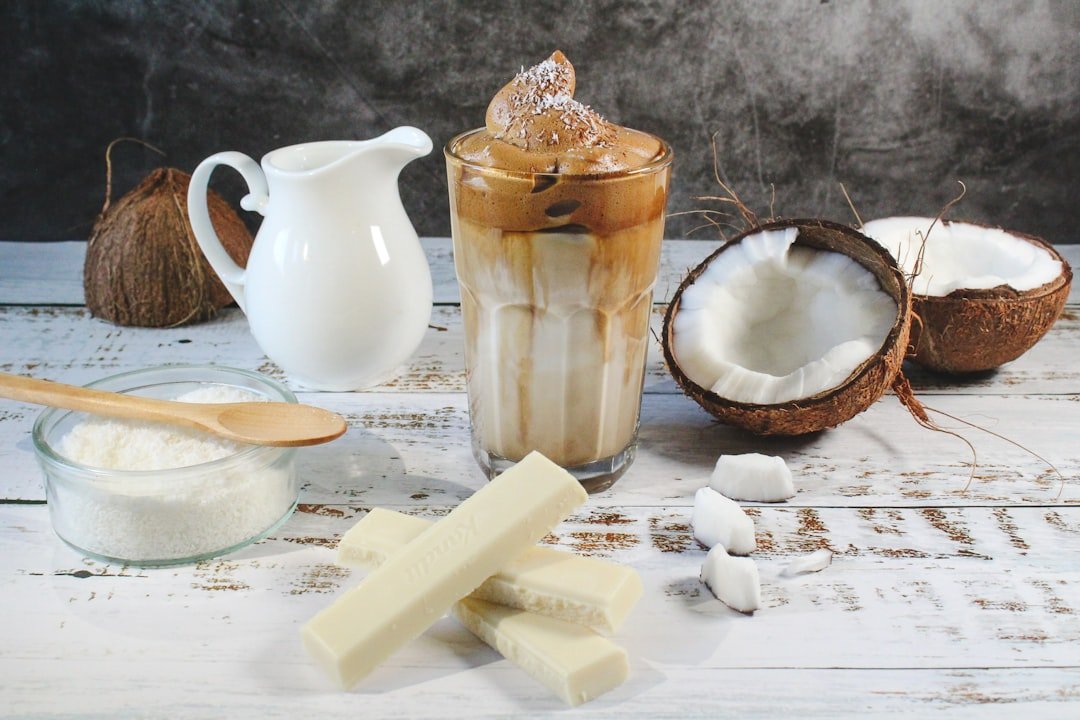
Homemade white chocolate is made by combining food-grade cocoa butter, powdered sugar, and milk powder, then refining the mixture until smooth and letting it set. Unlike dark and milk chocolate, it contains no nonfat cocoa solids, so its flavor is creamy, milky, and driven mainly by cocoa butter. The challenging part is not melting the ingredients; it is getting a fine texture while keeping moisture out.
Quick Answer
To make homemade white chocolate, melt food-grade cocoa butter gently, mix in very finely powdered sugar and whole milk powder, refine the mixture until as smooth as your equipment allows, then mold and set it. Keep all tools dry because moisture can make chocolate seize. Tempering is optional for a basic bar but improves gloss and snap.
At a Glance
| Difficulty | Easy to mix; moderate if you want a silky, well-tempered finish |
| Tools Needed | Digital scale, dry heatproof bowl, saucepan or double boiler, sieve, spatula, mold, and preferably a melanger or suitable food processor |
Ingredients for Homemade White Chocolate
The basic ingredients are cocoa butter, sugar, and milk solids. In the United States, the FDA standard of identity for white chocolate requires at least 20% cocoa butter, at least 14% total milk solids, at least 3.5% milkfat, and no more than 55% nutritive carbohydrate sweeteners.
For a practical benchmark, the 100 g batch below mirrors the emulsifier-free formulation used in a peer-reviewed study of white chocolate. That study used 26% cocoa butter, 30% whole milk powder, and 44% sucrose before refining.
| Ingredient | Amount | Purpose |
|---|---|---|
| Food-grade cocoa butter | 26 g | Forms the continuous fat phase and gives white chocolate its characteristic melt |
| Whole milk powder | 30 g | Adds milk solids, milkfat, creaminess, and dairy flavor |
| Finely powdered sugar | 44 g | Provides sweetness and part of the chocolate’s solid-particle structure |
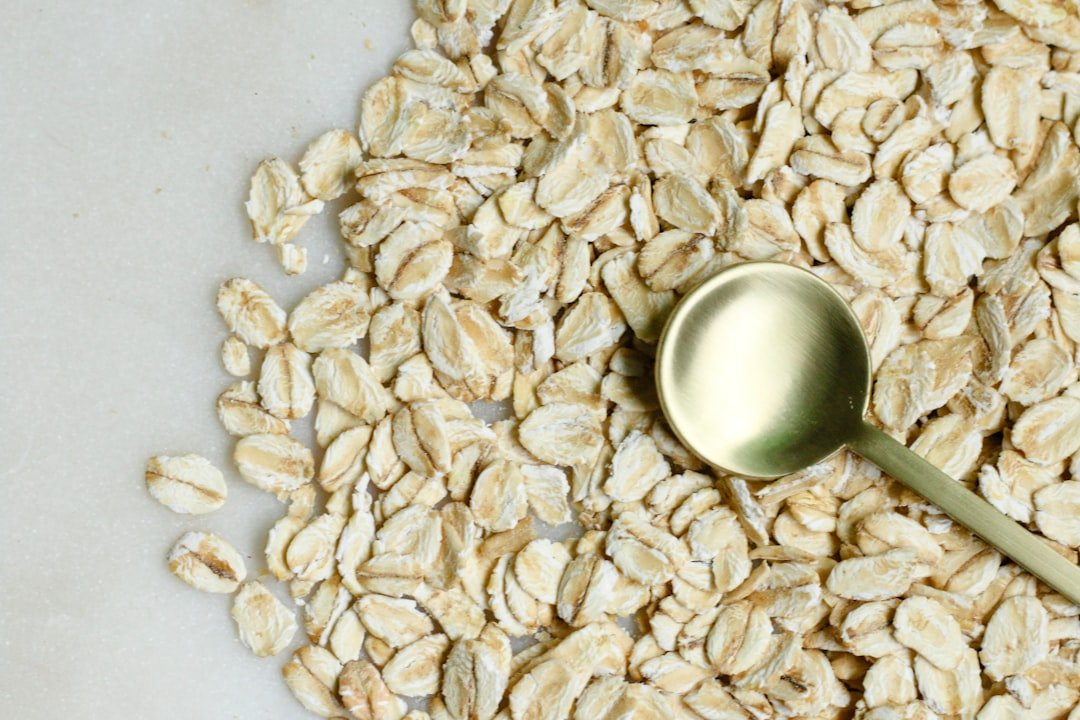
Use whole milk powder rather than liquid milk. Introducing liquid milk changes the water content dramatically and can make the cocoa-butter mixture thicken or seize. Whole milk powder also supplies milkfat that skim milk powder does not provide in the same amount.
Optional flavorings can include vanilla powder, an oil-soluble vanilla flavor, dry spices, or a small amount of finely ground salt. Water-based flavorings are less reliable because chocolate is very sensitive to moisture.
Step-by-Step Instructions for Making White Chocolate
)
The process has three main jobs: melt the cocoa butter without scorching it, disperse the dry ingredients evenly, and make those solid particles as fine as possible. A home batch can taste excellent without industrial machinery, but a simple whisk cannot reproduce the perfectly smooth texture of commercially refined chocolate.
Warning: Keep the bowl, spatula, mold, and other tools completely dry. Steam, wet utensils, fresh fruit juice, or water-based flavorings can make the chocolate suddenly become thick and grainy.
- Prepare the dry ingredients. Weigh the cocoa butter, whole milk powder, and sugar accurately. Grind the sugar very finely if needed, then sift the sugar and milk powder to remove lumps.
- Melt the cocoa butter gently. Place it in a dry heatproof bowl over a saucepan of gently simmering water. The bottom of the bowl should not touch the water. Stir until the cocoa butter has melted, then remove the bowl from the steam.
- Add the powdered ingredients gradually. Stir in the powdered sugar a little at a time, followed by the whole milk powder. Mix thoroughly after each addition so the dry particles become evenly coated with cocoa butter.
- Refine the mixture. Sugar does not simply dissolve into cocoa butter. Chocolate is a suspension of fine solid particles in fat, so particle size determines whether the finished bar feels silky or gritty. A chocolate melanger gives the best home result. A suitable food processor can reduce clumps, but it may not reach commercial smoothness.
- Flavor if desired. Once the mixture is uniform, add only dry or oil-compatible flavorings. Avoid fresh juice, liquid milk, honey, maple syrup, and other water-rich additions if you want the mixture to set like a chocolate bar.
- Mold and set. Pour the mixture into a clean, dry chocolate mold or onto parchment. Tap the mold gently against the counter to release trapped air, then let the chocolate set in a cool, dry place. If your room is too warm, chill it in a well-covered container to limit moisture and odor absorption.
A successful batch should become firm enough to release from the mold and should not have pools of separated oil. Its smoothness will depend heavily on how finely you ground and refined the sugar and milk powder.
Do You Need to Temper Homemade White Chocolate?
You can make a basic homemade bar without tempering, but tempering gives cocoa butter a more stable crystal structure. That usually means better gloss, a cleaner snap, easier release from rigid molds, and better resistance to fat bloom.
One commonly used white-chocolate tempering method heats finished white chocolate to about 100°F, cools it to about 82°F, and brings it back to about 88°F for working. Formulations differ, so treat these temperatures as a practical guide rather than a guarantee for every homemade recipe.
Tips for Working with White Chocolate
| Tip | Description |
|---|---|
| Use high-quality ingredients | Choose food-grade cocoa butter, fresh whole milk powder, and finely powdered sugar. Off-flavors are easy to notice because white chocolate contains no cocoa solids to mask them. |
| Avoid overheating | Use gentle indirect heat. Excess heat can damage the delicate flavor and makes temperature control harder if you plan to temper the chocolate. |
| Keep water out | Dry all equipment before you start and keep steam away from the bowl. Small amounts of moisture can make melted chocolate thicken and seize. |
| Temper for a polished finish | Tempering is most useful when you want a glossy bar, a cleaner snap, or chocolate that releases neatly from firm molds. |
| Store properly | Keep the finished chocolate airtight, cool, dry, dark, and away from strong-smelling foods. |
The most overlooked step is refining. Powdered sugar may look extremely fine, but you can still feel particles on your tongue if they remain too large. Sifting prevents lumps; grinding or refining actually reduces particle size.
Pro Tip: Make the basic batch successfully before adding flavors or inclusions. If the plain chocolate sets correctly, it becomes much easier to identify whether a later problem came from the recipe or from an added ingredient.
Flavor Variations for Homemade White Chocolate
White chocolate has a mild flavor, so small additions can change it noticeably. The safest choices are ingredients that bring very little water into the mixture.
- Warm spices: Cinnamon and cardamom pair naturally with the creamy base.
- Freeze-dried fruit: Raspberry, strawberry, or other freeze-dried fruit can add tartness without the moisture of fresh fruit.
- Dried citrus: Finely grated dried orange or lemon zest can add a bright citrus note.
- Nuts: Pistachios, almonds, hazelnuts, or macadamias add crunch. Keep them dry before mixing them into the chocolate.
- Salt: A small amount of finely ground or flaky salt can balance the sweetness.
- Vanilla: Vanilla powder or an oil-compatible candy flavor is less likely to cause seizing than a water-rich flavoring.
You can stir dry inclusions into the mixture just before molding or sprinkle them directly into the mold. Keep pieces reasonably small so the finished bar cuts or snaps without falling apart.
Storage and Shelf Life of Homemade White Chocolate
)
Store homemade white chocolate in an airtight container in a consistently cool, dry, dark place. Protecting it from heat, humidity, light, and strong odors helps preserve both its texture and flavor.
Iowa State University Extension’s chocolate storage guidance gives about six months as a best-quality reference for properly stored white chocolate. Homemade chocolate is less standardized than a commercial product, however, so that figure should not be treated as a guaranteed shelf life for every home recipe.
Refrigeration is useful if your kitchen is too warm, but it can expose chocolate to condensation and refrigerator odors. Seal it well before chilling. When taking cold chocolate out, leaving it wrapped until it approaches room temperature helps reduce condensation on the surface.
Freezing is also possible when the chocolate is tightly wrapped and kept in an airtight container, but temperature changes can encourage bloom. Thaw it gradually while still wrapped.
What Is the White Coating on Stored Chocolate?
A pale or streaky coating is usually chocolate bloom. Fat bloom can occur when cocoa butter separates and recrystallizes after heat or temperature changes. Sugar bloom happens when moisture reaches the surface, dissolves some sugar, and leaves crystals behind as the water evaporates.
Bloom affects appearance and sometimes texture, but it does not automatically mean the chocolate is unsafe. If the chocolate smells normal and shows no signs of spoilage, bloomed chocolate can usually still be eaten or melted for baking.
Is Homemade White Chocolate Healthy?
Homemade white chocolate is still a confection made mainly from cocoa butter, sugar, and milk solids. Making it yourself gives you control over ingredient quality and sweetness, but that does not turn it into a low-calorie or low-sugar food.
You can adjust the formula, but large reductions or substitutions can change how the chocolate flows, tastes, and sets. In particular, honey, maple syrup, and other liquid sweeteners are not direct replacements for powdered sugar in this type of bar because their water content can interfere with the chocolate structure.
Nuts and dried or freeze-dried fruit can add protein, fiber, minerals, or other nutrients depending on the ingredient. They also change the flavor and texture, so treat them as inclusions rather than as a way to make the chocolate nutritionally equivalent to a different food.
Using Homemade White Chocolate in Recipes
Once set, homemade white chocolate can be eaten on its own or used anywhere its sweet, creamy flavor makes sense. Keep in mind that a homemade formula may melt and flow differently from commercial couverture or baking chocolate.
- Chop it into cookies, blondies, brownies, or muffins.
- Melt it gently and drizzle it over cakes, pastries, pancakes, or cookies.
- Break it into pieces for dessert boards or snack mixes.
- Make bark with dry nuts, freeze-dried fruit, crushed cookies, or other low-moisture toppings.
- Use it experimentally in ganache, truffles, mousse, or cheesecake, adjusting the recipe if its cocoa-butter and milk-solid balance behaves differently from store-bought white chocolate.
For dipping or coating, tempering becomes more valuable because a stable chocolate coating needs to set cleanly rather than remain soft or streaky.
Gift Ideas Using Homemade White Chocolate
Homemade white chocolate works well as a food gift because you can customize both the flavor and presentation. Let every batch set fully before wrapping it so trapped warmth does not create condensation.
For an assortment, make several small bars using dry additions such as pistachios, freeze-dried berries, cinnamon, or dried citrus. White-chocolate bark is another simple option: spread the mixture into a thin layer, add toppings, let it set, and break it into irregular pieces.
Pack the chocolate in food-safe wrapping or an airtight container and keep it away from heat during transport. If you use milk, tree nuts, peanuts, or other common allergens, clearly tell the recipient what the chocolate contains.
Troubleshooting Common Issues with Homemade White Chocolate
Most homemade white-chocolate problems come from particle size, moisture, heat, or unstable cocoa-butter crystallization. Start with the simplest cause before changing the ingredient ratio.
| Problem | Likely Cause | What to Do |
|---|---|---|
| Chocolate feels grainy | Sugar or milk-powder particles are too large | Sift the powders and refine the mixture longer. A melanger is much more effective than stirring alone. |
| Mixture suddenly becomes thick and pasty | Moisture or a water-based flavoring may have caused seizing | Do not add a few drops of water. For a bar, a badly seized batch is difficult to restore reliably; repurposing it into a sauce or ganache is often more practical. |
| Oil separates from the solids | The mixture is not evenly dispersed or has been handled poorly during mixing | Mix and refine thoroughly while the cocoa butter remains fluid, then mold only after the mixture is uniform. |
| Chocolate stays soft | Extra liquid, other fats, excessive warmth, or poor crystallization may be interfering with setting | Cool it in a dry environment. If it still remains soft, review any added flavorings or fats before changing the base recipe. |
| White or gray streaks appear | Fat or sugar bloom caused by unstable crystallization, heat, moisture, or temperature changes | The chocolate is usually still usable. Melt it for baking or remelt and temper it if appearance matters. |
Why Is Homemade White Chocolate Grainy?
Graininess does not necessarily mean the recipe failed. Sugar and milk solids remain as particles suspended in cocoa butter rather than simply dissolving into the fat. Commercial manufacturers use dedicated refining equipment to make those particles small enough that your tongue perceives the chocolate as smooth.
A home food processor may improve the texture, but a chocolate melanger is the more appropriate tool if silky texture is your priority. This is one of the main differences between a quick homemade bar and professionally produced chocolate.
Why Did the Chocolate Seize?
Seizing usually points to moisture. Steam from a double boiler, a wet spoon, liquid milk, fresh fruit, or a water-based extract can cause sugar particles to clump together and turn the flowing chocolate into a thick mass.
Preventing the problem is easier than fixing it. Dry every tool before starting and choose powdered, dried, freeze-dried, or oil-compatible additions whenever possible.
Key Takeaways
- White chocolate is a mixture of cocoa butter, milk solids, and sugar; it does not contain the nonfat cocoa solids found in dark or milk chocolate.
- For a verified 100 g benchmark formula, use 26 g cocoa butter, 30 g whole milk powder, and 44 g powdered sugar.
- Smoothness comes mainly from reducing sugar and milk-powder particle size, not from trying to dissolve them in cocoa butter.
- Moisture is one of the biggest causes of failure, so keep equipment dry and avoid liquid sweeteners or water-rich flavorings.
- Tempering is not essential for a basic homemade bar, but it improves gloss, snap, mold release, and resistance to bloom.
Conclusion and Final Thoughts on Making Homemade White Chocolate
Making homemade white chocolate is simple at the ingredient level but more technical at the texture stage. Accurate weighing, dry equipment, gentle heat, and proper refining make a much bigger difference than adding extra ingredients.
Start with the plain cocoa-butter, milk-powder, and sugar formula first. Once you can produce a firm, evenly mixed bar, experiment with dry spices, nuts, freeze-dried fruit, and other low-moisture flavors.
Frequently Asked Questions
What is white chocolate made of?
White chocolate is made primarily from cocoa butter, sugar, and milk solids. It does not contain the nonfat cocoa solids that give dark and milk chocolate their brown color and stronger cocoa flavor. Flavorings such as vanilla and emulsifiers may also be used depending on the formula.
How is white chocolate made?
White chocolate is made by mixing cocoa butter with sugar and milk solids, refining the solid particles until they are very fine, and then controlling cocoa-butter crystallization as the chocolate sets. Commercial production also uses refining and conching equipment to create the exceptionally smooth texture associated with finished chocolate.
Can you make white chocolate at home?
Yes, you can make white chocolate at home with food-grade cocoa butter, finely powdered sugar, and whole milk powder. Melting and mixing are straightforward, but achieving a commercial-level smooth texture is harder because professional chocolate makers use specialized equipment to reduce particle size.
What is the difference between white chocolate and regular chocolate?
The main difference is that white chocolate contains cocoa butter but no nonfat cocoa solids. Dark and milk chocolate contain cocoa solids, which provide their brown color and much of their familiar cocoa flavor. White chocolate therefore tastes sweeter, milkier, and more strongly of cocoa butter.
What can you use homemade white chocolate for?
Homemade white chocolate can be eaten as a bar, broken into bark, chopped into baked goods, or melted for drizzling and decorating desserts. It can also be tested in ganache, truffles, mousse, and similar recipes, although its melting behavior may differ from commercial white chocolate.
Why is my homemade white chocolate grainy?
Homemade white chocolate is usually grainy because the sugar or milk-powder particles are still large enough for your tongue to detect. Sifting removes lumps, but true smoothness requires further particle-size reduction. A chocolate melanger usually produces a smoother result than hand stirring alone.
Why does white chocolate seize?
White chocolate can seize when a small amount of moisture reaches the melted mixture and causes sugar particles to clump together. Common sources include steam, wet utensils, liquid milk, fresh fruit, and water-based flavorings. Keeping every tool and ingredient dry is the best prevention.
Sources
- U.S. Food and Drug Administration: U.S. standard of identity and composition requirements for white chocolate.
- Peer-reviewed white chocolate processing study: ingredient formulation, refining process, and particle-size information.
- Food Network tempering guide: practical temperatures for tempering white chocolate.
- Iowa State University Extension and Outreach: white-chocolate storage, best-quality shelf-life guidance, refrigeration, freezing, and bloom.