Updated on 2026-07-23
Curry leaves come from the tropical curry leaf tree, currently accepted by Kew as Bergera koenigii and still widely known as Murraya koenigii. You can propagate the plant from a stem cutting, although cuttings do not root as reliably as many common herbs. Careful stem selection, clean tools, warmth, humidity, and a free-draining medium give you the best chance of success.
Quick Answer
To propagate a curry leaf plant, take a healthy 4- to 8-inch semi-ripe cutting with at least three or four nodes. Remove the lower leaves, apply a labeled rooting hormone if desired, and place one or two nodes in fresh, free-draining medium. Keep it warm, humid, and in bright indirect light while roots develop.
Key Takeaways
- Choose healthy, partly firm growth with at least three or four nodes and no flowers, pests, or disease.
- Start one cutting in a small pot filled with fresh, airy propagation medium instead of rich compost.
- Rooting hormone can improve the odds, but it does not guarantee success.
- Keep the cutting warm and humid without leaving the medium soggy or the leaves constantly wet.
- Begin checking for roots after about six weeks. Some cuttings need eight to twelve weeks or longer.
- Prepare several cuttings because some may fail even under good conditions.
At a Glance
| Time Required | About 15–20 minutes to prepare; roughly 6–12 weeks or longer for rooting |
| Difficulty | Moderate; curry leaf cuttings can be inconsistent |
| Tools Needed | Clean pruners, 3- to 4-inch pot, propagation mix, rooting hormone, label, and clear bag or propagation dome |
| Cost | About $5–$20 if you already have a healthy mother plant; local prices vary |
Note: Kew accepts Bergera koenigii as the current botanical name. The synonym Murraya koenigii remains common in gardening references, research papers, nurseries, and recipes.
Tools and Materials You Need
- A healthy curry leaf mother plant
- Clean, sharp bypass pruners or scissors
- A 3- to 4-inch nursery pot with drainage holes
- Fresh propagation mix or a blend of equal parts coco coir or peat and perlite
- Commercial rooting powder or gel labeled for stem cuttings
- A pencil, chopstick, or dibber for making the planting hole
- A clear plastic bag, propagation dome, or covered propagator
- A plant label and waterproof marker
Wash the pot before use. Clean the cutting blades before you begin and again before taking cuttings from another plant. This reduces the chance of spreading pests, fungi, or bacteria into the fresh wound.
Pro Tip: Prepare three to five cuttings instead of relying on one. Published curry leaf trials have produced mixed success rates, even when researchers used controlled conditions and rooting hormones.
Selecting the Right Curry Leaf Stem for Propagation
Take the cutting while the plant is actively growing and temperatures are warm. Late spring through summer is practical in many climates. In a tropical climate, choose a period of active growth when the plant is not stressed by extreme heat, heavy rain, or drought.
Look for a healthy, non-flowering stem that grew during the current season. The base should have started to firm, while the upper portion should still bend without snapping. This stage is often called semi-ripe or semi-hardwood growth.
- Choose a stem about 4 to 8 inches long.
- Include at least three or four visible nodes.
- Avoid stems with flowers, fruit, yellow leaves, black spots, or distorted growth.
- Do not use a wilted shoot or one carrying scale, mites, mealybugs, aphids, or whiteflies.
- Avoid an extremely soft green tip or a thick, old branch with heavily hardened bark.
The Singapore government’s GardeningSG guidance also recommends healthy stems with several nodes and fresh-looking leaves for stem propagation.
Preparing the Curry Leaf Cutting
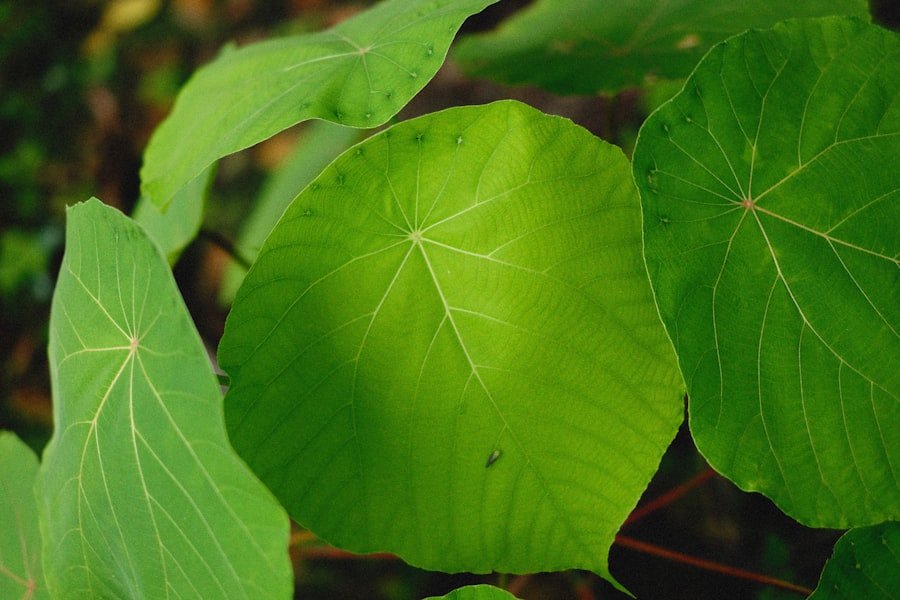
- Make the basal cut: Cut cleanly just below a node. Do not crush or split the stem.
- Remove lower leaves: Strip leaves from the lower half of the cutting. No leaf should be buried in the rooting medium.
- Retain limited top growth: Keep two or three small leaf groups near the top so the cutting can photosynthesize without losing excessive moisture.
- Apply rooting hormone: Lightly moisten the base if the label requires it, dip it into the product, and tap off the excess.
- Prevent contamination: Pour a small amount of hormone into a separate clean container. Do not dip the cutting directly into the original bottle.
Rooting hormone is optional, but studies on curry leaf cuttings have found improved rooting, growth, or survival with indole-3-butyric acid treatments. Home gardeners should use a ready-made consumer product exactly as directed rather than attempting to mix research-strength hormone solutions. See the 2023 curry leaf propagation study for research context.
Choosing the Right Pot and Rooting Medium
| Situation | Container | Recommended Medium |
|---|---|---|
| One cutting | 3- to 4-inch pot with drainage | Fresh propagation mix or equal parts coir or peat and perlite |
| Several cuttings | 5- to 6-inch pot with cuttings spaced around the edge | Coarse, airy rooting mix that drains promptly |
| Rooted plant | Pot about 1–2 inches wider than the root ball | Well-drained loamy potting mix with modest fertility |
A fresh cutting has no working root system, so the medium must hold some moisture while leaving enough air around the stem. Perlite, pumice, coarse sand, or similar amendments improve drainage. Avoid heavy garden soil, water-retentive mud, and rich compost during the rooting stage.
For established plants, the RHS recommends acidic-to-neutral, moisture-retentive but well-drained compost. The Missouri Botanical Garden plant profile also recommends well-drained soil and full sun to partial shade.
Warning: Do not add fertilizer, manure, or rich compost to the rooting pot. Excess salts and constantly wet organic matter can damage the stem or encourage rot before roots form.
Planting the Curry Leaf Stem
- Moisten the rooting medium evenly, then let excess water drain.
- Fill the pot without pressing the medium into a hard mass.
- Use a pencil or dibber to make a pilot hole. This prevents the medium from scraping away the rooting hormone.
- Insert the cutting deeply enough to place one or two bare nodes below the surface.
- Firm the medium gently around the stem so the cutting stands upright.
- Water lightly until a little water drains from the bottom.
- Add a label with the plant name and cutting date.
Do not push leaves below the surface. Buried leaves decay quickly and can spread rot to the stem.
Providing Warmth, Light, and Humidity
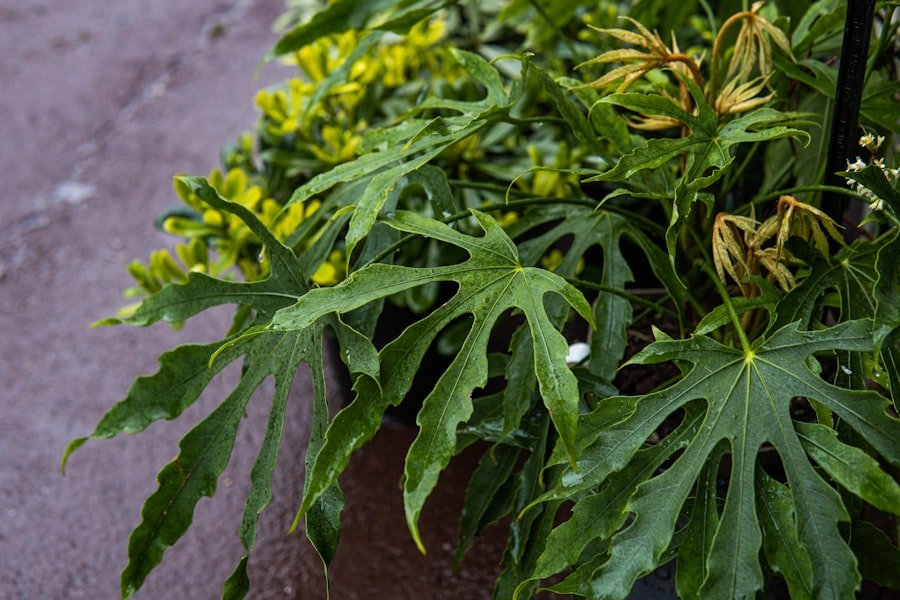
Place the pot in a warm location around 70–85°F (21–29°C). Keep it in bright, indirect light. Gentle early-morning sun may be suitable, but strong midday sun can overheat a covered pot and scorch the cutting.
Cover the pot with a clear bag or propagation dome to slow moisture loss. Use small stakes if needed to prevent the cover from resting on the leaves. Open or lift the cover briefly each day to exchange air and check for mold.
- If the leaves remain firm but the medium is still moist, leave the cutting alone.
- If heavy condensation covers the bag all day, increase ventilation.
- If the leaves wilt rapidly, check for dry medium, excessive heat, or a cover that is not retaining humidity.
- If the stem base turns brown, soft, or black, remove the failed cutting before rot spreads.
Warning: Never place a sealed propagation bag in direct sun. The temperature inside can rise quickly enough to damage the cutting.
Watering and Fertilizing During Rooting
Keep the rooting medium lightly and evenly moist, not saturated. Check it with your finger or by feeling the pot’s weight. Water only when the surface begins to lose moisture. Empty any saucer so the pot never stands in water.
Do not mist on a fixed schedule. Misting may temporarily reduce water loss, but constantly wet leaves and poor airflow can encourage fungal growth. A ventilated cover is usually more dependable than repeatedly soaking the foliage.
Do not fertilize while the cutting has no confirmed roots. Once the cutting has rooted, adapted to normal humidity, and started sustained new growth, begin with a diluted balanced liquid fertilizer during the active growing season. Follow the product label and avoid feeding a dry or stressed plant.
New leaves do not always prove that roots have formed. A cutting can open buds by using moisture and energy stored in the stem.
How to Tell When the Cutting Has Rooted
Begin checking after about six weeks, but do not assume the cutting has failed if it needs longer. Curry leaf cuttings may require eight to twelve weeks or more, depending on stem maturity, temperature, humidity, season, and the propagation setup.
Look for several signs together:
- The cutting remains firm and green.
- New growth continues instead of opening once and stopping.
- Roots appear at a drainage hole.
- The cutting offers light resistance when you give it one very gentle upward test.
- The medium begins to dry slightly faster because developing roots are using water.
Do not tug the cutting repeatedly. Newly formed roots are thin and easy to break. When uncertain, give it another one or two weeks before checking again.
Transplanting and Hardening the Rooted Cutting
Once the cutting has several healthy roots or the root ball holds together when carefully removed, begin reducing humidity. Open the bag or dome wider over five to ten days before removing it completely.
- Move the rooted cutting into a container only 1–2 inches wider than its root ball.
- Use a well-drained loamy potting mix instead of the low-fertility rooting medium.
- Plant it at the same depth. Do not bury the original stem more deeply.
- Water thoroughly and let the excess drain.
- Keep it in bright indirect light for several days.
- Introduce gentle sun gradually, increasing exposure over one to two weeks.
A newly rooted plant may pause briefly after transplanting. Severe collapse, a black stem, or a sour-smelling medium points to root damage or excess moisture rather than normal transplant adjustment.
Pruning and Maintaining the Young Plant
Wait until the plant is firmly rooted and producing steady growth before pruning. When it has several healthy leaf sets, pinch or trim the growing tip to encourage side branches and a bushier shape.
Remove dead, weak, crossing, or pest-damaged growth with clean shears. Avoid heavy pruning immediately after rooting, transplanting, pest treatment, or a major change in light.
An established curry leaf plant can grow in full sun to partial shade. Indoor plants need the brightest practical window and may grow slowly during short winter days. Protect the plant from frost and cold drafts.
Dealing With Pests and Diseases
Inspect the undersides of leaves, growing tips, and stem joints every week. Curry leaf plants may develop spider mites, scale insects, mealybugs, aphids, or whiteflies. Sticky residue, fine webbing, pale stippling, curled new leaves, cotton-like clusters, or fixed brown bumps can reveal an infestation.
- Isolate an infested indoor plant from other plants.
- Remove a light infestation with water or a damp cloth when practical.
- Prune heavily infested shoots with clean tools.
- Use insecticidal soap, horticultural oil, or neem-based products only when the label allows use on edible plants.
- Follow the label’s application rate, temperature limits, repeat interval, and harvest instructions.
- Test sprays on a small section first because tender leaves may be damaged.
Overwatering, poor drainage, buried leaves, and stale air can lead to stem rot, root rot, or fungal growth. Discard a cutting if its base becomes soft and black. Taking a fresh cutting is usually more successful than trying to save a badly rotted stem.
Warning: Curry leaf is a host for the Asian citrus psyllid, an insect that can spread huanglongbing disease to citrus. Check local agricultural rules before transporting plants, leaves, or cuttings, and never move regulated plant material across a quarantine boundary. See the UC IPM pest guidance.
Harvesting Curry Leaves
Do not harvest from a newly rooted cutting. Allow it to establish a strong root system and produce several rounds of healthy growth first. The time required varies widely, so judge the plant by its vigor rather than a fixed number of months.
Harvest individual leaf stalks or short sprigs with clean scissors. Morning harvesting may help the leaves stay fresh during handling, but plant health matters more than the time of day. Avoid stripping a young plant. As a practical limit, remove no more than about one-third of its healthy foliage during one harvest, and take much less from a small plant.
Use the leaves fresh when possible. They can also be frozen. Dried curry leaves usually lose much of their characteristic aroma.
Troubleshooting Curry Leaf Cuttings
| Problem | Likely Cause | What to Do |
|---|---|---|
| Leaves wilt within hours | Low humidity, excessive leaf area, dry medium, or heat | Move out of direct sun, check moisture, improve the humidity cover, and remove one additional lower leaf if the cutting carries too much foliage. |
| Stem base turns black or soft | Rot caused by saturated medium, contaminated tools, or poor airflow | Discard the cutting, clean the pot and tools, and start again with fresh medium. |
| White or gray mold appears | Stale air, dead leaf tissue, or constantly wet foliage | Remove affected debris, increase ventilation, and stop unnecessary misting. |
| Leaves yellow and fall | Normal stress, excess water, low light, or stem decline | Check the stem base and moisture. Improve light without adding direct midday sun. |
| No roots after eight weeks | Cool conditions, unsuitable stem maturity, or naturally slow rooting | Keep waiting if the stem is green and firm. Discard it if it is shriveled, hollow, black, or soft. |
| New leaves open, then growth stops | The cutting used stored energy but did not develop enough roots | Maintain stable conditions and avoid transplanting until root development is confirmed. |
Tips for Better Propagation Success
- Take several cuttings from different healthy shoots.
- Prepare and plant each cutting immediately so the cut end does not dry out.
- Use fresh rooting medium rather than reused potting soil.
- Keep notes on the cutting date, stem type, hormone used, and result.
- Do not keep opening the pot or pulling the cutting to inspect it.
- Wait for established roots before fertilizing, pruning, harvesting, or moving into strong sun.
Other Ways to Propagate Curry Leaf Plants
Stem cuttings are not the only option. A mature curry leaf plant may produce root suckers that can be separated with their own roots. Fresh, ripe seed can also produce plants, although germination may be uneven and the seed loses viability when stored. Root suckers and fresh seed may be easier than stem cuttings for some home growers.
Air-layering is another option for a mature branch because the branch remains attached to the parent while roots develop. Grafting is possible but requires more skill and suitable rootstock, so it is generally less practical for a first home propagation attempt.
Note: Curry leaves have a long history of culinary and traditional use. A 2024 pharmacological review discusses antioxidant, metabolic, and other biological effects, but much of the evidence comes from laboratory, extract, or animal research. Use curry leaves as food, not as a replacement for medical care or prescribed treatment.
Frequently Asked Questions
What are curry leaves?
Curry leaves are the aromatic leaves of Bergera koenigii, widely known by the synonym Murraya koenigii. They are used in many South Asian dishes and are often fried briefly in oil to release their aroma.
Can curry leaf plants be grown from stem cuttings?
Yes, but success can be inconsistent. Use healthy partly firm growth, several nodes, an airy medium, warmth, controlled humidity, and a labeled rooting hormone. Preparing several cuttings improves the chance that at least one will root.
When is the best time to take curry leaf cuttings?
Take cuttings during active warm-season growth, commonly from late spring through summer. Choose a healthy period when the mother plant is not flowering heavily, wilted, waterlogged, or suffering from pests.
How do I prepare a curry leaf stem cutting?
Cut a healthy 4- to 8-inch stem just below a node. Remove leaves from the lower half, retain a small amount of top growth, apply rooting hormone if desired, and insert one or two bare nodes into fresh, free-draining medium.
How long do curry leaf cuttings take to root?
Begin checking after about six weeks. Some cuttings root in six to eight weeks, while others need eight to twelve weeks or longer. Temperature, stem maturity, humidity, light, and the individual plant all affect the timing.
Can curry leaf plants be grown indoors?
Yes. Place the rooted plant near a bright east-, south-, or west-facing window, protect it from cold drafts, and avoid leaving the pot constantly wet. Indoor plants may grow slowly or lose some leaves during short winter days.
Do curry leaf cuttings need rooting hormone?
It is possible for a cutting to root without hormone, but published curry leaf studies indicate that IBA treatments can improve rooting or survival. Use a commercial product intended for stem cuttings and follow its label.
Can curry leaf cuttings be rooted in water?
Water rooting is not the best-supported method for curry leaf. An airy solid medium gives the stem oxygen and avoids the difficult change from water roots to potting soil. Root suckers or fresh seed may be better alternatives if soil cuttings repeatedly fail.
Why is my curry leaf cutting turning black?
A black, soft stem base usually indicates rot. Common causes include saturated medium, poor drainage, contaminated tools, buried leaves, or an unventilated humidity cover. Discard the failed cutting, clean the equipment, and restart with fresh medium.
Sources
- Kew Plants of the World Online: Bergera koenigii — accepted botanical name, synonyms, and native range
- Royal Horticultural Society: Curry Tree Profile — propagation, soil, light, indoor culture, and common pests
- Missouri Botanical Garden Plant Finder — established-plant culture, indoor light, and propagation alternatives
- GardeningSG: Propagating by Cuttings — stem preparation, node selection, drainage, rooting media, and rooting hormone
- Indian Journal of Ecology: Nursery Performance of Murraya koenigii — research on potting media and hormone-treated branch cuttings
- UC Statewide IPM: Asian Citrus Psyllid and Huanglongbing — curry leaf host status and plant-movement concerns