

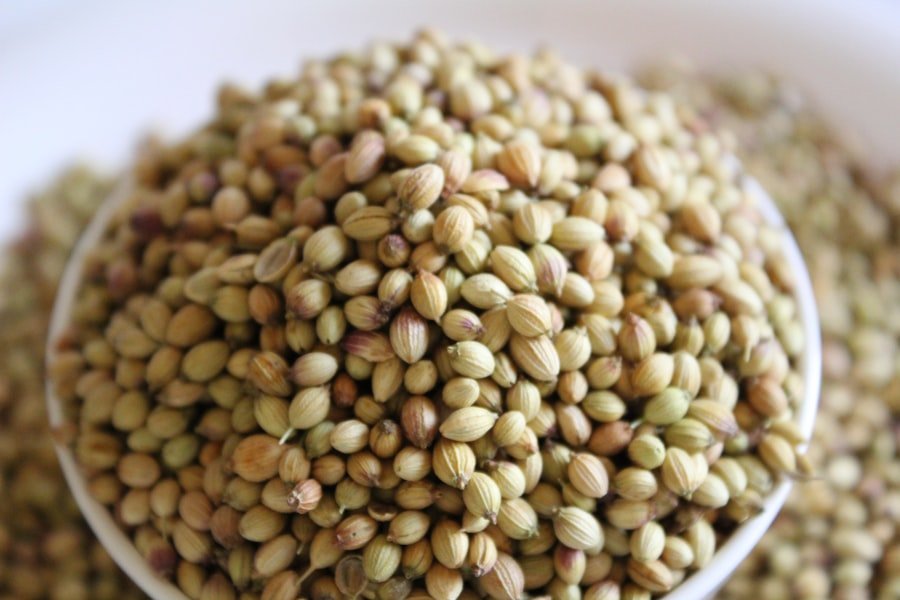
When embarking on the journey of growing green beans, selecting the right variety is paramount.
Bush beans are compact and grow to a height of about 1 to 2 feet, making them ideal for smaller gardens or container planting.
They typically mature faster, often within 50 to 60 days, which can be advantageous for gardeners looking for a quick yield. On the other hand, pole beans can reach heights of 6 to 10 feet and require support structures such as trellises or stakes. They take longer to mature, usually around 60 to 70 days, but they often produce a higher yield over a more extended period.
In addition to the growth habit, flavor and texture are also critical factors in choosing the right variety. Some popular bush varieties include ‘Blue Lake’ and ‘Provider,’ known for their tender pods and excellent flavor. For those who prefer pole beans, ‘Kentucky Wonder’ and ‘Scarlet Runner’ are well-regarded for their robust growth and delicious taste.
Furthermore, consider the climate in which you are growing; some varieties are more tolerant of heat or cold than others. Researching local growing conditions and seeking advice from local gardening clubs or extension services can provide valuable insights into which varieties thrive best in your area.
Key Takeaways
- Choose a green bean variety that suits your climate and taste preferences
- Green beans thrive in well-drained, sunny locations with warm temperatures
- Prepare the soil by adding organic matter and ensuring good drainage for successful seed starting
- Select containers with good drainage and enough space for green bean roots to grow
- Start green bean seeds indoors 3-4 weeks before the last frost date for your area
Understanding the Ideal Growing Conditions for Green Beans
Green beans thrive in warm weather and require specific conditions to flourish. They prefer full sun, which means at least six to eight hours of direct sunlight each day. This exposure not only promotes healthy growth but also enhances the flavor of the beans.
Temperatures below 60°F (15°C) can stunt growth, while extreme heat can lead to poor pod development and reduced yields. Soil quality is another critical aspect of creating an optimal environment for green beans.
They prefer well-draining soil rich in organic matter, with a pH level between 6.0 and 7.0. Heavy clay soils can impede root development and lead to waterlogged conditions, while sandy soils may not retain enough moisture or nutrients. Incorporating compost or well-rotted manure into the soil before planting can significantly improve its structure and fertility, providing a nutrient-rich foundation for the plants.
Preparing the Soil for Green Bean Seed Starting
Preparing the soil for green bean seed starting is a crucial step that sets the stage for healthy plant development. Begin by selecting a location that receives ample sunlight and has good drainage. Clear the area of any weeds, rocks, or debris that could hinder growth.
Once the area is clean, it’s essential to loosen the soil to a depth of at least 12 inches using a garden fork or tiller. This aeration allows roots to penetrate more easily and access nutrients. After loosening the soil, it’s beneficial to amend it with organic matter.
Adding compost not only enriches the soil with nutrients but also improves its structure, enhancing moisture retention while ensuring proper drainage. A general guideline is to mix in about 2 to 4 inches of compost into the top layer of soil. Additionally, conducting a soil test can provide insights into nutrient levels and pH balance, allowing for targeted amendments if necessary.
If your soil is too acidic, adding lime can help raise the pH, while sulfur can lower it if it’s too alkaline.
Selecting the Best Containers for Green Bean Seed Starting
| Container Type | Advantages | Disadvantages |
|---|---|---|
| Plastic Pots | Durable, lightweight, and reusable | May not be environmentally friendly |
| Biodegradable Pots | Environmentally friendly, can be planted directly into the ground | May degrade too quickly, leading to instability |
| Seed Starting Trays | Space-saving, easy to transport and handle | May require more frequent watering |
| Recycled Containers | Environmentally friendly, cost-effective | May not provide optimal growing conditions |
For those opting to start green beans in containers, choosing the right pots is essential for successful growth. Containers should be at least 12 inches deep to accommodate the root system of green beans adequately. Additionally, they should have drainage holes at the bottom to prevent waterlogging, which can lead to root rot.
Materials such as plastic, ceramic, or fabric pots are all suitable options; however, fabric pots are particularly beneficial as they promote air circulation around the roots. When selecting containers, consider the number of plants you wish to grow. If you’re starting multiple seeds in one container, ensure it is large enough to allow for adequate spacing between plants—typically about 3 inches apart for bush varieties and more for pole varieties that will need additional room for climbing.
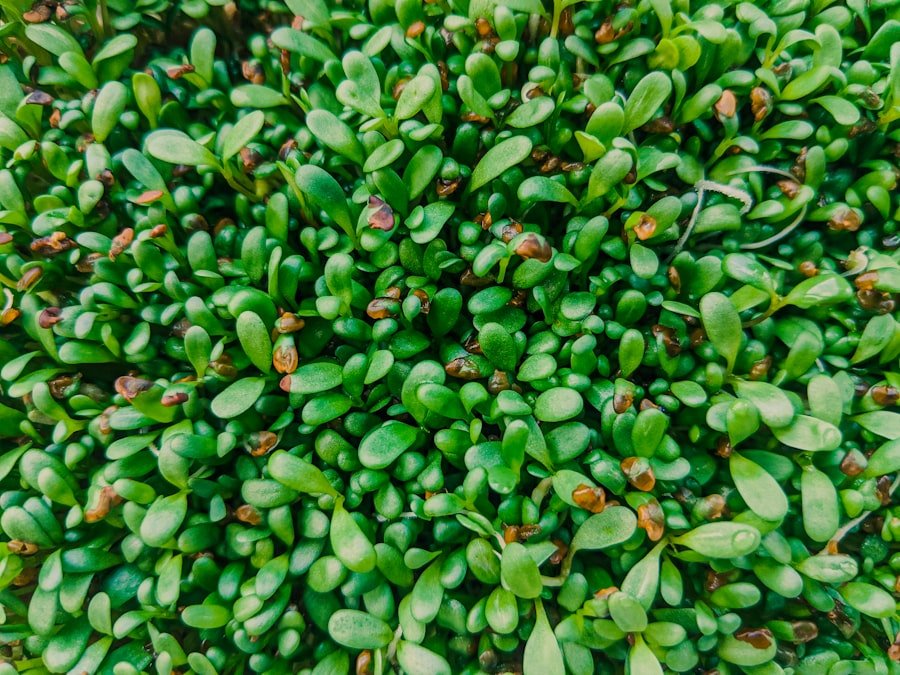
Using seed trays with individual cells can also be an effective way to start seeds indoors before transplanting them outdoors once they have developed a few true leaves.
Timing and Temperature for Green Bean Seed Starting
Timing is crucial when starting green beans from seed, as these plants are sensitive to temperature fluctuations. Ideally, seeds should be sown outdoors after the last frost date in your area when soil temperatures have warmed to at least 60°F (15°C). This temperature ensures that seeds germinate effectively and that seedlings establish strong roots without being hindered by cold soil conditions.
For those starting seeds indoors, aim to begin the process about three weeks before the last expected frost date. This allows seedlings enough time to grow strong before being transplanted outdoors. Monitor indoor temperatures closely; they should ideally remain between 70°F and 80°F (21°C to 27°C) during germination.
Using a heat mat can help maintain consistent warmth if your indoor environment is cooler than this range.
The Importance of Proper Watering and Drainage
Watering practices play a pivotal role in the successful cultivation of green beans. These plants require consistent moisture, especially during germination and early growth stages when their roots are still developing. However, overwatering can be detrimental; it’s essential to strike a balance between keeping the soil moist and preventing waterlogged conditions that can lead to root rot.
A general rule of thumb is to water deeply but infrequently, allowing the top inch of soil to dry out between watering sessions. Good drainage is equally important when growing green beans in containers or garden beds. If water does not drain properly from the soil, it can create an anaerobic environment that stunts root growth and encourages fungal diseases.
To enhance drainage in garden beds, consider incorporating sand or perlite into the soil mix. For container gardening, ensure that pots have adequate drainage holes and consider placing a layer of gravel at the bottom before adding soil to further facilitate water movement.
Fertilizing and Nutrient Requirements for Green Bean Seedlings
Fertilization is an essential aspect of nurturing green bean seedlings as they grow. While green beans are relatively low-maintenance compared to other crops, they still benefit from nutrient-rich soil during their early development stages. A balanced fertilizer with equal parts nitrogen, phosphorus, and potassium (such as a 10-10-10 formulation) can be applied at planting time to provide essential nutrients that support healthy growth.
As seedlings develop, it’s important to monitor their nutrient needs closely. If leaves appear yellow or stunted, this may indicate a nitrogen deficiency; in such cases, applying a nitrogen-rich fertilizer can help restore vigor. However, caution should be exercised not to over-fertilize, as excessive nitrogen can lead to lush foliage at the expense of pod production.
A side-dressing of compost or organic fertilizer during mid-growth can also provide a slow-release source of nutrients that supports continued development.
Protecting Seedlings from Pests and Diseases
As green bean seedlings emerge and grow, they become susceptible to various pests and diseases that can threaten their health and productivity. Common pests include aphids, spider mites, and bean beetles, which can damage leaves and reduce overall plant vigor. Implementing integrated pest management (IPM) strategies is crucial for minimizing pest impact while maintaining an environmentally friendly approach.
One effective method of pest control is introducing beneficial insects such as ladybugs or lacewings that prey on aphids and other harmful pests. Additionally, using row covers can provide physical barriers against pests while allowing light and moisture to reach the plants. Regularly inspecting plants for signs of infestation—such as discolored leaves or visible insects—can help catch problems early before they escalate into more significant issues.
Diseases such as powdery mildew or root rot can also pose threats to green bean seedlings. To mitigate these risks, ensure proper spacing between plants for adequate air circulation and avoid overhead watering that can promote fungal growth on leaves. If disease symptoms appear, promptly remove affected plants to prevent spread and consider applying organic fungicides if necessary.
Transplanting Green Bean Seedlings to the Garden
Once green bean seedlings have developed several true leaves and outdoor conditions are favorable—typically after all danger of frost has passed—they are ready for transplanting into the garden or larger containers. Before transplanting, it’s advisable to harden off seedlings by gradually exposing them to outdoor conditions over a week or so. This process helps acclimate them to sunlight and wind while reducing transplant shock.
When transplanting seedlings into the garden, choose a cloudy day or late afternoon when temperatures are cooler to minimize stress on the plants. Dig holes that are slightly larger than the root ball of each seedling and space them according to their variety—bush beans typically require about 3 inches apart while pole beans need more room due to their climbing nature. Gently remove seedlings from their containers without disturbing their roots too much and place them in their new holes before backfilling with soil.
Providing Support for Growing Green Beans
For pole varieties of green beans, providing adequate support is essential for optimal growth and productivity. These plants naturally climb as they grow; therefore, installing trellises or stakes before planting is crucial to avoid damaging roots later on. Trellises can be made from various materials such as wood, metal fencing, or even repurposed materials like old ladders or branches.
When setting up support structures, ensure they are sturdy enough to withstand wind and heavy fruit loads as plants mature. As green bean vines begin to grow upward, gently guide them towards their support structure if necessary; many varieties will naturally twine around supports as they climb. Regularly check on their progress throughout the growing season; if any vines become detached from their supports, reattach them promptly to encourage healthy upward growth.
Harvesting and Enjoying Your Homegrown Green Beans
The moment of harvest is one of the most rewarding aspects of growing green beans at home. Timing your harvest correctly is crucial; beans should be picked when they are young and tender—typically when they reach about 4 to 6 inches in length but before they begin to bulge with seeds inside. Regular harvesting encourages continued production; if pods are left on the plant too long, it signals the plant to stop producing new flowers.
To harvest green beans, simply grasp the pod firmly but gently between your fingers and pull it away from the stem with a slight twist motion; this minimizes damage to both the pod and plant itself. After harvesting, rinse beans under cool water before storing them in a perforated plastic bag in the refrigerator where they can last up to a week. The culinary possibilities with homegrown green beans are vast; they can be steamed, sautéed, or added fresh into salads for a crisp texture and vibrant color.
For those looking to preserve their harvest for later use, blanching followed by freezing is an excellent method that retains flavor and nutrients while allowing you to enjoy your homegrown bounty long after the growing season has ended.
FAQs
What are long green beans seeds?
Long green beans seeds are the seeds of the long green bean plant, also known as string beans or snap beans. These seeds are used for planting to grow long green bean plants in home gardens or farms.
How do you plant long green beans seeds?
Long green beans seeds should be planted in well-drained soil with full sun exposure. They should be sown directly into the ground or in containers, with a spacing of about 4-6 inches between each seed. The seeds should be planted at a depth of about 1 inch and watered regularly.
What are the growing conditions for long green beans?
Long green beans thrive in warm temperatures and require at least 6-8 hours of sunlight per day. They prefer well-drained, fertile soil with a pH of 6.0-6.8. Adequate water and support for climbing are also important for the successful growth of long green beans.
How long does it take for long green beans to grow from seeds?
Long green beans typically take about 50-60 days to reach maturity from the time the seeds are planted. However, this can vary depending on the specific variety of long green beans and the growing conditions.
What are some common pests and diseases that affect long green beans?
Common pests that can affect long green beans include aphids, bean beetles, and spider mites. Diseases such as powdery mildew, bacterial blight, and bean rust can also impact the health of long green bean plants. Proper pest and disease management is important for successful long green bean cultivation.
When is the best time to harvest long green beans?
Long green beans are best harvested when they are young and tender, typically when they are about 6-8 inches long. Regular harvesting encourages the plants to produce more beans and prevents them from becoming tough and stringy.
