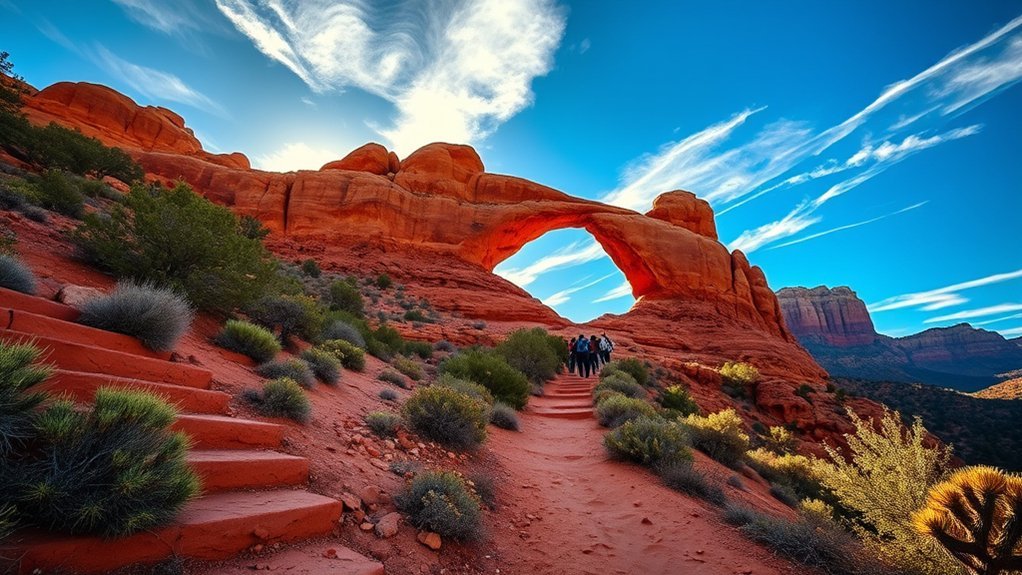
Reaching Devils Bridge—the largest natural sandstone arch in the Sedona area—is one of Arizona’s most iconic outdoor experiences. While social media makes the 54-foot-high bridge look serene, planning your trip requires clear logistics: navigating limited parking, choosing the right trailhead route, preparing for a rocky slickrock scramble, and timing your visit to avoid midday heat and photo lines.
Quick Answer
Devils Bridge Trail in Sedona is a moderate out-and-back hike ranging from 1.8 to 4.6 miles round-trip depending on your starting trailhead. The most popular access point is the Dry Creek Vista Trailhead via the Chuck Wagon Trail (~4.2 miles RT) or the Mescal Trailhead (~4.0 miles RT). Expect a 400-to-500-foot elevation gain, a short rock staircase scramble near the summit, and peak wait times of 30–90 minutes for a photo on the natural arch.
Key Takeaways
- Trailhead Options: Hike via Chuck Wagon Trail (Dry Creek Vista), Mescal Trail, or drive Forest Road 152 if you have a true high-clearance 4×4 vehicle.
- Pass Requirements: Parking at paved trailheads requires a Red Rock Pass ($5/day) or an America the Beautiful Interagency Pass displayed on your dashboard.
- Transit: Use the free Sedona Shuttle (Route 11) from Thursday through Sunday during peak spring and fall seasons when trailhead lots are closed to private vehicles.
- Best Timing: Hike at sunrise or late afternoon to beat both triple-digit desert heat and the 1-hour line to step onto the bridge.
- Regulations: Dogs must be on a leash (maximum 6 ft); drones and campfires are strictly prohibited within the Red Rock-Secret Mountain Wilderness.
At a Glance
| Distance & Route Type | 1.8 to 4.6 miles (Out-and-Back, depending on trailhead) |
| Elevation Gain | 400–564 feet |
| Difficulty Rating | Moderate (Easy approach with a steep rock scramble at the end) |
| Estimated Time | 2 to 3.5 hours (plus photo wait time) |
| Pass Required | Red Rock Pass ($5/day) or America the Beautiful Pass |
| Dog Friendly? | Yes (on-leash only; rocky steps require agility) |
Best Times to Hike Devils Bridge Trail
The ideal seasons to hike Devils Bridge are spring (March to May) and fall (September to November). During these months, average daytime temperatures stay between 60°F and 80°F, providing comfortable hiking conditions under clear desert skies. However, these seasons also represent peak visitation in Sedona.
Regardless of the season, timing your start during the early morning (at or before sunrise) or late afternoon (2–3 hours before sunset) is essential. An early departure offers several distinct advantages:
- Cooler temperatures: Arizona desert temperatures rise rapidly after 9:00 AM, frequently exceeding 100°F (38°C) in June through August.
- Shorter photo queues: Midday bridge lines often stretch to 45–90 minutes under direct sun. Sunrise hikers typically wait less than 10 minutes.
- Optimal photography light: Low-angle morning light illuminates the red sandstone face of the bridge without harsh overhead shadows.
Warning: Summer hiking in Sedona presents severe heat stroke risks. There is no potable water or shade on the upper half of the trail. Carry at least 2 to 3 liters of water per person, wear sun protection, and avoid hiking between 11:00 AM and 4:00 PM in the summer.
Getting There: Directions and Parking Options
Devils Bridge is located northwest of Sedona within the Coconino National Forest (Red Rock Ranger District). Access depends on your vehicle type and the day of the week.
Pro Tip: On Thursday through Sunday, take the free Sedona Shuttle (Route 11) from the Posse Grounds Park and Ride lot directly to the Dry Creek Vista Trailhead. The shuttle runs every 15–30 minutes, bypassing all parking congestion.
You have three primary trailhead parking access points:
- Dry Creek Vista Trailhead (Paved Access): The primary parking area off Dry Creek Road. Holds approximately 30–40 vehicles and fills completely by 6:30 AM. A Red Rock Pass or America the Beautiful Pass is required. From here, take the pedestrian-friendly Chuck Wagon Trail connector.
- Mescal Trailhead (Paved Access): Located off Long Canyon Road. This lot provides access via the Mescal Trail to Chuck Wagon Trail (~4.0 miles round-trip). It is often less congested than Dry Creek Vista and offers exceptional views of Mescal Mountain.
- Devils Bridge 4WD Trailhead (Dry Creek Road / FR 152): Located at the true base of the Devils Bridge climbing path. Do not attempt this road in an AWD crossover, sedan, or standard SUV. Forest Road 152 is an unmaintained, deeply rutted rock bed requiring high clearance, 4-wheel drive with low range, and off-road driving experience.
Trail Overview: Distance, Difficulty, and Route
The total distance and terrain you experience will vary based on where your hike begins. The official Devils Bridge Trail (#120) itself is just 0.9 miles one-way (1.8 miles round-trip), but pedestrian hikers must first walk a connector trail to reach it.
Distance and Elevation by Starting Point
- Via Mescal Trailhead (Recommended): ~4.0 miles round-trip | ~420 ft elevation gain. Follow Mescal Trail to Chuck Wagon Trail, connecting to the Devils Bridge Trailhead. Scenic and well-graded.
- Via Dry Creek Vista Trailhead (Chuck Wagon Trail): ~4.2 miles round-trip | ~460 ft elevation gain. Avoid walking on dusty Forest Road 152 by following the singletrack Chuck Wagon Trail to the base.
- Via Dry Creek 4WD Trailhead (FR 152): 1.8 miles round-trip | ~400 ft elevation gain. Direct access for modified 4×4 vehicles only.
Route and Terrain Breakdown
The hike is split into two distinct terrain phases:
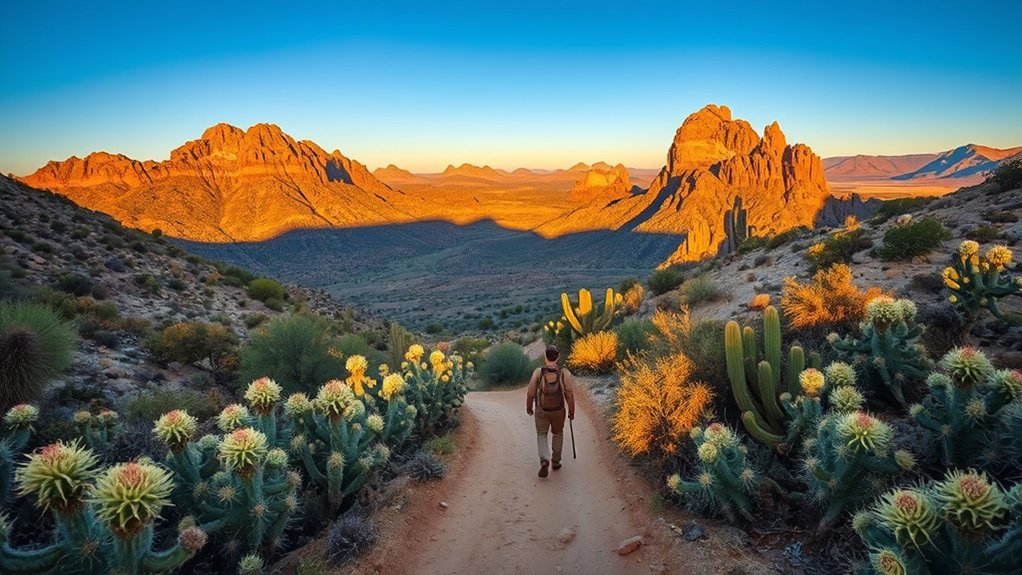
- The Approach (First 1.2–1.5 miles): A wide, gently sloping dirt trail winding through juniper, pinyon pine, and agave. Easy footing with gradual incline.
- The Climb & Scramble (Final 0.5 miles): After passing the junction where the 4WD road ends, the trail steepens. You will climb natural stone staircases cut into the red sandstone. Near the summit, you must navigate two short, steep rock scrambles where using your hands for balance is recommended. The path narrows along rock shelves with exposed drop-offs before flattening out onto the main viewing platform.
Note: While the bridge itself looks knife-thin from the side, the walkable top surface is approximately 5 to 8 feet wide in most places. However, there are no railings, and the vertical drop to the canyon floor below is over 50 feet. Never run, jump, or horseplay on the bridge.
What to Pack and Wear for the Hike
Sedona’s slickrock requires appropriate footwear and standard desert gear:
- Footwear: Hiking shoes or trail runners with sticky rubber outsoles (Vibram or similar). Smooth gym sneakers slip easily on dusty sandstone ledges.
- Water & Electrolytes: Minimum 2 liters per person in moderate weather; 3+ liters in warmer months.
- Sun Protection: Wide-brim hat, UV-blocking sunglasses, and broad-spectrum sunscreen (the upper scramble has no shade).
- Navigation: Download offline maps via AllTrails or Gaia GPS prior to arrival, as cellular reception along Dry Creek Road is inconsistent.
- Pass: Red Rock Pass or America the Beautiful Pass printed and displayed clearly on your dashboard.
Safety Tips and Desert Etiquette
Follow standard Leave No Trace principles to preserve Sedona’s delicate desert ecosystem and ensure a safe hike:
- Stay on the Marked Trail: Biological soil crusts (cryptobiotic soil) surround the path. Stepping off-trail destroys decades of fragile desert soil growth.
- Right-of-Way: Downhill hikers should yield to uphill hikers who are working harder and have a narrower field of vision on steep rock staircases.
- Bridge Line Etiquette: Hikers form an informal queue on the rock shelf. Take your turn, limit your photo time to 1–2 minutes, and offer to take photos for the group ahead of you.
- Pack It In, Pack It Out: Carry out all trash, including fruit peels, snack wrappers, and dog waste bags.
Photography Tips and Best Vantage Points
Devils Bridge is one of the most photographed geological formations in the American Southwest. Getting a high-impact shot requires planning around lighting conditions and angles.
Best Light Times
- Sunrise / Early Morning: The optimal time for photography. Warm, low-angled light strikes the red rock without casting deep shadows across the canyon underneath the arch.
- Overcast / Soft Light: Midday sun causes harsh dynamic range issues between bright sky and dark rock. Light cloud cover evens out contrast and saturates the sandstone.
- Golden Hour / Sunset: Beautiful warm rim light, but keep in mind that the sun drops quickly behind the canyon walls, and you will need a headlamp for the hike down.
Composition Tricks
To capture the scale of the landscape, have your hiking partner stand near the center of the arch while you shoot from the cliffside terrace to the left of the bridge. Use wide-to-normal focal lengths (24mm to 50mm full-frame equivalent) to balance the arch with the distant Red Rock-Secret Mountain Wilderness background.
| Element | Purpose | Technique |
|---|---|---|
| Perspective | Showcase Height | Shoot from the left viewing terrace across the gap. |
| Human Scale | Emphasize Size | Position a subject on the arch to show the 54-foot drop. |
| Framing | Visual Depth | Include foreground juniper branches or slickrock ledges. |
Top Vantage Spots
- Left Viewing Ledge (Main Photo Spot): The wide plateau directly opposite the bridge. This is where the queue forms and where iconic cross-canyon photos are shot.
- Under the Arch: A short spur trail branches off near the base of the final climb, leading directly beneath the span. This viewpoint showcases the massive thickness and structural engineering of the sandstone arch.
- Upper Switchback Overlook: Halfway up the rock staircase, pause for sweeping views of the Verde Valley and Boynton Pass.
Strategies to Avoid Crowds and Peak Times
To avoid large tour groups and extended waits on the bridge, apply these crowd management strategies:
- Target Midweek Mornings: Tuesday and Wednesday mornings see roughly 40% fewer hikers than Saturdays and Sundays.
- Start Pre-Dawn: Beginning your hike 30 minutes before sunrise with a headlamp ensures you reach the bridge first, allowing you to photograph the arch completely empty.
- Take the Mescal Trail Route: Fewer people use the Mescal Trailhead compared to Dry Creek Vista, providing a quieter trail experience for the first half of the hike.
Frequently Asked Questions
Are drones allowed at Devils Bridge?
No. Devils Bridge is located within the Red Rock-Secret Mountain Wilderness. Under Federal Aviation Administration (FAA) and U.S. Forest Service regulations (36 CFR § 261.18), launching, landing, or operating unmanned aircraft (drones) is strictly prohibited in all designated Wilderness Areas.
Is the trail dog-friendly and are leashes required?
Yes, dogs are permitted on Devils Bridge Trail but must be kept on a physical leash (maximum 6 feet) at all times. Be aware that the final rock staircase is steep, and hot sandstone in summer can burn dog paw pads. Carry extra water for your pet.
Are there restroom facilities at the trailhead or nearby?
Yes. Vault toilets are located at both the Dry Creek Vista and Mescal Trailheads. There are no restrooms or trash receptacles along the trail or at the bridge. There is also no running water, so fill all water bottles before leaving town.
Can you bring a picnic or have a campfire near the bridge?
You may carry snacks or a packed picnic to eat along the trail, but please pack out all waste. Open campfires, charcoal grills, and wood fires are strictly prohibited within the Red Rock-Secret Mountain Wilderness and are subject to local Stage 1/Stage 2 fire restrictions.
Is the trail accessible for people with mobility impairments?
No. The Devils Bridge Trail is not wheelchair-accessible and involves uneven rock shelves, loose gravel, and steep natural sandstone steps. For accessible red-rock vistas, consider the paved paths at the Bell Rock Pathway or the Red Rock Visitor Center.
Conclusion
Hiking the Devils Bridge Trail delivers one of the most memorable panoramic views in Sedona. By taking advantage of the Sedona Shuttle, selecting the Mescal or Chuck Wagon approaches, carrying adequate water, and starting early in the day, you can avoid peak crowd congestion and safely enjoy this remarkable natural landmark.
Sources
- USDA Forest Service — Coconino National Forest — Official Devils Bridge Trail #120 specifications and regulations
- City of Sedona — Sedona Shuttle — Route 11 transit schedules and trailhead park-and-ride rules
- USDA Forest Service — Red Rock Pass Program — Parking permit rules and interagency pass acceptance
- Leave No Trace Center for Outdoor Ethics — Desert cryptobiotic soil preservation and outdoor etiquette