Nestled in the heart of the Swiss Alps, the Gelmerbahn is not just a mode of transportation; it is an exhilarating journey that offers breathtaking views and a unique experience for thrill-seekers and nature lovers alike. This funicular railway, which operates between the picturesque Gelmer Lake and the mountain station at an elevation of 1,840 meters, boasts one of the steepest gradients in Europe, reaching an impressive 106%. The ride itself is a blend of engineering marvel and natural beauty, as it ascends through lush forests and rocky terrains, providing passengers with a front-row seat to the stunning alpine landscape.
The Gelmerbahn was originally constructed in the 1920s to facilitate the construction of a hydroelectric power plant. Today, it serves as a popular tourist attraction, drawing visitors from around the globe who are eager to experience its thrilling ascent. The funicular’s design is both functional and aesthetic, featuring open-air carriages that allow for unobstructed views of the surrounding mountains and valleys.
As the funicular climbs, riders are treated to panoramic vistas that change dramatically with every twist and turn, making it a perfect subject for photography enthusiasts looking to capture the essence of the Swiss Alps.
Key Takeaways
- The Gelmerbahn offers a thrilling funicular experience with stunning views
- Finding the perfect viewpoint is essential for capturing the beauty of Gelmerbahn
- Understanding the lighting conditions at Gelmerbahn is crucial for achieving great photos
- Choosing the right equipment, such as a wide-angle lens, is important for Gelmerbahn photography
- Composition tips, such as using leading lines and framing the subject, can enhance Gelmerbahn photos
Finding the Perfect Viewpoint for Capturing the Gelmerbahn
To truly encapsulate the essence of the Gelmerbahn in photographs, finding the right viewpoint is essential. The funicular’s route offers numerous vantage points that can enhance your images, each providing a unique perspective on this engineering wonder. One of the most popular spots is near the base station, where you can capture the funicular as it prepares to embark on its steep ascent.
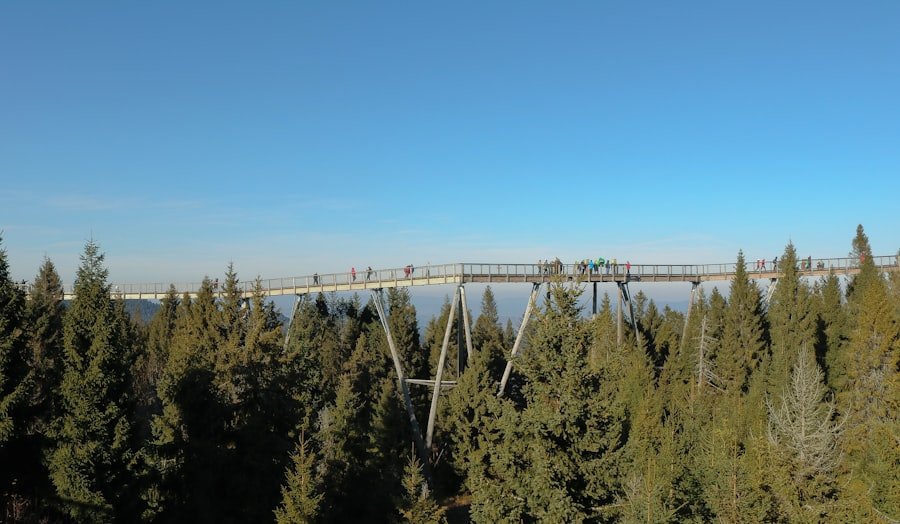
The surrounding landscape, dotted with alpine flora and rugged rock formations, creates a stunning backdrop that complements the dynamic lines of the funicular. As you ascend, there are several lookout points along the way that offer opportunities to photograph the Gelmerbahn from different angles. One particularly striking viewpoint is located halfway up the mountain, where you can capture the funicular against a backdrop of towering peaks and deep valleys.
This vantage point allows for dramatic compositions that highlight both the scale of the funicular and the grandeur of its surroundings. Additionally, consider exploring higher elevations where you can photograph the funicular from above, showcasing its winding path as it navigates through the rugged terrain.
Understanding the Lighting Conditions at Gelmerbahn
Lighting plays a crucial role in photography, and understanding how it interacts with the Gelmerbahn can significantly enhance your images. The best time to photograph the funicular is during the golden hours—shortly after sunrise or before sunset—when the soft, warm light bathes the landscape in a magical glow. During these times, shadows become elongated, adding depth and dimension to your photographs while highlighting the textures of both the funicular and its surroundings.
However, capturing images during midday can also yield interesting results. The harsh overhead sunlight can create stark contrasts and vibrant colors, which can be particularly effective for capturing the funicular against a clear blue sky. If you find yourself shooting during this time, consider using polarizing filters to reduce glare and enhance color saturation.
Additionally, be mindful of how clouds can affect lighting conditions; overcast days can provide soft, diffused light that is ideal for capturing intricate details without harsh shadows.
Choosing the Right Equipment for Gelmerbahn Photography
| Equipment | Features | Benefits |
|---|---|---|
| DSLR Camera | High resolution, interchangeable lenses | Allows for detailed and customizable shots |
| Wide-angle Lens | Expansive field of view | Captures the grandeur of Gelmerbahn landscape |
| Tripod | Stability, long exposure shots | Ensures sharp and steady images |
| Remote Shutter Release | Minimizes camera shake | Essential for long exposure photography |
Selecting the appropriate equipment is vital for capturing stunning images of the Gelmerbahn. A DSLR or mirrorless camera with interchangeable lenses will provide you with versatility and control over your shots. A wide-angle lens is particularly useful for capturing expansive landscapes and dramatic perspectives of the funicular as it climbs through the mountains.
Lenses with focal lengths between 16mm and 35mm are ideal for this purpose, allowing you to include both foreground elements and sweeping vistas in your compositions. In addition to your camera and lens, consider bringing a tripod for stability, especially during low-light conditions or when shooting long exposures. A sturdy tripod will help you achieve sharp images while allowing you to experiment with different angles and compositions without worrying about camera shake.
If you’re planning to shoot video as well, a gimbal stabilizer can help create smooth footage as you follow the funicular’s journey up the mountain. Lastly, don’t forget extra batteries and memory cards; capturing the Gelmerbahn’s thrilling ride may lead to more shots than you initially anticipated.

Composition Tips for Capturing the Thrills of Gelmerbahn
When photographing the Gelmerbahn, composition is key to conveying its thrilling nature and stunning surroundings. One effective technique is to use leading lines to draw viewers’ eyes toward the funicular. The railway tracks themselves serve as natural leading lines that guide the viewer’s gaze along its path.
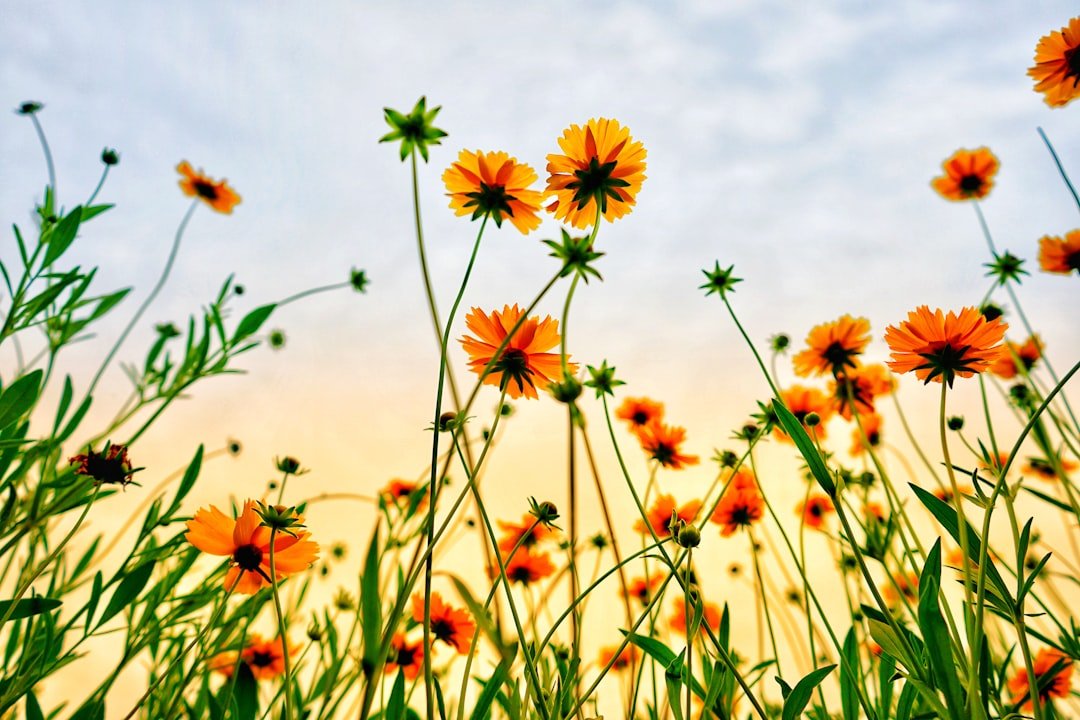
Positioning yourself at an angle where these lines converge can create a sense of depth and movement in your images. Another important aspect of composition is framing your shots effectively. Incorporating foreground elements such as rocks, trees, or wildflowers can add context and interest to your photographs while emphasizing the scale of the Gelmerbahn against its dramatic backdrop.
Experimenting with different angles—such as shooting from a low perspective or capturing reflections in nearby water—can also yield unique compositions that stand out from typical tourist photos. Remember to consider the rule of thirds; placing key elements off-center can create a more dynamic image that engages viewers.
Capturing the Action: Tips for Shooting Moving Subjects at Gelmerbahn
Photographing moving subjects like the Gelmerbahn requires a different approach than static scenes. To freeze motion effectively, use a fast shutter speed—typically 1/500th of a second or faster—especially if you’re aiming to capture sharp images of the funicular as it speeds by. This technique will help eliminate motion blur and ensure that every detail of this thrilling ride is crisp and clear.
Alternatively, if you want to convey a sense of motion in your images, consider using slower shutter speeds combined with panning techniques. By tracking the movement of the funicular while using a shutter speed around 1/30th to 1/60th of a second, you can create a dynamic blur effect that emphasizes speed while keeping parts of your image sharp. This technique requires practice but can result in striking images that capture the excitement of riding the Gelmerbahn.
Editing and Enhancing Gelmerbahn Photos for Maximum Impact
Post-processing is an essential step in photography that allows you to enhance your images further and bring out their full potential. Software like Adobe Lightroom or Photoshop provides powerful tools for adjusting exposure, contrast, saturation, and sharpness.
Color correction is another critical aspect of editing Gelmerbahn photos.
Use saturation and vibrance adjustments to enhance colors without making them look unnatural.
Additionally, consider applying selective adjustments to specific areas of your image—such as brightening shadows or enhancing highlights—to draw attention to key elements like the funicular itself.
Sharing Your Gelmerbahn Photography with the World
Once you’ve captured and edited stunning images of the Gelmerbahn, it’s time to share your work with others. Social media platforms like Instagram and Facebook are excellent avenues for showcasing your photography to a broader audience. When posting your images online, consider using relevant hashtags such as #Gelmerbahn or #SwissAlps to connect with fellow photography enthusiasts and travelers who share your passion for this iconic location.
In addition to social media, consider creating a dedicated portfolio website or blog where you can display your work in a more curated format. This platform allows you to tell stories about your experiences at Gelmerbahn while providing context for each photograph. Engaging with online photography communities or forums can also be beneficial; sharing tips and receiving feedback from other photographers can help you grow your skills while fostering connections within this vibrant community.
By thoughtfully considering each aspect—from finding viewpoints to editing techniques—you can create compelling images that not only capture the thrill of riding the Gelmerbahn but also convey its breathtaking beauty to viewers around the world.
If you’re planning a visit to the Gelmerbahn viewpoint, capturing the breathtaking scenery is a must. To make the most of your photography experience, consider visiting during the golden hours of sunrise or sunset when the light is soft and warm, enhancing the natural beauty of the landscape. Additionally, using a wide-angle lens can help you capture the expansive views and dramatic vistas. For more tips on capturing stunning landscapes and to explore other delightful topics, check out this related article on Exploring the Delightful World of Asian Melon.
FAQs
What is the Gelmerbahn viewpoint?
The Gelmerbahn viewpoint is a popular spot in Switzerland that offers stunning panoramic views of the surrounding mountains and the Gelmersee lake. It is accessible by the Gelmerbahn funicular, which is known for being one of the steepest in the world.
What are some photography tips for capturing the Gelmerbahn viewpoint?
– Use a wide-angle lens to capture the expansive views of the mountains and the lake.
– Consider the lighting conditions and time of day for the best shots. Sunrise and sunset can provide beautiful lighting for photography.
– Experiment with different angles and perspectives to capture unique and interesting compositions.
– Consider including elements of the funicular railway in your photos to add depth and context to the scene.
– Be mindful of the weather and dress accordingly, as the viewpoint can be windy and chilly at times.
Are there any restrictions or guidelines for photography at the Gelmerbahn viewpoint?
There are no specific restrictions for photography at the Gelmerbahn viewpoint, but visitors are encouraged to be respectful of the natural environment and other visitors. It’s important to follow any posted guidelines and rules, and to be mindful of the safety of yourself and others while taking photos.