Niesen is one of the most distinctive mountains in Switzerland’s Bernese Oberland, and its summit gives photographers a broad view over Lake Thun, the surrounding valleys, and the Bernese Alps. Good photos here depend on more than camera settings. Your timing, railway schedule, weather, lens choice, and position on the summit all affect what you can capture.
Quick Answer
For the best Niesen viewpoint photos, plan around soft morning or evening light, use a wide or standard zoom for the panorama, start near f/8 to f/11 at a low native ISO, and bracket exposures when the sky is much brighter than the landscape. Check the Niesenbahn timetable before relying on sunrise or sunset access.
Key Takeaways
- The Niesen summit platform is at 2,362 metres and provides a broad panorama over Lake Thun and the Bernese Oberland.
- Soft morning and evening light can be excellent, but normal Niesenbahn operating hours do not always match sunrise or sunset.
- Start around f/8 to f/11 for many landscape scenes rather than automatically using f/22, which can soften fine detail through diffraction.
- Use foreground elements, paths, railings, ridges, lake shorelines, and mountain layers to give the wide view structure and depth.
- A polarizer can reduce reflections and strengthen color, while an ND filter is useful when you deliberately want longer shutter speeds.
- Do not enter the restricted staircase beside the Niesenbahn for photographs, and check Swiss aviation rules before flying a drone.
At a Glance
| Time Required | Allow at least 1–2 hours at Niesen Kulm for scouting and photography, plus about 30 minutes each way on the funicular. |
| Difficulty | Easy to moderate for summit photography, depending on weather, mobility, and how far you explore around the viewing area. |
| Tools Needed | Camera or phone, charged battery, spare storage, lens cloth, and optional tripod, polarizer, ND filter, and extra lens. |
| Cost | Variable. Budget for Niesenbahn transport and any optional overnight stay or photography equipment you do not already own. |
Best Time to Photograph the Niesen Viewpoint
The time of day can change the entire mood of a mountain photograph. Around sunrise and sunset, low-angle light often produces warmer colors, longer shadows, and stronger separation between mountain ridges. Blue hour, shortly before sunrise or after sunset, can create cooler blue and purple tones and a softer transition between the landscape and sky.
Niesen requires some extra planning because the transport schedule controls when most visitors can reach or leave the summit. For the 2026 season, the Niesenbahn operates daily from April 25 through November 8, with the possibility of an extension if weather permits. Normal morning departures from Mülenen begin at 08:00, while additional evening services run on selected Wednesdays, Fridays, and Saturdays.
If you specifically want sunrise from Niesen Kulm, do not assume that the first normal train will arrive early enough. The more reliable option is the overnight sunrise arrangement at Berghaus Niesen Kulm. Sunset photography may be possible during selected evening-service days, but sunset time changes significantly through the season, so compare the day’s sunset time with the last descent before you commit to a shoot.
The Niesen summit viewing platform stands at 2,362 metres and opens a broad panorama across the Bernese Alps, Lake Thun, surrounding valleys, and distant landscape.
Pro Tip: Do not dismiss cloudy weather. Broken clouds, fog moving through the valleys, or shafts of light across Lake Thun can create more dramatic photographs than a completely clear midday sky.
Finding the Best Vantage Points on Niesen
Choosing the right position is just as important as choosing the right camera settings. The official Niesen photo spot and summit area provide a 360-degree panorama, so walk around and compare several directions before setting up your main composition.
A high viewpoint can reveal multiple layers of mountains, water, ridges, villages, and valleys. Instead of immediately using the widest lens you own, look for one clear visual subject. Lake Thun can provide a strong shape in the frame, while overlapping ridges can create natural depth. A longer focal length can isolate those layers and compress distant peaks into a more graphic composition.
Lower viewpoints can be useful too. Crouching near a path, rock, flower, or other safe foreground element can make the distant mountains feel larger and give the photograph a stronger sense of scale. Move only within permitted visitor areas and avoid stepping beyond barriers or onto railway infrastructure to improve an angle.
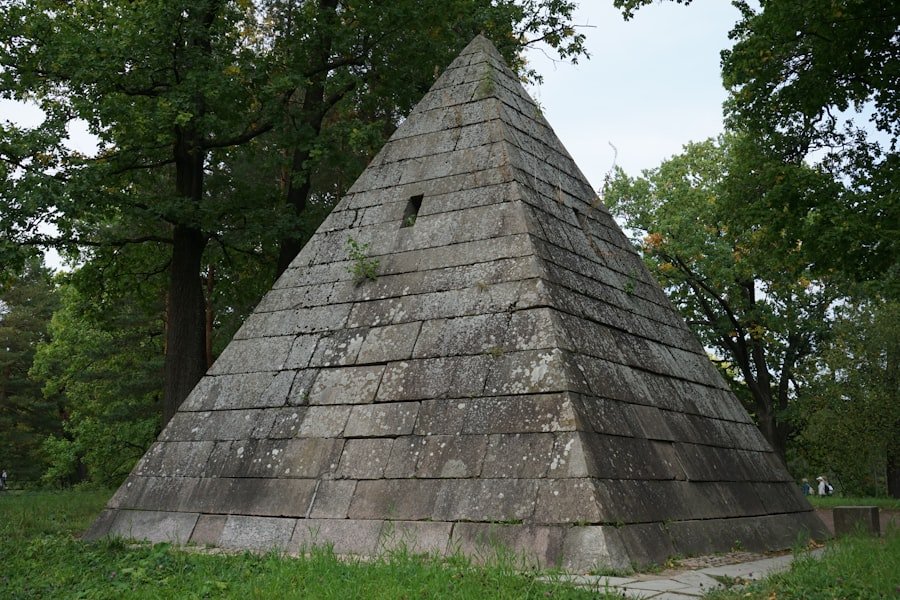
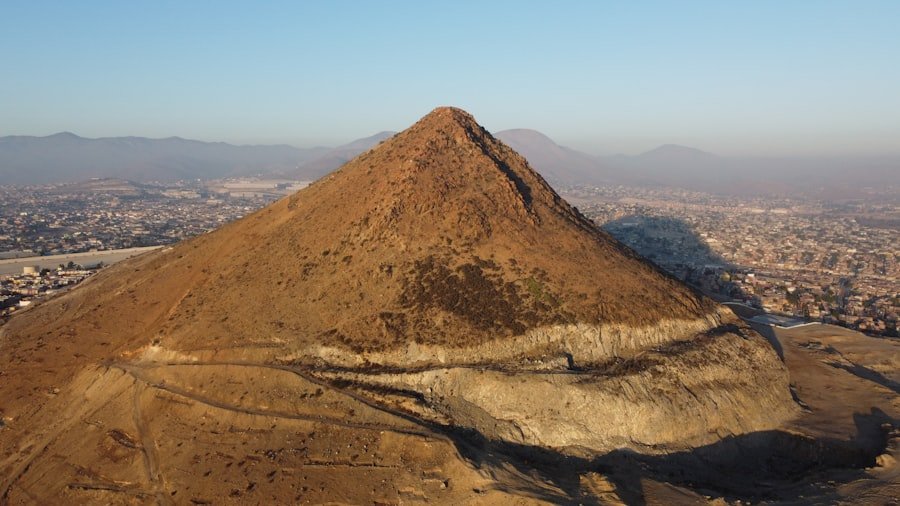
There is also an important difference between photographing from Niesen and photographing the pyramid-shaped profile of Niesen. From the summit, your main subjects are the surrounding landscape and views. If your goal is to show Niesen’s famous triangular silhouette, you need a viewpoint away from the mountain where its full shape can be seen.
Choosing Camera Settings for Niesen Landscapes
Landscape settings should match the scene rather than follow one fixed recipe. A practical starting point in normal daylight is aperture priority or manual mode, an aperture around f/8 to f/11, and your camera’s low or base native ISO. Then adjust shutter speed to produce the exposure you need.
Stopping down to f/16 can increase depth of field when the foreground is very close, but using the smallest aperture available is not automatically better. Very small apertures such as f/22 can reduce fine detail through diffraction. If you need extreme foreground-to-background sharpness, consider taking several frames focused at different distances and combining them with focus stacking instead.
Shutter speed depends on what is moving. A fast shutter speed can keep wind-blown vegetation sharp. A slower exposure can intentionally blur clouds or water. There is no single shutter speed that always creates the correct effect, so review the image and histogram and adjust based on the movement in front of you.
Keep ISO low when the camera is stable and light is sufficient. If the wind is moving plants, you are shooting handheld, or the light is fading quickly, raising ISO may give you a faster shutter speed and a sharper final image. A slightly noisier sharp photo is usually more useful than a clean but motion-blurred frame.
Useful Starting Settings
| Bright daylight panorama | f/8–f/11, low native ISO, shutter speed as required |
| Golden-hour landscape | f/8–f/11, low ISO, tripod if shutter speed becomes slow |
| Wind-blown vegetation | Use a faster shutter speed and raise ISO if necessary |
| High-contrast sky and land | Bracket several exposures for later blending |
| Intentional motion blur | Tripod, low ISO, narrow enough aperture, and ND filter when needed |
Choosing the Right Lens
A wide-angle lens is useful when you want to include a large section of the panorama, a nearby foreground object, and the sky in one frame. On a full-frame camera, focal lengths around 16–35 mm are common for this style, while equivalent wide-angle ranges work well on APS-C and Micro Four Thirds cameras.
A standard zoom is often more versatile than an ultra-wide lens. It lets you make balanced compositions without shrinking distant mountains too much. A short or medium telephoto lens can be even more useful when haze, clouds, or side light create layers across the distant ridges.
If you use a phone, switch between the main and telephoto cameras rather than automatically choosing the widest setting. Wide phone lenses can make distant mountain peaks appear much smaller than they felt in person.
Incorporating Leading Lines and Foreground Elements
| Photography Technique | Definition | Importance |
|---|---|---|
| Leading Lines | Lines within an image that guide the viewer toward a focal point | Creates depth, guides the eye, and adds visual structure |
| Foreground Elements | Objects placed near the front of the frame to add depth and perspective | Adds scale, context, and a stronger sense of place |
Leading lines help organize a large mountain scene. Roads, paths, lake shorelines, ridges, railings, and the edges of valleys can all guide the viewer toward the main subject. Look around the frame before pressing the shutter and ask where each strong line sends the eye.
Foreground elements are equally useful. Rocks, alpine plants, path edges, or other safe nearby details can create layers between the camera and distant mountains. A broad landscape with nothing near the camera can feel flat, while a carefully chosen foreground can make the same view feel three-dimensional.
For example, a patch of flowers or textured rock in the foreground can establish scale while the lake and mountains form middle and distant layers. Move slightly left, right, higher, or lower and watch how these elements overlap before deciding on the final frame.
Playing with Light and Shadows
Light can turn the same Niesen panorama into very different photographs. Direct midday light may produce harder shadows and stronger contrast, while softer morning, evening, or overcast light can reveal gentler transitions between distant mountain layers.
Side lighting is especially useful for mountains because shadows reveal the shape of slopes, ridges, and rock. Backlighting can produce silhouettes or glowing edges around clouds, but it can also create a large brightness difference between the sky and land.
When the dynamic range is too wide for one exposure, use exposure bracketing. Take a darker frame that protects bright clouds, a normal frame, and a brighter frame that records shadow detail. You can later blend them carefully while keeping the result natural.
Note: Check your histogram instead of judging exposure only from the rear screen. A screen can look bright or dark depending on ambient light, especially on an exposed mountain viewpoint.
Experimenting with Long Exposure
Long exposure photography can add movement to clouds or soften water when those elements are visible in your composition. The correct exposure time depends on how quickly the subject is moving and how much blur you want. Several seconds may create strong motion in clouds, while shorter exposures retain more texture.
During bright daylight, a neutral density filter can reduce the light reaching the sensor so you can use a slower shutter speed without severely overexposing the frame. A tripod is normally the easiest way to keep stationary parts of the image sharp.
If conditions are windy, keep the tripod legs firmly planted, avoid extending the center column unnecessarily, and remove loose straps or accessories that can vibrate. Image stabilization settings vary by camera and lens, so follow your equipment manufacturer’s guidance when the camera is mounted on a tripod.
Using Filters to Enhance the Landscape
A circular polarizing filter is useful when reflections or haze are reducing contrast. Rotating the filter changes its effect, allowing you to reduce glare from reflective surfaces and strengthen color in parts of the landscape.
Be careful with very wide lenses. A polarizer can darken one section of a wide blue sky more strongly than another, creating an uneven look. Watch the entire frame while rotating the filter rather than simply turning it to maximum strength.
A neutral density filter serves a different purpose. It reduces the amount of light entering the lens so you can use a longer shutter speed in bright conditions. This is useful for deliberate cloud or water movement.
Graduated filters can help balance a bright sky and darker foreground in some scenes, although exposure bracketing gives you another option when mountains or trees create an irregular horizon.
Post-Processing Techniques for Stronger Results
Post-processing should refine the photograph rather than rescue poor planning. Start by correcting exposure and white balance, then adjust highlights and shadows to recover detail without making the image look flat.
Mountain photographs often benefit from restrained contrast and dehaze adjustments, especially when atmospheric haze separates distant ridges. Too much dehaze or clarity can create halos around mountain edges and make clouds look unnatural, so inspect the image at high magnification before exporting.
Color adjustments should also be controlled. Warm light at sunrise or sunset does not need extreme saturation to look dramatic. Small changes to vibrance, white balance, and local contrast usually produce a more believable result.
Panorama stitching is useful when the view is wider than your lens can capture without making distant mountains tiny. Shoot a series of overlapping vertical frames with the camera level, keep exposure and focus consistent across the sequence, and combine them later in compatible editing software.
Focus stacking can help when a foreground subject sits very close to the camera and you still want distant mountains sharp. Take several images focused progressively farther into the scene, then merge the sharp areas in post-processing. This can provide greater depth of field without relying entirely on very small apertures.
Planning Your Niesen Photography Visit
The Niesenbahn valley station is in Mülenen next to the railway station. The funicular travels in two sections, with a change at Schwandegg, and the total journey to Niesen Kulm takes about 30 minutes. The mountain station is at 2,336 metres, while the summit viewing platform reaches 2,362 metres.
For the 2026 season, scheduled daily operation runs from April 25 through November 8, with a possible extension in good weather. Because transport schedules and mountain conditions can change, check the official timetable shortly before traveling rather than relying on an old screenshot or travel article.
Warning: The staircase running beside the Niesen railway is maintenance and emergency infrastructure. Niesenbahn states that unauthorized access is prohibited. Do not enter the stairs or railway area to obtain a photograph.
Mountain conditions can change quickly. Bring a warm or wind-resistant layer even when the valley feels comfortable, protect the camera from rain or condensation, and avoid unstable edges while concentrating on a composition.
Drone Photography
Do not assume that being on a mountain means a drone can be flown anywhere. Swiss Federal Office of Civil Aviation rules apply. In the open category, flights are generally limited to 120 metres above ground level, restrictions around uninvolved people apply, and geographical flight restrictions must be checked before each flight.
Camera-equipped drone operators may also have registration requirements. Check the current Swiss FOCA drone map, local restrictions, and any site-specific rules before launching. Manned aircraft always have priority, which is especially important in mountain areas where helicopters, paragliders, or other aircraft may be present.
Frequently Asked Questions
What is the Niesen pyramid viewpoint?
Niesen is a pyramid-shaped mountain in Switzerland’s Bernese Oberland. The summit viewing platform is at 2,362 metres and provides a broad panorama over Lake Thun, the Bernese Alps, surrounding valleys, and distant landscape.
How do I get to the Niesen pyramid viewpoint?
Travel to Mülenen and take the Niesenbahn funicular toward Niesen Kulm. The journey uses two funicular sections with a change at Schwandegg and takes about 30 minutes in total. From the mountain station, continue to the summit viewing area.
Is the Niesen funicular the longest in Switzerland?
No. The well-known superlative at Niesen applies to the staircase beside the railway, which has 11,674 steps and is promoted by Niesenbahn as the world’s longest staircase. The Niesenbahn itself is a two-section funicular.
What camera settings should I use at Niesen?
For a normal daylight landscape, try f/8 to f/11, a low native ISO, and a shutter speed that gives a correct exposure. Increase shutter speed if plants or other subjects are moving, use a tripod for slow exposures, and bracket exposures when the sky is much brighter than the land.
What lens is best for Niesen landscape photography?
A wide-angle or standard zoom works well for large panoramas and foreground-based compositions. A telephoto lens is valuable for isolating distant peaks, villages, clouds, or layered mountain ridges. Carrying one versatile zoom is often easier than changing lenses repeatedly in exposed conditions.
Can I photograph sunrise from Niesen Kulm?
Yes, but normal morning funicular service may begin too late for sunrise. If sunrise is the goal, check the official overnight sunrise arrangement at Berghaus Niesen Kulm and confirm the current operating dates before booking.
Can I photograph sunset from Niesen?
Potentially. Niesenbahn operates additional evening services on selected days during the season. Compare the day’s sunset time with the official ascent and last-descent schedule because an evening train does not automatically guarantee that you can remain until sunset.
Are there restrictions or safety rules for photography at Niesen?
Use normal visitor areas, respect barriers and posted instructions, and do not enter the staircase or railway infrastructure for a photograph. Drone photography follows separate Swiss aviation rules, including altitude, people, registration, and geographical-restriction requirements.
Sources
- Niesenbahn Official Timetable — current operating season, normal departures, evening services, and journey time.
- Niesenbahn Technology and Technical Data — railway sections, station elevations, summit elevation, gradients, and travel time.
- Switzerland Tourism: Niesen Photo Spot — official tourism information about the summit photo spot and panoramic view.
- Niesenbahn Stairway Information — 11,674-step staircase and restrictions on unauthorized access.
- Swiss Federal Office of Civil Aviation: Drone Flight Rules — national drone altitude, people, registration, and operational rules.
- Canon: Hyperfocal Focusing — depth of field, small-aperture use, and diffraction considerations.