Blausee is one of the most distinctive photography locations in Switzerland’s Bernese Oberland, with exceptionally clear blue water, moss-covered rocks, forest paths, reflections, and visible fish beneath the surface. Getting strong photos here is less about owning expensive equipment and more about planning around the light, controlling reflections, choosing clean compositions, and respecting the rules of the privately operated nature park.
Quick Answer
To photograph Blausee well, visit during park hours when the light is soft, protect highlights on the water, and build compositions with forest, rocks, reflections, and fish. Use a polarizer only when you want less glare. The park opens at 09:00, so ordinary visitors should not plan on sunrise access.
Key Takeaways
- Blausee is groundwater-fed and known for exceptionally clear blue water, forest scenery, moss-covered rocks, and visible fish.
- A smartphone can produce excellent results; a wide-angle lens, telephoto lens, tripod, and circular polarizer simply provide more creative options.
- The nature park opens daily from 09:00 and normally stays open until 21:00, so plan photography around actual access rather than assuming sunrise entry.
- Use reflections deliberately. A polarizer can reduce glare, but turning it too far may remove the mirror-like reflection you wanted to photograph.
- Work from established visitor paths and lake-side areas instead of disturbing plants or blocking narrow walking routes with equipment.
- Verified animal subjects include trout, sturgeon, and seasonal llamas. Never feed the fish.
- Drone photography is prohibited inside Blausee Nature Park.
At a Glance
| Time Required | About 1.5 to 3 hours for an unhurried photography visit |
| Difficulty | Easy to moderate; the main access is short, while smaller forest paths include roots, stones, and uneven ground |
| Tools Needed | Smartphone or camera, spare battery, lens cloth; optional wide-angle lens, telephoto lens, tripod, and circular polarizer |
| Cost | Paid nature-park admission; prices vary by season and day, with transport or parking costs additional |
Plan Your Blausee Photography Visit
Blausee sits in the Kandertal region of the Bernese Oberland. The official Blausee Nature Park describes a 20-hectare landscape of forest paths, rocks, gorges, and the blue lake. The lake is fed by groundwater flowing from the Kander valley.
Its blue appearance should not be explained simply as a product of “mineral-rich water.” The lake’s remarkable clarity is important, and the general physics of clear blue water also involves selective absorption of longer red wavelengths. The U.S. Geological Survey’s explanation of water color provides useful background on that process.
Timing matters because Blausee is not an unrestricted wilderness location. According to the official Blausee visitor FAQ, the nature park opens every day at 09:00 and normally remains open until 21:00, although events can cause exceptions. Admission is charged, and prices vary by season and day.
Note: Sunrise photography is normally not practical for ordinary day visitors because the park opens at 09:00. Evening light can be more realistic when sunset falls before closing time. Check the official opening hours and current weather before leaving.
If you are carrying a tripod or several lenses, pack as lightly as practical. The main accessible route to the lake is paved, but many of the smaller nature-park paths have roots, stones, and uneven surfaces. Visitors using wheelchairs or pushchairs should use the designated accessible route described by the park.
Choosing the Right Equipment for Capturing Blausee
You do not need a professional camera to photograph Blausee. Modern phones can handle wide scenes, reflections, close details, and short video clips very well. Clean the phone lens before shooting, tap on the bright water to control exposure, and avoid excessive digital zoom.
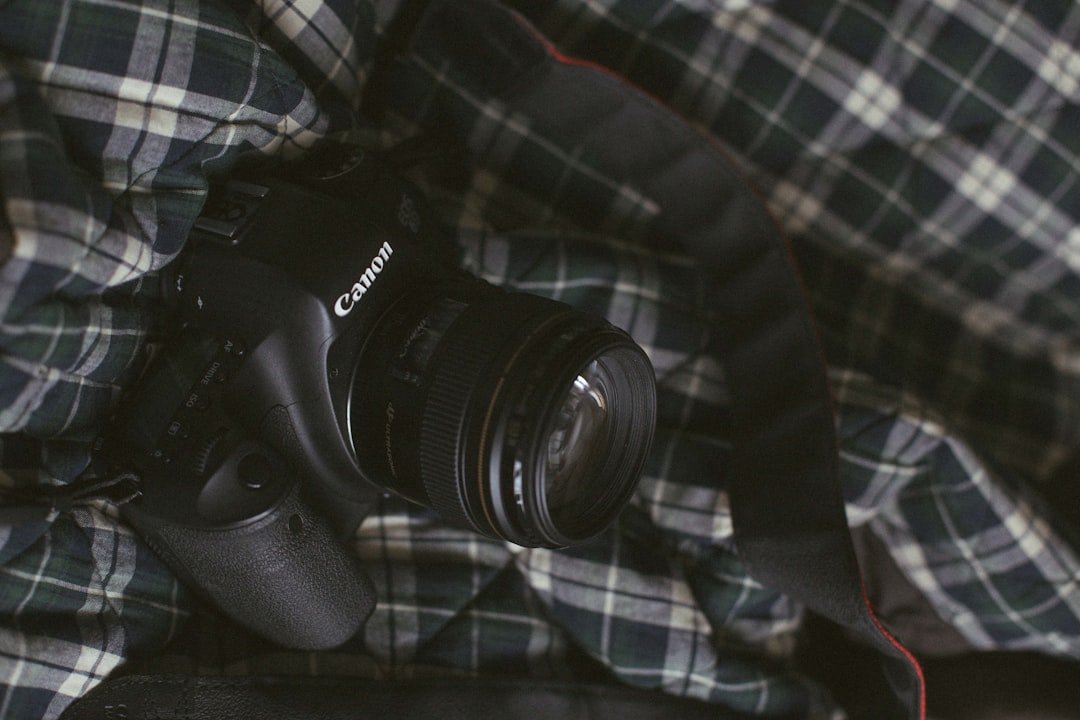
A DSLR or mirrorless camera gives you more direct control over aperture, shutter speed, focal length, and filters. A wide-angle lens is useful when you want the lake, trees, rocks, and surrounding landscape in one frame. A standard zoom is the most flexible single-lens option. A telephoto lens lets you isolate fish, reflections, small groups of trees, rock details, and compressed layers without moving closer to sensitive subjects.
A tripod can help with careful compositions and slower shutter speeds, particularly in dim forest light. Keep its legs within your working area so they do not block narrow paths. Extra batteries, a spare memory card, and a microfiber lens cloth are worth carrying because damp or changeable mountain weather can leave droplets on the front element.
A circular polarizing filter is especially useful around water and wet foliage. As Adobe explains in its filter guidance, a polarizer can reduce glare and reflections. That is useful when you want to see beneath Blausee’s surface, but it is not automatically better for every photograph.
Pro Tip: Rotate your polarizer while looking through the viewfinder or rear screen. Stop when you have the balance you want between underwater detail and surface reflection. Maximum polarization can remove a beautiful reflection that would have strengthened the photograph.
Finding the Perfect Lighting and Composition
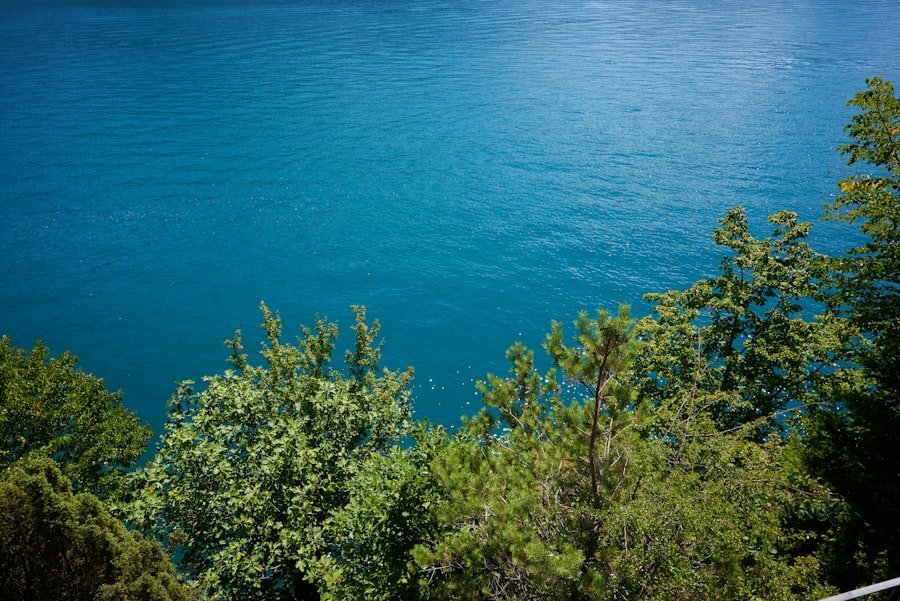
Light changes the character of Blausee quickly because the lake sits among trees, rocks, and mountain terrain. Instead of assuming sunrise is available, work with the softer light you can find after the 09:00 opening or later in the day. Cloudy conditions can also be excellent because softer light reduces harsh contrast between bright water and dark forest.
Before travelling, check the current forecast through MeteoSwiss. Clouds, rain, snow, wind, and seasonal conditions can change both the look of the lake and the equipment you need.
For composition, start with the rule of thirds but do not treat it as a requirement. Place the shoreline, a prominent tree, a rock, or a reflection where it gives the frame visual balance. Then try a centered composition when the lake produces strong symmetry.
Look for natural leading lines in paths, shorelines, tree trunks, bridges, and reflections. Foreground moss, rocks, or branches can create depth, but avoid including objects merely because they are close to the camera. Every element should support the main subject.
Useful Starting Camera Settings
- General landscape: Start around ISO 100 to 200 in good light and use an aperture such as f/8 when you want broad depth of field.
- Handheld forest scenes: Raise ISO when necessary to maintain a shutter speed fast enough to avoid camera shake.
- Still reflections: Use a tripod when light is low, focus carefully, and expose so bright reflected areas retain detail.
- Fish or moving animals: Use a faster shutter speed and continuous autofocus if your camera supports it.
- Smartphone: Tap the brightest important part of the water, lower exposure slightly if highlights look washed out, and take both standard and wider compositions.
These are starting points rather than fixed recipes. The correct settings depend on available light, focal length, camera stabilization, subject movement, and the look you want.
Capturing the Crystal Clear Waters and Lush Surroundings
| Scene | What to Emphasize | Useful Technique |
|---|---|---|
| Open water | Blue color and reflections | Compare shots with and without strong polarization |
| Forest edge | Moss, trunks, rocks, and depth | Use foreground elements and protect bright-water highlights |
| Fish and underwater detail | Clarity beneath the surface | Reduce glare with a polarizer and use a faster shutter for moving fish |
The water is one of Blausee’s defining photographic features. The official nature-park information notes that submerged tree trunks and boulders can remain visible deep below the surface because of the lake’s exceptional clarity. That gives you two different creative directions: photograph the surface as a reflective mirror, or reduce glare and reveal underwater detail.
If you want maximum image quality, keep ISO as low as your shutter speed allows. For a broad landscape where both foreground and background matter, a mid-range aperture such as f/8 is often a useful starting point. Do not automatically choose the smallest possible aperture, because very small apertures can soften detail through diffraction on many cameras.
Expose carefully for bright reflections. Digital highlights that are completely clipped cannot be restored reliably later. When in doubt, make a test frame, review the histogram or highlight warning if your camera provides one, and reduce exposure slightly if important areas are blown out.
Foreground rocks, moss, branches, and shoreline details can make viewers feel closer to the scene. Keep the frame clean, however. A foreground element should lead the eye toward the lake rather than cover it.
Exploring Different Angles and Perspectives
Blausee rewards small changes in camera position. A photograph made from standing height can look completely different when you lower the camera toward a foreground rock or move several metres along an established path.
Try a low viewpoint to make moss, rocks, or shoreline details larger in the foreground. Try a higher permitted position when you want more of the lake’s shape visible. A telephoto lens can create another perspective by compressing trees, water, and distant terrain into tighter layers.
Instead of wandering away from visitor routes in search of an “undiscovered” angle, work patiently from the network of paths and lake-side visitor areas. Moving only a short distance left or right can remove distracting branches, separate overlapping trees, or line up a reflection without disturbing vegetation.
Also remember that “Blausee viewpoint” does not have to mean one exact platform. Photographers can build different viewpoints from the lake shore, forest paths, permitted elevated areas, and seasonal boat experience. Treat the whole nature park as a collection of compositions rather than searching for one mandatory frame.
Incorporating Wildlife and Nature into Your Shots
Blausee’s clear water makes its fish one of the most distinctive natural subjects. The official park information confirms trout and sturgeon in the lake. Seasonal llamas can also be found in the Sommerau area during summer.
Use patience rather than chasing animals for a frame. Watch the water for a few minutes and notice where fish repeatedly pass through patches of good light. A telephoto lens can help isolate an animal while allowing you to remain unobtrusive.
When photographing fish through the surface, experiment with your polarizer. Reducing reflected sky and trees may reveal more underwater detail. For a fish that is moving quickly, increase shutter speed and raise ISO as needed rather than accepting motion blur you did not intend.
The official park rules prohibit feeding trout and sturgeon. Swimming and fishing in Blausee are also prohibited. These rules protect the lake and its animals, so a photograph should never require interfering with wildlife or entering the water.
Photography Rules and Visitor Etiquette at Blausee
Warning: Drone photography is not permitted inside Blausee Nature Park. The park also prohibits swimming, fishing, and feeding the trout or sturgeon. Check the official visitor FAQ before your trip because operating conditions and special-event hours can change.
Handheld photography from normal visitor areas is much simpler, but photographers should still avoid blocking paths, restaurant access, bridges, or popular viewing positions for long periods. If you use a tripod, keep the legs compact when other visitors need to pass.
Be considerate when people appear in your frame. Waiting a few seconds often produces a cleaner landscape without requiring anyone to move. For portraits, choose a location where your group does not monopolize a narrow path or lake-side viewing area.
Anyone considering aerial photography elsewhere in Switzerland should consult the Federal Office of Civil Aviation’s current drone restrictions, but this does not override Blausee’s own rule: drones are prohibited inside the nature park.
Enhancing Your Blausee Photos with Editing Techniques
Post-processing should strengthen what was present rather than turn Blausee into an unnatural version of itself. Begin with exposure and white balance. Recover bright areas if possible, lift overly dark forest shadows carefully, and then adjust contrast.
Be restrained with saturation. Blausee already has strong blue and turquoise tones, so large global saturation increases can make the lake look artificial. If your editing software supports local adjustments, work separately on water, foliage, sky, and foreground rather than forcing the entire frame in one direction.
Adobe Lightroom, for example, can identify landscape components such as water, vegetation, mountains, snow, and sky through its masking tools. Local adjustments make it easier to brighten a dark foreground or control water color without changing every other element in the photograph.
Cropping can improve balance when distracting edges slipped into the frame. Straighten obvious horizons and vertical elements when needed, but avoid cropping so aggressively that image quality suffers.
Before removing people, objects, or natural details with editing tools, consider whether the change still represents the scene you intend to document. For travel photography, a believable result often ages better than an exaggerated edit.
Preserving the Memories of Blausee for Years to Come
Photographs become more useful when they are organized soon after the trip. Back up the original files before making major edits, ideally keeping copies in more than one location. For camera users, preserve RAW files when possible because they retain more editing latitude than heavily compressed exports.
Create a small collection rather than keeping hundreds of nearly identical frames. A strong Blausee set might include one wide establishing image, a reflection, underwater detail, a forest composition, an animal photograph, a close detail, and one image showing the human experience of visiting the lake.
A printed photo book can combine those images with a few notes about the weather, season, route, or memorable moments from the visit. Selected photographs can also work as wall prints or cards. Digital galleries are useful for sharing, but maintaining full-resolution backups ensures the original photographs remain available long after social platforms and devices change.
The strongest Blausee photographs do not depend on one secret viewpoint. They come from watching how clear water, reflections, forest, light, and small details change as you move through the park.
Frequently Asked Questions
What is the Blausee viewpoint?
“Blausee viewpoint” is best understood as a general reference to photographic views of Blausee rather than one required official lookout. Visitors can photograph the lake from different permitted areas around the nature park, including lake-side and forest-path perspectives.
Where is the Blausee viewpoint located?
Blausee is in the Kandertal region of the Bernese Oberland in Switzerland, in the municipality of Kandergrund. Public transport is available via Frutigen or Kandersteg, followed by a bus to the Blausee BE stop.
What are the best photography tips for Blausee?
Protect bright highlights on the water, photograph both reflections and underwater detail, use foreground rocks or trees for depth, and try several positions along permitted visitor routes. A polarizer can reduce glare, while a telephoto lens is useful for fish and isolated landscape details.
What is the best time of day to photograph Blausee?
Soft light after opening and later-day light are good starting points. The nature park currently opens at 09:00, so ordinary visitors should not plan on sunrise access. The park normally remains open until 21:00, although special opening hours can apply.
Should I use a polarizing filter at Blausee?
A circular polarizer can be very useful because it reduces glare from the water and wet foliage. Rotate it gradually and watch the effect. If reflections are an important part of the composition, using maximum polarization may remove more reflection than you want.
Are there any photography restrictions at Blausee?
Yes. Drone flying is prohibited inside Blausee Nature Park. Visitors must also follow the park’s nature-protection rules, including the bans on swimming, fishing, and feeding the trout or sturgeon. Regular handheld photography should be done without obstructing paths or disturbing animals and other visitors.
Can I photograph Blausee with a smartphone?
Yes. A smartphone is enough for wide lake views, reflections, forest details, portraits, and video. Clean the lens first, tap to expose for the bright water, avoid unnecessary digital zoom, and make several compositions from different permitted positions.
What other attractions are at Blausee?
The nature park includes woodland and gorge paths, a playground and picnic area, the Hotel and Restaurant Blausee, the organic trout operation, and seasonal experiences. In summer, a glass-bottom rowing-boat trip operates on the lake and is included with qualifying day admission.
Sources
- Blausee Nature Park – official information about the lake, groundwater supply, water clarity, park landscape, paths, boat trip, trout, and seasonal attractions.
- Blausee Official FAQ – current opening hours, admission information, access, accessibility, animal rules, swimming and fishing restrictions, and drone prohibition.
- U.S. Geological Survey: Water Color – scientific background on why sufficiently clear water can appear blue.
- MeteoSwiss – official Swiss weather forecasts and conditions for planning an outdoor photography visit.
- Adobe Photography: Lens Filters – guidance on polarizing filters, glare, reflections, and outdoor photography.
- Swiss Federal Office of Civil Aviation – current national guidance on geographical drone-flight restrictions.