Photographing Moléson is about more than pointing a camera toward the Alps. The summit rises to 2,002 metres above the La Gruyère region in the canton of Fribourg, giving you broad views of mountains, valleys, lakes, ridges, meadows, and changing Alpine weather. Good planning matters because the light, visibility, lift timetable, and conditions at the summit can all affect the photographs you come home with.
Quick Answer
The best way to photograph Moléson is to plan around weather and lift access, arrive with time to scout, and shoot a mix of wide landscapes, telephoto layers, and close details. Use low ISO when light allows, choose an aperture for the depth you need, protect bright highlights, and prioritize mountain safety over any shot.
Key Takeaways
- Check the official Moléson lift timetable, weather forecast, and visibility before planning a summit photography session.
- Use wide-angle compositions for scale, normal focal lengths for natural-looking scenes, and telephoto lenses for distant peaks and compressed mountain layers.
- Treat ISO, aperture, and shutter speed as starting points that change with the light, wind, subject, and whether you are using a tripod.
- Include foreground elements, trails, ridges, flowers, buildings, or people for scale instead of photographing only distant mountains.
- Leave exposed summits and ridges when thunderstorms threaten, and check Swiss rules separately before flying a drone.
At a Glance
| Time Required | Allow roughly 1–3 hours for a relaxed photography session at or near the summit, plus travel or hiking time. |
| Difficulty | Easy for photography close to lift-served areas; more demanding if you hike ridges or surrounding trails. |
| Tools Needed | Camera or smartphone, charged battery, lens cloth, and suitable mountain clothing. Optional: wide-angle lens, telephoto lens, tripod, polarizing filter, spare battery, and rain protection. |
| Cost | Your existing photography gear plus transportation or mountain-lift fares if used. Check current prices before visiting. |
Finding the Best Moléson Viewpoint
The strongest photograph usually starts before you press the shutter. Moléson offers several types of perspective, from broad summit panoramas to lower viewpoints where ridges, paths, meadows, and buildings can become foreground elements.
The official Moléson funicular and cable-car information explains that the funicular climbs from Moléson-sur-Gruyères toward Plan-Francey and the cable car continues to the 2,002-metre summit. You can also reach mountain areas on foot, but hiking adds time, effort, and additional weather considerations.
At the summit, avoid automatically placing the horizon through the middle of every frame. Look first for a foreground that helps show scale. A path, patch of alpine grass, rocky edge, railing, chalet, person, or nearby ridge can give the distant landscape more depth.
Telephoto compositions deserve just as much attention as wide views. Zooming toward distant ridges can stack several mountain layers into the frame and make variations in haze, light, and shadow more obvious.
Note: Sunrise and sunset do not automatically match mountain-lift operating hours. Check the current Moléson timetable before building a golden-hour plan around lift access.
At 2,002 metres, Moléson gives photographers a high, open perspective over the region, but that exposure also makes weather, visibility, wind, and access part of the photography plan.
Understanding the Lighting
Light has a major effect on how Moléson appears in a photograph. Early and late light can produce long shadows and warmer tones, while midday light may create stronger contrast. Cloudy conditions are not automatically bad. Diffused light can reduce harsh highlights and reveal textures in meadows, rocks, flowers, and buildings.
When the sun is strong, pay close attention to bright clouds and reflective surfaces. If your camera offers a histogram or highlight warning, use it to check whether important bright areas are losing detail. It is often easier to lift slightly dark shadows during editing than to recover completely clipped highlights.
A circular polarizing filter can reduce some glare and strengthen contrast in certain conditions, especially when photographing foliage or reflective surfaces. Rotate it while looking through the viewfinder or screen because the effect changes with your angle to the sun. With very wide lenses, polarization can look uneven across a large blue sky, so check the entire frame before shooting.
Backlighting can also work well. Photographing toward the sun may create silhouettes, rim light around grass or people, and dramatic sky shapes. Use the bright sky as your exposure reference when you deliberately want the foreground to become a silhouette.
Pro Tip: Do not leave immediately after the strongest direct sunlight disappears. Softer color and more even contrast can develop as the sun moves behind surrounding terrain or clouds.
Choosing the Right Equipment
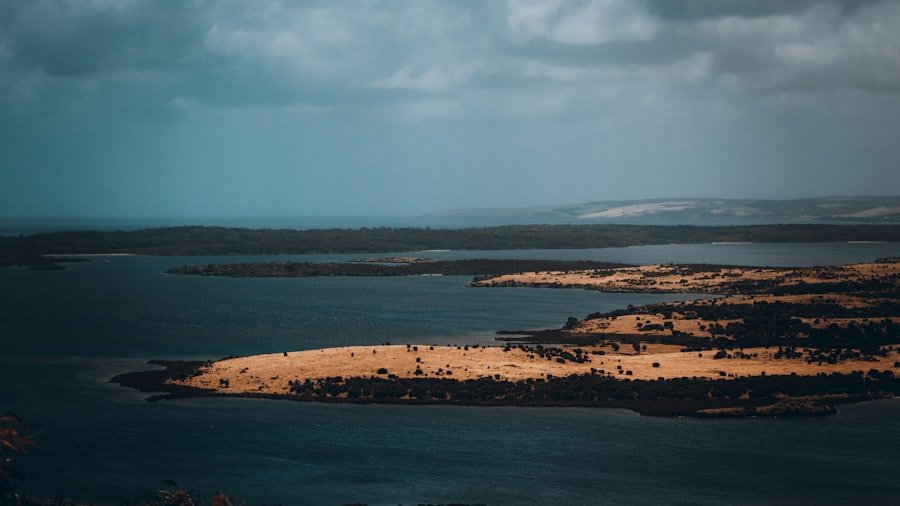
You do not need an expensive camera to photograph Moléson well. Knowing the limits of your camera or phone matters more than carrying equipment you do not know how to use.
A wide-angle lens is useful when you want to show a large section of the landscape or combine a close foreground with distant mountains. A normal zoom often gives a more natural-looking perspective. A telephoto lens is valuable for isolating individual peaks, villages, ridges, clouds, or bands of light across distant slopes.
A tripod can help when shutter speeds become slow, when you want to bracket exposures carefully, or when you are photographing in dim evening light. It is not essential for every daytime photograph. On an exposed mountain, a lightweight tripod also needs to be placed securely so wind does not shake the camera or knock the setup over.
Keep a lens cloth easy to reach. Mist, drizzle, fingerprints, and moisture can soften an otherwise sharp photograph. A spare battery is also useful because cold conditions can reduce battery performance.
Useful Camera Settings for Moléson
There is no single correct setting for mountain photography, but a few starting points make it easier to react to changing conditions.
| Situation | Practical Starting Point |
| Bright landscape | Use a low ISO such as ISO 100 or your camera’s base ISO, then try around f/8 to f/11 when you want broad depth of field. Let the available light and subject movement determine shutter speed. |
| Golden hour | Keep ISO low when possible and watch shutter speed as light fades. Use a tripod if the shutter becomes too slow for a sharp handheld photograph. |
| Windy conditions | Prioritize a faster shutter speed if grass, flowers, clothing, or the camera itself is moving. Raise ISO when needed rather than accepting unwanted motion blur. |
| Silhouette | Expose for the bright sky and allow the foreground subject to become dark. |
| Flowers and details | Use a wider aperture when you want a softer background, or stop down when the subject needs more front-to-back sharpness. |
If you shoot RAW, you normally retain more flexibility for adjusting exposure and color later. JPEG is still perfectly usable when you prefer finished files straight from the camera.
Smartphone Settings
A modern phone can handle many Moléson scenes well. Clean the camera lens first, tap the main subject to set focus, and reduce exposure slightly if bright clouds are losing detail. Use the phone’s optical focal lengths where possible instead of heavy digital zoom. If your phone supports RAW capture and you intend to edit later, RAW can provide extra adjustment flexibility.
Composing the Shot
Moléson provides enough scenery that it is easy to include too much. Before taking a photograph, decide what you actually want the viewer to notice. A strong main subject usually produces a clearer photograph than an equally weighted collection of mountains, sky, people, buildings, and paths.
| Aspect | How to Use It at Moléson |
| Rule of Thirds | Try placing an important peak, person, or horizon near a third instead of automatically centering everything. |
| Leading Lines | Use paths, ridges, fences, shadows, or the direction of a valley to guide the eye toward your main subject. |
| Balance | If a large mountain dominates one side, look for a smaller foreground feature or patch of light that gives the opposite side visual weight. |
| Depth of Field | Use deeper depth of field when foreground and mountains both matter, and shallower depth of field when isolating flowers, textures, or other small subjects. |
Rules are starting points, not requirements. A centered composition can work when the scene is symmetrical, while an intentionally empty area of sky can make a small person or mountain ridge feel more isolated.
Capturing the Details
Wide landscapes are only one part of Moléson. Smaller photographs can give a set of images more variety and make the location feel more personal. Look for alpine plants, textures in rocks, droplets after rain, weathered timber, patterns in grass, architectural details, and changing clouds.
If your lens focuses closely, move nearer to a small subject and simplify the background. A wider aperture can soften distracting surroundings, while a longer focal length may help isolate details without stepping into vegetation.
Pro Tip: Build a complete visual story by taking three versions of the location: one wide establishing view, one medium composition, and one close detail. This creates more variety than returning home with dozens of nearly identical panoramas.
Details can also show the human side of the region. Chalets, mountain facilities, paths, and people moving through the landscape provide context and scale. Respect private spaces and avoid blocking paths while composing a photograph.
Utilizing Different Angles
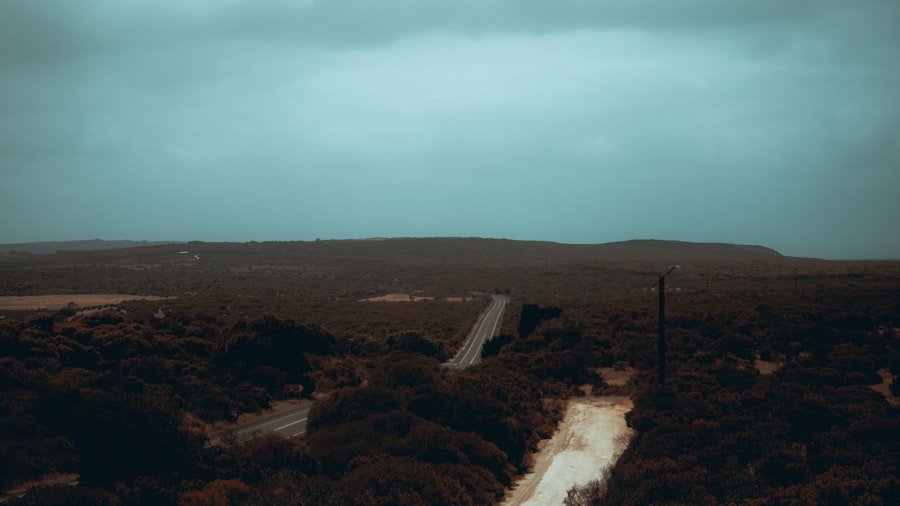
The height of your camera can change the photograph significantly. Shooting from a lower angle can make foreground grass or rocks more prominent and give the mountains greater visual presence. A higher position can reveal patterns in trails, fields, valleys, and rooftops below.
Do not change position only by tilting the camera. When conditions are safe, move a few steps left, right, forward, or backward and watch how foreground objects separate from distant peaks. Small movements can prevent branches, signs, people, or ridges from overlapping awkwardly.
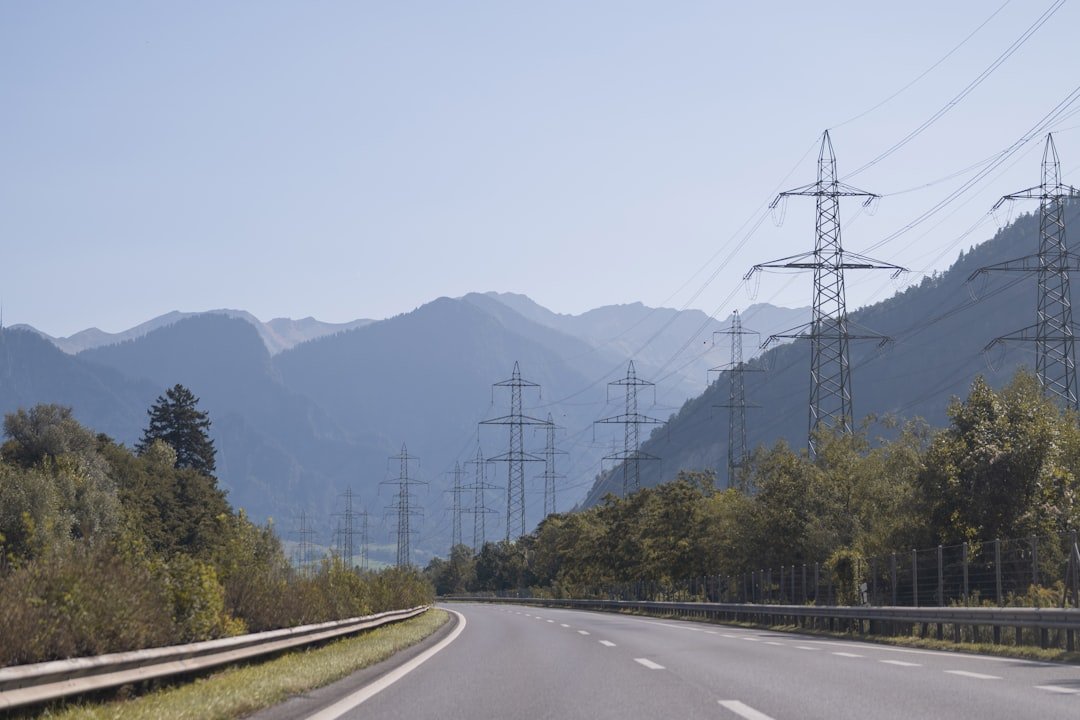
Telephoto lenses create another type of angle by narrowing the field of view and making distant layers appear visually closer together. This is especially useful when haze, clouds, or patches of sunlight create repeating bands across the landscape.
Weather, Seasonal Conditions, and Safety
Weather should be checked before any Moléson photography trip. The official Moléson webcams can help you judge visibility and current mountain conditions, while MeteoSwiss hazard information provides official warnings for thunderstorms, wind, rain, snow, frost, and other hazards.
Warning: Do not remain on an exposed summit, ridge, or open mountain area to finish a photograph when thunderstorms threaten. MeteoSwiss specifically advises avoiding exposed mountain ridges and peaks during thunderstorms. Follow official warnings and move to appropriate shelter early.
Conditions also change the character of photographs. Spring and early summer can provide fresh vegetation and lingering snow on higher mountains. Summer brings greener slopes and longer daylight. Autumn can produce warmer vegetation tones and clearer-looking layers on some days. Winter can transform the scene completely, but snow, ice, cold, and reduced daylight require more careful travel and equipment planning.
Wind is another practical issue. Use a secure camera strap, avoid placing loose equipment near exposed edges, and stabilize a tripod before letting go of it. Keep rain protection accessible rather than buried at the bottom of your bag.
Editing and Enhancing the Photos
Editing can refine a Moléson photograph without making the landscape look artificial. Start by correcting exposure and white balance. Then make smaller adjustments to highlights, shadows, contrast, and color.
Programs such as Adobe Lightroom and Photoshop provide local adjustment tools that let you brighten or darken specific parts of an image instead of applying heavy changes everywhere. This is useful when the sky is much brighter than the valley or when distant mountain layers need a small contrast adjustment.
Avoid pushing clarity, saturation, dehaze, or sharpening so far that halos appear around ridgelines or colors become unrealistic. Mountain scenes already contain strong natural shapes, so restrained editing usually ages better than an aggressive effect.
Before exporting, zoom in and check the edges of the frame. Remove distracting dust spots where appropriate, correct obvious lens distortion if needed, and make sure important highlights still contain detail.
Tips for Sharing and Showcasing the Beauty of Moléson
Once your photographs are edited, choose a small number of strong images instead of sharing every variation. A sequence often works better when it includes a wide landscape, a tighter mountain composition, a detail, and one photograph that shows a person or recognizable feature for scale.
Captions are more useful when they add information rather than simply repeat what the image shows. You might mention the weather, light, focal-length choice, or the reason you selected a particular viewpoint. Accurate location information can also help viewers understand the photograph.
Social platforms can be useful for sharing Moléson images, but a personal website, printed portfolio, photo book, exhibition, or local photography group can give a series more permanence. When recognizable people are a major part of an image, consider their privacy before publishing.
Photography Rules, Drones, and Visitor Etiquette
For ordinary handheld photography, follow posted signs, temporary event instructions, and requests from staff. Avoid blocking trails, lift entrances, viewing areas, restaurant access, or other visitors while setting up a tripod.
Drone photography is different. Switzerland’s Federal Office of Civil Aviation states that open-category drone operations are subject to flight rules including a general maximum height of 120 metres above ground and restrictions involving assemblies of people. Requirements can vary by aircraft and operation.
Before every drone flight, consult the official FOCA drone flight rules and geographical flight restrictions. Do not assume that being allowed to stand somewhere with a camera means you are automatically allowed to launch a drone there.
Privacy also matters when aerial images include people or private property. Keep the photograph focused on the landscape whenever possible and follow current Swiss privacy and aviation requirements.
Frequently Asked Questions
What is the Moléson viewpoint?
Moléson is a 2,002-metre mountain above the La Gruyère region of Fribourg, Switzerland. The summit area provides broad views across Alpine terrain, valleys, lakes, and surrounding countryside.
Where is the Moléson viewpoint located?
Moléson is reached from Moléson-sur-Gruyères in the canton of Fribourg. The official visitor site recommends using “Moléson-sur-Gruyères” as the destination when navigating to the mountain facilities.
How do you reach the Moléson summit for photography?
The official mountain system uses a funicular toward Plan-Francey followed by a cable car to the summit. Hiking routes are another option. Check the current operating timetable and trail conditions before choosing your approach.
What is the best time to photograph Moléson?
Early or late light can produce warmer color and longer shadows, while cloudy conditions can create softer light and better detail. The best practical time also depends on visibility, weather, season, and mountain-lift hours, so check all four before planning around sunrise or sunset.
What camera settings should I use at Moléson?
For a bright landscape, a low ISO and an aperture around f/8 to f/11 are useful starting points when you want broad depth of field. Adjust shutter speed and ISO for wind, changing light, moving subjects, and whether you are shooting handheld or with a tripod.
Do I need a tripod at the Moléson viewpoint?
No. A tripod is most useful in low light, for slower shutter speeds, or when you want very consistent framing. During bright daylight, a camera or phone can often be used handheld. If you do use a tripod, secure it carefully in windy or exposed conditions.
Are there photography restrictions at Moléson?
For ordinary photography, follow current signs, staff instructions, event rules, and normal visitor etiquette. Do not assume that rules are identical in every facility or during every event. Drone photography is regulated separately under Swiss aviation rules.
Can I fly a drone at Moléson?
Do not assume that a drone flight is permitted simply because the summit is open to visitors. Check the current Swiss FOCA flight rules and geographical restriction map before every flight, and comply with applicable registration, operating, safety, and privacy requirements.
Sources
- Moléson Funicular & Cable Car — summit elevation and mountain-lift access.
- Moléson Mountain Lift Timetable — current lift operating periods and times.
- Moléson Webcams — current visibility, scenery, snow, and mountain conditions.
- MeteoSwiss Weather Hazards — official Swiss weather and natural-hazard warnings.
- Swiss Federal Office of Civil Aviation: Drone Flight Rules — current national drone operating rules.
- Swiss Federal Office of Civil Aviation: Geographical Flight Restrictions — areas where drone operations may be prohibited or restricted.