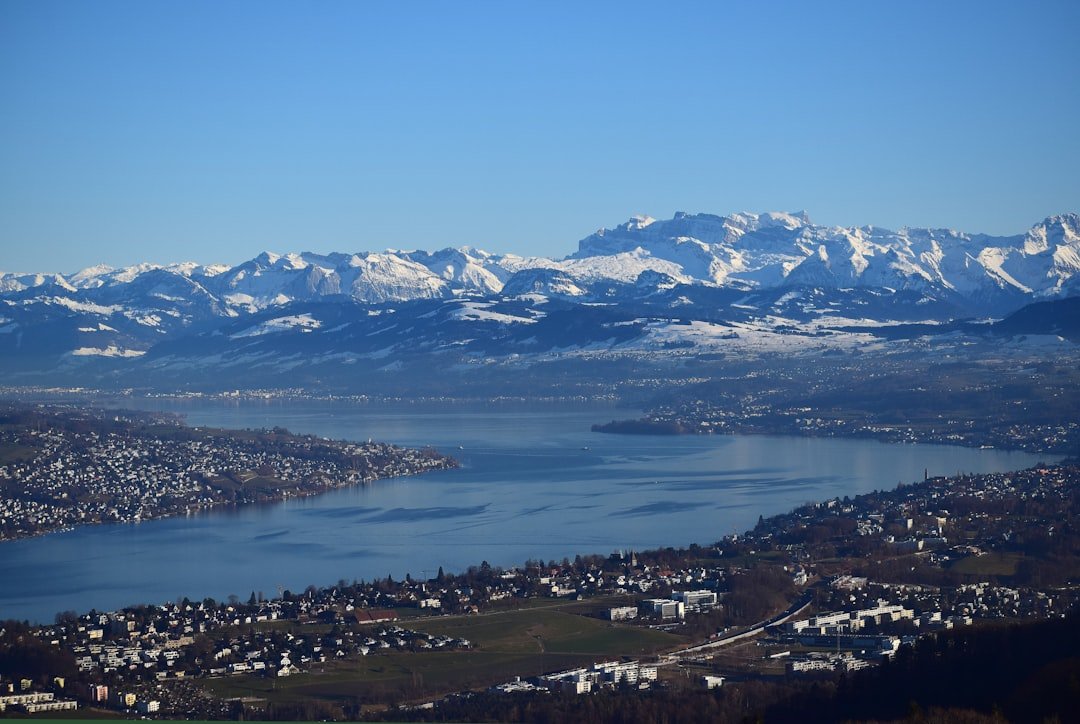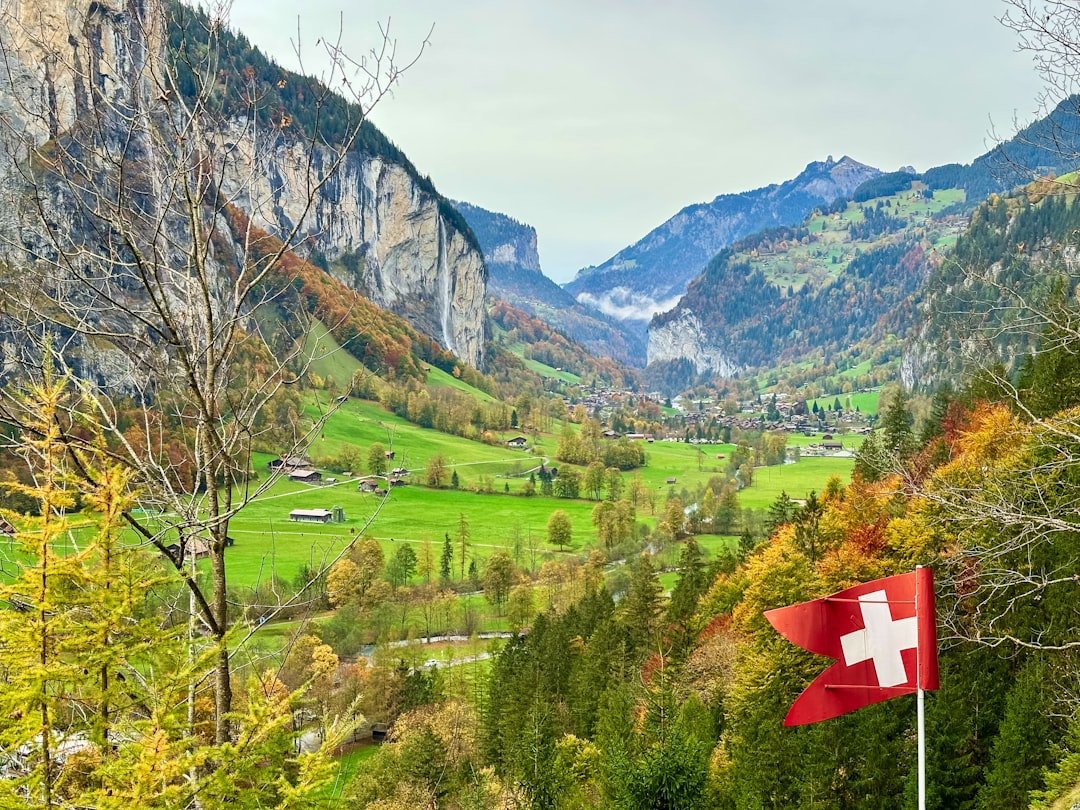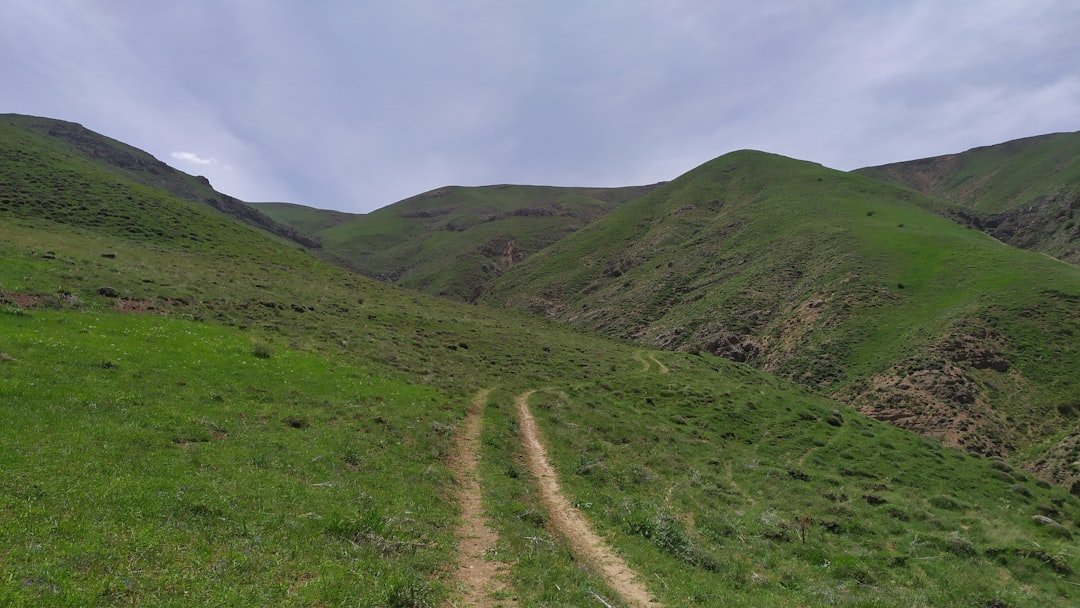
The Stoos Ridge Hike from Klingenstock to Fronalpstock is one of Central Switzerland’s standout routes for mountain photography. Instead of a 7-kilometer forest hike, the classic ridge section is an exposed mountain trail of about 4.7 kilometers, with open views toward Lake Lucerne, the Muota Valley and numerous Alpine peaks. For photographers, the appeal is the changing perspective as the trail rises and falls across the ridge.
Quick Answer
The best Stoos Ridge Hike photo spots are Klingenstock summit, the open ridge toward Huser Stock, the Furggeli area, and Fronalpstock’s viewing platform above Lake Lucerne. The official ridge route is about 4.7 km and usually takes 2–3 hours, but photographers should allow longer for stops.
Key Takeaways
- Klingenstock is 1,935 m high, while Fronalpstock is 1,922 m.
- The official ridge trail is about 4.7 km, with roughly 355 m of ascent and 347 m of descent.
- Hike from Klingenstock toward Fronalpstock for the standard recommended experience.
- Sure-footedness, suitable hiking shoes and confidence with exposed mountain terrain are important.
- Fronalpstock is the easiest place to arrange sunrise or sunset photography because special early and evening lift services operate on selected dates.
At a Glance
| Time Required | About 2–3 hours for the ridge itself; allow 3–4+ hours if you plan frequent photo stops. |
| Difficulty | Mountain hike with exposed sections, stairs and chain-protected passages. Sure-footedness and a head for heights are recommended. |
| Tools Needed | Grippy hiking shoes, water, weather layers, charged phone, camera or smartphone; optional lightweight tripod and polarizing filter. |
| Cost | The trail itself is free. Mountain-railway costs depend on your ticket and discounts; check current Stoos prices before travel. |
Stoos Ridge Hike Route and Photography Plan
The normal photo-friendly itinerary starts by traveling to the car-free mountain village of Stoos. From the upper Stoosbahn station, it is about a 15-minute walk to the Klingenstock chairlift. The chairlift ride takes you near the start of the ridge, and the hike then continues from Klingenstock toward Fronalpstock.
Stoos recommends hiking in the Klingenstock-to-Fronalpstock direction. After reaching Fronalpstock, you can use the two chairlift sections to return toward Stoos.
The official Stoos ridge brochure measures the route at about 4.7 km, with approximately 355 m of ascent and 347 m of descent. Normal walking time is roughly 2 hours 20 minutes, while a more leisurely pace can approach 3 hours. Photographers should add extra time because repeated stops quickly lengthen the outing.
Warning: This is not a flat sightseeing path. Parts of the ridge are exposed, and some sections use steps, fences or chains. Switzerland Tourism says sure-footedness and a head for heights are required. Do not attempt the ridge in unsuitable weather simply to reach a photo location.
Klingenstock: A Scenic Photo Spot
Klingenstock, at 1,935 m above sea level, is the high starting point for the classic ridge hike. It immediately gives photographers an open view across the Schwyz mountains, the Mythen area, Riemenstalden and the surrounding Alpine landscape.
Instead of rushing away from the chairlift, spend a few minutes looking for compositions around the summit. A wide-angle lens works well when you want the trail, foreground and mountains in one frame. A short telephoto lens can isolate individual peaks and compress overlapping ridges.
The strongest Klingenstock photographs often use the ridge itself as the foreground, letting the path lead the viewer toward the distant mountains.
Rocky ground, trail edges and hikers can all provide useful foreground scale. Keep people on the established trail rather than asking anyone to step toward exposed edges for a photograph.
Pro Tip: Before leaving Klingenstock, take both a wide horizontal frame and a vertical frame using the ridge as a leading line. The vertical version often works especially well for phone screens and social posts.
Fronalpstock: Capturing the Beauty
Fronalpstock reaches 1,922 m and forms the dramatic finish of the ridge hike. Its viewing area overlooks Lake Lucerne and a broad sweep of Central Switzerland. Switzerland Tourism describes views of more than ten lakes and numerous Alpine peaks from Fronalpstock.
This is one of the easiest places on the route to create a layered composition. Place the lake low in the frame, use nearby ridges as the middle layer, and let the more distant peaks form the background. A telephoto lens is particularly useful when atmospheric haze creates several progressively lighter mountain layers.
During summer, alpine meadows may also add foreground color. Conditions and visitor numbers vary significantly with weather, weekends and lift schedules, so do not rely on Fronalpstock or Klingenstock being quiet.
Fronalpstock also has a viewing platform and summit facilities, which makes it a practical place to slow down, change lenses and wait for changing light.
Best Photo Spots Between Klingenstock and Fronalpstock
| Location | Best Subject | Lens Idea |
|---|---|---|
| Klingenstock summit | Ridgeline, Mythen and surrounding peaks | Wide-angle or standard zoom |
| Open ridge after Klingenstock | Hikers on the trail with mountains on both sides | 24–70 mm equivalent |
| Furggeli area | Changes in elevation, trail curves and steep mountain slopes | Standard zoom |
| Huser Stock area / junction | Layered Alpine scenery and ridge perspectives | Wide-angle plus short telephoto |
| Fronalpstock summit | Lake Lucerne and multiple mountain layers | Wide-angle and telephoto |
The Best Time of Day for Photos
| Time of Day | Lighting | Photography Use | Access Consideration |
|---|---|---|---|
| Morning | Lower-angle light | Good ridge texture and softer shadows | Normal lift opening time limits how early you can reach Klingenstock |
| Midday | Bright and high contrast | Useful for clear lake color, panoramas and documentary trail photos | Easiest time for normal lift access |
| Late Afternoon | Warmer and more directional | Good mountain layers and side lighting | Watch the final chairlift times |
| Sunrise | Soft, warm light | Excellent from Fronalpstock in suitable weather | Requires special early transport or an overnight plan |
| Sunset / Twilight | Warm light followed by cooler blue tones | Excellent for Lake Lucerne and silhouettes | Extended evening transport is available only on scheduled dates |
| Cloudy Conditions | Soft and diffused | Good for detail, hikers and atmospheric layers | Avoid the ridge if clouds, rain or wind make conditions unsafe |
Golden hour can produce beautiful mountain light, but transportation matters as much as the sun position. Regular lift schedules do not necessarily place you on Klingenstock at sunrise or keep you on the mountain through sunset.
For 2026, Stoos schedules special Fronalpstock sunrise trips on Fridays in August and September, subject to weather. The resort also offers extended Fronalpstock evening chairlift service on Saturdays from May through October 2026.
Note: Mountain-railway dates and operating hours can change because of weather, maintenance or seasonal schedules. Check the official Stoos operating information on the morning of your hike.
Midday should not be dismissed completely. Although shadows can be stronger, clear midday conditions can reveal the lake’s color and produce crisp documentary images of the ridge. If highlights are bright, reduce exposure slightly and recover shadows later rather than allowing the sky to clip.
Tips for Getting the Perfect Shot
Good Stoos Ridge photographs depend more on composition and timing than expensive equipment. The trail itself provides several natural compositional tools.
Use the Ridge as a Leading Line
Instead of photographing only distant peaks, include the walking path or crest of the ridge. A visible route gives the viewer a sense of movement and scale.
Add Foreground Depth
Nearby rocks, grasses and alpine flowers can create depth. Keep your feet on the trail and avoid trampling vegetation simply to create a cleaner foreground.
Include People for Scale
A hiker on a distant section of trail can show how large the landscape really is. Wait until the person naturally reaches a useful position rather than directing anyone onto an unsafe edge.
Shoot Both Wide and Tight
Wide images show the full ridge, but telephoto photographs often reveal shapes that are difficult to notice with the naked eye. Try isolating a distant summit, a chairlift, a small group of hikers or overlapping mountain layers.
Watch Your Shutter Speed
Wind is common in exposed mountain areas. When shooting handheld, a reasonably fast shutter speed can help keep both the camera and moving grasses sharp. Raise ISO when necessary rather than risking every frame to camera shake.
Protect the Highlights
Bright clouds and reflective water can exceed a camera’s dynamic range. Check your histogram or highlight warning and reduce exposure slightly if the sky is losing detail.
Useful Camera Settings for the Ridge
There is no single correct setup, but these starting points work for many daylight mountain scenes:
- Landscape aperture: around f/8 to f/11 when you want foreground and distant scenery reasonably sharp.
- Handheld shutter speed: start around 1/250 second when conditions are windy or people are moving.
- ISO: keep it low in bright conditions, but use Auto ISO if it prevents an unnecessarily slow shutter speed.
- Focus: single-point autofocus works well for precise landscapes; continuous autofocus is better for hikers and moving subjects.
- RAW format: useful when you expect to recover highlight and shadow detail during editing.
If you use a polarizing filter, rotate it while watching the sky and water through the viewfinder. With very wide lenses, polarization can become uneven across a large blue sky.
Other Notable Photo Spots on the Hike
Klingenstock and Fronalpstock are the obvious landmarks, but some of the strongest compositions appear between them. The official trail profile passes features such as Rotturm, Furggeli and the junction around Huser Stock. These points produce changing views because the trail repeatedly drops and climbs instead of following one flat crest.
The village of Stoos also deserves a few frames before or after the hike. Traditional mountain buildings, surrounding meadows and the modern Stoosbahn provide a different visual story from the exposed ridge.
The Stoosbahn itself is another useful subject. Its barrel-shaped cabins remain level while the funicular climbs the exceptionally steep route from Schwyz to Stoos. Photographing the railway gives your gallery context rather than presenting only similar mountain panoramas.
Equipment Recommendations for Photographers
A DSLR or mirrorless camera can produce excellent results, but carrying too much equipment makes an exposed mountain hike less comfortable. Choose gear you can secure properly while walking.
Useful Lens Choices
- Wide-angle lens: useful for large ridge-and-lake scenes and foreground-heavy compositions.
- Standard zoom: the most flexible single-lens choice for the hike.
- Telephoto lens: useful for mountain compression, distant hikers and individual peaks.
A lightweight tripod can help with sunrise, sunset or carefully composed panoramas, but it is not essential for normal daytime photography. On a narrow trail, never spread tripod legs where they block other hikers.
Carry at least one spare battery if you expect a long day. Cold or windy mountain conditions can reduce practical battery life, and constant reviewing, GPS use and wireless connections also consume power. Extra memory-card capacity is useful if you plan panoramas, RAW files or bursts.
Keep the camera easy to secure. A strap or camera clip can be safer than holding a camera loosely while negotiating steps or chain-protected sections.
Smartphone Photography on Stoos Ridge
You do not need a dedicated camera to get strong images here. Modern phones are especially effective for wide landscapes and quick panoramas.
- Clean the camera lens before starting. Sunscreen and fingerprints quickly soften mountain photos.
- Tap the brightest important part of the scene and lower exposure if clouds are becoming pure white.
- Use the phone’s optical telephoto camera when available instead of heavy digital zoom.
- Turn on the grid to keep Lake Lucerne’s horizon level.
- Use panorama mode slowly and steadily, especially when photographing a wide sweep from Fronalpstock.
- Avoid standing near an exposed edge while concentrating on the screen.
Weather, Season and Trail Safety
The classic ridge hike is a summer-season mountain route. Stoos states that the ridge is not passable as the normal hiking trail during winter.
Weather can change rapidly in the mountains. Strong wind, rain, low cloud or thunderstorms can turn a photography outing into a poor time to be on an exposed ridge. Check both the forecast and current Stoos operating information before committing to the route.
Warning: A photograph is never worth moving beyond a barrier, leaving the marked trail near a drop, or continuing through deteriorating mountain weather. Use official paths and follow any closures or staff instructions.
Food, Water and Keeping Your Energy Up
Photography slows your pace, so carry enough water and food for more than the minimum walking time. A snack that is easy to eat during a short rest is more useful than something that requires preparation on the ridge.
If you enjoy preparing food at home, this recipe for delicious homemade cottage cheese is one option before or after the hike. If you take cottage cheese or another perishable dairy food onto the trail, keep it properly chilled in an insulated container rather than leaving it warm in a backpack for hours.
Preserving Memories: Editing and Sharing Photos
After the hike, editing should strengthen the conditions you actually experienced rather than making every mountain scene unnaturally saturated. Software such as Adobe Lightroom or Photoshop can help adjust exposure, white balance, highlights, shadows and local contrast.
Start with basic corrections. Straighten the horizon, correct obvious lens distortion, recover bright clouds where possible, and make modest contrast adjustments. When haze separates distant mountain layers, avoid removing all of it. Atmospheric perspective can add depth.
Cropping is also useful when trail signs, other hikers or empty sky distract from the subject, but leave enough space around important landscape features to preserve the feeling of scale.
When sharing images on Instagram, a photography community or your own site, consider including the actual location and trail conditions. Useful captions can help future hikers understand what they are seeing rather than presenting a risky or exposed location as an effortless roadside viewpoint.
Frequently Asked Questions
What is the Stoos Ridge Hike?
The Stoos Ridge Hike is a mountain trail in the canton of Schwyz that links Klingenstock with Fronalpstock. It follows an exposed panoramic ridge with views toward Lake Lucerne, the Muota Valley and numerous Alpine peaks.
How long is the Klingenstock to Fronalpstock ridge hike?
The official Stoos ridge-trail brochure measures the route at about 4.7 km. Typical walking time is roughly 2–3 hours, although photographers should allow longer for stops.
Where is Klingenstock located?
Klingenstock is above Stoos in the Swiss canton of Schwyz. Its summit elevation is 1,935 m, and the Klingenstock chairlift provides the usual access for hikers beginning the ridge route.
Where is Fronalpstock located?
Fronalpstock is also above Stoos in the canton of Schwyz. The summit is 1,922 m high and has a viewing platform, restaurant and chairlift access overlooking Lake Lucerne and the surrounding mountains.
What are the best photo spots along the Stoos Ridge Hike?
Top locations include Klingenstock summit, open sections of the ridge, the Furggeli and Huser Stock areas, and the Fronalpstock viewing platform. Stoos village and the Stoosbahn are also useful for adding variety and context to a photo collection.
Which direction should I hike the Stoos Ridge?
The standard recommendation is to hike from Klingenstock toward Fronalpstock. This also gives you summit facilities and chairlift access at Fronalpstock when you finish.
Is the Stoos Ridge Hike suitable for beginners?
It should not be treated as a simple beginner walk. The trail includes exposed terrain, steps and chain-protected sections. Hikers should have suitable footwear, reasonable fitness, sure-footedness and confidence with heights.
Can I photograph sunrise or sunset from the Stoos Ridge?
Yes, but normal chairlift schedules may not match sunrise or sunset. Fronalpstock is the easiest option when Stoos operates scheduled early-morning sunrise trips or extended evening chairlifts. Always confirm the current timetable before planning a golden-hour session.
Sources
- Stoos: Stoos Ridge Hike — official direction, transport sequence and approximate hiking time.
- Stoos Ridge Hiking Trail official brochure — route distance, elevation profile, ascent/descent, trail construction and hiking requirements.
- Switzerland Tourism: Fronalpstock — Fronalpstock elevation, views, route direction and sure-footedness/head-for-heights guidance.
- SwitzerlandMobility: Gratweg Stoos — independent official route classification and trail overview.
- Stoos: Fronalpstock Sunrise Trips — current special sunrise-access information.
- Stoos: Fronalpstock Evening Trips — current extended evening-access information for sunset visits.