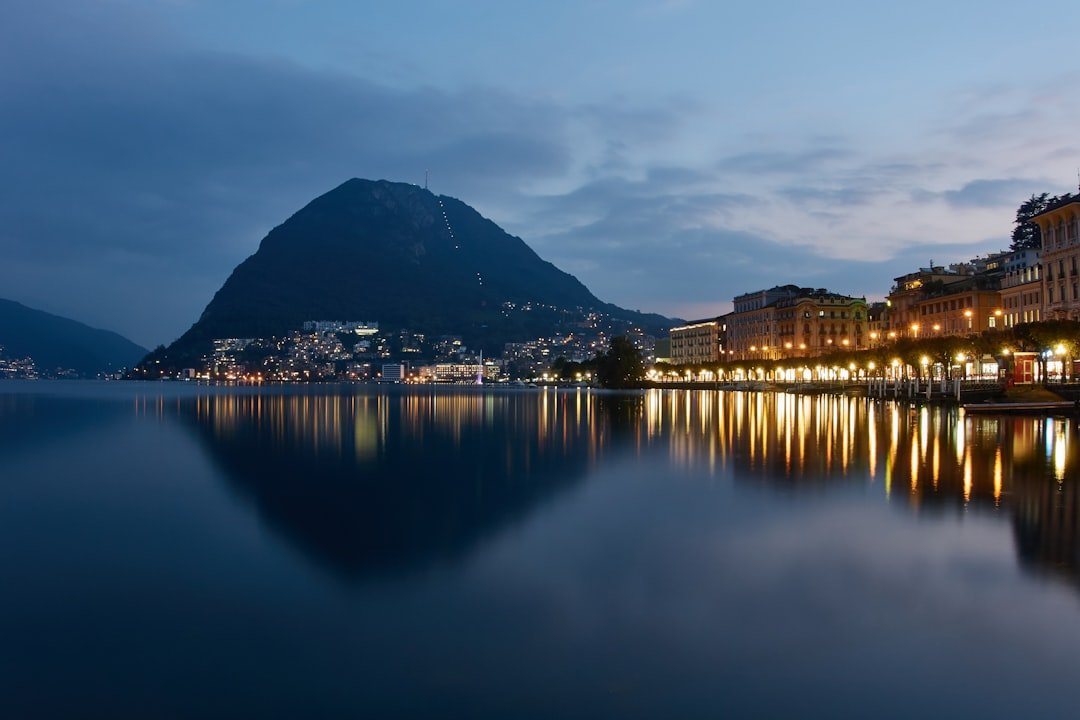
The time of day you choose to photograph wildlife can significantly influence the quality and mood of your images. Early mornings and late afternoons, often referred to as the “golden hours,” provide soft, diffused light that enhances colors and reduces harsh shadows. During these times, the sun is low on the horizon, casting a warm glow that can transform an ordinary scene into something magical.
Wildlife is also more active during these hours, as many species are either waking up or preparing for rest, making it an ideal time for capturing dynamic behaviors. Conversely, midday light can be harsh and unflattering, leading to overexposed highlights and deep shadows that obscure details. However, this time can still be utilized effectively by seeking shaded areas or using natural reflectors like water bodies to soften the light.
Understanding the behavior patterns of your subjects is crucial; for instance, many birds are more active during dawn and dusk, while larger mammals may be seen grazing during the cooler parts of the day. By aligning your photography sessions with these natural rhythms, you can maximize your chances of capturing compelling images.
Key Takeaways
- Choose the early morning or late afternoon for the best natural lighting and wildlife activity
- Look for elevated spots or natural hides to get a clear and unobstructed view of the wildlife
- Use a telephoto lens and a sturdy tripod for sharp and detailed wildlife shots
- Experiment with different angles, framing, and leading lines to create visually interesting compositions
- Be patient and observant to capture the natural behavior and interactions of the wildlife
- Incorporate elements like water, trees, or mountains to add depth and context to your wildlife photos
- Use editing software to enhance colors, contrast, and sharpness while maintaining the natural look
- Share your wildlife captures on social media, photography forums, or with conservation organizations to raise awareness
Finding the Best Vantage Points
Selecting the right vantage point is essential for wildlife photography, as it can dramatically alter the perspective and impact of your images. Elevated positions, such as hills or observation towers, can provide a broader view of the landscape and allow you to capture animals in their natural habitat without disturbing them. For instance, photographing a herd of deer from a distance on a hilltop can reveal their interactions and behaviors in a way that ground-level shots cannot.
Additionally, being elevated can help you avoid obstacles like tall grass or bushes that might obstruct your view. On the other hand, getting low to the ground can create a more intimate perspective, especially when photographing smaller animals or birds. This angle can emphasize the subject’s environment and create a sense of connection between the viewer and the wildlife.
For example, lying in a field while photographing a rabbit can highlight its natural behavior and surroundings, making the image more engaging. Exploring various vantage points not only enhances your composition but also allows you to tell a more comprehensive story about the wildlife you are capturing.
Using the Right Equipment

The choice of equipment plays a pivotal role in wildlife photography, as it can determine both the quality of your images and your ability to capture fleeting moments. A camera with fast autofocus capabilities and a high frame rate is essential for tracking moving subjects. DSLRs and mirrorless cameras are popular choices among wildlife photographers due to their versatility and performance in challenging conditions.
Additionally, investing in a telephoto lens allows you to photograph animals from a distance without disturbing them, which is particularly important for skittish species. Beyond the camera and lens, other accessories can enhance your shooting experience. A sturdy tripod or monopod can provide stability for long exposures or when using heavy lenses, reducing camera shake and ensuring sharp images.
Moreover, using a remote shutter release can help eliminate vibrations caused by pressing the shutter button, which is especially useful when photographing birds or other wildlife that may be easily startled. Understanding your equipment’s capabilities and limitations will empower you to make informed decisions in the field, ultimately leading to better photographs.
Products Worth Considering

【65mm Telephoto Phone Lens】 Take clear shots with stunning details using this 65mm telephoto lens accessory for your phone, ideal for wildlife, sports events, concerts, city landscapes, and architecture.

TRUE 240MM SUPER ZOOM – Pairs with your iPhone’s 5x periscope telephoto camera (4x & 8x on iPhone 17) for real optical reach, not a digital crop. Enjoy natural telephoto compression, depth, and crisp detail with this smartphone telephoto lens that pulls distant moments into intimate focus.
Playing with Composition
| Composition Type | Definition | Example |
|---|---|---|
| Rule of Thirds | Dividing the image into 9 equal parts to create balance and interest | An image with the main subject placed at the intersection of the grid lines |
| Leading Lines | Using lines to draw the viewer’s eye to the main subject | A photo of a road leading towards a mountain |
| Symmetry | Creating balance by mirroring elements on either side of the composition | An architectural photo with a perfectly symmetrical building |
| Framing | Using elements in the scene to frame the main subject | A photo of a person framed by a window or doorway |
Composition is a fundamental aspect of photography that can elevate your wildlife images from ordinary to extraordinary. The rule of thirds is a classic guideline that encourages photographers to position their subjects off-center, creating a more dynamic and engaging composition. By placing the animal along one of the grid lines or at an intersection point, you draw the viewer’s eye into the frame and create a sense of balance.
For example, capturing a lioness resting under a tree with her gaze directed towards the horizon can evoke a sense of anticipation and storytelling. In addition to the rule of thirds, experimenting with leading lines can guide the viewer’s eye through the image. Natural elements such as rivers, paths, or even the contours of the land can serve as effective leading lines that draw attention to your subject.
Incorporating foreground elements can also add depth to your photographs; for instance, including wildflowers in the foreground while capturing a bird perched on a branch creates layers that enhance visual interest. By thoughtfully considering composition techniques, you can transform simple wildlife shots into captivating visual narratives.
Products Worth Considering


POCKET-SIZED QUICK REFERENCE CARDS - These 3x4 inch cheat sheets include 20 pages of beginning photography tips, printed on 11 double-sided plastic cards. The information is concise and easy to understand, with visual examples. A carabiner is included.


Capturing the Wildlife
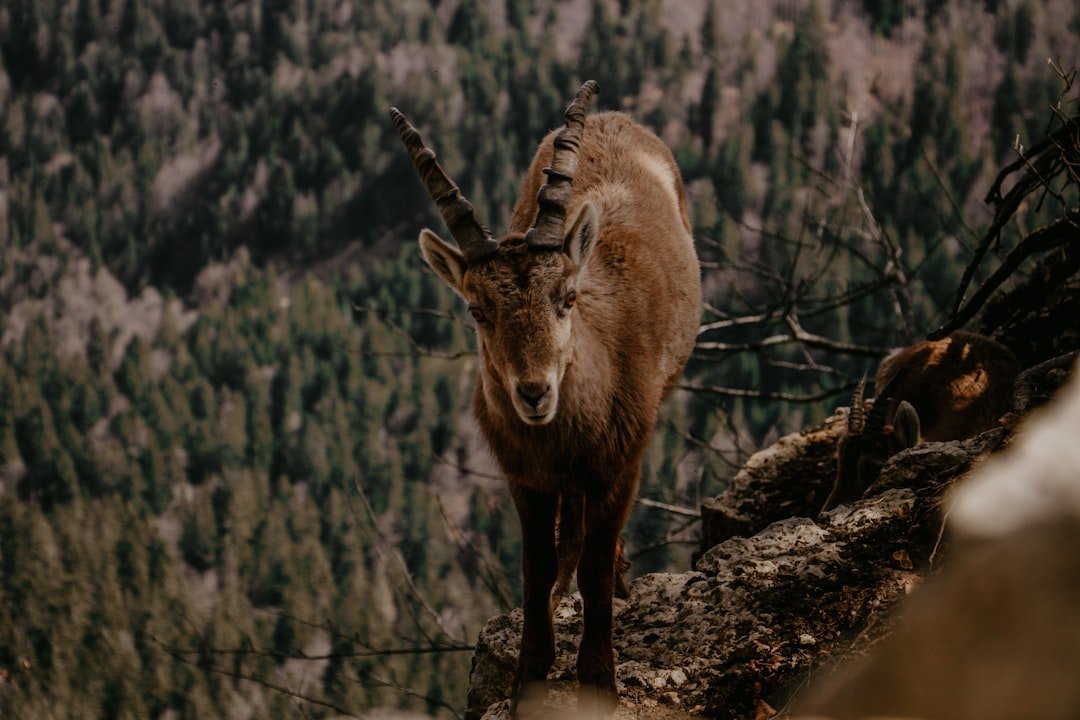
The essence of wildlife photography lies in capturing animals in their natural behaviors and environments. Patience is paramount; often, it requires waiting quietly for extended periods to witness unique moments unfold. Observing animal behavior can provide insights into when they are likely to be active or engaged in specific activities, such as feeding or grooming.
For instance, if you notice a group of elephants approaching a watering hole at dusk, positioning yourself nearby while remaining concealed can lead to stunning images of these majestic creatures interacting with their environment. Timing your shots is equally important; understanding when to press the shutter can make all the difference between an average photo and an extraordinary one. Anticipating moments such as a bird taking flight or a predator making a kill requires keen observation and quick reflexes.
Continuous shooting mode can be beneficial in these situations, allowing you to capture multiple frames in rapid succession and increasing your chances of getting that perfect shot. Ultimately, immersing yourself in nature and being attuned to its rhythms will enhance your ability to capture compelling wildlife images.
Incorporating the Elements
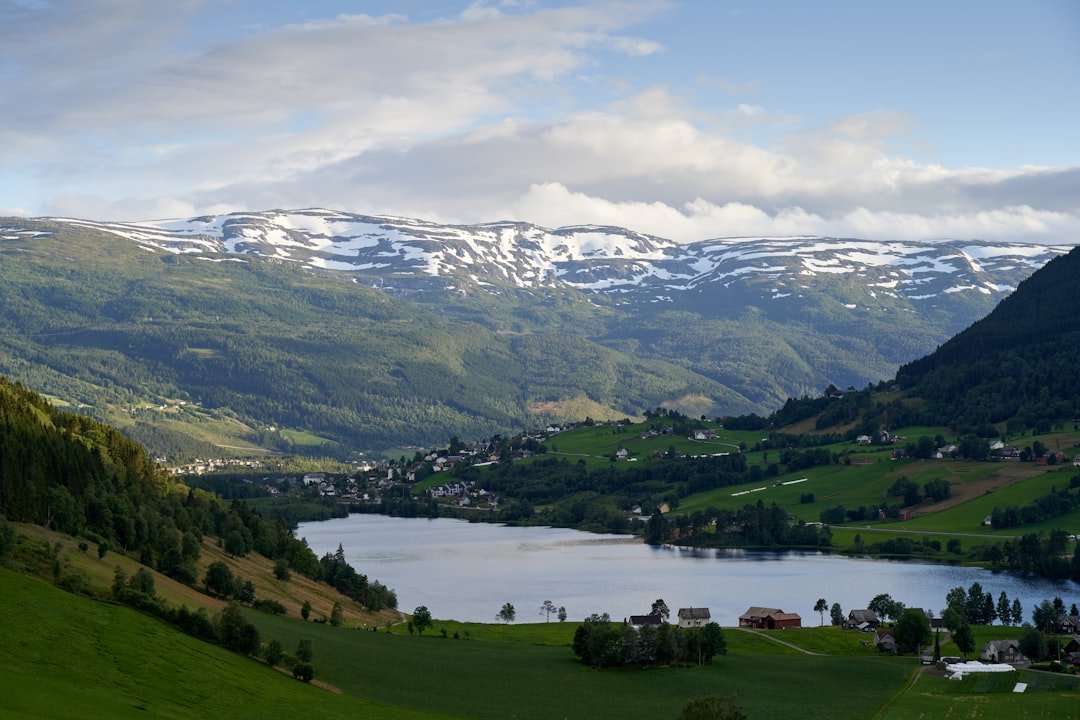
Incorporating elements of nature into your wildlife photography can add context and depth to your images. The environment plays a crucial role in shaping an animal’s behavior and habitat; thus, including elements like trees, water bodies, or mountains can enrich your photographs by providing a sense of place. For example, capturing a polar bear on an ice floe not only highlights the animal but also emphasizes its vulnerability in a changing climate.
This approach not only tells a story about the subject but also raises awareness about environmental issues. Weather conditions can also dramatically influence your photographs. Overcast days provide soft lighting that reduces contrast and highlights details without harsh shadows.
Conversely, dramatic skies during storms or sunsets can add mood and atmosphere to your images. Rain can create unique opportunities; droplets on leaves or fur can enhance textures and add an element of freshness to your shots. By being mindful of how different elements interact within your frame, you can create powerful images that resonate with viewers on multiple levels.
Editing and Enhancing Your Photos
Post-processing is an integral part of modern wildlife photography that allows photographers to refine their images and bring out their full potential. Software like Adobe Lightroom or Photoshop provides tools for adjusting exposure, contrast, saturation, and sharpness, enabling you to enhance details that may have been lost during shooting. For instance, if an image appears slightly underexposed due to challenging lighting conditions, adjusting the exposure slider can reveal hidden details in shadows without compromising overall image quality.
Moreover, cropping can be an effective way to improve composition after the fact; removing distracting elements from the edges of your frame can help focus attention on your subject. However, it’s essential to maintain image quality during this process—over-cropping can lead to pixelation or loss of detail. Additionally, applying subtle sharpening techniques can enhance textures in fur or feathers without creating an unnatural appearance.
The goal of editing should be to enhance the image while remaining true to the original scene captured in-camera.
Sharing Your Captures
Once you’ve captured stunning wildlife photographs and refined them through editing, sharing them with others becomes an exciting opportunity to connect with fellow enthusiasts and raise awareness about wildlife conservation. Social media platforms like Instagram and Facebook provide excellent avenues for showcasing your work; using relevant hashtags can help reach broader audiences interested in wildlife photography. Engaging with online communities dedicated to nature photography allows for feedback and inspiration from peers who share similar passions.
In addition to social media, consider entering photography contests or submitting your work to nature magazines and websites that focus on wildlife conservation issues. These platforms not only offer exposure but also contribute to important conversations about protecting our planet’s biodiversity. Creating prints or photo books can also serve as tangible ways to share your experiences with friends and family while preserving memories of your adventures in nature.
Ultimately, sharing your captures not only celebrates your artistic journey but also fosters greater appreciation for wildlife and its preservation among viewers.
If you’re planning a visit to the breathtaking Creux du Van viewpoint, you’ll want to capture its stunning vistas with your camera. For the best results, consider visiting during the golden hours of sunrise or sunset when the light is soft and warm, enhancing the natural beauty of the landscape. Additionally, using a wide-angle lens can help you capture the expansive views of the rocky amphitheater. For more inspiration on capturing natural beauty, you might find it interesting to explore the delightful world of Asian melon, which offers its own unique visual appeal. Check out this related article for more insights: Exploring the Delightful World of Asian Melon.
FAQs
What is Creux du Van?
Creux du Van is a natural amphitheater located in the Jura Mountains of Switzerland. It is a popular tourist destination known for its stunning rock formations and panoramic views.
How do I get to Creux du Van?
Creux du Van can be reached by car or public transportation. The nearest town is Noiraigue, and from there, visitors can hike or take a bus to the viewpoint.
What are some photography tips for capturing Creux du Van?
When photographing Creux du Van, it’s important to consider the lighting conditions. The best times for photography are during sunrise or sunset when the light is soft and warm. Additionally, using a wide-angle lens can help capture the expansive views of the amphitheater.
Are there any restrictions for photography at Creux du Van?
There are no specific restrictions for photography at Creux du Van, but visitors are encouraged to be respectful of the natural environment and wildlife. It’s important to stay on designated paths and avoid disturbing the local flora and fauna.
What are some safety tips for visiting Creux du Van?
Visitors to Creux du Van should be prepared for variable weather conditions, as the area can be windy and exposed. It’s important to wear appropriate clothing and footwear, and to bring plenty of water and snacks for the hike. Additionally, staying on marked trails and being aware of the steep cliffs is essential for safety.