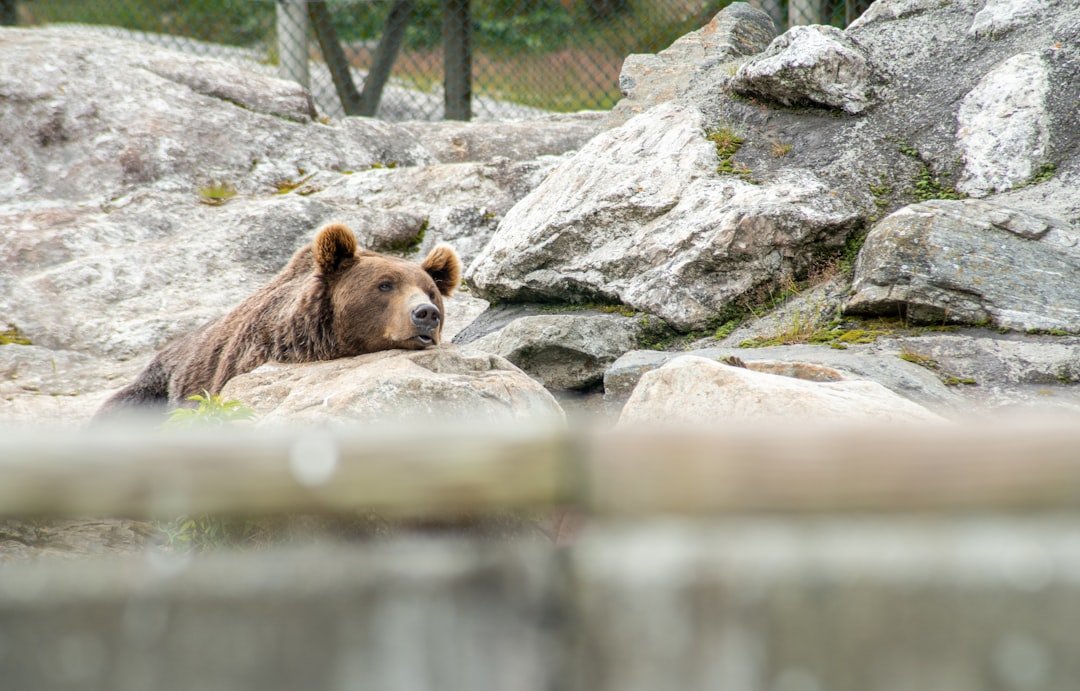
Photographing bears at Arosa Bear Sanctuary is different from photographing free-ranging bears in the wild. The rescued bears live in a large, naturalistic alpine sanctuary where they can roam, forage, rest, bathe, dig, and retreat from view. Your best photographs come from understanding their behavior, choosing flexible equipment, using the designated viewing areas, and waiting patiently for natural moments.
Quick Answer
At Arosa Bear Sanctuary, the best bear photos come from patient observation, a telephoto zoom, a fast shutter speed, and careful use of the visitor platform or adventure trail. Photograph only from approved visitor areas, keep noise low, never cross barriers or feed the bears, and work with the light available during official opening hours.
Key Takeaways
- Arosa is a sanctuary for rescued bears, not a free-ranging wild-bear location, so photograph the animals honestly within that context.
- A 100–400mm zoom is a versatile choice, while 70–200mm and 200–600mm lenses can also work depending on the bear’s position and the composition you want.
- Use a fast shutter speed and continuous autofocus for walking, running, climbing, or playing bears.
- The main visitor platform and the adventure trail provide different angles into the enclosure.
- Do not rely on sunrise or sunset access. Use the best morning or afternoon light available during the sanctuary’s actual opening hours.
- Never feed the bears, cross barriers, shout to attract attention, or disturb an animal for a photograph.
- Souvenir photography is permitted, while commercial photography inquiries should be directed to sanctuary management.
At a Glance
| Time Required | Suggested: 1–2+ hours for photography, depending on bear activity and how long you want to wait for different behaviors. |
| Difficulty | Beginner to intermediate. Patience, steady technique, and autofocus practice matter more than advanced equipment. |
| Tools Needed | Camera with reliable autofocus, telephoto zoom, spare battery, memory card, lens hood, and optional monopod or tripod for stable viewing areas. |
| Cost | Admission is required. For summer 2026, admission without a cable-car ride is CHF 12 for adults and CHF 6 for children aged 6–15 without an Arosa Card, or CHF 5 and CHF 3 respectively with an Arosa Card. Check the official ticket page before visiting. |
Understand Bear Behavior at Arosa Bear Sanctuary
Understanding bear behavior can help you anticipate moments worth photographing. Bears may stop to forage, sniff the air, walk established routes, dig, climb, rest, interact with water, or investigate objects in their environment. Watching quietly before raising the camera often tells you more than immediately firing a burst of photographs.
Bear behavior also varies by species and situation. Wild black bears are generally solitary. Brown and grizzly bears are also largely solitary but may tolerate other bears around concentrated food sources or during courtship. Polar bears have a much stronger relationship with sea ice and are powerful swimmers, while wild brown bears in some regions gather along salmon streams. These examples are useful background for wildlife photographers, but they should not be used to predict exactly what the rescued bears at Arosa will do.
Arosa’s bears live in a managed sanctuary rather than a free-ranging natural habitat. FOUR PAWS describes Arosa Bear Sanctuary as a species-appropriate home where rescued bears can rediscover natural behaviors in a large alpine environment.
Note: Do not call a photograph from Arosa a wild-bear encounter. Accurate captions such as “rescued brown bear at Arosa Bear Sanctuary” give viewers the correct context and support the sanctuary’s animal-welfare message.
Choosing the Right Equipment
A modern DSLR, mirrorless camera, or capable bridge camera can all produce strong bear photographs. There is no universal 20-megapixel minimum. A camera around 20 megapixels or higher can provide useful cropping room, but autofocus performance, lens reach, shutter speed, technique, and light often have a greater effect on whether the final photograph is sharp.
A telephoto zoom is especially useful because the bears decide where they move within the enclosure. Different focal ranges have different strengths:
- 70–200mm: useful for wider environmental portraits, especially when a bear is relatively close to a viewing area.
- 100–400mm: a flexible all-round range for portraits, walking bears, and compositions that include some of the alpine setting.
- 200–600mm: helpful when a bear is farther away or when you want tight portraits without excessive cropping.
A sturdy tripod can help during slower, more static scenes, especially on a stable viewing platform. However, Arosa’s adventure trail includes suspension bridges, so handheld shooting or a compact monopod may be easier when you are moving between viewpoints. Avoid blocking walkways or inconveniencing other visitors with large equipment.
A remote shutter release can reduce camera movement during static, slow-shutter photographs, although it is less important for active bear photography. Weather-resistant equipment, a lens hood, spare batteries, and a dry cloth are useful because alpine weather can change quickly.
Pro Tip: Start with a zoom lens rather than a fixed focal length. Bears can move from the far side of the enclosure to a much closer position, and a zoom lets you change composition without changing your location or disturbing anyone around you.
Camera Settings for Bear Photography
There is no single perfect exposure setting because light levels, focal length, bear movement, and background brightness constantly change. The settings below are practical starting points rather than fixed rules.
| Situation | Starting Shutter Speed | Suggested Approach |
| Walking or active bear | 1/1000 sec or faster | Continuous autofocus, burst mode, Auto ISO |
| Running, climbing, or quick play | 1/1600–1/2000 sec or faster | Track the head or eye and leave space in the frame for movement |
| Standing or slowly foraging | Around 1/500–1/1000 sec | Use the widest practical aperture if the light is low |
| Intentional panning | About 1/125–1/320 sec | Follow the bear smoothly and expect a lower keeper rate |
Continuous autofocus, sometimes labeled AF-C or AI Servo depending on the camera brand, is usually the safest choice for a moving bear. Animal- or eye-detection autofocus can help when it recognizes the subject reliably, but check your images because branches, grass, rocks, or fencing can sometimes pull focus away from the bear.
Auto ISO is useful when light changes rapidly. Choose the shutter speed you need to stop movement, select an aperture that gives the desired depth of field, and let ISO rise as needed within a range your camera handles well.
Finding the Best Lighting
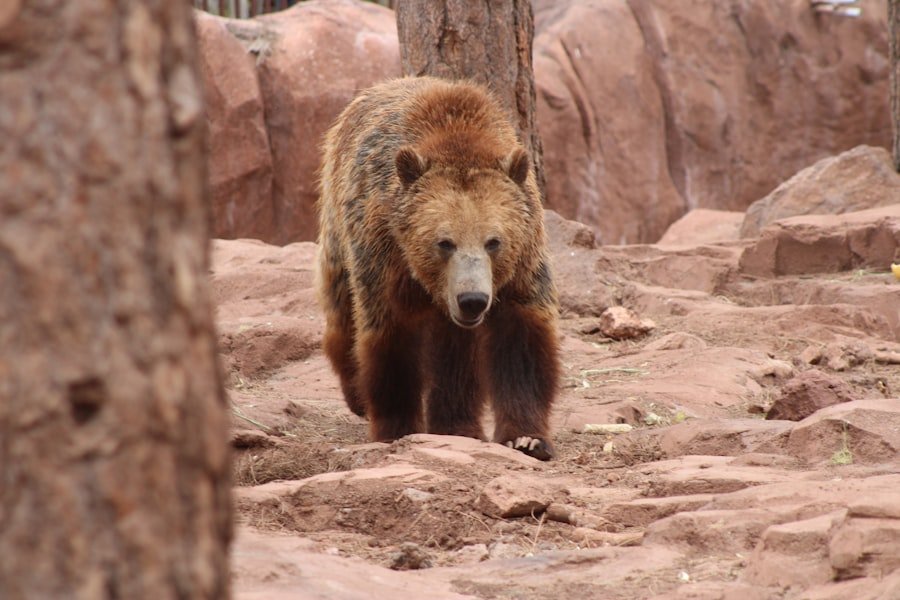
Light has a major effect on the color, texture, and mood of bear photographs. Early morning and late afternoon often produce softer light than the middle of the day, while low-angle light can reveal detail in a bear’s fur and add depth to the surrounding landscape.
Traditional wildlife advice often recommends the golden hours around sunrise and sunset. At Arosa, however, visitors must work within the sanctuary’s opening schedule. During the main summer season from June 13 through October 18, 2026, the official opening hours are 9:00 a.m. to 5:20 p.m. That means true sunrise or sunset photography may not be possible, especially in midsummer.
For softer light, arrive near opening time or photograph later in the afternoon. Watch how the sun moves across the mountains, trees, and enclosure rather than assuming one location will remain evenly lit.
Overcast weather can be excellent for bear photography. Clouds act as a large natural diffuser, reducing harsh highlights and deep shadows. This is especially useful when dark fur, pale rocks, bright sky, and shaded vegetation appear in the same frame.
If the bear moves between sunlight and shade, check the histogram or highlight warning on your camera. A small negative exposure compensation can help protect bright fur highlights or pale rocks, while RAW capture gives you more flexibility later.
Composition and Framing
| Technique | Best Use | What to Watch |
| Rule of Thirds | Environmental portraits and walking bears | Leave room in front of the bear’s face or direction of travel |
| Leading Lines | Using terrain, logs, paths, water, or mountain shapes to guide the eye | Avoid lines that pull attention away from the animal |
| Centered Composition | Direct portraits and symmetrical poses | Make sure the centered framing feels intentional rather than accidental |
| Fill the Frame | Expressions, fur detail, paws, or head-and-shoulder portraits | Do not crop awkwardly through ears, paws, or important body features |
Effective composition helps tell the story behind a wildlife image. Placing a bear off-center can create a more dynamic frame and encourage the viewer’s eye to explore the surrounding alpine environment. Trees, rocks, water, slopes, and mountains can add useful context and depth.
Do not automatically zoom as tightly as possible. A close portrait can show expression and detail, but a wider frame may communicate more about the bear’s sanctuary environment. Capture both when the opportunity allows.
Perspective also matters. From an approved viewing area, experiment with the height and angle available to you. A lower-looking perspective can emphasize the bear’s size, while an elevated viewpoint can show more of the surrounding terrain. Natural elements such as branches or foliage can provide framing, but make sure they do not distract from the bear’s face.
If vegetation partially covers the animal, wait for the bear to step into a cleaner gap rather than trying to force the photograph. Sometimes the better image is the one made 30 seconds later.
Best Photography Viewpoints at Arosa Bear Sanctuary
The sanctuary gives visitors more than one angle from which to observe and photograph the bears.
Visitor Platform
The official visitor platform provides a broad view across the outdoor enclosure. It is a useful place to begin because you can watch where the bears are moving before choosing a tighter composition. It is also wheelchair-accessible.
Adventure Trail
The Arosa Bear Sanctuary adventure trail extends toward the northern enclosure and includes eight viewing platforms connected by suspension bridges. The trail is approximately 80 meters long and gives photographers different angles into the rocky enclosure.
Eight viewing platforms along the adventure trail give you multiple chances to change background, perspective, and shooting angle without entering the bears’ enclosure.
The suspension bridges can move slightly as people cross them. If you need maximum stability, wait until you are standing on a platform and use a shutter speed fast enough to reduce both subject movement and camera shake.
The adventure trail is not open in winter, so always check the current operating information before planning a photography visit. Bears can also move behind trees, rocks, or terrain, so no viewing position guarantees an unobstructed photograph.
Patience and Perseverance
Bear photography often requires far more waiting than shooting. The animals may rest, move behind vegetation, disappear into another part of the enclosure, or spend long periods doing something that does not produce an obvious photograph.
Instead of constantly changing position, watch quietly for patterns. A bear may repeatedly follow the same route, return to water, inspect a feeding area, or pause in the same opening between trees. Recognizing those patterns lets you prepare your framing before the moment happens.
Conditions will not always be ideal. Clouds may arrive, rain can change the background, or bright sun can produce difficult contrast. Those conditions can also create useful opportunities. Wet vegetation becomes richer in color, overcast skies soften shadows, and changing weather can make the alpine environment more dramatic.
Patience also improves the authenticity of your photographs. Waiting for a natural expression, interaction, or movement usually creates a stronger image than trying to attract the animal’s attention.
Respecting the Bears’ Space
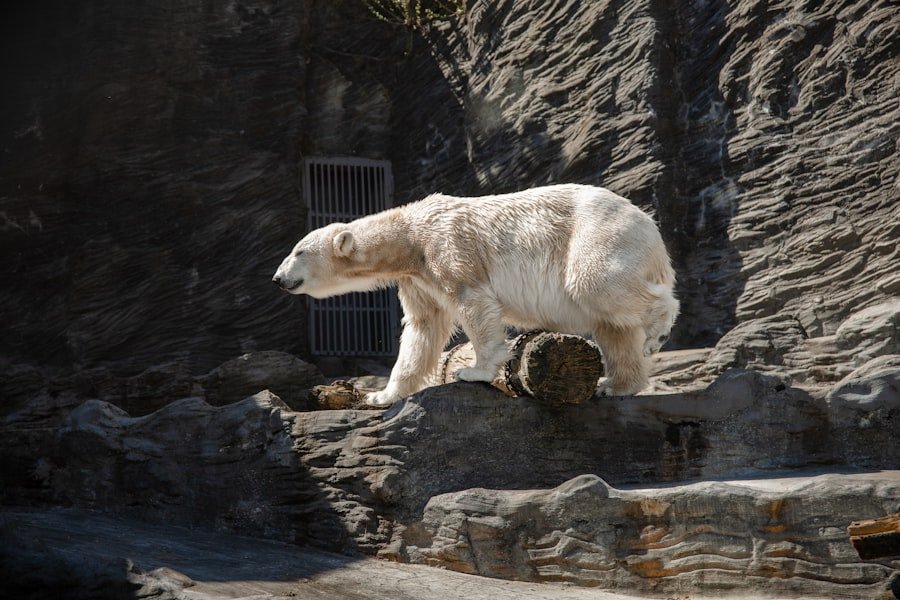
Respect for the bears is more important than any photograph. At Arosa, visitors are separated from the bears by managed visitor areas and barriers, so photographers should stay completely within those approved spaces and follow staff instructions.
Warning: According to the Arosa Bear Sanctuary visitor regulations, visitors must not feed the bears or climb over barriers. Loud shouting can disturb the animals and cause them to hide. Children under 14 should be supervised, and carrying children on your shoulders is prohibited on the visitor platform and adventure trail.
Noise matters even when you remain behind a barrier. Avoid calling, whistling, clapping, or making sudden sounds simply to make a bear look toward your camera. Move calmly and keep conversations at a considerate volume.
The sanctuary allows dogs if they are kept on a leash, but dogs are not permitted on the adventure trail, with an exception for assistance dogs. Keep this in mind if you are planning to move between photography viewpoints.
These rules protect both visitors and the animals. They also improve your chances of seeing natural behavior because a relaxed bear is more likely to continue feeding, exploring, resting, or interacting with its environment.
If you later photograph free-ranging bears elsewhere, the situation is different. Follow the wildlife-distance rules of that specific park or land manager. The U.S. National Park Service wildlife-photography guidance recommends using telephoto lenses and maintaining the required safe distance rather than approaching wildlife for a closer photograph.
Editing and Post-Processing
Once you have captured your bear photographs, careful editing can help bring the final image closer to what you saw. Software such as Adobe Lightroom or Photoshop can be used to adjust exposure, contrast, white balance, color, noise, and sharpness.
Cropping is especially useful with bear photography because the animal may spend much of the time far from the viewing area. A moderate crop can remove distracting empty space and strengthen composition. However, very heavy cropping can reduce detail, which is another reason a higher-resolution camera can be useful even though there is no fixed megapixel requirement.
RAW files provide more flexibility when recovering shadows or controlling bright highlights. If a bear’s face is slightly underexposed because the background is bright, careful shadow adjustment may recover useful detail without making the image look unnatural.
Avoid excessive sharpening, saturation, artificial background replacement, or edits that make the sanctuary setting look like an encounter with a free-ranging wild bear. Editing should improve the photograph without changing the basic truth of the scene.
Pro Tip: When several frames show the same action, choose the photograph with the best eye position, cleanest background, strongest paw placement, and least distracting vegetation before spending time on detailed editing.
Sharing Your Work and Spreading Awareness
Once your photographs are ready, sharing them can help other people learn about the bears and the work of the sanctuary. Social media platforms such as Instagram and Facebook make it easy to show your images to wildlife enthusiasts, travelers, and photographers.
An accurate caption can do more than identify the photograph. Explain that the animal is a rescued bear living at Arosa Bear Sanctuary and, when relevant, share what you observed about its behavior.
Photography exhibitions, wildlife publications, blogs, and personal portfolios are other ways to present your work. When sharing an image, avoid suggesting that it was made during an uncontrolled wild encounter if it was photographed inside the sanctuary.
Accurate storytelling can help viewers understand why rescued bears need specialized care and why responsible observation matters. Linking readers to the sanctuary or FOUR PAWS gives them a reliable place to learn more about the animals and the conservation and animal-welfare work behind the facility.
If you are planning a full day exploring Arosa, you may also want something simple to prepare after your photography session. This related guide to delicious homemade cottage cheese offers an easy, fresh option.
Frequently Asked Questions
What is the Arosa Bear Sanctuary?
Arosa Bear Sanctuary is a sanctuary in Arosa, Switzerland, that gives rescued bears from poor captive conditions a species-appropriate home in a large alpine environment. It is an animal-welfare project involving Arosa and FOUR PAWS rather than a place where visitors encounter free-ranging wild bears.
What can visitors expect to see at the Arosa Bear Sanctuary?
Visitors can observe rescued bears moving through a naturalistic alpine enclosure and learn about their history, behavior, and animal welfare. A bear may be walking, foraging, resting, bathing, digging, or hidden behind vegetation or terrain, so the exact view changes throughout the visit.
What are some photography tips for capturing the bears at the sanctuary?
Use a telephoto zoom, start with a fast shutter speed, enable continuous autofocus for movement, and watch the bear before choosing your composition. Photograph from approved visitor areas, stay quiet, and wait for natural behavior rather than attempting to attract the animal’s attention.
Are there specific viewpoints recommended for photography at the Arosa Bear Sanctuary?
Yes. The main visitor platform provides a broad view over the outdoor enclosure. The adventure trail adds eight viewing platforms connected by suspension bridges and offers different angles into the northern enclosure. Bear position, vegetation, and terrain still determine how clear each view will be.
What are some safety guidelines for visitors at the Arosa Bear Sanctuary?
Stay behind all barriers and within visitor areas, never feed the bears, avoid loud shouting, and follow staff instructions. Children under 14 should be supervised, and visitors must not carry children on their shoulders on the visitor platform or adventure trail. Dogs must remain on a leash and are not permitted on the adventure trail except for assistance dogs.
What lens is best for photographing bears at Arosa?
A 100–400mm zoom is a flexible general-purpose choice. A 70–200mm lens can work for wider environmental photographs when a bear is closer, while a 200–600mm lens provides extra reach for distant bears and tight portraits. The best choice depends on your camera sensor, preferred composition, and how much equipment you want to carry.
When is the best time to photograph the bears?
There is no guaranteed time when the bears will be most visible. From a lighting perspective, the softer light available soon after opening or later in the afternoon can be attractive. During the main summer 2026 season, the sanctuary is open from 9:00 a.m. to 5:20 p.m., so check current opening hours instead of planning around sunrise or sunset.
Is commercial photography allowed at the sanctuary?
The sanctuary’s visitor regulations allow souvenir photographs during a normal visit. For commercial photography, visitors are instructed to contact Arosa Bear Sanctuary management regarding the planned work and any requirements that may apply.
Sources
- Arosa Bear Sanctuary: Opening Times — current seasonal visitor hours and access information.
- Arosa Bear Sanctuary Visitor Regulations — photography permission, commercial photography, feeding, barriers, noise, children, and dog rules.
- Arosa Bear Sanctuary Visitor Platform — official viewing-platform information and accessibility.
- Arosa Bear Sanctuary Adventure Trail — eight viewing platforms, suspension bridges, dimensions, and seasonal access.
- FOUR PAWS: Arosa Bear Sanctuary — sanctuary purpose, rescued-bear care, and species-appropriate environment.
- U.S. National Park Service: How to Photograph Wildlife — general telephoto-lens and responsible wildlife-photography guidance.