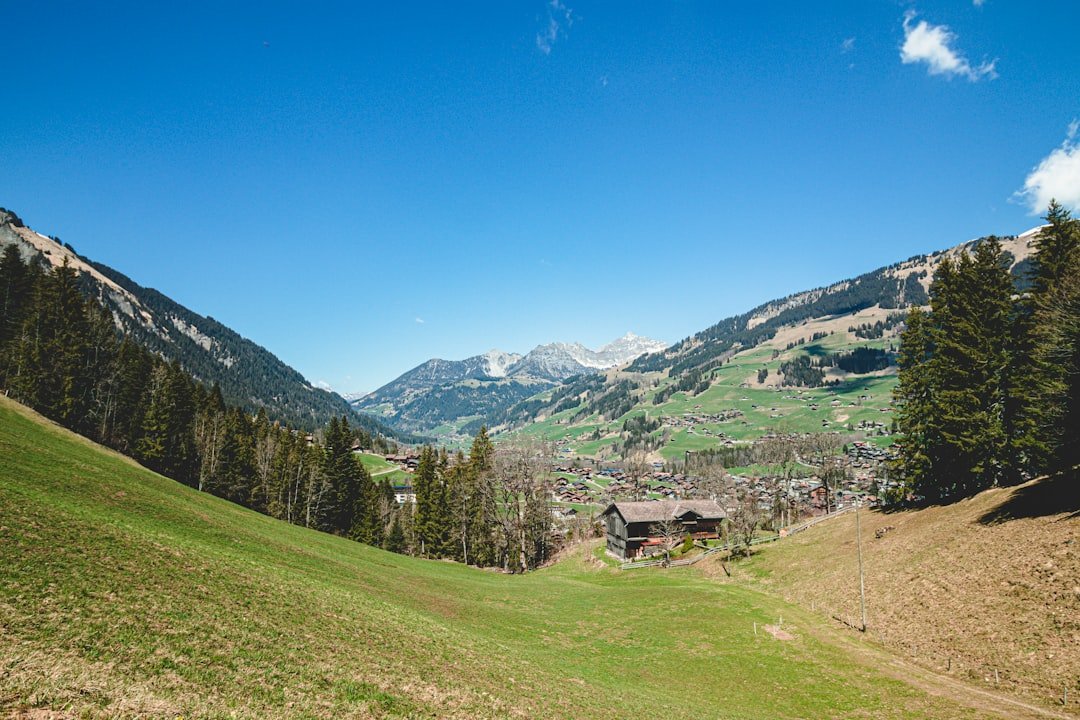
Oeschinensee near Kandersteg is one of the strongest landscape-photography locations in the Bernese Oberland, combining turquoise water, steep mountain walls, forests, waterfalls, and high Alpine scenery. Good photographs here depend as much on planning as camera technique. The light, trail you choose, weather, cable-car schedule, and local conservation rules can all affect the shots you can realistically make.
Quick Answer
For better Oeschinensee photos, use the first practical morning access or later afternoon light, carry a wide or standard zoom, consider a polarizing filter, and start around ISO 100 and f/8 for landscapes. Stay on marked trails, check weather and trail status, and remember that drones are prohibited in the Oeschinensee area.
Key Takeaways
- Summer gives you green scenery and broad hiking access, but spring, autumn, and winter can produce very different photographs.
- Do not assume there is one formal “Oeschinensee viewpoint.” Lakeside paths and higher mountain routes provide different compositions and require different levels of hiking ability.
- A wide or standard zoom is the most versatile lens choice. A polarizer can reduce reflections and deepen color when used carefully.
- ISO 100, f/8 to f/11, and a shutter speed suited to the scene are reliable starting points for daylight landscapes.
- Check the official cable-car timetable, reservation rules, trail status, and MeteoSwiss forecast before leaving Kandersteg.
- Stay on marked trails and protected-area routes. Drone and model-aircraft flights are prohibited in the Oeschinensee area.
At a Glance
| Time Required | Allow at least 3–5 hours for an unhurried first photography visit. The lake shore is about a 30-minute walk from the gondola mountain station; higher panorama routes require more time. |
| Difficulty | Easy to moderate for standard access toward the lake; considerably harder on mountain panorama trails such as Läger–Heuberg–Oberbärgli. |
| Tools Needed | Camera or phone, wide or standard zoom, spare battery, memory card, lens cloth, weather protection, and optionally a polarizer, tripod, or ND filter. |
| Cost | Variable. Cable-car tickets, parking, food, and optional transport cost extra. Check the official Oeschinensee fare page before visiting. |
The Best Time to Visit Oeschinensee for Photography
There is no single best season for every photographer. Summer is the easiest choice if you want green slopes, accessible hiking routes, long daylight hours, and the classic blue-green lake. Late spring can add lingering snow to the surrounding peaks, while autumn can bring warmer foliage colors. In winter, snow and ice create a completely different scene, but access and trail conditions require more care.
Do not rely on a fixed temperature range when planning. Oeschinensee is a mountain environment, and conditions can vary sharply with elevation, cloud cover, wind, and changing weather systems. Check the current MeteoSwiss forecast shortly before your trip and again on the day you travel.
Choose Realistic Light, Not Just “Golden Hour”
Early and late light can create softer shadows and better separation between the lake, forest, and mountains. However, ordinary visitors should not plan a dark pre-sunrise hike simply to reach a viewpoint. Oeschinensee’s official outdoor guidance tells hikers to avoid twilight and night hiking.
A safer strategy is to use the earliest practical daytime access, photograph changing light as clouds move across the mountains, or work later in the afternoon while leaving enough time to return before the last gondola and before trails become dark.
Pro Tip: Do not judge the scene only by whether the sky is clear. Broken cloud can produce shafts of light on the lake and mountains, while overcast conditions can make waterfalls, forests, and close-up details easier to photograph.
Plan Around the 2026 Cable-Car Schedule
For 2026, the published Oeschinensee cable-car timetable lists daily summer operation from May 9 through September 20, generally from 8:30 a.m. to 6:00 p.m. Fall operating hours are shorter. Weather, maintenance, and operating conditions can still affect service, so check the official timetable and current operating information before travelling.
From June 20 through September 20, 2026, visitors also need to pay close attention to the ascent time-slot system. The operator states that a separate time-slot reservation is required for the ascent during this period, including for guests whose transport ticket does not itself include a time slot. Review the official Oeschinensee reservation information before arriving.
Getting to Oeschinensee Viewpoints
The phrase “Oeschinensee viewpoint” can be misleading because there is not just one photographic position. You can photograph the lake from easier paths near the mountain station and shore, or climb higher marked mountain routes for a broader view over the water.
The gondola from Kandersteg takes visitors to the mountain station. From there, the lake shore is about a 30-minute walk on the standard route. This gives you several opportunities to photograph forest openings, mountain walls, the lake shore, and reflections without committing to a demanding mountain hike.
If you want the elevated perspective often seen in photographs of Oeschinensee, research the current mountain routes before starting. The official Oeschinensee hiking page lists the Läger–Heuberg–Oberbärgli route as a mountain hiking trail of roughly 1 hour 15 minutes for that section and recommends proper equipment, hiking boots, and mountain-hiking experience. Trail status can change, so never assume a route shown in an old photograph or blog post is currently open.
Warning: A photograph is not worth entering a closed trail, protected area, unstable slope, or rockfall zone. Check current signs and official trail status, stay on marked routes, and turn back if weather or terrain exceeds your experience.
Photography Tips for Capturing the Beauty of Oeschinensee
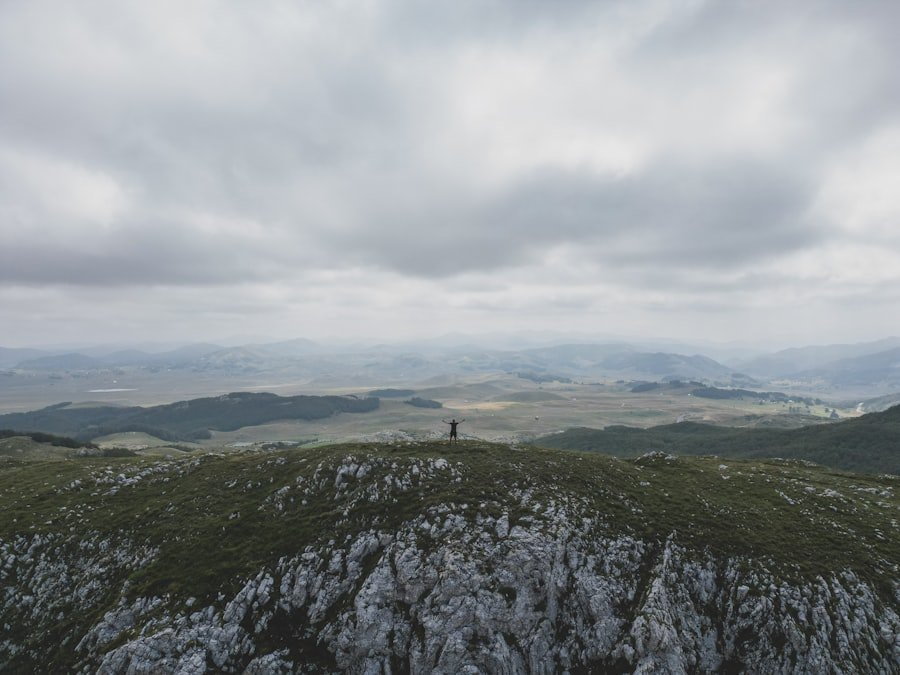
Start by deciding what the photograph is really about. Oeschinensee gives you several strong subjects at once: turquoise water, steep cliffs, waterfalls, forest, foreground rocks, clouds, and the surrounding Alpine peaks. Trying to fit all of them equally into every frame often makes an image feel less focused.
Work the Scene Before Moving On
Instead of taking one wide photograph and immediately walking away, make several versions from a safe position. Try a horizontal frame, a vertical frame, a tighter crop, a foreground-led composition, and a photograph that uses the shoreline as a visual path.
Reflections can work well when the water is calm. If wind breaks the reflection, change your goal instead of waiting indefinitely. A faster shutter can freeze textured water, while a longer exposure with an ND filter can soften motion when conditions and your position allow it.
Watch the Highlights
Bright clouds and pale mountain faces can be much brighter than the forest or water below them. Check your histogram or highlight warning if your camera provides one. It is usually easier to recover moderate shadow detail from a RAW file than to restore a completely clipped white sky.
If the difference between sky and land is extreme, bracket several exposures from a tripod. Keep the result natural during editing rather than forcing every part of the photograph to the same brightness.
Equipment Recommendations for Photographing Oeschinensee
| Equipment | Recommendation |
|---|---|
| Camera | A mirrorless or DSLR camera gives you full manual control, but a good compact camera or phone can also produce strong images in favorable light. |
| Lens | A wide or standard zoom such as 18–55mm or 24–70mm is versatile. A telephoto can isolate waterfalls, mountain details, and compressed layers. |
| Tripod | Useful for low light, long exposures, careful compositions, and exposure bracketing. It is optional for ordinary daylight shooting. |
| Filters | A circular polarizer can reduce glare from water and foliage. An ND filter can lengthen exposure times for moving water or clouds. |
| Remote Shutter Release | Helpful for tripod work and long exposures. A camera’s two-second timer can often serve the same purpose. |
| Spare Power and Storage | Carry a spare battery or power bank and enough memory-card space. Cold conditions can reduce practical battery life. |
| Weather Protection | Carry a rain cover or waterproof bag for your camera and a clean microfiber cloth for spray, rain, and fingerprints. |
How to Use a Polarizing Filter
A circular polarizer can be especially useful around Oeschinensee because it can cut some glare from water and wet vegetation. Rotate the filter while looking through the viewfinder or screen until the effect looks natural.
Do not automatically turn it to maximum strength. With very wide lenses, polarization across a large blue sky can become uneven, leaving one part of the sky much darker than another. The filter also reduces the amount of light reaching your sensor, which can require a slower shutter speed.
When an ND Filter Helps
An ND filter is useful when you intentionally want a longer exposure in daylight. It can soften moving waterfalls, create smoother water, or stretch cloud movement. Mount the camera securely, compose and focus first, then attach the stronger filter if it makes focusing difficult.
Camera Settings for Oeschinensee Photography
There is no single correct setting because light and subject movement change throughout the day. These are practical starting points that you can adjust after checking the histogram and reviewing a test image.
| Situation | Starting Settings | Why |
|---|---|---|
| Bright landscape | ISO 100, f/8–f/11, shutter speed as required | Keeps image quality high while providing useful depth of field. |
| Handheld in changing light | f/5.6–f/8, Auto ISO with a suitable minimum shutter speed | Helps prevent camera shake while you move between viewpoints. |
| Low light on a tripod | ISO 100–400, f/8, shutter speed as needed | The tripod lets you use a slower shutter without raising ISO unnecessarily. |
| Soft moving water | ISO 100, f/8–f/11, roughly 1/2–2 seconds as a starting range, ND filter if needed | Longer exposures blur movement while stationary rocks and mountains remain sharp. |
| Windy vegetation or handheld details | Aim for roughly 1/250 second or faster and raise ISO if necessary | A faster shutter reduces motion blur from wind and camera movement. |
For landscapes with both close foreground and distant mountains, focus roughly into the scene rather than automatically focusing on the farthest peak. At f/8 or f/11, many lenses provide enough depth of field for both areas to appear acceptably sharp. Magnify the playback image and check the foreground as well as the background.
Composition and Framing Techniques for Oeschinensee Photography
The rule of thirds is useful, but treat it as a starting point rather than a requirement. A low horizon can emphasize dramatic clouds and mountains, while a higher horizon can give more space to the lake, reflections, and foreground.
Use Natural Leading Lines
Shorelines, walking paths, ridges, and the edges of forest can lead the viewer toward the lake or mountains. Look for a line that begins near a lower corner of the frame and carries the eye toward the main subject.
Add Foreground Without Making It Distracting
Rocks, vegetation, or the curved shoreline can create depth, but avoid trampling plants or stepping outside permitted areas just to put an object in the foreground. Move your camera position along the legal trail instead.
Try a Telephoto Composition
Not every Oeschinensee image needs to show the whole lake. A telephoto lens can isolate waterfalls, cliff textures, patches of light, snowfields, or repeating mountain layers. These tighter frames often work well when haze or flat light makes a wide scene less dramatic.
The strongest Oeschinensee photograph is not always the widest one. Use the lake, mountains, light, and foreground to support one clear subject rather than forcing every feature into the same frame.
Weather Considerations for Oeschinensee Photography
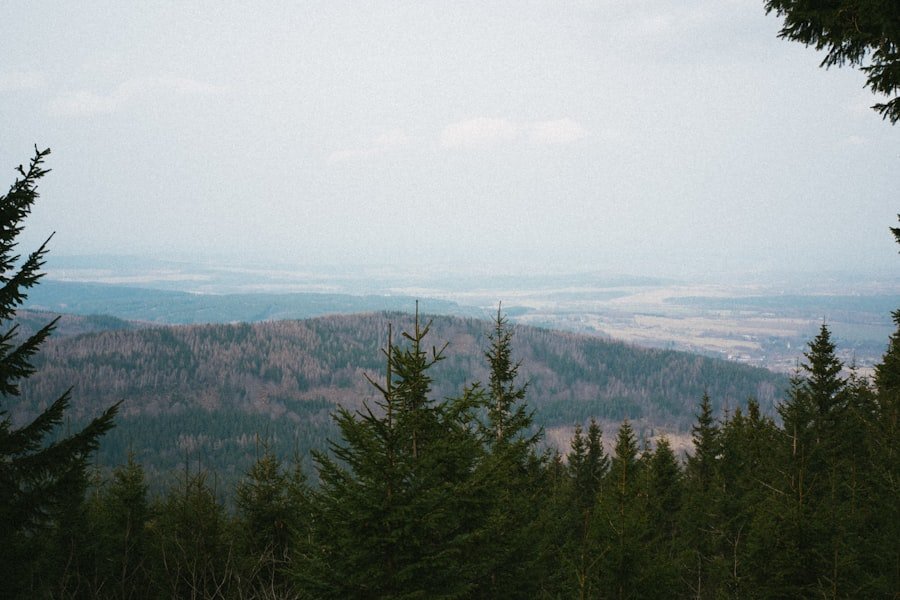
Weather can completely change the appearance of Oeschinensee. Clear conditions show the color of the water and distant mountain detail, but overcast light has its own advantages. Soft cloud cover reduces extreme contrast and can make waterfalls, woodland, rocks, and smaller details easier to expose.
Fog and low cloud can simplify the scene and create layers between ridges, but poor visibility can also make mountain trails harder to follow and reduce your margin for judging terrain. Photography should remain secondary to safe route decisions.
Before setting out, check MeteoSwiss as well as the official Oeschinensee operating and hiking-status information. Bring clothing suitable for changing conditions and protect the camera from rain even when the morning starts dry.
Note: A cloudy forecast does not automatically mean poor photography. Moving cloud can create changing patches of light, softer contrast, and more interesting mountain layers. A dangerous-weather warning or closed trail, however, should always override your photography plan.
Post-Processing Tips for Enhancing Oeschinensee Photos
Post-processing can help a photograph match what you saw without turning Oeschinensee’s colors into something artificial. Adobe Lightroom, Photoshop, and other RAW editors provide enough control for the main adjustments.
Start With Exposure and White Balance
Correct overall exposure first, then check highlights and shadows. If clouds are too bright, reduce highlights rather than simply darkening the whole image. If the forest is too dark, lift shadows carefully while watching for noise.
Set white balance before making strong color adjustments. Mountain shade can appear unusually blue, while late light may appear very warm. A neutral starting point makes later color decisions easier.
Use Vibrance and Saturation Carefully
The lake can already have a strong turquoise or blue-green color. Add vibrance or saturation gradually. If the water begins to glow unnaturally or the forest becomes neon green, pull the adjustment back.
Control Haze and Contrast
A small amount of contrast or dehaze can restore separation in distant mountains, especially when atmospheric haze is present. Heavy dehaze can create dark halos around ridgelines and make clouds look dirty, so inspect the image at full size before exporting.
Sharpen at the End
Apply sharpening after the main exposure and color work. Use enough to reveal rock, foliage, and mountain detail without creating bright edges or gritty noise. If the image was made at a high ISO, apply noise reduction before aggressive sharpening.
Preserving the Beauty of Oeschinensee Through Responsible Photography
Oeschinensee lies within the Swiss Alps Jungfrau-Aletsch UNESCO World Heritage landscape and is surrounded by protected habitats. Photographers should treat marked trails, barriers, wildlife quiet zones, and plant-protection areas as part of the shooting conditions rather than obstacles to work around. UNESCO describes the wider World Heritage property as an exceptional High Alpine landscape with important geological and ecological value.
Stay on official routes and do not enter restricted areas to copy a photograph you saw online. The official Oeschinensee Outdoor Guidelines tell visitors to respect protected zones, avoid disturbing wildlife, and follow current signs and closures.
Keep a safe distance from wild and farm animals. Do not feed or approach them for a close photograph. A longer focal length gives you a better way to fill the frame while allowing the animal to remain undisturbed.
Drones Are Prohibited at Oeschinensee
Do not plan aerial photography with a drone or model aircraft. Oeschinensee states that drone and model-aircraft flights are prohibited in the area by court order. The local restriction applies regardless of whether a manufacturer’s app appears to show the location as flyable. Check the official Oeschinensee ranger and conservation information for current rules.
Warning: Do not launch a drone at Oeschinensee simply because a drone app does not display a geofence. The local Oeschinensee prohibition still applies.
A Simple Oeschinensee Photography Plan
- Check access first. Review the gondola timetable, reservation requirement, current trail status, and weather forecast.
- Choose your route before packing. A lake-shore visit requires different footwear, time, and fitness than the elevated Heuberg/Oberbärgli mountain route.
- Start simple. Use ISO 100 and f/8 in good daylight, then choose the shutter speed that gives you a sharp image.
- Photograph several compositions. Try wide, vertical, foreground-led, reflection, and tighter mountain-detail frames.
- Use the polarizer selectively. Rotate it while watching the water, foliage, and sky rather than automatically applying the strongest effect.
- Adjust to the weather. Use clear light for broad landscapes, cloud for softer scenes, and a tripod when low light makes handheld shutter speeds too slow.
- Protect the location. Stay on permitted trails, keep away from wildlife, take all waste with you, and do not fly a drone.
- Leave enough return time. Do not keep shooting until darkness or miss the safe return window for your chosen trail and transport.
Frequently Asked Questions
What is the Oeschinensee viewpoint?
“Oeschinensee viewpoint” does not refer to only one formal viewing platform. Visitors can photograph Lake Oeschinen from easier paths around the mountain station and lake as well as higher marked mountain trails. The elevated Läger–Heuberg–Oberbärgli route provides broader views but requires proper hiking equipment and mountain-hiking experience.
What are some photography tips for capturing Oeschinensee?
Use softer morning or later-afternoon daylight when practical, look for reflections and leading shorelines, include foreground only from legal trail positions, and make both wide and tight compositions. Watch bright clouds carefully so you do not overexpose important highlight detail.
What photography techniques work well at Oeschinensee?
Try leading lines, layered mountain compositions, reflections, exposure bracketing in high-contrast light, telephoto detail shots, and long exposures of moving water when you have a tripod and suitable filter. Keep the technique secondary to a clear subject and safe shooting position.
What camera settings should I use for Oeschinensee landscapes?
In good daylight, ISO 100 and f/8 to f/11 are useful starting points. Choose a shutter speed fast enough for handheld sharpness or let it become slower when the camera is securely mounted on a tripod. Review the histogram and adjust exposure for the actual light rather than relying on one fixed setting.
Do I need a tripod at Oeschinensee?
No. A tripod is optional for normal daylight photography. It becomes much more useful for long exposures, low-light scenes, carefully aligned panoramas, exposure bracketing, or situations where your shutter speed becomes too slow for reliable handheld shooting.
Should I use a polarizing filter at Oeschinensee?
A circular polarizer can help reduce glare from the lake and vegetation and can strengthen color contrast. Rotate it while watching the effect because maximum polarization is not always best. Be especially careful with very wide lenses, which can produce uneven darkness across a blue sky.
What challenges should photographers expect at Oeschinensee?
Expect changing mountain weather, high contrast between bright sky and shaded slopes, wind, potentially wet trails, and differences in difficulty between lakeside paths and mountain routes. Check current conditions and carry clothing and footwear suitable for the route you intend to use.
Can I fly a drone for photography at Oeschinensee?
No. Oeschinensee states that flying drones and model aircraft in the area is prohibited by court order. Do not rely only on a manufacturer’s geofencing display when deciding whether a flight is permitted.
How do I reach Oeschinensee for photography?
Many visitors take the gondola from Kandersteg to the mountain station and then walk roughly 30 minutes toward the lake shore. Higher viewpoints require additional hiking. Check the official timetable, reservation rules, route status, and your planned return time before starting.
Sources
- Oeschinensee Cable Car Timetable & Fares — current operating seasons and scheduled cable-car hours.
- Oeschinensee Reservation Information — current ascent time-slot requirements and access information.
- Oeschinensee Hiking — official routes, hiking difficulty, equipment guidance, and current trail information.
- Oeschinensee Outdoor Guidelines — protected-area, wildlife, trail, safety, and visitor rules.
- MeteoSwiss — official Swiss weather forecasts, measurements, and natural-hazard information.
- UNESCO World Heritage Centre: Swiss Alps Jungfrau-Aletsch — World Heritage status and the natural significance of the wider Alpine landscape.