Saxer Lücke is one of the Alpstein’s most recognizable mountain photography locations, but getting a strong image takes more than pointing a wide-angle lens at the ridge. The light changes quickly, the trail can be exposed, and the dramatic Kreuzberge rock formations invite several different compositions. Good planning helps you return with photographs that show the scale, shape, weather and character of the landscape rather than another generic mountain snapshot.
Quick Answer
For better Saxer Lücke photos, plan around mountain weather and low-angle light, make the Kreuzberge your main subject, use the trail or meadow as foreground, and carry only gear you can hike with safely. A standard zoom is highly versatile, while a tripod is optional rather than essential.
Key Takeaways
- Treat the Kreuzberge, ridge, trail and surrounding Alpstein landscape as distinct subjects rather than trying to fit everything into one frame.
- Check official trail conditions and mountain weather before leaving, because the route includes exposed mountain terrain.
- Low-angle sunrise or sunset light can be attractive, but clouds, mist and broken light can produce equally strong photographs.
- A standard zoom is useful for both broad landscapes and tighter mountain details; a phone can also work well in good light.
- Use editing to recover natural-looking tonal detail and guide attention, not to turn the landscape into an unrealistic version of itself.
At a Glance
| Time Required | The official Geological Hiking Trail is listed at about 5.5 hours; allow extra time for photography stops. |
| Difficulty | Medium to difficult mountain hiking on the official route, with partly exposed terrain. |
| Tools Needed | Camera or smartphone, standard zoom or wide-angle lens, spare battery, weather protection, sturdy hiking footwear; tripod and polarizer are optional. |
| Cost | Varies with your access route and any cableway transport. Check current operator fares before your trip. |
Know the Saxer Lücke Scene Before You Shoot
Saxer Lücke, also written Saxerlücke and commonly typed as Saxer Luecke when an umlaut is unavailable, sits within the dramatic Alpstein landscape of northeastern Switzerland. The official Hoher Kasten Geological Hiking Trail passes Saxerlücke between Hoher Kasten, Staubern and Bollenwees.
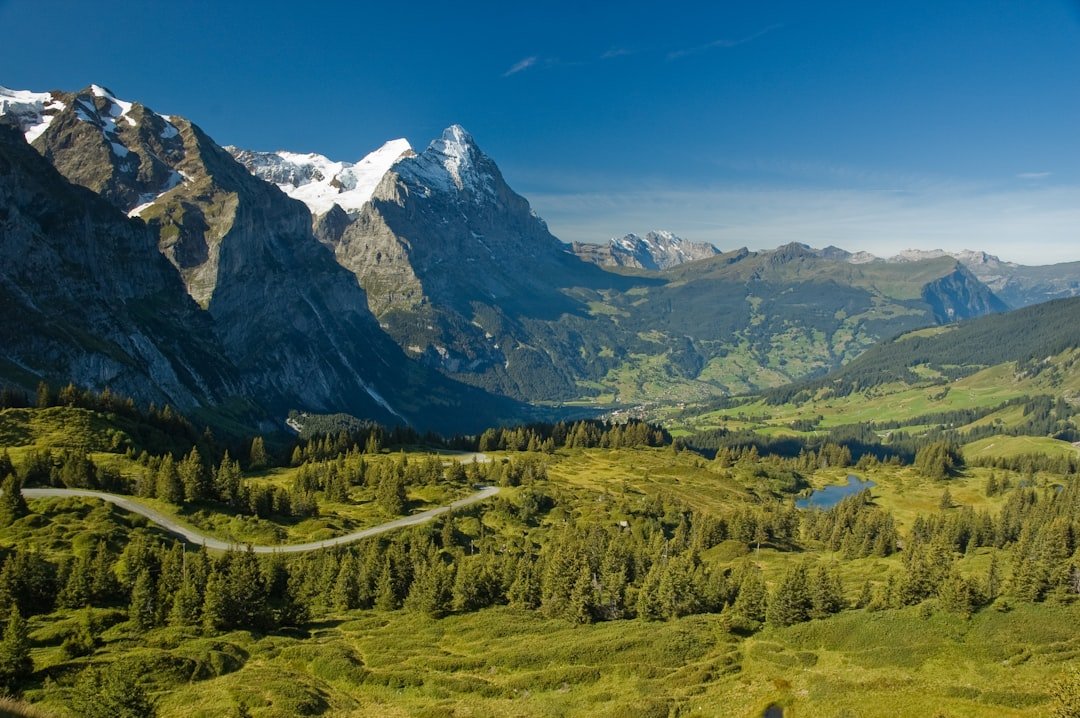
The official route description highlights views across the Rhine Valley, Alpstein and Appenzellerland, as well as the distinctive Kreuzberg rock formations, Fälensee and Sämtisersee. For photography, those features are more useful to think about than treating Saxer Lücke as one generic panoramic viewpoint.
Before taking your camera out, decide what the photograph is actually about. Is your subject the jagged Kreuzberge? The path curving toward the rock formation? A hiker showing the scale of the mountains? Layers of ridges disappearing into cloud? A tight section of illuminated rock? That decision should guide your composition.
Plan Around Access, Trail Conditions and Weather
The official Geological Hiking Trail is listed for the end of June through October, with a hiking time of about 5.5 hours, red-white-red trail markings and a medium-difficult rating. The route runs across mountain terrain and is partly exposed, so photography planning must include hiking planning.
Warning: Do not let a photograph pull you toward an unsafe edge or unstable slope. Official Hoher Kasten guidance says mountain hiking trails can be steep, narrow and partly exposed and may involve risks such as rockfall, slipping, falling and sudden weather changes. Check the latest trail conditions before leaving.
Mountain weather can change the photograph and the safety of the hike at the same time. Check the MeteoSwiss hazard information for thunderstorms, strong wind, rain, snow and other warnings before heading into the Alpstein.
If you plan to shoot around sunrise or sunset, remember that the most attractive light may occur outside normal transport hours. Do not assume a cableway will operate when you need it. Check current timetables and choose a route that you can complete safely in the available daylight. Carry a headlamp if your plan genuinely requires walking near darkness, but do not use a first visit to an exposed mountain route as an experiment in night hiking.
Master the Light at Saxer Lücke
Lighting has more impact on a mountain photograph than almost any camera upgrade. Low-angle light near sunrise or sunset can create separation between ridges, bring texture into rock faces and add color to the sky. However, it is not the only useful condition.
- Early light: Look for warm highlights on rock, cool shadows and mist sitting below the ridge.
- Broken cloud: Wait for patches of sunlight to isolate one ridge or meadow from a darker background.
- Overcast conditions: Use the softer contrast for restrained, atmospheric images and detailed mountain textures.
- Fog or low cloud: Simplify the frame. Let sections of the ridge appear and disappear instead of trying to show the entire panorama.
- Hard midday light: Look for strong shapes, shadows, close details and graphic compositions instead of fighting the contrast.
Watch the scene for several minutes before deciding that the light is poor. Mountain clouds move quickly, and a flat-looking view can become dramatic when a small opening sends light across one part of the landscape.
Compose the Classic Saxer Lücke View
Composition controls how the viewer moves through the photograph. The rule of thirds is a useful starting point: divide the frame into a three-by-three grid and place important elements near the grid lines or intersections. Adobe describes the rule as a guideline rather than an absolute requirement, so use it when it helps and ignore it when the mountain shapes suggest something stronger.
At Saxer Lücke, the trail itself can become a leading line. Instead of standing at the first obvious viewpoint and filling the frame with mountains, move around within the safe trail area and look for a path, meadow edge, ridge or shadow that points toward the Kreuzberge.
Leading lines can draw the viewer’s eye toward the focal point of your image, while symmetry can evoke a sense of harmony and balance.
Try both horizontal and vertical framing. Horizontal photographs are natural for showing the sweep of the landscape, but a vertical composition can give the trail, foreground and tall rock formations more depth. Also try leaving extra space around the peaks instead of always filling every corner of the frame.
Foreground elements can strengthen the sense of place. Grass, small rocks, flowers or the trail can provide depth, but they should support the main subject rather than compete with it. If the foreground is visually messy, raise the camera or move a few steps instead of automatically using an ultra-wide lens.
Choose the Right Equipment
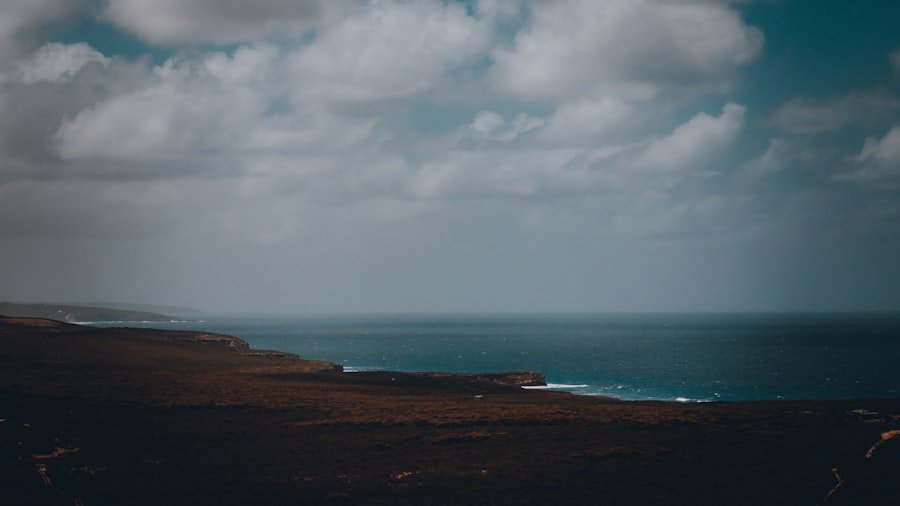
Select equipment that helps you make the photograph without making the hike unnecessarily difficult. A high-end camera is not required. A mirrorless camera, DSLR, compact camera or modern smartphone can all produce worthwhile Saxer Lücke images when the light and composition are strong.
A standard zoom is particularly useful because it allows you to move from broad landscapes to tighter mountain details without changing lenses repeatedly. A wider lens can help when you want a strong foreground or a broad sense of space, while a short telephoto can compress distant ridges and isolate details in the Kreuzberge.
Know how to control aperture, shutter speed and ISO before reaching the viewpoint. For a static landscape, a practical starting point is a moderate aperture such as f/8 or f/11, a low practical ISO, and whatever shutter speed gives you a clean exposure. Change those settings when wind, moving people, low light or a handheld camera requires it.
A tripod can stabilize long exposures and encourage careful composition, but it is not mandatory. If you carry one, keep it compact on narrow sections of trail and never create an obstacle for other hikers.
A polarizing filter can reduce some reflections and deepen certain colors, but rotate it while watching the actual result. More polarization is not always better, especially when a broad sky occupies much of the frame.
Pro Tip: Take a clean wide composition first, then zoom in. The tighter image of illuminated rock, cloud or a lone hiker often becomes more distinctive than the obvious panorama.
Capture Emotion and Storytelling
| Metrics | Value |
|---|---|
| Emotion Capture Rate | No credible universal percentage; judge whether the frame communicates atmosphere, scale or human reaction. |
| Storytelling Engagement | No universal percentage; strengthen the story through subject choice, context and visual sequence. |
| Viewer Retention | No validated fixed percentage; clear visual hierarchy and an obvious subject are more useful measures. |
Photography is not only about recording what the ridge looks like. It can also show what being there feels like. A small hiker beneath the Kreuzberge can communicate scale. A figure disappearing along the path can create a sense of journey. Low cloud crossing the ridge can make the same location feel completely different from a clear summer afternoon.
Candid moments often work better than stiff poses because they keep attention on the landscape and the experience. If you photograph another person, give them room to walk naturally into the scene and use their position to balance the mountains rather than making them dominate the frame.
Look for details that help tell a fuller story: hiking boots on the trail, changing cloud around the peaks, distant mountain huts, textured rock, wet grass after rain or hikers stopping to look toward the ridge. A short series of photographs can communicate the place better than one wide panorama.
Tips for Editing and Post-Processing
Editing should refine what you saw rather than rescue a weak composition. Adobe Lightroom and Photoshop provide controls for exposure, highlights, shadows, color and local adjustments. Adobe’s current Lightroom editing documentation explains the main tonal controls.
Start with exposure and white balance. Then check whether bright cloud or snow is losing detail and whether deep shadows have become distracting. Adjust highlights and shadows carefully rather than flattening every tonal difference in the mountains.
Use local adjustments when the sky, ridge and foreground need different treatment. For example, you may want to reduce the brightness of a sky while making a dark section of trail slightly easier to read. Avoid pushing clarity, dehaze and saturation so far that clouds develop halos or green meadows become unnatural.
Dodging and burning can guide the eye toward the main rock formation, trail or person in the frame. Keep the effect subtle. If viewers notice the editing before they notice Saxer Lücke, the processing is probably doing too much.
A consistent editing style can make a set of photographs feel connected, but consistency does not require using identical settings on every image. Fog, hard sun, sunrise and overcast conditions may each need different treatment.
Find Inspiration Without Copying
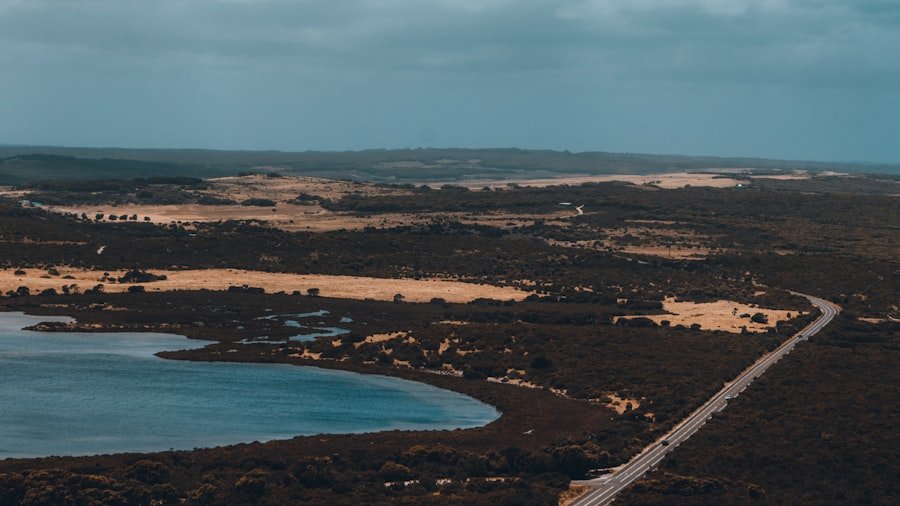
Studying other photographs can help you recognize possible viewpoints, lens choices and weather conditions. Galleries, photography books and online platforms such as Instagram or Pinterest can expose you to different approaches, but use them as research rather than a shot list you must duplicate.
Once you reach Saxer Lücke, spend time looking away from the most familiar composition. Turn around. Look down the trail. Zoom into overlapping ridges. Watch what clouds are doing behind you. A photograph becomes more personal when it reflects what caught your attention rather than simply reproducing the image that brought you there.
You can also set yourself a small assignment: make one wide environmental photograph, one vertical composition, one tight mountain detail, one image with a person for scale and one photograph built mainly around light or weather. That simple challenge encourages variety without requiring more equipment.
Navigate Different Shooting Environments
Every weather condition changes how Saxer Lücke photographs. Clear weather emphasizes depth and distant ridges. Cloud can simplify the background. Mist creates layers. Wet conditions may increase color saturation in grass and rock, while strong wind can make tripods and slow shutter speeds difficult to use.
In bright conditions, watch the histogram or highlight warning on your camera so that important cloud and mountain detail does not clip unnecessarily. In low light, stabilize the camera, raise ISO when needed, or use a tripod rather than accepting motion blur that you did not intend.
Weather protection matters for both you and the camera. A small rain cover or waterproof bag can be more useful on a mountain hike than carrying another heavy lens. Keep spare batteries protected from moisture and cold, and avoid opening the camera unnecessarily when rain is blowing across the ridge.
Note: A dramatic forecast is not automatically a safe photography forecast. If official warnings or trail conditions make the route unsuitable, change the plan instead of chasing the photograph.
Build a Personal Style and Brand
As your photography develops, look for patterns in the images you prefer. You may naturally favor dramatic weather, quiet minimal frames, small hikers beneath huge mountains, bright natural color or subdued edits. Those repeated choices gradually become a personal style.
Do not force every Saxer Lücke photograph into a preset look simply because it matches an existing portfolio. Let the actual light and weather guide the image. A foggy morning may need a restrained edit, while clear evening light may support stronger color and contrast.
If you share the photographs professionally, curate a small sequence rather than posting every variation. A broad establishing image, a medium view, a detail and a human-scale frame can tell a stronger story together.
Utilize social media platforms to share not only your photographs but also insights into your creative process and personal experiences as a photographer.
Engaging with an audience can help build connections around your work, but the photographs themselves should remain the priority. Clear captions about the conditions, creative decision or hiking context can add more value than generic engagement prompts.
How to Photograph Saxer Lücke Step by Step
- Check the route first. Review official trail conditions, transport times and MeteoSwiss hazards before packing your photography gear.
- Choose one primary subject. Decide whether your frame is about the Kreuzberge, the path, a person, the surrounding ridges, Fälensee or changing weather.
- Make a safe establishing image. Capture a clean wide composition before spending time on more experimental frames.
- Change your position and focal length. Try horizontal and vertical framing, foreground elements, tighter mountain details and a person for scale.
- Watch the light. Wait for cloud movement, changing shadows or a patch of light instead of assuming the first exposure is the best one.
- Review before leaving. Check focus, clipped highlights and distracting edges in several important frames while you still have the opportunity to reshoot them.
Conclusion
Saxer Lücke rewards photographers who combine mountain awareness with deliberate composition. Understand what your subject is, watch how light moves across the landscape, carry equipment you can handle comfortably and leave room for changing weather. The strongest photograph may be the famous ridge view, but it may also be a quiet detail or fleeting moment that other visitors overlook.
A useful creative principle is to study the distinctive characteristics of a subject instead of treating it as a generic example of its category. The original article made a culinary comparison through its link to exploring the delightful world of Asian melon. The same observational idea can apply here: study the shape of the ridge, the trail, changing light, weather and scale before deciding how Saxer Lücke should look in your photograph.
Frequently Asked Questions
What is the Saxer Lücke viewpoint?
Saxer Lücke, or Saxerlücke, is a mountain pass and well-known photography location in Switzerland’s Alpstein. The surrounding scenery includes the dramatic Kreuzberge rock formations, Alpine ridges and nearby Fälensee and Sämtisersee landscape.
What are some photography tips for capturing Saxer Lücke?
Choose a clear primary subject, use the trail or meadow as a leading line, photograph both horizontal and vertical compositions, and try tighter views of the Kreuzberge instead of shooting only an ultra-wide panorama.
What time of day is best for photographing Saxer Lücke?
Sunrise and sunset can provide attractive low-angle light and colorful skies, but there is no single guaranteed best time. Cloud, mist and broken sunlight can create excellent photographs throughout the day. Match your plan to safe trail access, transport hours and current weather.
What equipment is recommended for photographing Saxer Lücke?
A camera or smartphone and a versatile standard zoom are enough for many photographers. A wider lens, short telephoto, tripod and polarizing filter can add options, but sturdy footwear, weather protection and a manageable pack are more important than carrying every lens you own.
Which composition techniques work well at Saxer Lücke?
Leading lines, layered ridges, foreground elements, negative space and a person for scale can all work well. The rule of thirds is a useful starting point, but centered or vertical compositions may better match the shape of the rocks in some scenes.
What camera settings should I use at Saxer Lücke?
There is no fixed setting for every condition. For a static daylight landscape, you can begin with a moderate aperture such as f/8 or f/11, a low practical ISO and a shutter speed appropriate for your light and camera support. Change the settings when wind, movement or low light requires it.
Do I need a tripod at Saxer Lücke?
No. A tripod is useful for low-light photographs, long exposures and careful composition, but handheld photography can work very well in good light. If you carry a tripod, keep it clear of narrow sections of the mountain trail.
Is the hike to Saxer Lücke easy?
Do not treat it as a casual roadside viewpoint. The official Geological Hiking Trail is marked red-white-red, is rated medium-difficult and includes partly exposed mountain terrain. Check the current route conditions and choose an approach appropriate for your experience and fitness.
Sources
- Hoher Kasten: Geological Hiking Trail — official trail season, duration, difficulty, marking, route and landscape information.
- Hoher Kasten: Trail Conditions and Signage — trail-condition updates, mountain-trail requirements and safety guidance.
- MeteoSwiss: Weather Hazards — official Swiss warnings for thunderstorms, wind, rain, snow and other weather hazards.
- Swiss Hiking: Trail Signage — official explanation of Swiss hiking and mountain-hiking trail categories.
- Adobe: Rule of Thirds — composition guidance and explanation of the rule of thirds as a flexible guideline.
- Adobe Lightroom: Editing Photos — official guidance for exposure, highlights, shadows, color and tonal adjustments.