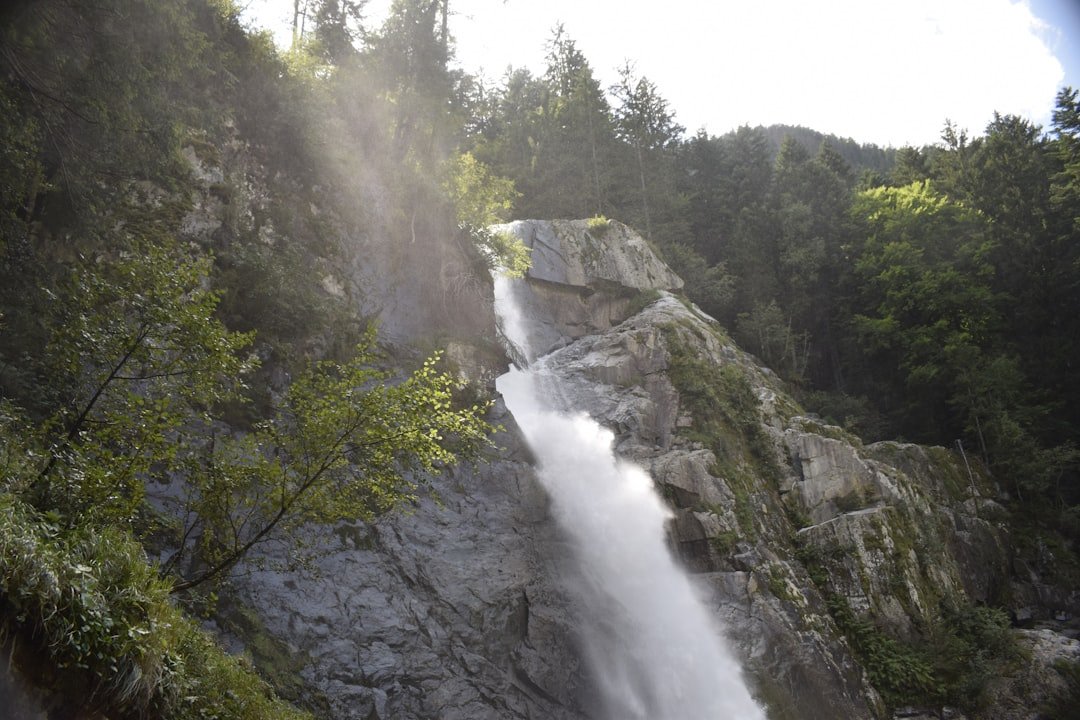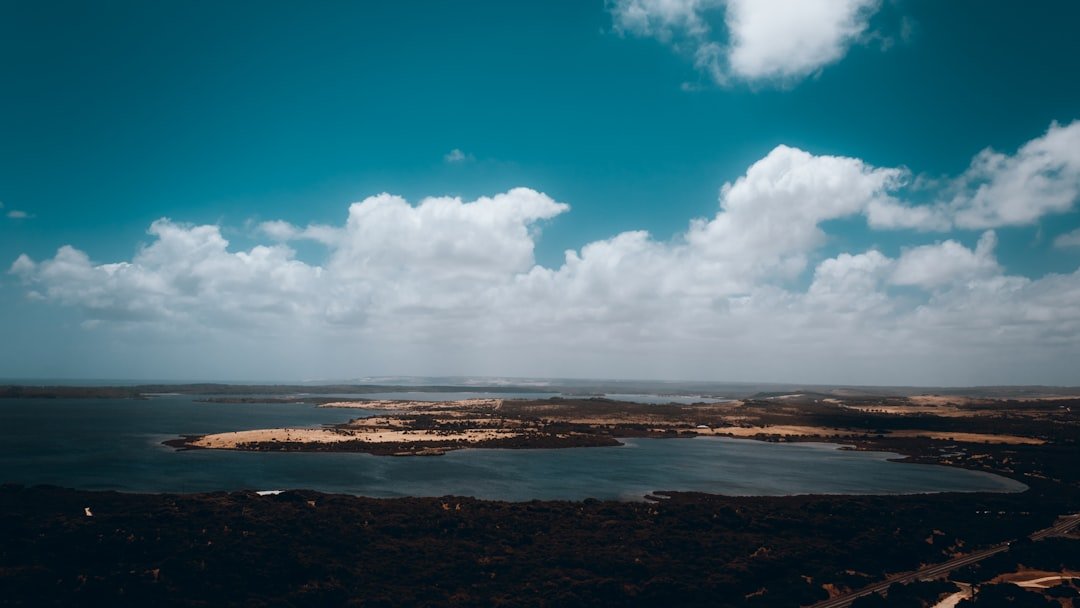
Rochers de Naye rises above Montreux at about 2,042 metres and gives photographers a high viewpoint over Lake Geneva, the Vaud Riviera, and surrounding Alpine peaks. The location works for everything from smartphone panoramas to telephoto mountain details, but the strongest photographs depend on more than arriving with a camera. Light, visibility, seasonal snow, train times, wind, trail conditions, and your choice of focal length can all change what you are able to capture.
Quick Answer
For better Rochers de Naye photos, plan around clear visibility and directional light, then confirm the train schedule before relying on sunrise or sunset. Bring a wide-angle lens for Lake Geneva, a telephoto for compressed mountain views, and weather protection. Use foregrounds, exposure bracketing, and careful viewpoint selection rather than depending on one panoramic shot.
Key Takeaways
- Rochers de Naye is about 2,042 m above sea level and can be reached from Montreux by rack train in roughly 55 minutes.
- Golden-hour light can be excellent, but sunrise and sunset photography require careful transport and return planning.
- A wide-angle lens suits broad Lake Geneva scenes, while a telephoto lens can isolate peaks, ridges, villages, and layers of atmospheric haze.
- Mountain weather can change quickly, so check the forecast, live conditions, and trail status before leaving Montreux.
- Drone photography follows separate Swiss aviation and privacy rules. Check the official drone map before every flight.
At a Glance
| Time Required | Allow several hours for a focused summit shoot, plus roughly 55 minutes each way by train from Montreux when the full service is operating. |
| Difficulty | Low for a short station-area photography visit; substantially higher if you continue onto mountain hiking routes. |
| Tools Needed | Camera or smartphone, spare battery, lens cloth, weather layer; wide-angle and telephoto lenses are useful, while a tripod and filters are optional. |
| Cost | Photography itself does not require special equipment fees, but train fares, meals, parking, and paid activities vary. Check MOB for current transport prices. |
Plan Your Rochers de Naye Photography Visit
The easiest way to reach the high viewpoint is the Montreux to Rochers-de-Naye rack railway. According to Montreux Riviera, the journey from Montreux takes about 55 minutes. The ride itself can also provide photographic opportunities as the train climbs from the lakeside through higher terrain.
Do not assume that the first or last scheduled train will match sunrise or sunset. Service changes by season and can be reduced under some winter operating patterns. Before building an entire shoot around golden hour, check the current MOB Rochers-de-Naye service information and live timetable.
Pro Tip: Build your composition plan before you arrive. Decide whether your priority is the broad curve of Lake Geneva, layered Alpine ridges, flowers, the railway, or compressed telephoto details. You will spend less time changing lenses and more time watching the light.
The Best Time to Visit Rochers de Naye for Photography
There is no single best season. The right time depends on whether you want snow, alpine plants, long daylight, atmospheric clouds, or quieter scenes. Conditions at more than 2,000 m can also differ sharply from conditions beside Lake Geneva in Montreux.
| Season | Photography Strengths | What to Watch |
| Spring | Snow-and-green contrasts, changing cloud, quieter conditions | High ground may remain snowy well after lower elevations turn green, so do not assume late March or April means summit wildflowers. |
| Summer | Long daylight, hiking access, flowers, strong blue-and-green color contrasts | Crowds, haze, thunderstorms, wind, and harsh midday light |
| Autumn | Lower-angle light, atmospheric layers, changing color on lower slopes, possible early snow | Shorter days and increasingly wintry mountain conditions |
| Winter | Snow-covered ridges, minimalist scenes, dramatic contrast | Reduced service patterns, cold batteries, snow, ice, wind, and limited trail access |
For flower photography, summer is more dependable than early spring at summit elevation. The La Rambertia alpine botanical garden protects and cultivates roughly 1,000 alpine species and generally opens from June into autumn when snow conditions allow. It can provide controlled opportunities to photograph alpine plants without leaving established visitor areas.
Early morning and late afternoon usually provide softer, more directional light than midday. Sunset can illuminate haze and mountain layers beautifully, while overcast conditions can be excellent for flowers and detailed landscapes because contrast is easier to control. Golden hour is therefore a creative opportunity rather than a guarantee that every photographer should visit at the same time.
Composition Tips for Photographing the Viewpoint
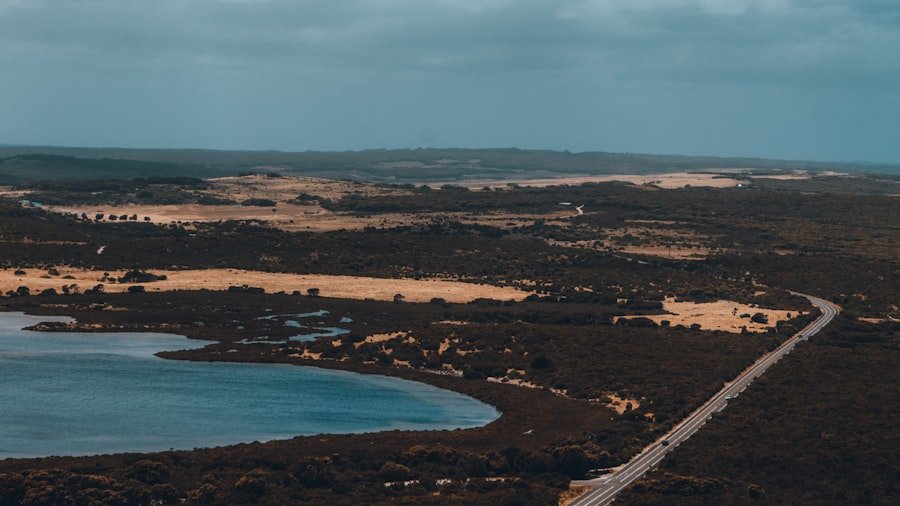
The wide view from Rochers de Naye can tempt you to point a wide-angle lens at everything at once. A stronger approach is to decide what the photograph is actually about before choosing a focal length.
The rule of thirds can work well when Lake Geneva occupies one part of the frame and a ridge or dominant peak balances it elsewhere. However, do not force every landscape into a thirds grid. A centered composition can work when clouds, shoreline curves, or mountain layers create strong symmetry.
Use Leading Lines
Paths, railway lines, ridges, fences, and the shoreline can guide the viewer into the frame. Look for a line that begins near the bottom or side of the composition and leads toward your main subject rather than disappearing into an empty area.
Add a Foreground
Rocks, alpine plants, snow textures, or a section of trail can give scale to the lake and mountains. With a wide-angle lens, move close enough to the foreground for it to become an intentional part of the composition rather than a small object at the bottom edge.
Use Telephoto Compression
A telephoto lens can produce a very different view from the classic panorama. Zoom in on overlapping ridges, distant peaks, villages, boats, or patches of light on Lake Geneva. Longer focal lengths visually compress the layers and can make haze, weather, and changing light part of the photograph.
Try a Panorama
If a single wide-angle frame makes distant mountains look too small, photograph several overlapping vertical frames and stitch them later. Keep exposure and white balance consistent across the sequence, rotate from a stable position, and overlap neighboring frames generously enough for your editing software to align them.
Camera Settings for Rochers de Naye Landscapes
There is no universal exposure setting, but a few starting points make mountain photography easier.
- Daylight landscapes: Start near ISO 100, use roughly f/8 to f/11 when you need broad depth of field, and select the shutter speed required for the available light.
- Handheld photographs: Increase ISO when necessary rather than allowing the shutter speed to become so slow that camera shake softens the image.
- Moving wildlife: Use a faster shutter speed and continuous autofocus. The exact speed depends on the animal’s movement and focal length.
- High-contrast skies: Check the histogram and highlight warning. Exposure bracketing can help when the sky is much brighter than Lake Geneva or the foreground.
- Sunrise or sunset: Shoot RAW if your camera supports it so you retain more flexibility for recovering highlights, shadows, and white balance.
Note: Do not stop down automatically to the smallest aperture your lens offers. Very small apertures can reduce fine detail through diffraction. For many landscape lenses, a mid-range aperture gives a better balance of sharpness and depth of field.
Equipment Recommendations for Capturing the Beauty
| Equipment Type | Recommendation |
|---|---|
| Camera | DSLR, mirrorless camera, compact camera, or a modern smartphone |
| Lens | Wide-angle lens for landscapes, macro-capable lens for close-ups, and telephoto lens for mountain layers or wildlife |
| Tripod | Useful for low light, long exposures, panoramas, and careful compositions; not essential for every photograph |
| Filters | Neutral-density filter for longer exposures and polarizing filter for controlling reflections and glare |
| Memory Cards | High-capacity cards with adequate write speed, plus a spare card |
| Weather Protection | Lens cloth, simple rain protection, warm layer, and spare battery |
A wide-angle lens in roughly the 16-35mm full-frame range is useful when you want the lake, sky, and foreground in one composition. A telephoto zoom such as a 70-200mm or 100-400mm can isolate distant landscape details and allows wildlife to be photographed from farther away when animals are present.
A tripod is especially useful around low light, blue hour, long exposures, and stitched panoramas. On windy days, however, a lightweight tripod can vibrate. Keep the center column low, shorten the legs when possible, and make sure your equipment cannot topple onto another visitor or over an exposed edge.
A polarizing filter can reduce reflections and deepen some colors, but rotate it while looking through the viewfinder rather than automatically turning it to maximum effect. With an ultrawide lens, strong polarization can produce an uneven dark band across a blue sky.
Lighting and Weather Considerations
Light changes quickly in the mountains. A cloud shadow can cross Lake Geneva while a distant ridge remains illuminated, creating far more depth than a uniformly bright midday scene. Watch the landscape between exposures rather than assuming one set of settings will work throughout the visit.
Clear conditions are useful when you want maximum visibility, but clouds, mist, or thin haze can make more interesting photographs. Overcast light is particularly useful for flowers and close details because it reduces harsh shadows.
Summer does not guarantee clear skies. MeteoSwiss notes that thunderstorms regularly occur during the warmer part of the year and can bring heavy rain, hail, lightning, and strong wind gusts in Alpine regions. Check MeteoSwiss weather and warning information shortly before travelling, not only several days in advance.
Warning: A photograph is not worth continuing onto an exposed ridge or unfamiliar trail in lightning, heavy rain, strong wind, ice, poor visibility, or deteriorating conditions. Follow official warnings and turn back when conditions no longer match your equipment and experience.
Cold temperatures also reduce battery performance. Carry a spare battery close to your body in cold weather. If you move from a cold outdoor environment into a warm humid interior, condensation can form on equipment, so allow cameras and lenses to warm gradually when practical.
Smartphone Photography Tips
A smartphone is capable of producing excellent Rochers de Naye photographs when used deliberately. Start by cleaning the camera lens, because fingerprints are especially obvious when photographing bright skies or shooting toward the sun.
- Use the phone’s main camera or an optical telephoto camera when available rather than relying heavily on digital zoom.
- Tap on an important bright area and reduce exposure slightly if the sky is losing detail.
- Use HDR when the lake and mountains are much darker than the sky, but check the result for unnatural halos around ridges.
- Use panorama mode slowly and keep the phone level to avoid a curved horizon.
- Brace the phone against a stable object or use a small support in low light.
- Capture several frames when clouds or shafts of sunlight are moving quickly. Small changes in light can transform the scene.
Finding Unique Perspectives at Rochers de Naye
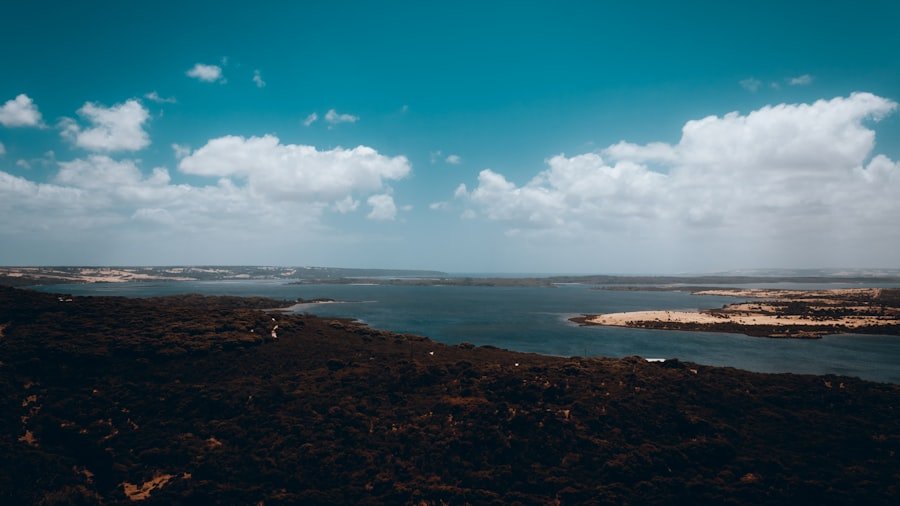
Different perspectives do not require standing in dangerous places. Start by changing height, focal length, and foreground at established visitor areas. A low viewpoint can enlarge flowers or rocks in the foreground, while a telephoto lens can completely change the apparent relationship between Lake Geneva and distant mountains.
Look for photographs beyond the classic wide panorama. The rack railway, tracks, alpine plants, patches of snow, changing cloud layers, and small areas of light can all become primary subjects.
If you continue onto mountain trails, check the route before leaving the main visitor area. Trail difficulty varies, and conditions can change with snow, rain, rockfall, or maintenance.
Current Trail Note: As of August 17, 2026, Montreux Riviera reports that the interior of the Naye Caves is closed until further notice because of ground movement and falling-rock risk. The exterior trail remains accessible. Check the official route page for the latest status before planning photography around that area.
Photographing Alpine Flowers and Wildlife
Rochers de Naye’s alpine setting offers opportunities for plant and occasional wildlife photography. La Rambertia is particularly useful for photographing mountain plants because it contains a large collection of alpine species in an established garden.
Use a macro lens, close-focusing zoom, or smartphone macro mode to photograph flowers without stepping into vegetation. A lower camera position can place distant mountain shapes behind the subject, giving a close-up photograph a stronger sense of location.
Marmots are often associated with Alpine environments, but wildlife sightings should never be treated as guaranteed. If you encounter marmots, birds, or other animals, use a longer focal length, remain at a respectful distance, and never approach, feed, corner, or bait an animal for a photograph.
Drone Photography at Rochers de Naye
Drone photography requires more planning than handheld photography. Swiss rules include operating-category requirements, privacy obligations, visual-line-of-sight requirements, separation from uninvolved people, and geographical restrictions.
The Federal Office of Civil Aviation states that drone pilots must respect geographical flight restrictions and check whether authorization is required for a restricted area. Before every proposed flight, use the official Swiss drone restriction map and review the FOCA drone flight rules.
Warning: Do not assume that a remote mountain location automatically means drone flight is unrestricted. Temporary airspace measures, protected zones, people on the ground, privacy considerations, and other operating limits can apply.
Post-Processing Tips for Enhancing Your Photos
Post-processing should strengthen the conditions you actually photographed rather than turning every scene into the same high-saturation landscape. Adobe Lightroom, Photoshop, Capture One, and other RAW editors can all handle the basic adjustments needed for mountain photographs.
Start with exposure and white balance. Recover bright sky detail carefully, lift dark foregrounds only as much as necessary, and then adjust contrast. If distant mountains look flat because of atmospheric haze, a small amount of local contrast or dehaze can help, but aggressive settings can create halos along ridges.
Saturation is best used carefully. Lake Geneva, blue sky, green vegetation, and sunset light already create strong color relationships. Increasing vibrance moderately is usually more natural than pushing every color toward maximum saturation.
Cropping can improve balance by removing empty edges or distracting objects. Keep enough resolution for your intended use, and make sure the lake horizon remains level unless a deliberate angle is part of the composition.
For sharpening, judge the image at a useful viewing size. Apply stronger detail selectively to rock, vegetation, buildings, or the main mountain subject while avoiding exaggerated sharpening in smooth skies and mist.
Good mountain editing is usually about preserving depth: bright and dark layers, atmospheric haze, changing color temperature, and small differences between nearby and distant ridges.
If you also practice color-focused photography with smaller subjects, this existing Asian melon article offers a separate example of working with naturally vivid colors. It is not a Rochers de Naye travel resource, so use the official destination sources below for mountain planning.
Respecting the Environment While Photographing at Rochers de Naye
Responsible photography protects both the landscape and the experience of other visitors. Stay on established paths where required and avoid stepping into fragile vegetation simply to improve a composition. Flowers can be photographed without picking or moving them.
Keep a respectful distance from animals and never use food to draw wildlife closer. A telephoto lens is safer for both photographer and animal and usually creates a better background than approaching too closely.
Be considerate at shared viewpoints. Keep tripods out of busy walking lines, avoid blocking narrow paths while waiting for light, and keep bags where other visitors will not trip over them.
Finally, leave weather and trail decisions separate from photography ambition. If clouds remove the panoramic view, use them as part of the photograph or change subjects rather than walking into unsafe terrain looking for a clearer angle.
Frequently Asked Questions
What is the Rochers de Naye viewpoint?
Rochers de Naye is a mountain viewpoint above Montreux at about 2,042 m elevation. It overlooks Lake Geneva and surrounding Alpine ranges and is reached most easily by the rack railway from Montreux.
What are the best photography tips for Rochers de Naye?
Choose a clear subject, use foreground elements for depth, photograph both wide and telephoto compositions, watch the histogram in high-contrast light, bracket difficult exposures, and keep enough time to react when clouds or light move across the lake and mountains.
Are there photography restrictions at Rochers de Naye?
Ordinary personal photography at public visitor areas is different from regulated drone photography. Follow all posted signs, staff directions, privacy rules, and access restrictions. Drone pilots must separately comply with Swiss aviation requirements and check the official restriction map before flying.
What is the best time of day for Rochers de Naye photography?
Early and late light often creates softer shadows and stronger mountain layers, but overcast weather can be excellent for details and flowers. If you want sunrise or sunset, verify transport and safe return arrangements because regular train service does not automatically match golden-hour times.
What safety precautions should photographers take?
Check the mountain weather, train service, and trail status before departure. Wear footwear and clothing suited to the conditions, remain on appropriate routes, keep away from exposed edges in strong wind or poor visibility, and turn around if storms, ice, or other hazards develop.
How do I get to Rochers de Naye from Montreux?
The usual visitor route is the rack railway from Montreux. The trip to Rochers-de-Naye takes roughly 55 minutes when the full service is operating. Check MOB’s current timetable before travelling because seasonal operating patterns can change.
Can I photograph Rochers de Naye with a smartphone?
Yes. Clean the lens, avoid unnecessary digital zoom, control exposure to protect bright skies, use HDR carefully in high-contrast scenes, and try panorama mode for broad Lake Geneva views. A stable support can improve photographs in low light.
Can I fly a drone at Rochers de Naye?
Do not assume that you can. Swiss drone regulations, privacy rules, operating-category requirements, and geographical restrictions may apply. Check FOCA’s current rules and the official Swiss drone map immediately before each planned flight and obtain any authorization that is required.
Sources
- MOB: Montreux – Les Rochers-de-Naye line — current railway access, seasonal service guidance, and mountain-safety planning.
- Montreux Riviera: Rochers-de-Naye in Summer — 2,042 m elevation, approximately 55-minute rack-train journey, viewpoint, and summer activities.
- Montreux Riviera: La Rambertia Alpine Botanical Garden — alpine flora, approximate collection size, and snow-dependent seasonal opening.
- Montreux Riviera: Jaman – Rochers-de-Naye by the Naye Caves — current cave-interior closure and rockfall safety information.
- MeteoSwiss — Alpine thunderstorm, precipitation, hail, and short-term weather-warning context.
- Swiss Federal Office of Civil Aviation: Drone Flight Rules — drone operating, privacy, visual-line-of-sight, safety-distance, and geographical-restriction requirements.