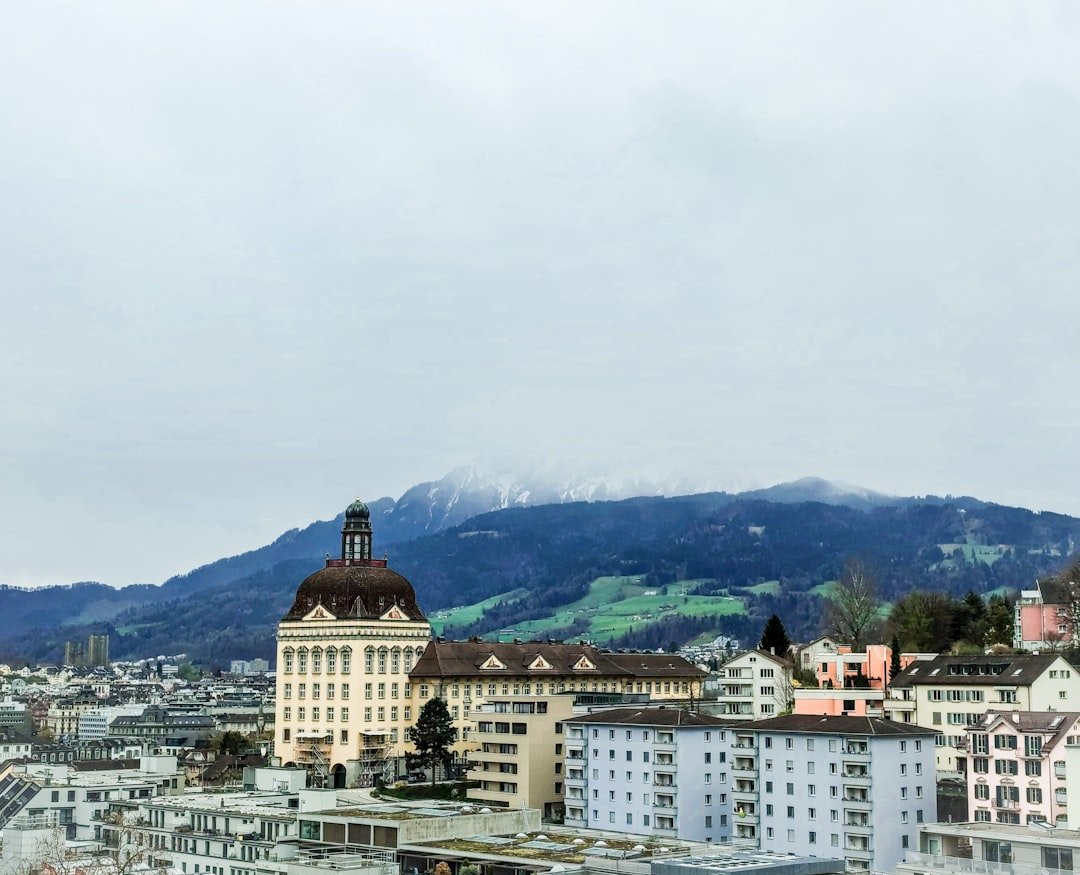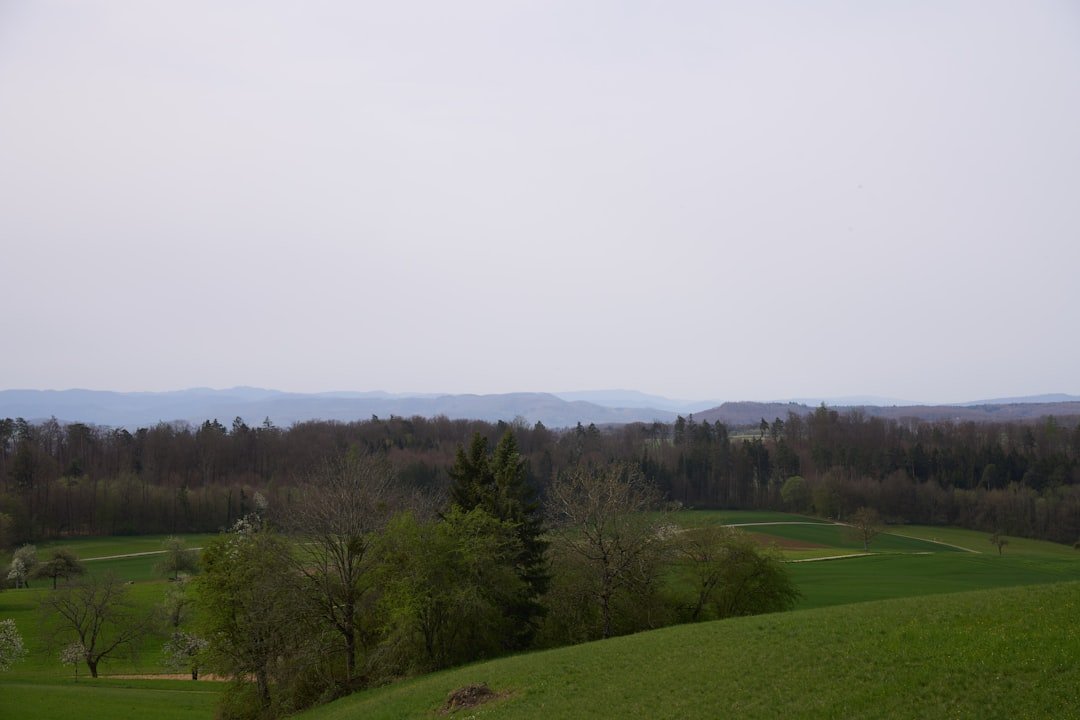
Heidiland in eastern Switzerland is a broad holiday region rather than one single official viewpoint. For photographers, the Maienfeld area is especially useful because it combines vineyards, historic streets, Heidi-related attractions, mountain trails, and views across the Rhine Valley. With a little planning, you can photograph wide landscapes, village details, seasonal color, and cultural scenes in the same outing.
Quick Answer
For strong Heidiland photos, scout a verified location around Maienfeld, shoot near sunrise or sunset when possible, carry a wide or standard zoom, include foreground elements for depth, and check weather and trail conditions before heading uphill. Heididorf, Heidialp, the Heidi Fountain, and the Bündner Herrschaft vineyards are practical starting points.
Key Takeaways
- Heidiland is a region, so choose a specific photo location instead of looking for one official “Heidiland viewpoint.”
- Near Maienfeld, verified photo options include Heididorf, the Heidi Fountain, Heidialp, vineyard paths, and higher routes with Rhine Valley views.
- Sunrise and sunset often provide softer, warmer light, while overcast conditions can work well for detail shots and even exposure.
- A phone, compact camera, DSLR, or mirrorless camera can all work. Lens choice and technique matter more than owning one specific model.
- Check current weather, trail status, property rules, and Swiss drone restrictions before your shoot.
At a Glance
| Time Required | About 2–4 hours for a focused photo walk; longer if you hike to Heidialp or wait for changing light |
| Difficulty | Easy in Maienfeld and around accessible photo stops; moderate on longer uphill hiking routes |
| Tools Needed | Camera or smartphone, charged battery, storage space, lens cloth; optional wide-angle or standard zoom, tripod, polarizer, and spare battery |
| Cost | Variable; transport, parking, attraction admission, and mountain access can add costs |
Finding the Perfect Viewpoint
Start by deciding what you want the photograph to communicate. A high overlook can emphasize the scale of the Alps and Rhine Valley, while a lower vineyard path can create stronger foreground layers. Instead of assuming there is one official Heidiland viewpoint, choose a named location that fits your subject, fitness level, available light, and travel time.
Elevation can broaden your perspective, but higher is not automatically better. A lower position with vines, flowers, a path, fence, rock, or tree in the foreground may create more depth than an empty panorama. Move a few steps left or right, lower the camera, and test both horizontal and vertical framing before committing to a shot.
Do not limit the story to mountain panoramas. Maienfeld can also provide historic streets, traditional buildings, vineyard details, goats, food and wine details, and everyday cultural scenes. The broader Heidiland region also includes places such as Bad Ragaz, so a longer photo trip can mix village, landscape, and cultural subjects. When people become the main subject, be respectful and ask before making close-up portraits where appropriate.
Verified Photo Spots Around Maienfeld
- Heidi Fountain: Heidiland Tourism describes the Heidi Fountain above Maienfeld as a popular photo stop. It is a simple choice when you want an easy Heidi-themed location without a long hike.
- Heididorf: The visitor attraction above Maienfeld offers traditional buildings, goats, and details connected with the Heidi story. It works well for architecture, documentary-style travel images, and environmental portraits.
- Heidialp on Ochsenberg: The official route from Heididorf to Heidialp is listed at about 8.8 km, 3 hours, and 453 m of ascent. This is a better option if you want a walking route with changing elevation and mountain scenery.
- Bündner Herrschaft vineyards: Maienfeld and the neighboring wine villages offer rows of vines, historic streets, and layered valley-and-mountain compositions. They can be especially photogenic when vines provide strong leading lines.
- Higher Rhine Valley routes: Some official Heidiland routes above Maienfeld open wider views across the Rhine Valley and toward Liechtenstein. Check the current route description and conditions before choosing a higher objective.
Pro Tip: Scout the composition before the best light arrives. Save two or three possible camera positions, then return to the strongest one when the light improves. This prevents you from wasting a short sunrise or sunset window searching for a foreground.
Utilizing Natural Light
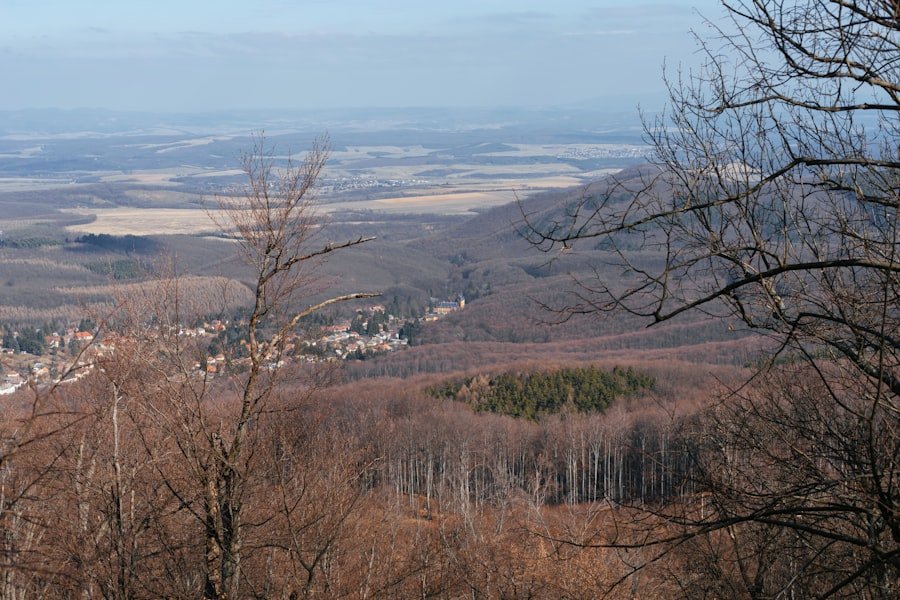
Natural light can change the same Heidiland scene from flat to dramatic within minutes. The period around sunrise and sunset is popular with landscape photographers because the sun is lower and the light can appear warmer and softer. Arrive early enough to photograph before sunrise or stay after sunset, since twilight can add cooler tones and a very different mood.
Do not ignore cloudy days. Diffused light can reduce harsh contrast and work especially well for village details, flowers, textures, forest scenes, and close-ups. Broken clouds can also create moving patches of light across hillsides, so watch the landscape rather than packing the camera away when conditions are not perfectly clear.
Plan for the Direction of the Light
Before you shoot, check where the sun will rise or set relative to your subject. Front light can reveal color and detail, side light can emphasize texture and terrain, and backlight can create silhouettes or a glowing edge around trees and grasses. If the sky is much brighter than the land, expose carefully for highlights and consider bracketing several exposures for later blending.
Choosing the Right Camera and Lens
You do not need one specific camera to photograph Heidiland well. Modern smartphones can produce excellent travel images in good light, while interchangeable-lens cameras give you more control over focal length, exposure, depth of field, filters, and low-light technique. Choose the system you can carry comfortably for the full outing.
The camera-and-lens combinations below are valid examples from the original article, not a list of the newest or only suitable gear. Their published specifications still illustrate three useful standard-zoom setups.
| Camera | Lens | Resolution | Maximum Aperture | Focal Length |
|---|---|---|---|---|
| Canon EOS R5 | Canon RF 24-70mm F2.8L IS USM | Approx. 45 MP | f/2.8 | 24-70mm |
| Sony Alpha 7 III | Sony FE 24-105mm F4 G OSS | Approx. 24.2 MP | f/4 | 24-105mm |
| Nikon Z6 | NIKKOR Z 24-70mm f/4 S | Approx. 24.5 MP | f/4 | 24-70mm |
Which Lens Works Best?
A wide-angle lens can include more of a valley, village, or mountain foreground, but ultra-wide framing is not always the strongest choice. Standard zooms are versatile for travel because they can cover landscapes, architecture, details, and people without constant lens changes. A telephoto can compress distant ridges, isolate a patch of light, or simplify a busy scene.
- Wide angle: useful for broad landscapes, interiors, and strong foreground compositions. On full-frame cameras, roughly 16–35mm is a common landscape range, but it is an option rather than a requirement.
- Standard zoom: a flexible one-lens option for general travel photography.
- Telephoto: useful for distant mountain details, compressed layers, and isolated subjects.
- Smartphone: practical for quick scouting, wide scenes, panoramas, and location notes.
Camera Settings for Heidiland Landscapes
There is no single correct exposure for every scene, but a few starting points make landscape work easier. Use the lowest practical ISO when the camera is stable and the light allows it. For scenes where you want foreground and background detail, a mid-range aperture often gives a useful balance of depth of field and sharpness. Let shutter speed change with the light, and use a tripod when the required exposure becomes too slow to handhold cleanly.
- Bright landscapes: start with low ISO, a mid-range aperture, and check highlights on the histogram.
- Sunrise or sunset: consider a tripod, exposure bracketing, and careful highlight protection.
- Windy flowers or grass: use a faster shutter speed if subject movement is causing blur.
- People, goats, or candid moments: prioritize a shutter speed fast enough for the subject instead of forcing the lowest ISO.
- Tripod scenes: turn on a short self-timer or use a remote release to reduce vibration when needed.
Note: A polarizing filter can deepen blue skies and reduce glare on foliage or wet surfaces, but its effect varies with the angle to the sun. On very wide lenses, polarization can look uneven across the sky, so check the frame before taking the final shot.
Composition and Framing Techniques
Composition is what turns a scenic record shot into a photograph with direction and emphasis. The rule of thirds is a useful starting point: imagine the frame divided into nine sections and place the horizon or a major subject near one of the grid lines. Do not treat the rule as a requirement. Centered symmetry, minimalism, or a deliberately low horizon may suit the scene better.
Look for leading lines such as vineyard rows, paths, fences, streams, roads, or building edges. These can guide the viewer through the frame toward a mountain, village, or person. Foreground objects can add scale, while natural frames such as branches or doorways can focus attention.
The strongest Heidiland image is not always the widest panorama. A clear foreground, one strong subject, and intentional light can create more impact than trying to fit every mountain into the frame.
Try More Than One Perspective
Photograph the same subject from eye level, from a lower angle, and from farther back. Include people for scale in one frame and remove them in another. Make both horizontal and vertical versions. Small changes in camera height can separate overlapping ridgelines or clean distracting objects from the background.
A Simple Heidiland Photography Workflow
- Choose a specific location. Decide whether you want vineyards, village details, a Heidi-themed stop, or a mountain viewpoint.
- Check access and conditions. Review the official route, current weather, warnings, and any attraction or property rules.
- Plan the light. Note sunrise or sunset direction and arrive with enough time to scout before the best light.
- Pick a focal length. Start wide for context, then zoom or switch lenses to isolate details and compressed mountain layers.
- Build the composition. Add foreground depth, leading lines, or a clear subject instead of relying on scenery alone.
- Check exposure. Review highlights, focus, and motion blur before moving on. Bracket difficult high-contrast scenes if needed.
- Capture variations. Make vertical and horizontal frames, then try a lower or higher camera position.
- Edit with restraint. Balance exposure, white balance, contrast, and local detail without making the scene look artificial.
Capturing the Changing Seasons
Heidiland changes dramatically through the year, but mountain weather and snow cover vary from season to season. In spring, lower meadows and vineyards begin to green while snow may remain on higher peaks. Summer brings long days and lush landscapes, but it can also bring haze, rain, and thunderstorms. Autumn is particularly attractive around Maienfeld because vineyard color and the grape-harvest season can add warm tones and activity to the landscape.
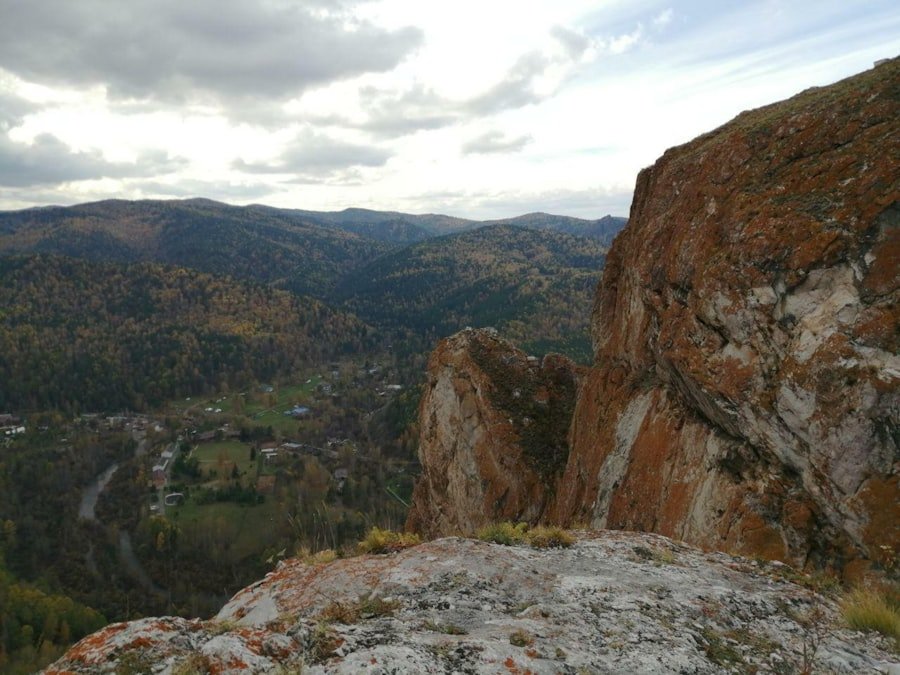
Winter can create clean, minimal compositions when snow is present, but do not assume every low-elevation location will be continuously snow-covered. Short days, icy paths, and changing access make winter planning more important. Check current conditions rather than relying only on a calendar.
Season-by-Season Photo Ideas
- Spring: fresh greens, flowers, streams, and contrast between lower valleys and snowy high ground.
- Summer: green vineyards, long evenings, mountain hikes, and dramatic changing weather.
- Autumn: vineyard color, harvest activity, warm foliage, and lower-angle seasonal light.
- Winter: snow scenes when conditions allow, bare architecture, mist, and simplified compositions.
Weather, Trail Safety, and Drone Rules
Photography plans should follow the mountain conditions, not the other way around. Check MeteoSwiss for forecasts and warnings, and use the official Heidiland route information or Swiss mapping tools before committing to a hike. Thunderstorms, strong wind, snow, ice, or low visibility can make a photo location unsafe even when it looked easy in a previous season.
Warning: Do not leave a marked or safe route just to gain a slightly better camera angle, especially near steep slopes, wet ground, snow, or exposed terrain. Keep tripods and bags out of narrow paths where they could obstruct other visitors.
If you plan to use a drone, ordinary camera advice is not enough. Switzerland has national and local drone restrictions. The Federal Office of Civil Aviation states that open-category flights are generally limited to 120 m above ground, require visual line of sight, and must follow rules concerning uninvolved people and restricted areas. Check the official drone map before every flight because geographical restrictions can change.
Do not assume that one rule covers every attraction or piece of private property. At museums, visitor attractions, events, farms, wineries, or privately managed land, follow posted signs and staff instructions. Be considerate when photographing identifiable people, especially children, and ask before creating close-up portraits in situations where consent is appropriate.
Post-Processing and Editing Tips
Editing should help the photograph communicate what you saw, not repair every problem with extreme adjustments. Start with white balance, exposure, highlights, shadows, contrast, and crop. Then make smaller local adjustments if part of the sky, foreground, or subject needs attention.
Adobe Lightroom and Photoshop are common options, but the same principles apply in other editors. If the sky is much brighter than the land, a graduated mask can help balance the frame. Exposure blending or HDR can be useful when you bracketed a high-contrast scene, but keep halos, oversaturated colors, and unnatural shadow lifting under control.
- Correct lens distortion and chromatic aberration when they are visible.
- Use sharpening at the final output size instead of applying extreme global sharpening.
- Zoom in to check for dust spots, motion blur, and missed focus before exporting.
- Keep at least one natural-looking edit, even if you also create a more stylized version.
Sharing and Showcasing Your Heidiland Photography
Once you have a finished set, curate rather than uploading every frame. A small sequence can tell a stronger story: begin with a wide establishing image, add a village or vineyard detail, include a human-scale moment, and finish with your strongest landscape. Thoughtful captions can explain the location, light, season, or technique without repeating what viewers can already see.
Social platforms such as Instagram and Facebook can help you share images quickly, while a personal website gives you more control over sequencing and presentation. Local exhibitions, photography clubs, and contests can also provide feedback and encourage you to print your work rather than keeping every image on a screen.
If you are planning a Heidiland photography day, treat the location as more than a single viewpoint. Build a short visual story from landscape, detail, culture, and changing light.
Photography skills also improve when you practice seeing color, shape, and texture outside travel scenes. As an unrelated off-trip exercise, an everyday subject can work well for close-up practice; for example, the site’s article on the delightful world of Asian melon can serve as a prompt for studying color, surface texture, and simple compositions between trips.
Frequently Asked Questions
What is the Heidiland viewpoint?
Heidiland is a holiday region, not one official viewpoint. Around Maienfeld, photographers commonly use specific places such as Heididorf, the Heidi Fountain, Heidialp, vineyard paths, and higher routes with Rhine Valley views.
Where are the best verified photo locations near Maienfeld?
Start with the Heidi Fountain for a simple photo stop, Heididorf for cultural and architectural details, the Bündner Herrschaft vineyards for leading lines and seasonal color, or the Heidialp route for a longer outing with changing elevation.
What is the best time of day for Heidiland photography?
Sunrise and sunset are strong choices because lower-angle light can create warmer color, longer shadows, and more texture. Overcast conditions can also be excellent for details, villages, foliage, and scenes where you want softer contrast.
What lens should I use for Heidiland landscapes?
A wide-angle or standard zoom is the most flexible starting point. Use a wider focal length for foreground-rich landscapes and architecture, then use a longer focal length to isolate mountain layers, distant details, or patches of light.
Do I need a tripod?
No. A tripod is optional in bright conditions, but it becomes useful for sunrise, sunset, blue hour, exposure bracketing, and slower shutter speeds. Keep it clear of narrow paths and busy visitor areas.
Can I fly a drone in Heidiland?
Possibly, but only where current Swiss rules and local restrictions allow it. Check the Federal Office of Civil Aviation requirements and the official geographical restriction map before every flight. Do not assume that a scenic outdoor location is automatically legal for drone use.
Which season is best for photography?
There is no single best season. Spring offers fresh growth, summer gives long days and green scenery, autumn adds vineyard color and harvest atmosphere, and winter can produce snow and minimal compositions when conditions cooperate.
Are there photography restrictions at Heidiland locations?
Do not rely on a blanket yes-or-no answer. Public outdoor areas, attractions, private property, events, wineries, and drone flights can have different rules. Check signs and official guidance at the location, follow staff instructions, and respect other visitors and identifiable people.
Sources
- Heidiland Tourism: Heidi Village, Heidialp, and Heidi Fountain — verifies the Maienfeld-area Heidi locations and identifies the Heidi Fountain as a photo spot.
- Heidiland Outdoor: Heidi Village Maienfeld and nearby routes — supports the official Heidialp route distance, duration, ascent, and Rhine Valley viewpoints.
- MeteoSwiss: Weather hazards — official source for current Swiss weather warnings and mountain-weather planning.
- Swiss Federal Office of Civil Aviation: Drone flight rules — supports the open-category altitude, line-of-sight, and people-safety rules.
- Swiss Federal Office of Civil Aviation: Geographical flight restrictions — confirms that pilots must check current national and cantonal restrictions before flying.
- Canon: Landscape photography guidance — supports the practical use of lower-angle sunrise and sunset light for landscapes.