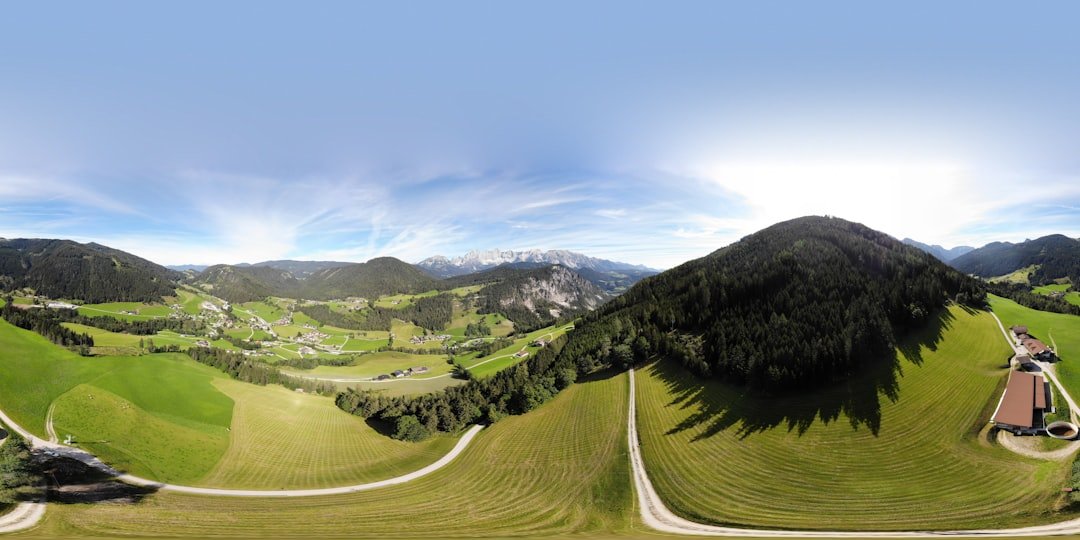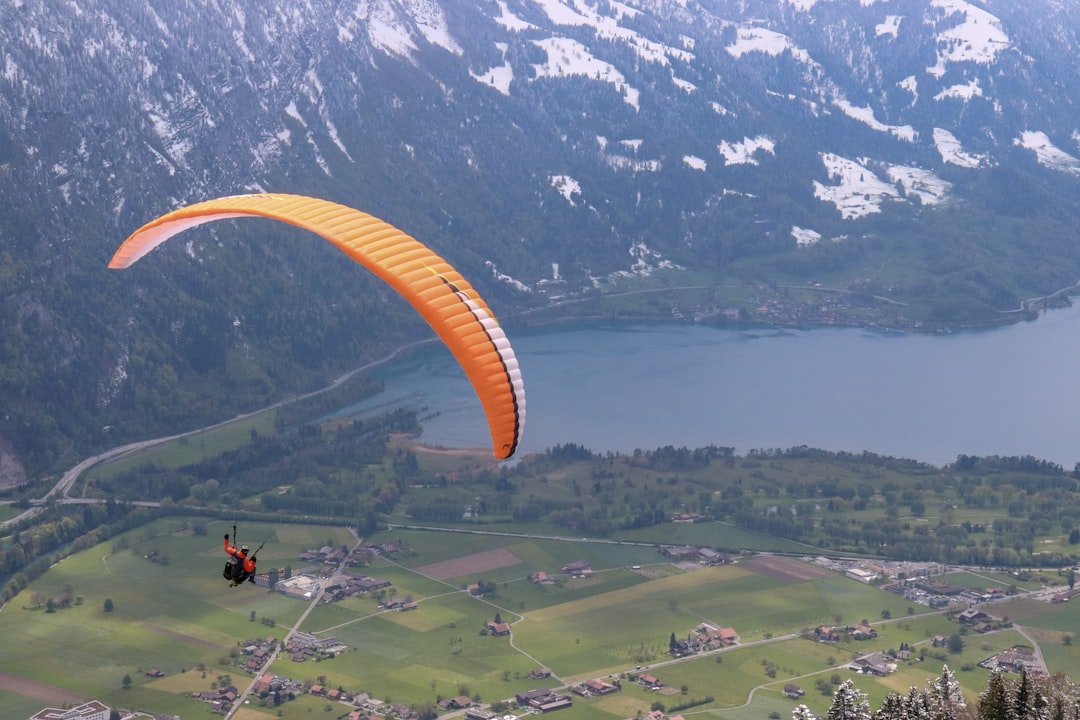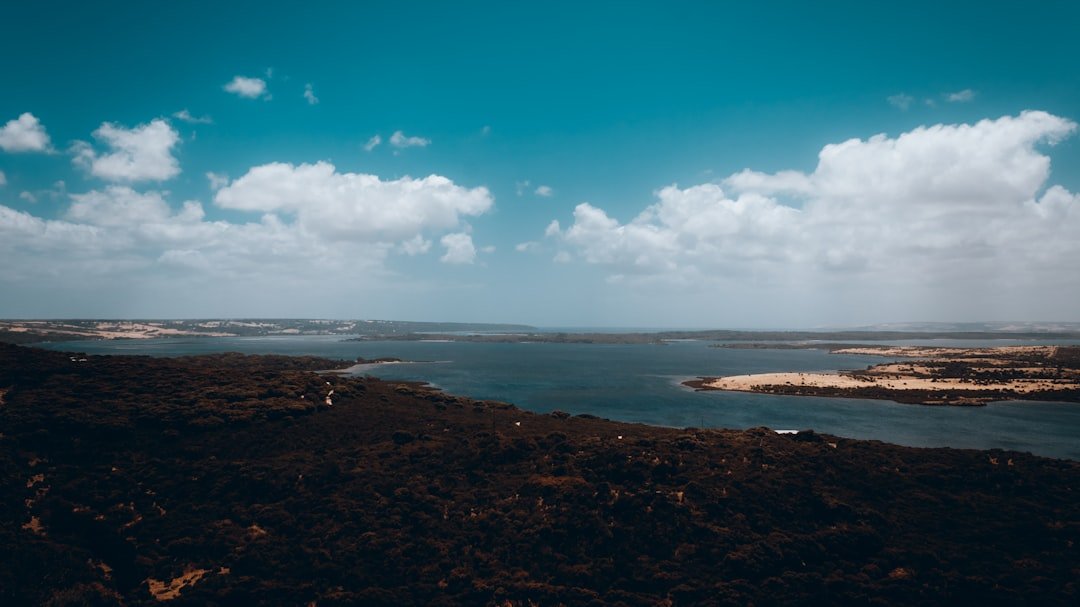
Mount Rigi is one of Central Switzerland’s classic panorama locations, and the summit at Rigi Kulm is the strongest starting point for photographers. At 1,798 meters above sea level, the summit offers a 360-degree view across lakes, the Swiss Plateau, and several Alpine ranges. Good photographs here depend less on owning expensive gear and more on choosing the right viewpoint, checking visibility, and matching your timing and settings to the light.
Quick Answer
For the best Rigi viewpoint photos, start at Rigi Kulm, check the webcam and railway timetable before you go, and aim for clear or changing light near sunrise or sunset. Use a wide-angle lens for the panorama, a telephoto for distant peaks, and a tripod when shutter speeds become slow.
Key Takeaways
- Rigi Kulm is the main summit viewpoint, with a 360-degree panorama and views over numerous lakes and Alpine ranges.
- A 16-35mm full-frame-equivalent range works well for broad landscapes, while a telephoto lens helps isolate distant peaks, villages, and layers of ridges.
- Sunrise and sunset can produce attractive light, but transport times, weather, and visibility should determine your actual shooting plan.
- Foreground elements, leading lines, and careful horizon placement add depth to wide mountain scenes.
- Rigi Kulm, Rigi Staffel, Rotstock, and Känzeli offer different compositions instead of repeating the same summit view.
- Drone photography is subject to Swiss aviation rules and location-specific airspace restrictions, so check the official drone map before every flight.
At a Glance
| Time Required | About 2-4 hours for a focused Rigi Kulm and Rigi Staffel session; allow a half day if you also explore Rotstock or Känzeli. |
| Difficulty | Beginner to intermediate; the summit is rail-accessible, while additional viewpoints may require walking on mountain paths. |
| Tools Needed | Camera or smartphone; optional wide-angle and telephoto lenses, tripod, polarizer, neutral-density filter, spare battery, and memory card. |
| Cost | Transport costs vary by route and ticket type; photography gear costs depend on what you already own. Check current Rigi Railways prices before visiting. |
Know the Rigi Viewpoint Before You Shoot
The name “Rigi viewpoint” usually refers to Rigi Kulm, the highest summit of the Rigi massif. The official Rigi site lists Rigi Kulm at 1,798 meters and describes a 360-degree panorama that can include 13 lakes, the cities of Lucerne and Zug, the Swiss Plateau, and Alpine ranges when visibility is good. The mountain’s changing cloud, haze, and light can make the same composition look completely different within a short period.
Rigi Kulm is reached by cogwheel train from Vitznau or Arth-Goldau. The Vitznau route takes about 30 minutes, while the Goldau route takes longer. Because services and seasonal timetables change, check the official Rigi timetables before planning an early-morning or late-evening shoot.
Note: Mountain visibility can change quickly. Check the Rigi webcams shortly before departure so you can judge cloud cover and long-distance visibility instead of relying only on a valley forecast.
Choosing the Right Equipment
When preparing for a photography trip to Rigi, choose gear that matches the type of images you want rather than carrying everything you own. A DSLR or mirrorless camera with interchangeable lenses gives you the most flexibility, but a modern compact camera or smartphone can also produce strong results in good light.
For broad landscapes, a wide-angle lens around 16-35mm in full-frame-equivalent terms is useful for including sky, foreground, lakes, and mountain layers in one frame. A standard zoom can handle most general scenes, while a telephoto lens is valuable for isolating distant peaks, villages, railway details, or compressed layers of ridges.
A sturdy tripod is useful for blue-hour photographs, long exposures, panoramas, and exposure bracketing. A circular polarizer can reduce reflections and deepen some colors, although it may create uneven-looking skies with very wide lenses. Neutral-density filters can lengthen exposures in bright conditions. Carry extra batteries and memory cards because cold temperatures, live-view use, and repeated bracketing can drain batteries faster than expected.
- Wide landscapes: wide-angle or standard zoom.
- Distant peaks and layered ridges: telephoto lens.
- Low light: tripod and remote release or self-timer.
- Reflections and haze control: optional polarizer.
- Long exposures: optional neutral-density filter.
- Backup: spare battery, memory card, and lens cloth.
Timing Your Visit for the Best Light
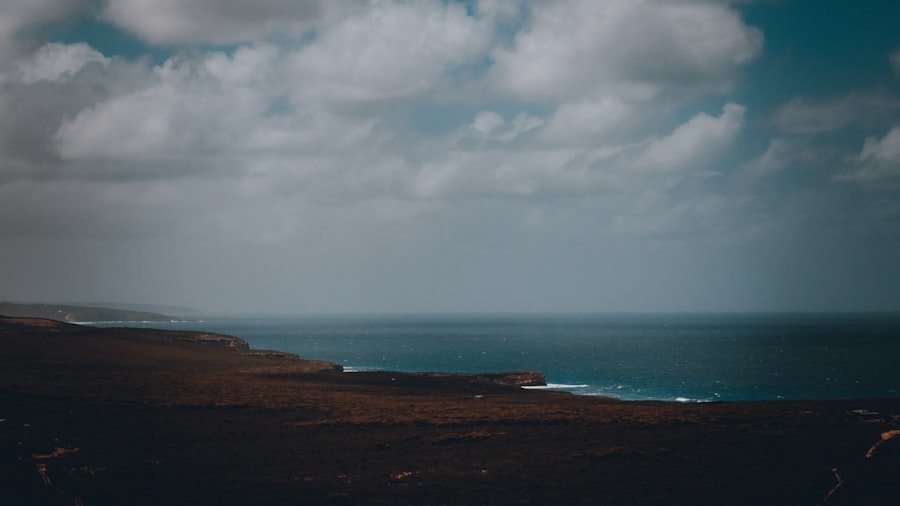
Timing is a major factor in landscape photography at Rigi. The period shortly after sunrise and before sunset often gives softer, warmer light and longer shadows than midday. These conditions can reveal texture in the slopes and create stronger separation between foreground and distant mountains. Mist or broken clouds can also add atmosphere, while completely clear weather can favor wide panoramas and telephoto views of distant peaks.
Do not assume that the first or last regular train will match sunrise or sunset. Compare the exact sun time for your date with the current railway timetable. Rigi Railways also operates selected special sunrise experiences on certain dates, but these are not a substitute for checking the schedule for your own visit.
Seasonal conditions change the look of the mountain. Spring and summer can add flowers and green alpine meadows to foreground compositions. Autumn can bring warmer vegetation colors and lower-angle light. Winter can create strong tonal contrast, but snow and ice also change trail conditions and require more careful movement and weather planning.
Pro Tip: Arrive early enough to scout one primary composition and one backup before the best light begins. If clouds block the distant Alps, switch to closer subjects such as railway lines, alpine meadows, trees, people, or layered mist instead of waiting for one postcard view.
Best Rigi Photo Spots and Vantage Points
Rigi has several official viewpoints, so you do not need to make every photograph from the summit platform. Changing location can improve variety and give you different foregrounds, lake angles, and directions of light.
| Viewpoint | What It Offers | Photo Approach |
|---|---|---|
| Rigi Kulm | The highest summit and broadest 360-degree panorama. | Use wide views for scale, then switch to telephoto compositions of distant ridges and lakes. |
| Rigi Staffel | Views toward Lucerne, Küssnacht, Seebodenalp, Rotstock, and the Alps; the official site specifically highlights evening sunset photography. | Look for railway elements, layered ridges, and warm evening side light. |
| Rotstock | A quieter elevated lookout with views over Lake Lucerne and the Central Swiss Alps. | Use foreground meadow detail and medium-to-telephoto focal lengths for layered mountain compositions. |
| Känzeli | An easy-to-reach lookout near Rigi Kaltbad with views toward Lake Lucerne, the Alps, and the Swiss Plateau. | Useful for lake-centered compositions and for adding trees or the lookout area as foreground context. |
Camera Settings to Use as a Starting Point
There is no single correct exposure for Rigi because light, wind, focal length, and subject movement change constantly. Use the following settings as starting points, then check your histogram, highlight warning, and image sharpness.
| Situation | Starting Settings | What to Watch |
|---|---|---|
| Daylight landscape | ISO 100, f/8 to f/11, shutter speed adjusted for exposure. | Keep the shutter fast enough for handheld sharpness if you are not using a tripod. |
| Golden hour or blue hour | ISO 100 to 400, around f/8, slower shutter speed as needed. | Use a tripod when shutter speed becomes too slow to handhold reliably. |
| Telephoto mountain detail | ISO 100 to 400, f/5.6 to f/8, shutter speed high enough to control camera shake. | Wind and long focal lengths magnify vibration, even when the subject is distant. |
| People in the landscape | ISO 100 to 800, f/4 to f/8, about 1/250 second or faster when people are moving. | Protect highlight detail in bright sky or snow. |
If your camera supports RAW capture, it gives you more flexibility for recovering highlights, adjusting white balance, and refining contrast later. Smartphone users can tap to focus, lower exposure slightly if the sky is clipping, keep the lens clean, and use the main camera rather than heavy digital zoom whenever possible.
Framing Your Shots
| Aspect Ratio | Rule of Thirds | Leading Lines |
|---|---|---|
| 1:1, 4:3, 16:9 | Divide the frame into nine equal parts and place important elements near the lines or intersections. | Use paths, railway lines, fences, shorelines, or cloud bands to lead the viewer toward the subject. |
Framing strongly affects how viewers read a mountain image. At Rigi, foreground elements such as rocks, trees, wildflowers, fences, or the railway can create depth and help show scale. Natural frames, including arching branches or openings between rocks, can also guide attention toward the lakes or mountain ranges in the distance.
Leading lines are especially useful on the mountain. Paths, rail tracks, ridge lines, and cloud formations can move the viewer’s eye through the frame. Shift your position a few steps before taking the photograph so that these lines support the main subject instead of pointing out of the image.
Utilizing the Rule of Thirds
The rule of thirds is a simple composition tool for building balanced landscape images. Imagine two horizontal and two vertical lines dividing the frame into nine equal sections. Placing the horizon, a mountain peak, a person, or another strong element near one of those lines or intersections often creates a more dynamic image than putting everything in the center.
For a sunset over Lake Lucerne, you might place the horizon along the lower third when the sky is the main subject. If the foreground contains flowers, rocks, snow, or railway detail, placing the horizon higher can give those elements more room. The rule is not mandatory, but understanding it helps you make deliberate choices when you decide to break it.
Experimenting with Different Angles
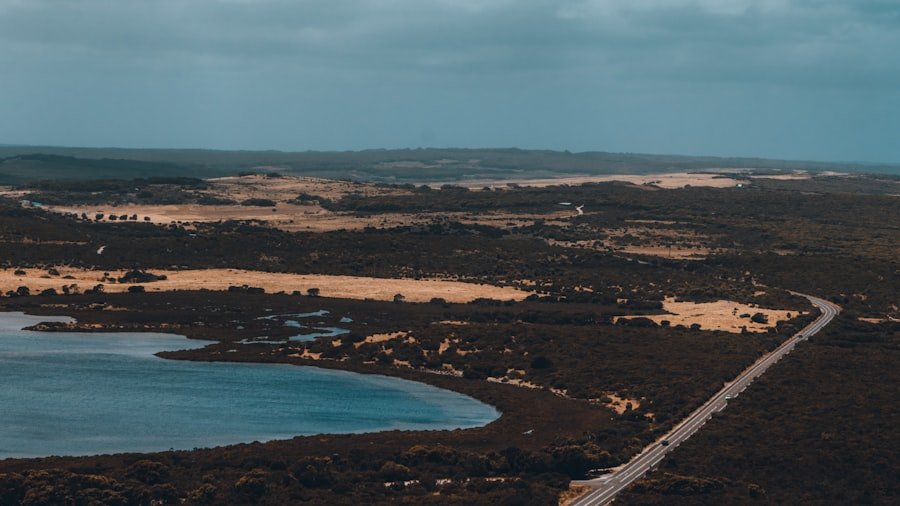
One of the easiest ways to create more original images at Rigi is to change your height, distance, or direction. Instead of shooting every scene from eye level, lower the camera to emphasize foreground flowers, grass, snow, or rocks. A higher position can reduce clutter and reveal more of the lake pattern and valleys below.
Unconventional angles can add energy to familiar subjects. A low angle can make a nearby ridge or railway element feel larger, while a higher viewpoint can show how trails, buildings, and natural features fit together. Try both horizontal and vertical frames, and make a wide scene followed by a tighter detail before moving on.
Warning: Do not climb barriers, step onto railway infrastructure, or move onto exposed terrain just to improve an angle. Mountain weather and footing can change quickly, especially with snow, ice, wet grass, or strong wind.
Panoramas, Bracketing, and Long Exposures
Rigi’s wide horizon is well suited to stitched panoramas. Hold the camera vertically for more image height, keep exposure and white balance consistent across the sequence, and overlap neighboring frames by roughly one-quarter to one-third. A tripod helps, but careful handheld panoramas can also work in good light.
Exposure bracketing is useful when the sky is much brighter than the foreground. Capture several exposures without changing composition, then blend only as much as needed to retain natural highlight and shadow detail. For long exposures, use a tripod and a neutral-density filter when necessary. Review the result at high magnification because wind can move grass, flowers, and tree branches even when the camera is perfectly stable.
Enhancing Your Photos with Editing
Post-processing can refine a strong photograph after capture. Software such as Adobe Lightroom, Photoshop, or another RAW editor can help adjust exposure, white balance, contrast, color, and local detail. Start with small corrections and protect natural-looking highlights in snow, clouds, and bright sky.
High Dynamic Range processing can combine bracketed exposures when one frame cannot hold detail in both bright and dark areas. Use it carefully so that halos and unnatural contrast do not distract from the landscape. Cropping can also improve composition by removing edge distractions or tightening attention around a specific mountain, lake, or foreground subject.
Editing works best when it supports what you actually saw rather than forcing every scene into the same preset. Rigi can look soft and misty one day and crisp and high-contrast the next, so let the weather and light guide your final treatment.
Respecting the Environment and Wildlife
Photography at Rigi takes place in an active alpine landscape with meadows, hiking routes, railways, wildlife, and other visitors. Protect vegetation by using established paths and durable standing areas wherever possible. Give animals space and use a telephoto lens rather than approaching wildlife for a closer frame.
Be considerate at busy viewpoints. Keep tripods out of the main walking line, avoid blocking platforms for long periods, and do not move natural objects or disturb grazing animals to improve a composition. If you are hiking beyond the main summit area, check current route conditions and plan according to your fitness, the season, and the weather.
The strongest landscape photograph is not worth damaging alpine vegetation, disturbing wildlife, or creating a safety risk for other visitors.
Drone Photography at Rigi
Drone use in Switzerland is regulated separately from normal handheld photography. The Federal Office of Civil Aviation states that pilots must follow the applicable operating category, distance, height, and safety rules. Switzerland also has geographical zones where drone flights are restricted or prohibited, and the official map is updated regularly.
Before every flight, check the official Swiss drone-zone information and the FOCA drone flight rules. Do not assume that a scenic open area is automatically legal or safe for takeoff.
For those interested in expanding their creative horizons beyond photography, the original article also pointed readers toward culinary arts. That link is not a source for this photography guide, but as an unrelated creative break you can still visit this article on delicious homemade cottage cheese.
Frequently Asked Questions
What is the Rigi viewpoint?
The phrase usually refers to Rigi Kulm, the highest summit of Mount Rigi. It is an official observation point with a 360-degree panorama over lakes, the Swiss Plateau, and Alpine ranges when visibility is good.
Where is the Rigi viewpoint located?
Rigi Kulm is the summit of the Rigi massif in Central Switzerland and is reached most conveniently by cogwheel train from Vitznau or Arth-Goldau.
What are the best photography tips for Rigi?
Check the webcam and transport schedule first, use foreground elements for depth, try both wide-angle and telephoto compositions, protect bright highlights, and move beyond the summit platform to viewpoints such as Rigi Staffel, Rotstock, or Känzeli when conditions allow.
What camera settings should I start with for Rigi landscapes?
In daylight, start around ISO 100 and f/8 to f/11, then choose a shutter speed that gives a correct exposure and stays sharp. In lower light, use a tripod and let the shutter speed become slower rather than raising ISO more than necessary.
Do I need a tripod at Rigi?
No. A tripod is optional in bright light, but it is useful for blue hour, long exposures, exposure bracketing, and carefully aligned panoramas. Keep it compact and position it so it does not block other visitors.
Are there photography restrictions at Rigi?
Ordinary handheld photography at public viewpoints is generally straightforward, but you must respect safety barriers, railway areas, private property, wildlife, and other visitors. Drone photography follows Swiss aviation rules and location-specific airspace restrictions, so check the official drone map before flying.
Sources
- Rigi: Rigi Kulm – summit panorama and viewpoint information.
- Rigi: Viewpoints – official list of Rigi observation points.
- Rigi: Timetables – current mountain railway and cable-car schedules.
- Rigi: Webcams – current visibility and panorama checks.
- Swiss Federal Office of Civil Aviation: Drone Flight Rules – national operating and safety rules for drones.
- Swiss Federal Geoportal: Where Can I Fly My Drone? – official drone geographical-zone guidance.